


Stay tuned for fun launches coming in the future!

follow along

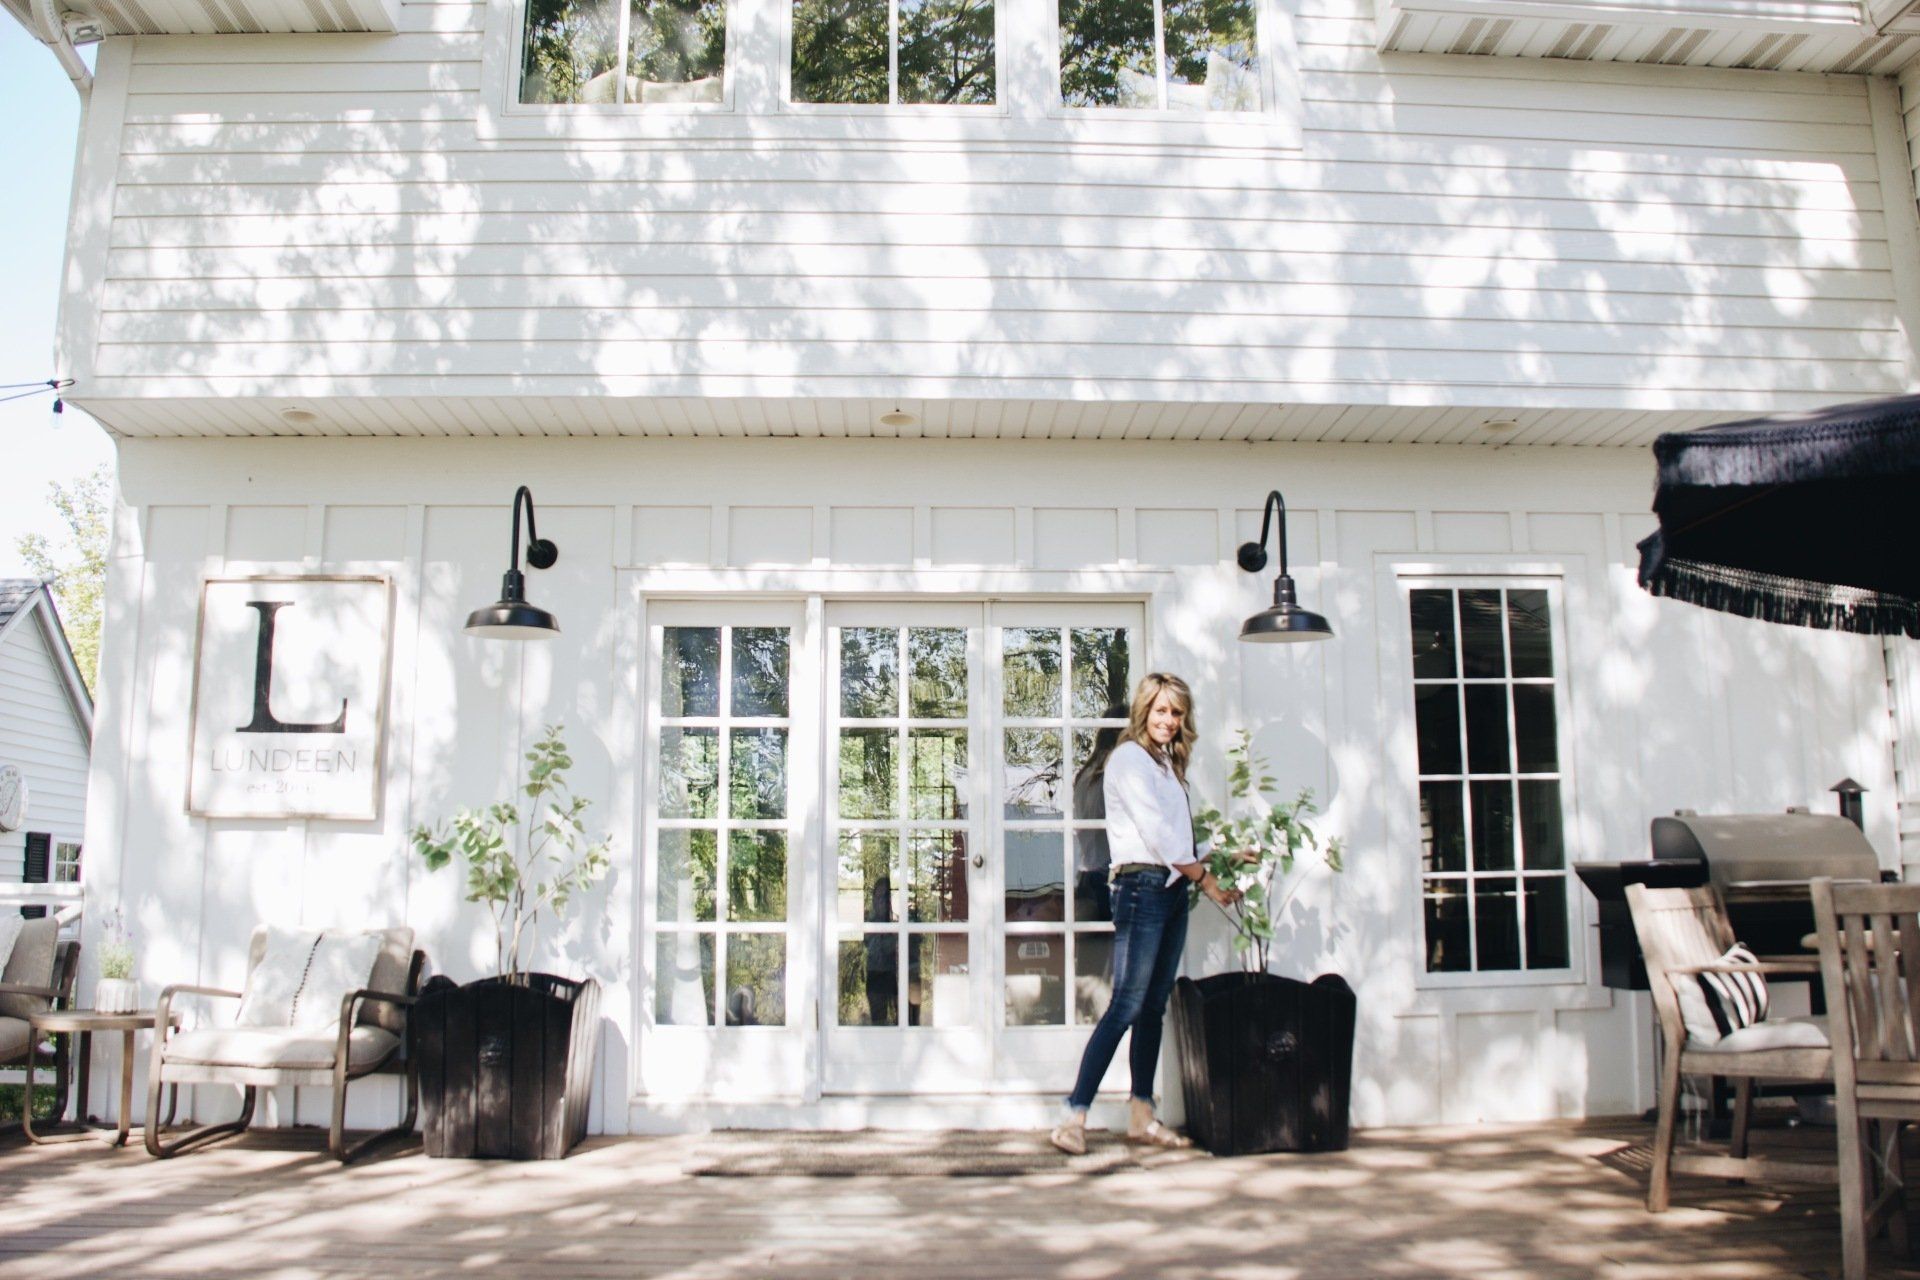
Read a little bit more about
our journey!
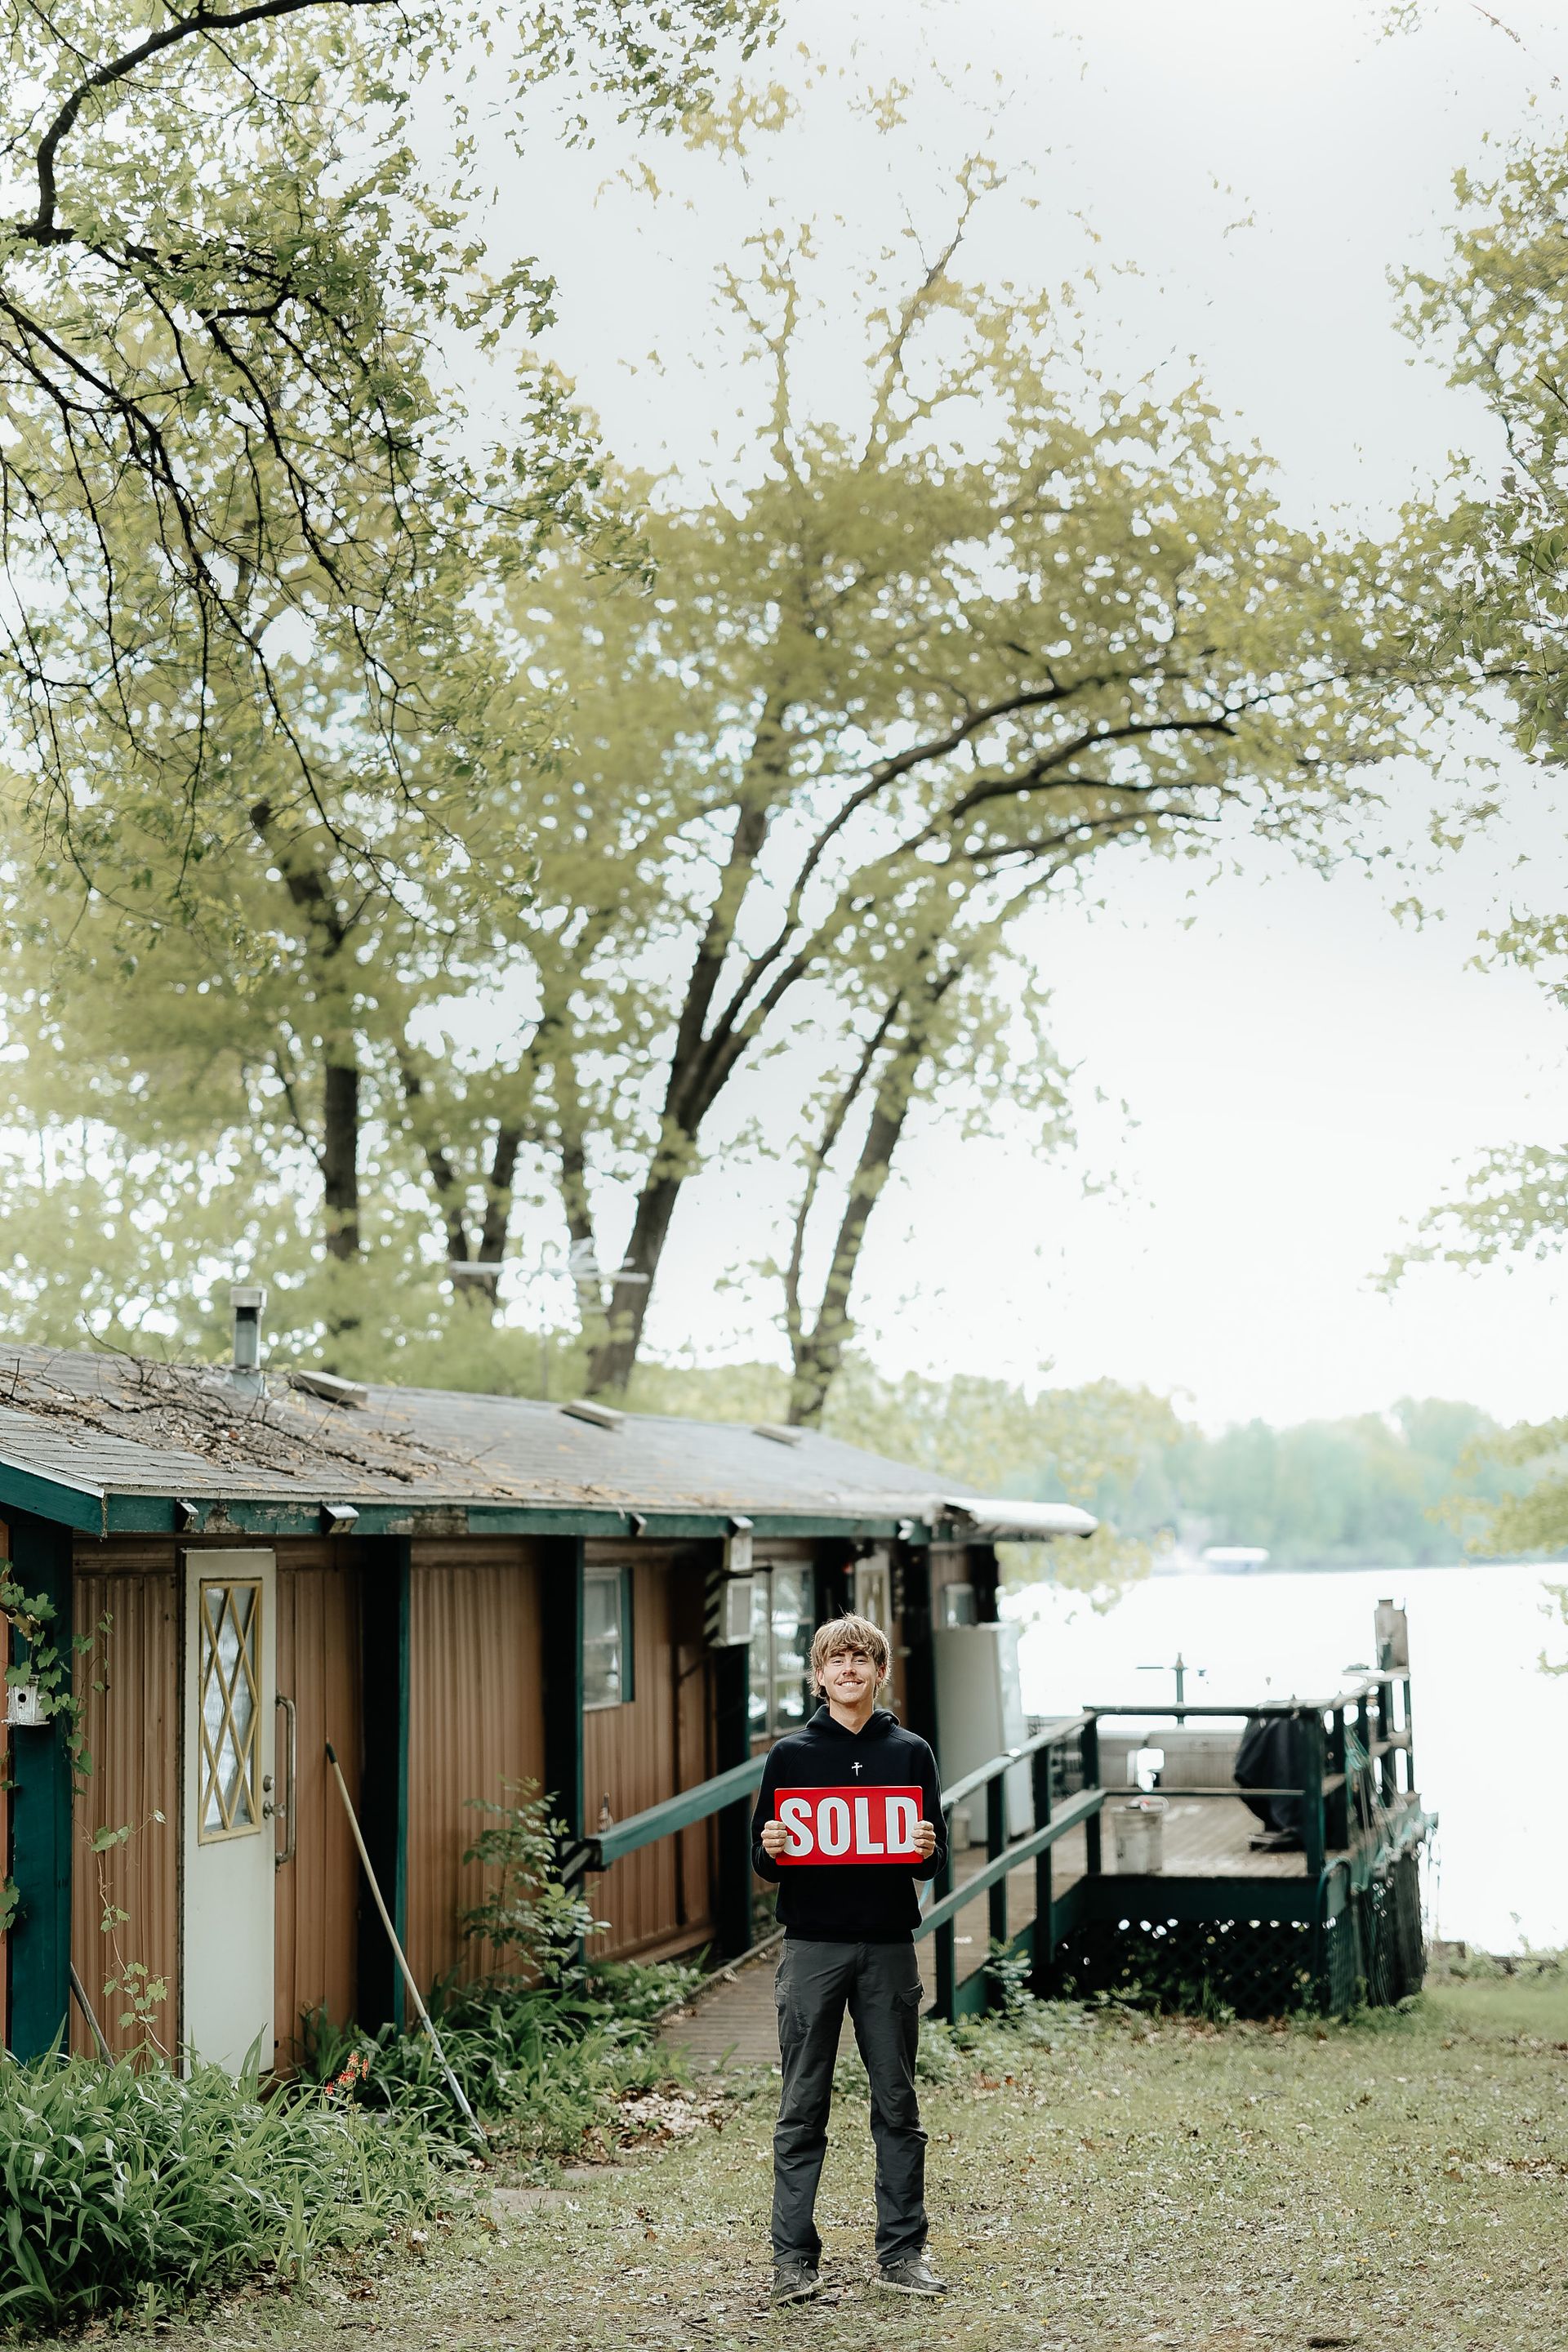
When we started this space 13 years ago it was used as an outlet for me as I transitioned from full time elementary teacher, to full time motherhood. I wanted to show all moms they can love their homes on any budget. As time went on this space shared the story of our daughter who was born with trisomy 18 and deemed incompatible with life. It brought hope and faith to so many as God walked that painful journey with us and was so faithful! He continued to bless this space and provide opportunity and growth for us to teach, encourage, and walk alongside so many of you! Recently we found ourselves going against the grain of culture and choosing for Ryan to quit his full time corporate job. This life is an adventure, our hope is in Jesus, He guides our path and we never know where that’s going to take us. We are excited to shine bright in all we do and are so excited you are part of this community with us!
follow on instagram


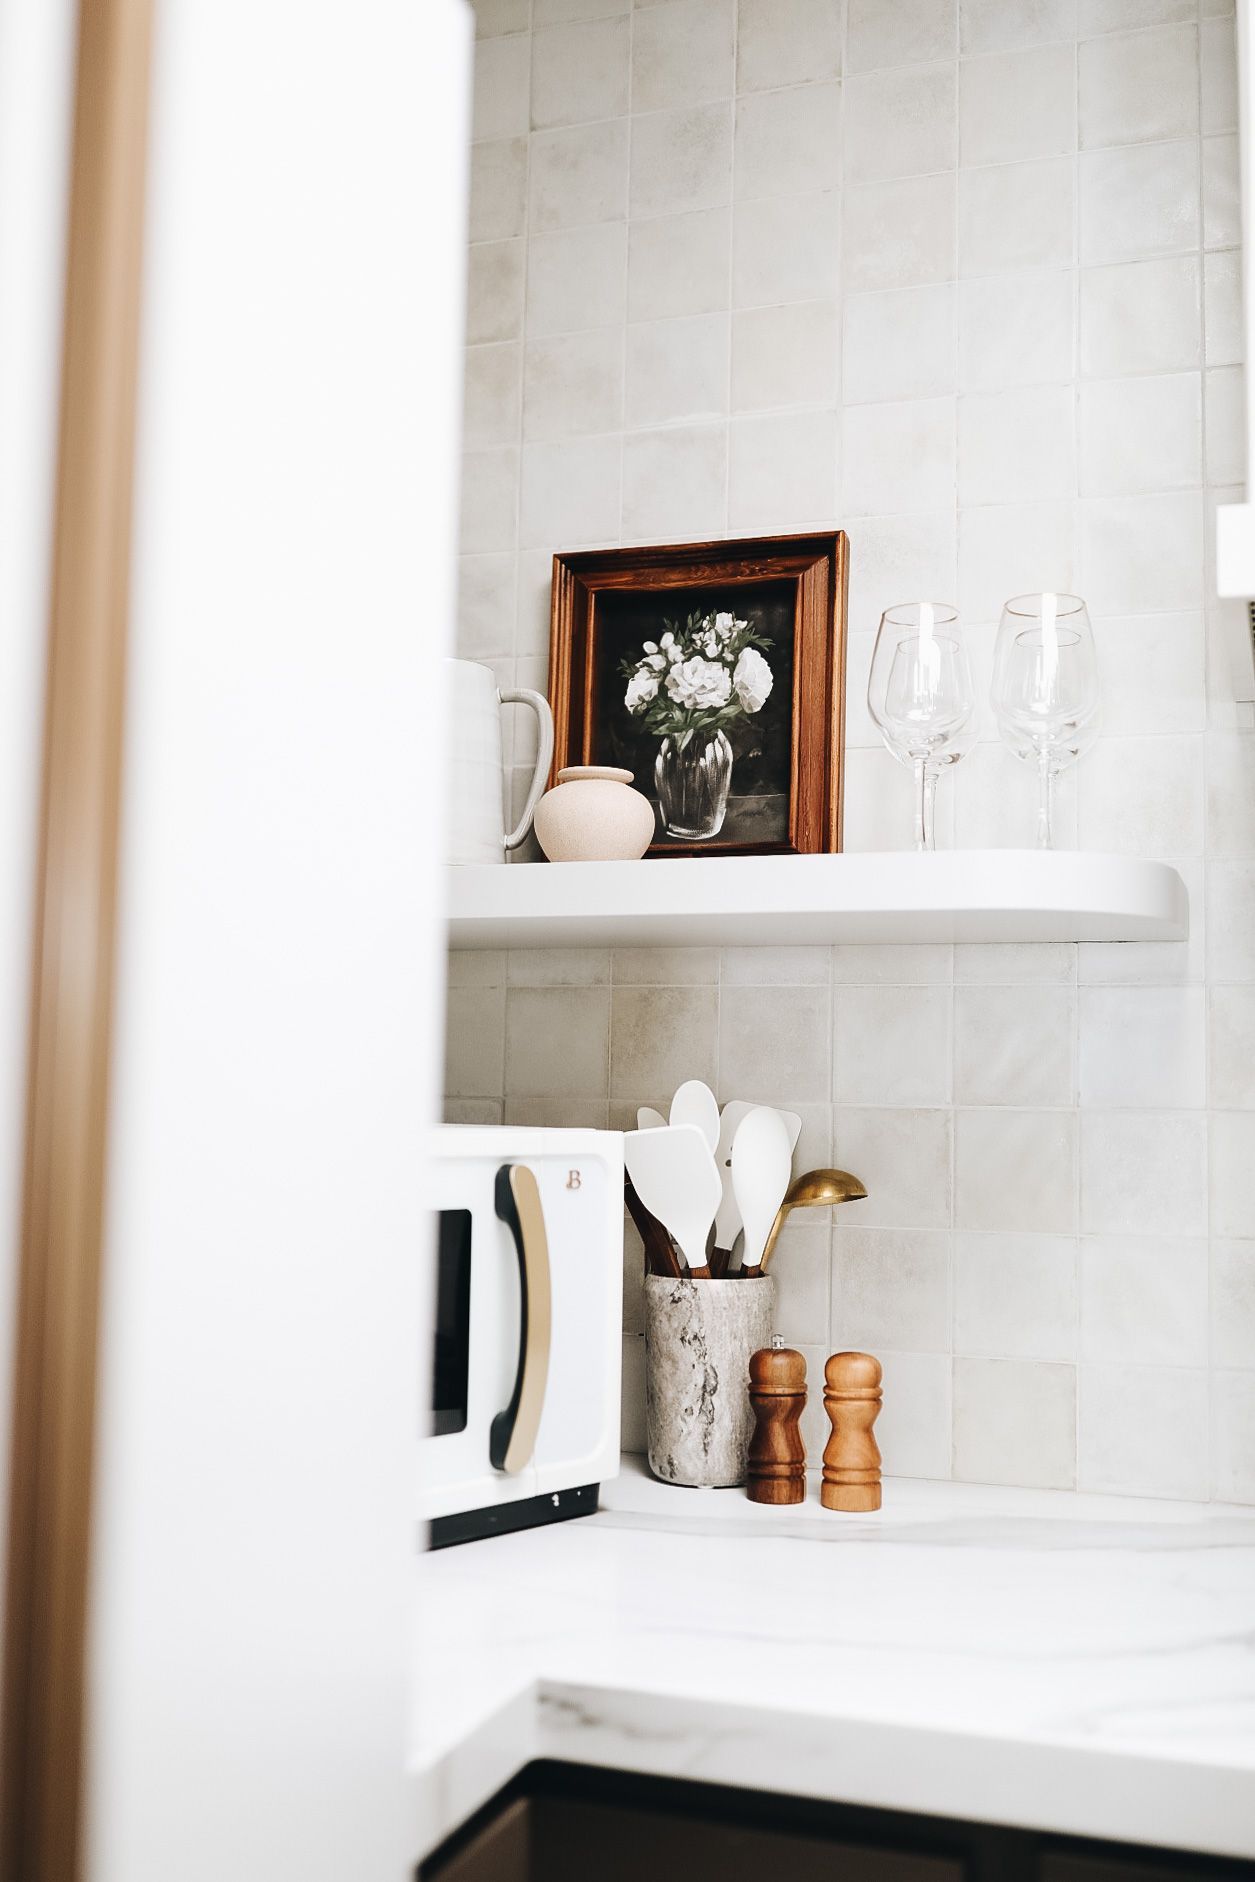
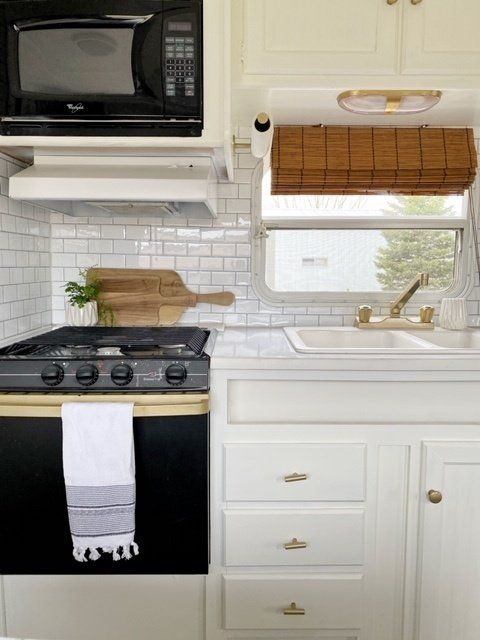
The reason behind the DIY
Giving up a full time job to be a stay at home mom created a tight budget. My desire to create a designer looking home fueled my passion to learn how to DIY, use power tools, and create my dream home on a major budget. Join along on the journey God has led us on, pick up a power tool, and strengthen your faith as we pray, grow, and build together!


“
“Every good and perfect gift is from above,
coming down from the Father of the heavenly lights,
who does not change like shifting shadows.”
search the blog
Use a keyword to easily find the blog post you are looking for!
Want to follow along?
We’d love to have you!
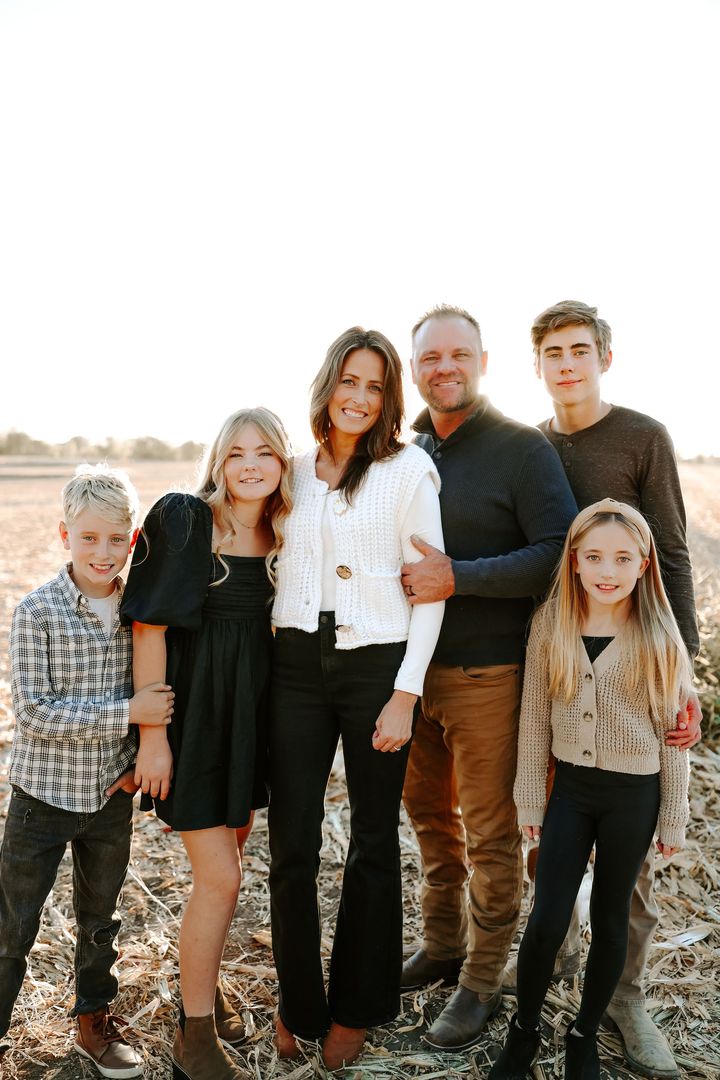
Make sure to sign up to receive my newsletters, blog posts, encouragement, deals and so much more! Follow along on instagram @proverbsthirtyonegirl to see what’s happening in our daily life, get a better peek into our family, and pray daily with us!
newsletter
Stay tuned for fun launches
coming in the future! We can’t wait!
