A Shelf, A Backsplash, and Cafe Curtains
As if I don’t switch things up enough for the hubby, I decided to work on the kitchen a little bit more. I pinned this picture from Pinterest and fell in love.
I thought, hey…I have a window over my sink, with a farm house light and room for a shelf. It was perfect! So, a couple of weeks later I went to Ikea and purchased a shelf and 2 brackets. I kind of liked how the shelf looked without brackets, but I didn’t know how to go about doing that with it holding some weight. I was excited about this idea because I thought if I painted the shelf in the same sharkey gray as the cabinets, then the open cabinets would even seem more intentional:)
So, the shelf went up one afternoon when the hubby was at work. (always the best time to do projects:) As did some curtains….as did a chalkboard back splash.
Ry told me the weathers gotta warm up soon so I can start working outside. He said he’s not going to recognize his own home pretty soon:) Gotta keep them on their toes!
So…the reveal!
Here’s the before that I just recently showed you…

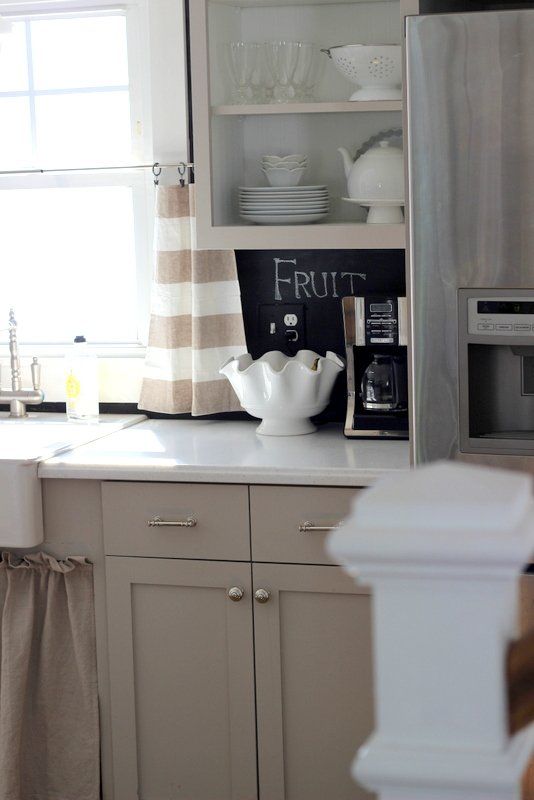
and the after…
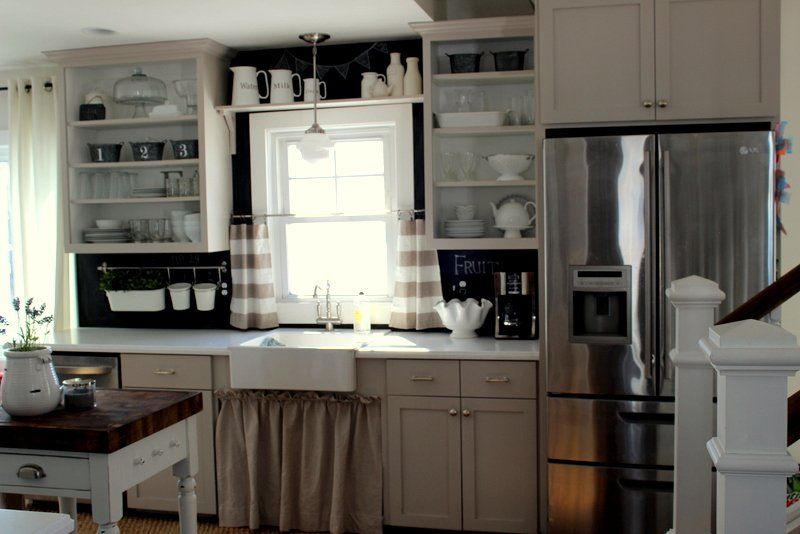
I’m kinda loving it. The shelf was only $13 with the 2 brackets, and yet I think it makes such a big statement.
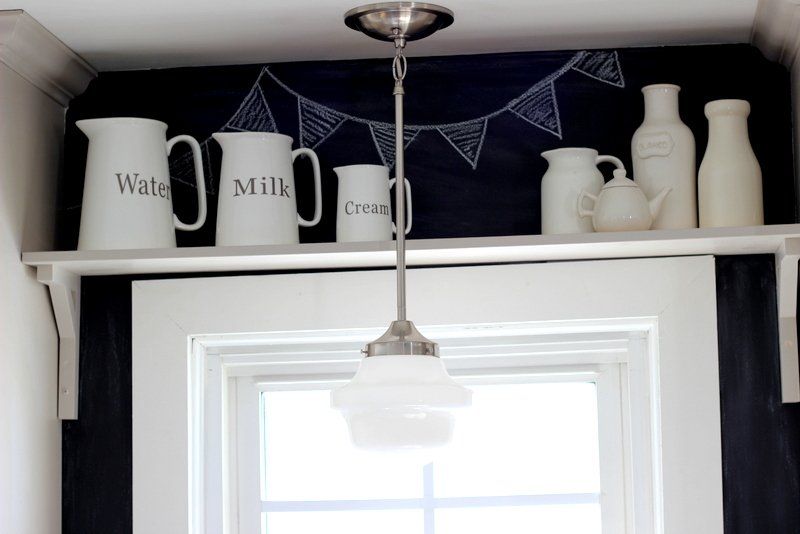
and the chalk board back splash is so fun to decorate:) I love how the white pops on the dark. Little sidenote–the shelf is level, the window is not:) There’s all sorts of fun optical illusions like that in a 100 year old house:)
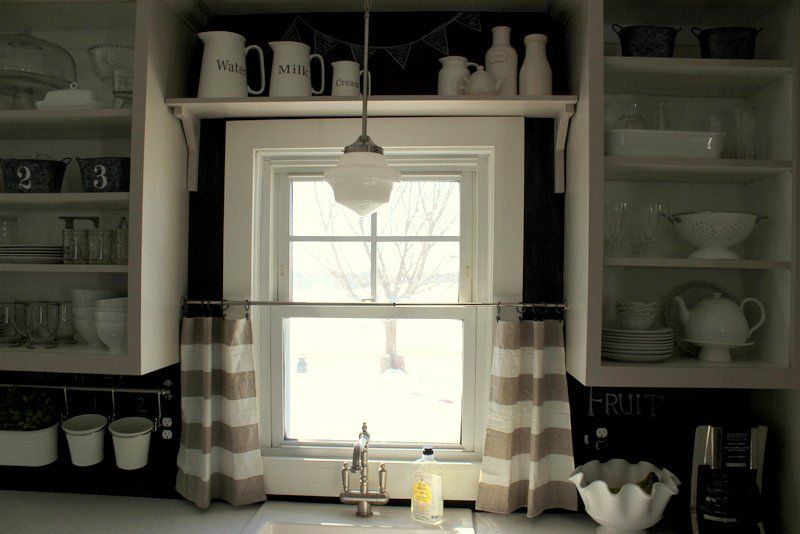
I’m also quite in love with this little cafe curtain
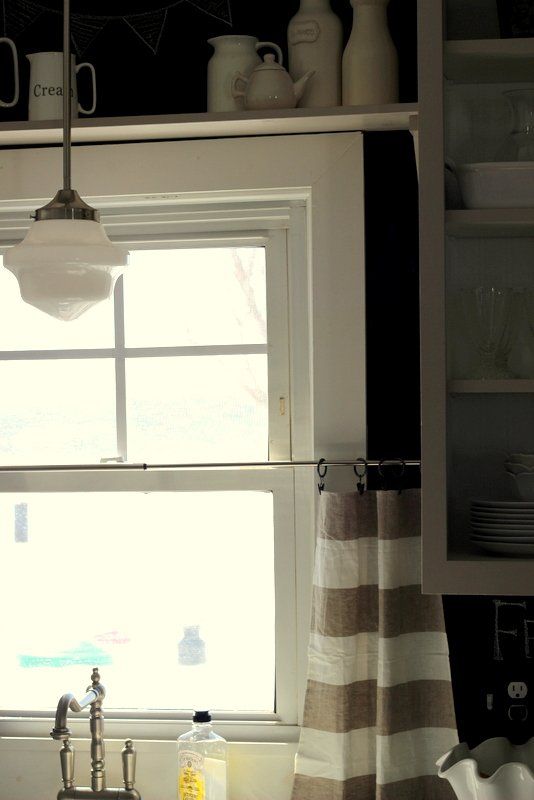
I love the satin nickel spring rod I found at Walmart. You can’t see it in the pictures, but the ends have a nice decorative finish, much nicer than the plastic caps most of them come with. And it was only $10. The curtains themselves (as well as the little hooks) are actually from Ikea as well…they are tea towels! I had to hem a couple of stripes off and that was it…how easy That was actually my friends idea, thanks Em!
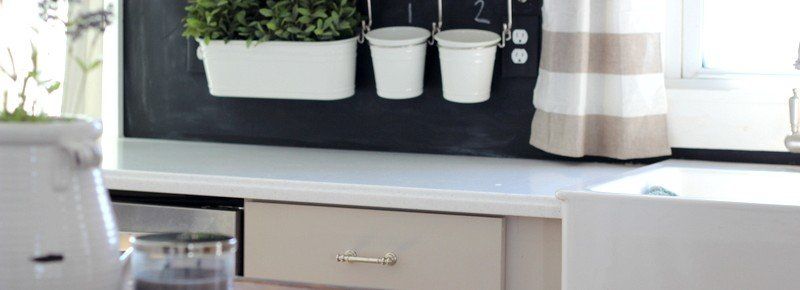
Since I moved the pitchers on the shelf, I put the original buckets back on the rod system, from Ikea. Add a few fake greens and it’s starting to look a bit springy in here.
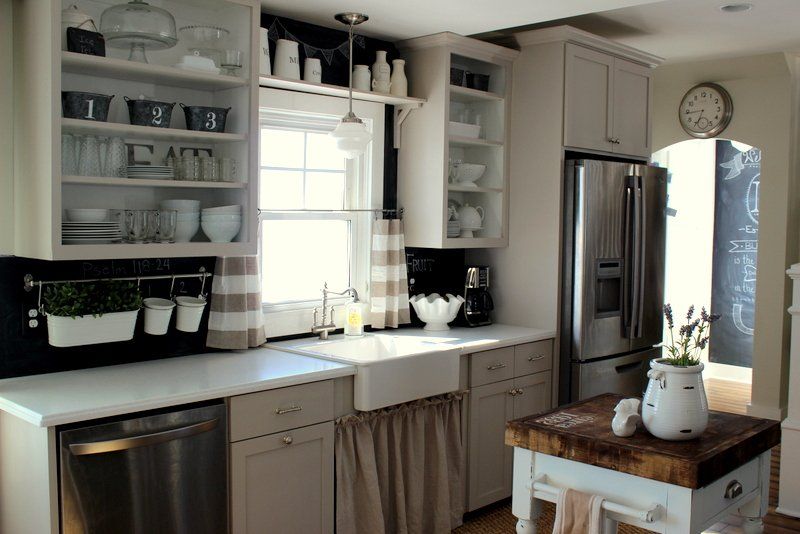
The open shelving side has won over the pantry side for me:)
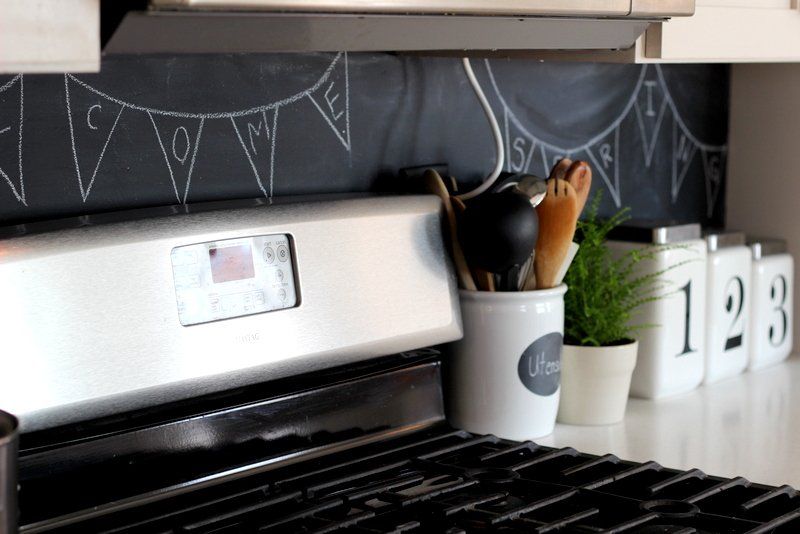
The back splash painted on in a couple of hours. I’m gonna tell you a little secret for all of you fellow impatient diy-ers like myself….I never allow the recommended dry time for paint. I usually start the 2nd coat as soon as I’m done with the first.
I taped off my cabinets and counters with blue painters tape, grabbed my can of chalkboard paint from the closet, and painted 3 coats.

After the last coat was dry to touch, I used the side of the chalk to rub it all over (priming the paint) and then took a dry wash cloth to rub it in. This helps to give it the chalkboard look instead of just a black paint look.
The can says to wait 24 hours to use chalk.
I say I don’t think so.
I’ve never ruined it….so it’s our little secret:)
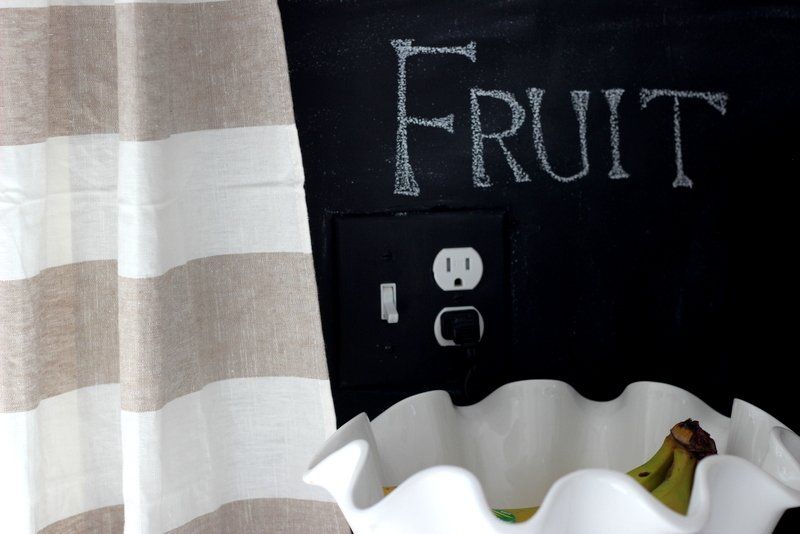
Just in case you don’t know it’s fruit in the bowl, don’t fret! You can label it:)
So for literally $30, this room got (yet another) mini makeover:)