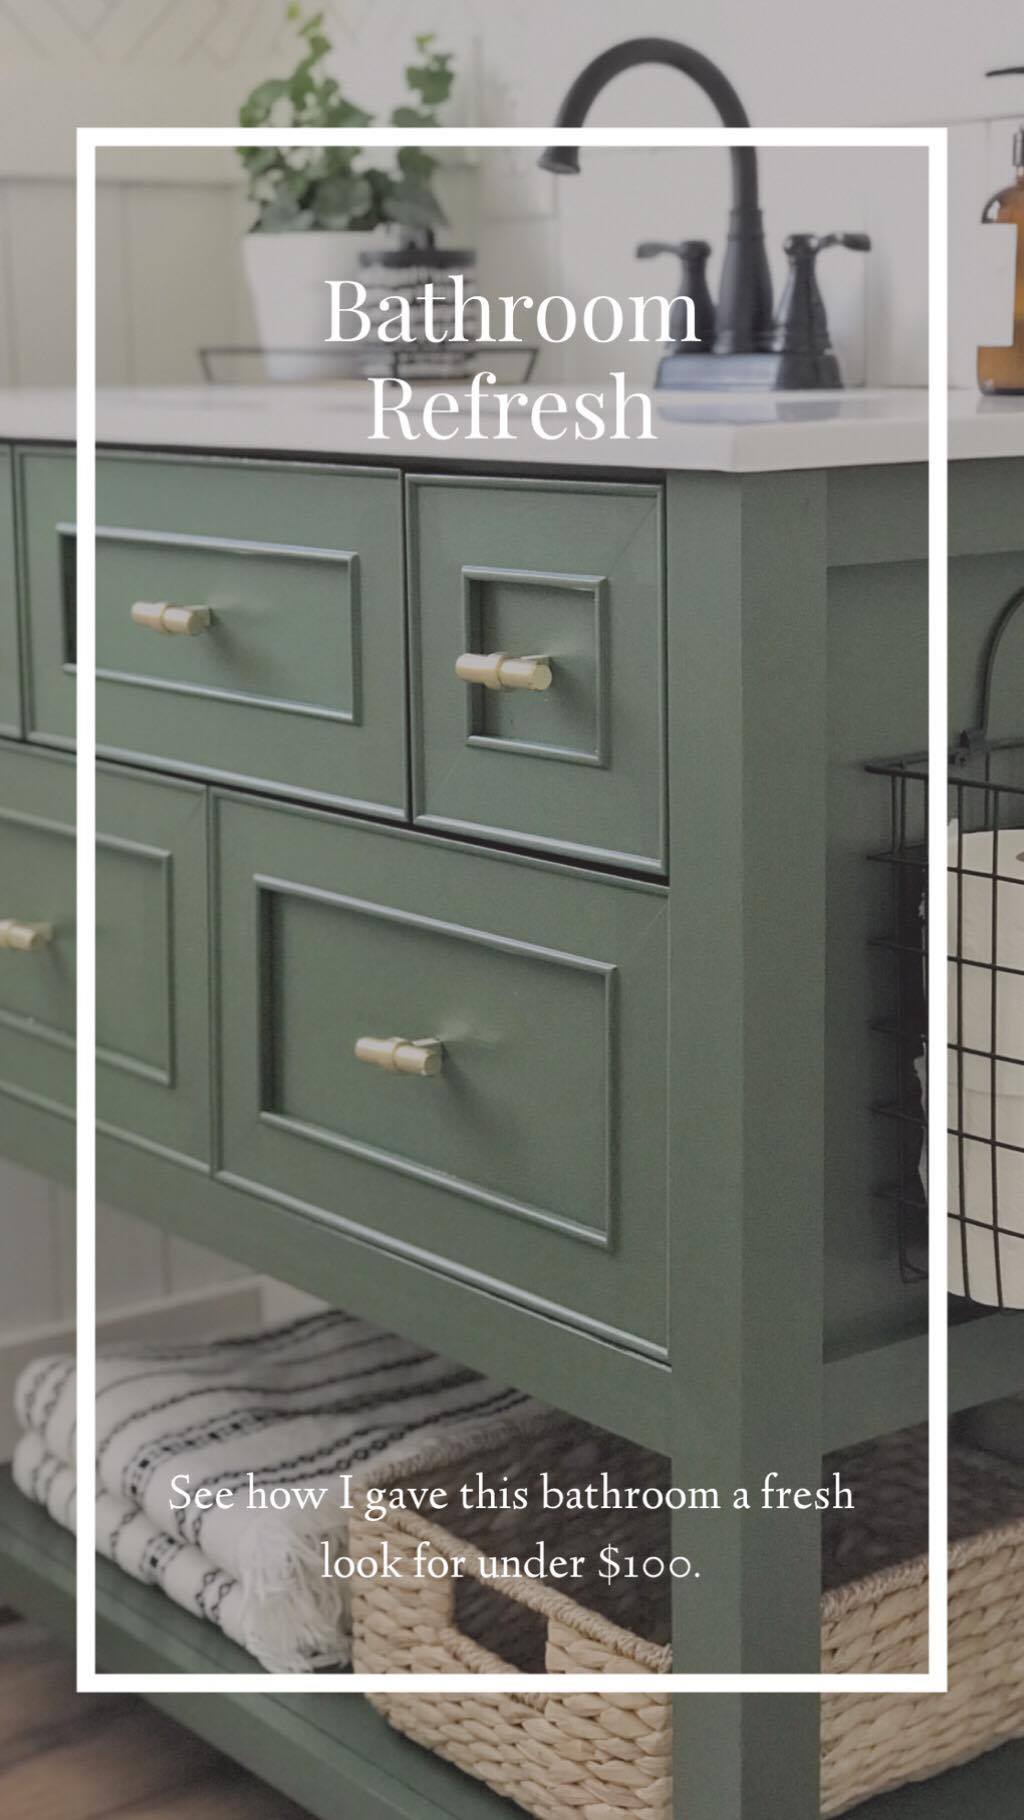
BATHROOM REFRESH
Things are constantly changing over here…and it’s just the way I like it. Ryan says spring has to come so I can get out of the house and stop changing everything in sight. He has a valid point:) But, until then, I’ll finish up a few of the things I’ve been wanting to. Like our guest bathroom. Its not that anything was wrong with it….it’s just that after 7 years, I wanted to give our very inexpensive vanity a face lift. We bought this vanity when we completely gutted the house, and it was a steal at the Home Depot. (I recently looked and its no longer available) But the point is, if you have a vanity that you are not happy with, you can give it an inexpensive face lift too!
First off, I have to say, there was nothing wrong with this bathroom. And when I show you the before picture I’m sure you’ll agree:)
I’ve actually given this bathroom a few mini makeovers in the last few years, the reason being when we gut this house we had a super small budget to work with so we had to buy very inexpensive everything. And slowly but surely I’ve been working to add in some character and charm to this space. To truly appreciate it though, I feel like you need to see the real “before.”
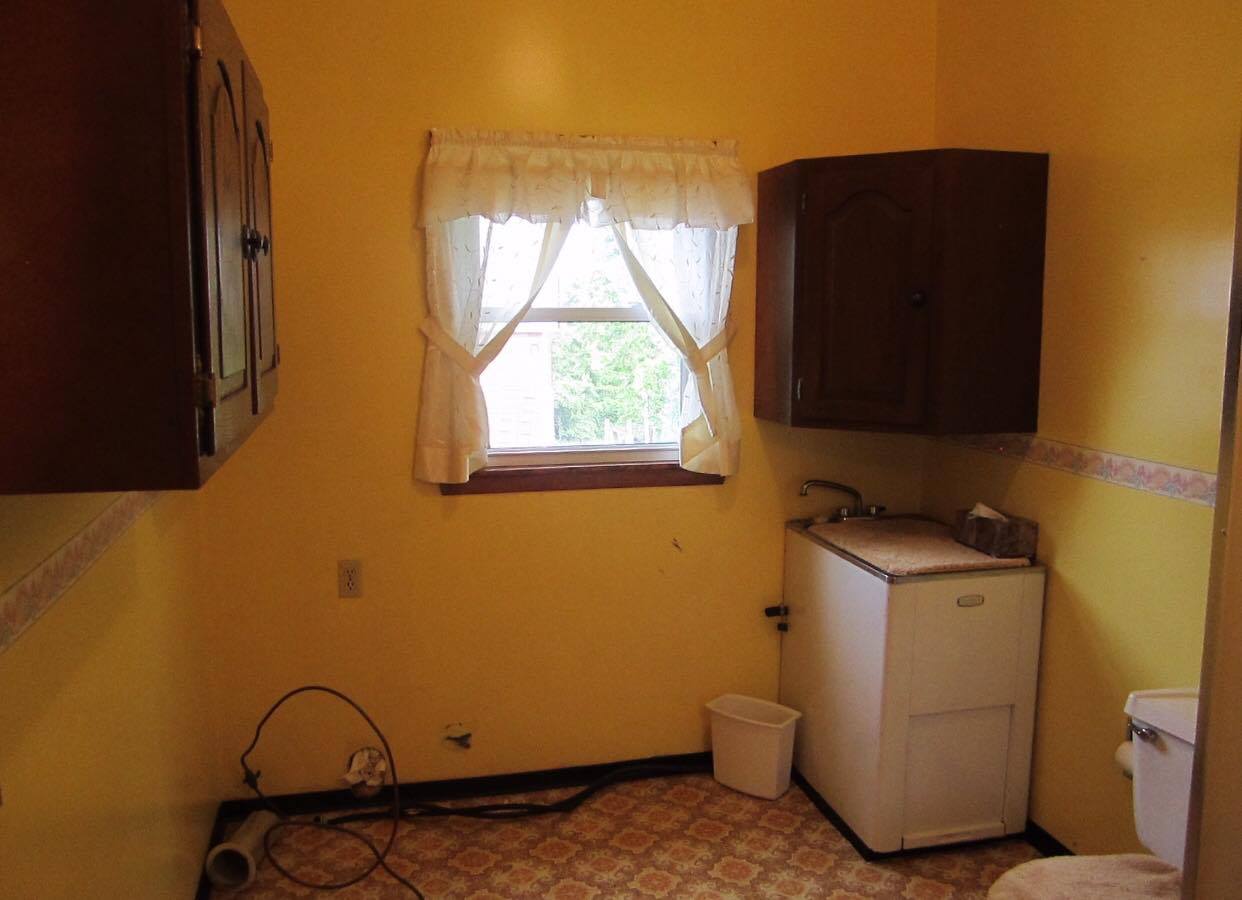
Sorry for the poor picture quality, but as you can see, she wasn’t very photogenic:) So our first phase we got rid of all the yellow and orange and re-worked the space to get rid of the washing machine in the only main floor bath, and expand it to include a larger shower. This is what it looked like after phase 1.
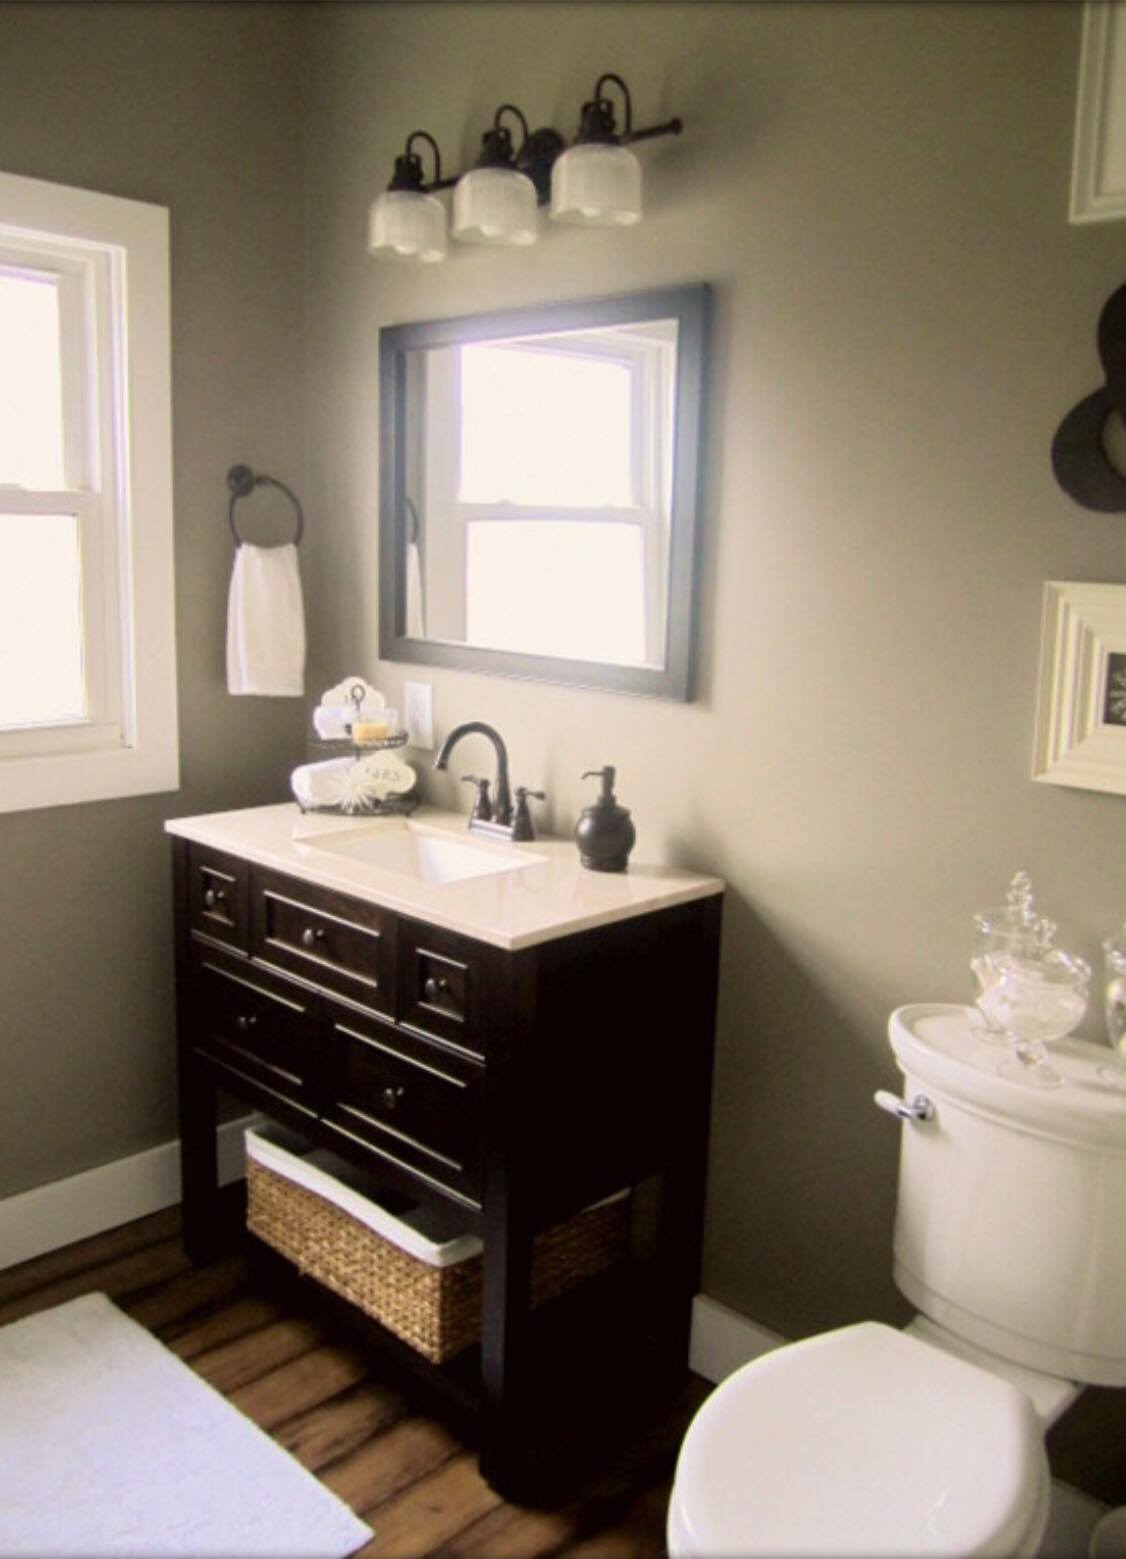
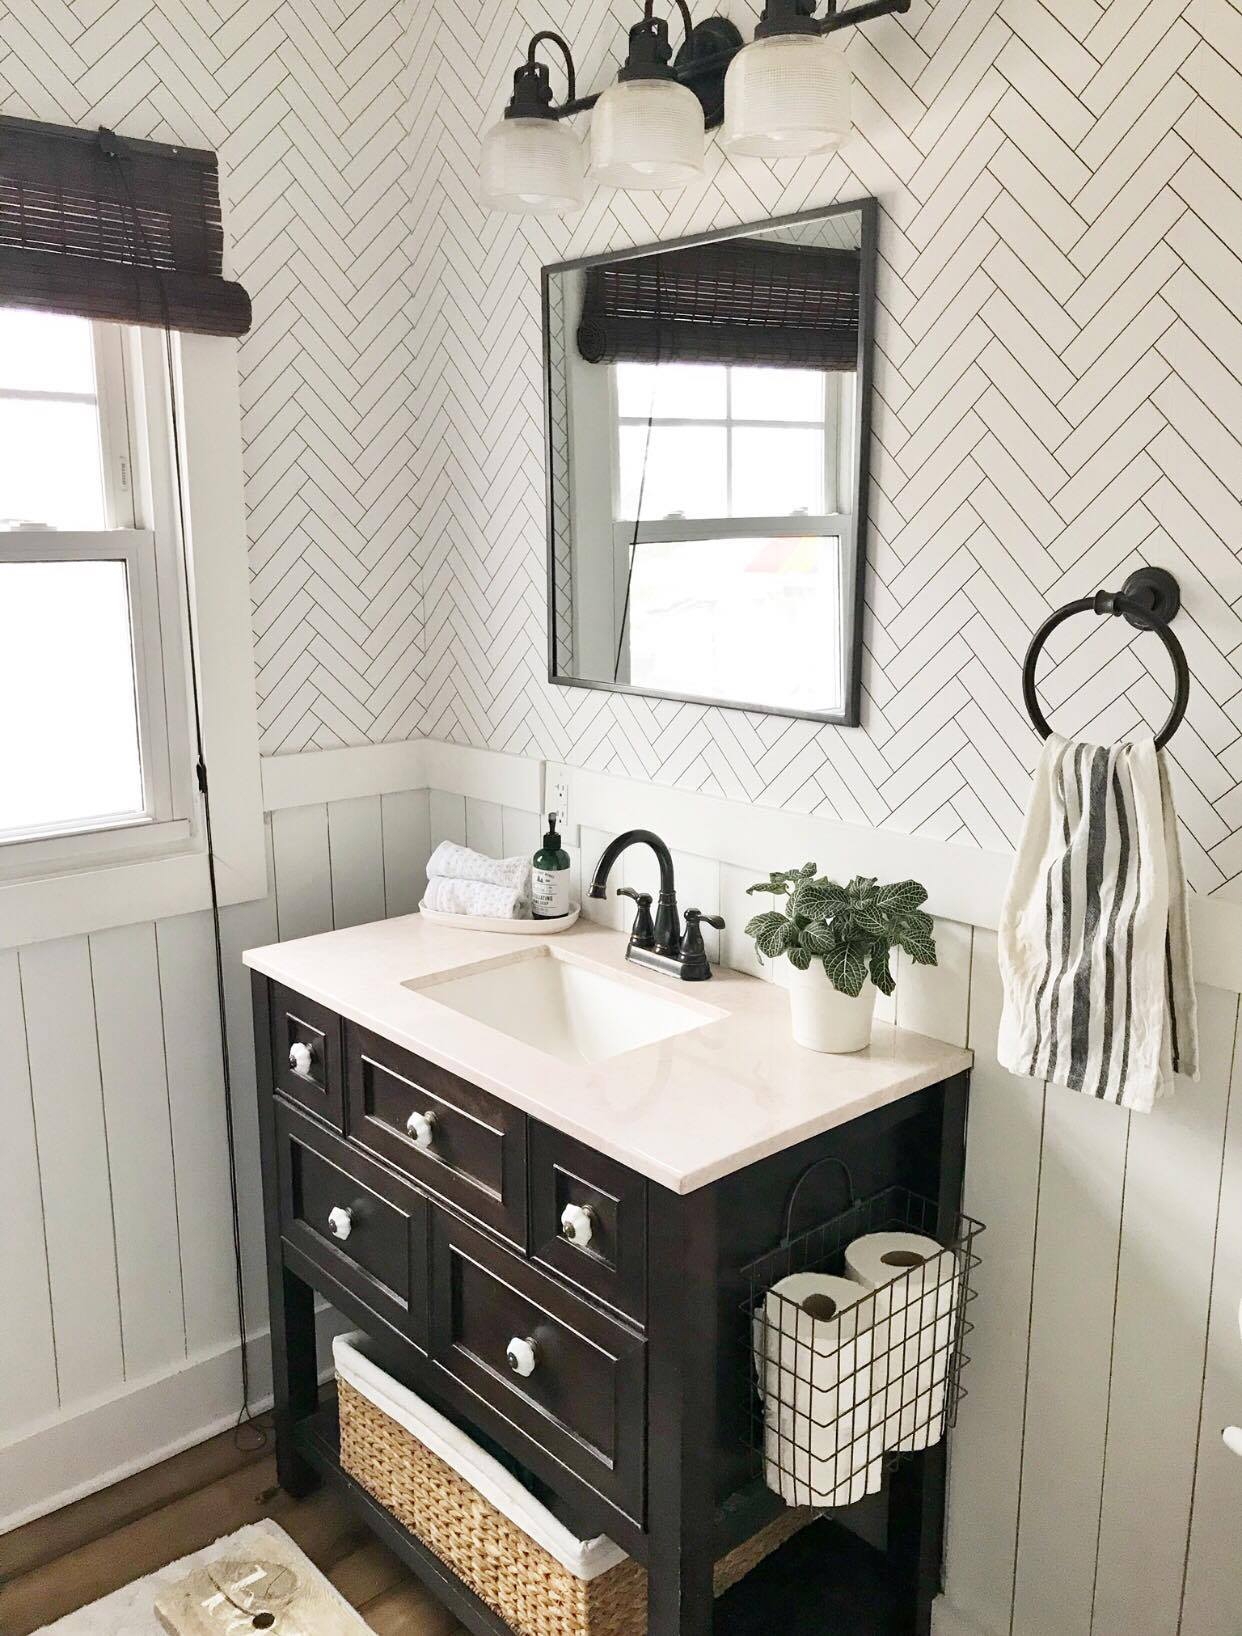
The bones are there, but none of the pretties. I added the vertical planking and wallpaper to dress it up, along with some new vanity hardware..but I never really did anything to the vanity. So that’s why this mini-makeover was fun! Seeing as though we bought stock vanity from Home Depot 7 years ago, it came with a nice beige looking granite top. Although the quality was nice, my style has since changed and I love the look of crisp, clean, white. Surprise! lol! Seeing as though we still don’t want to splurge on a new vanity…but trust me, I have my eye one in my dreamland;) I thought of ways I could change the look without breaking the bank.
Enter my new best friend.
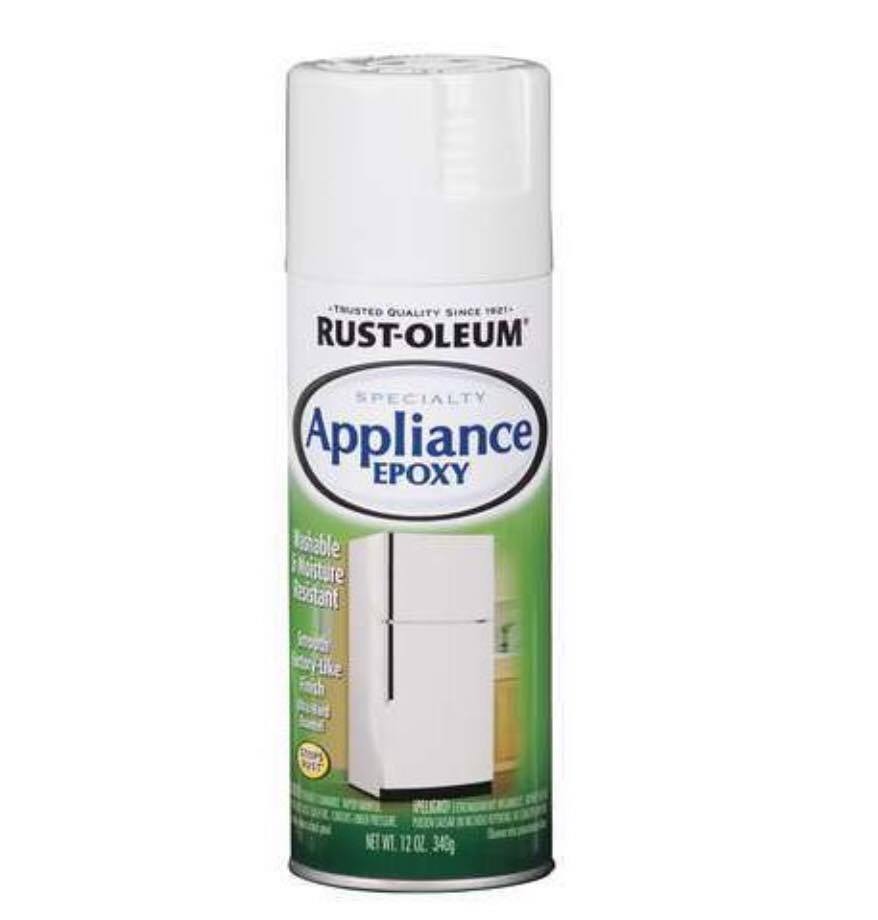
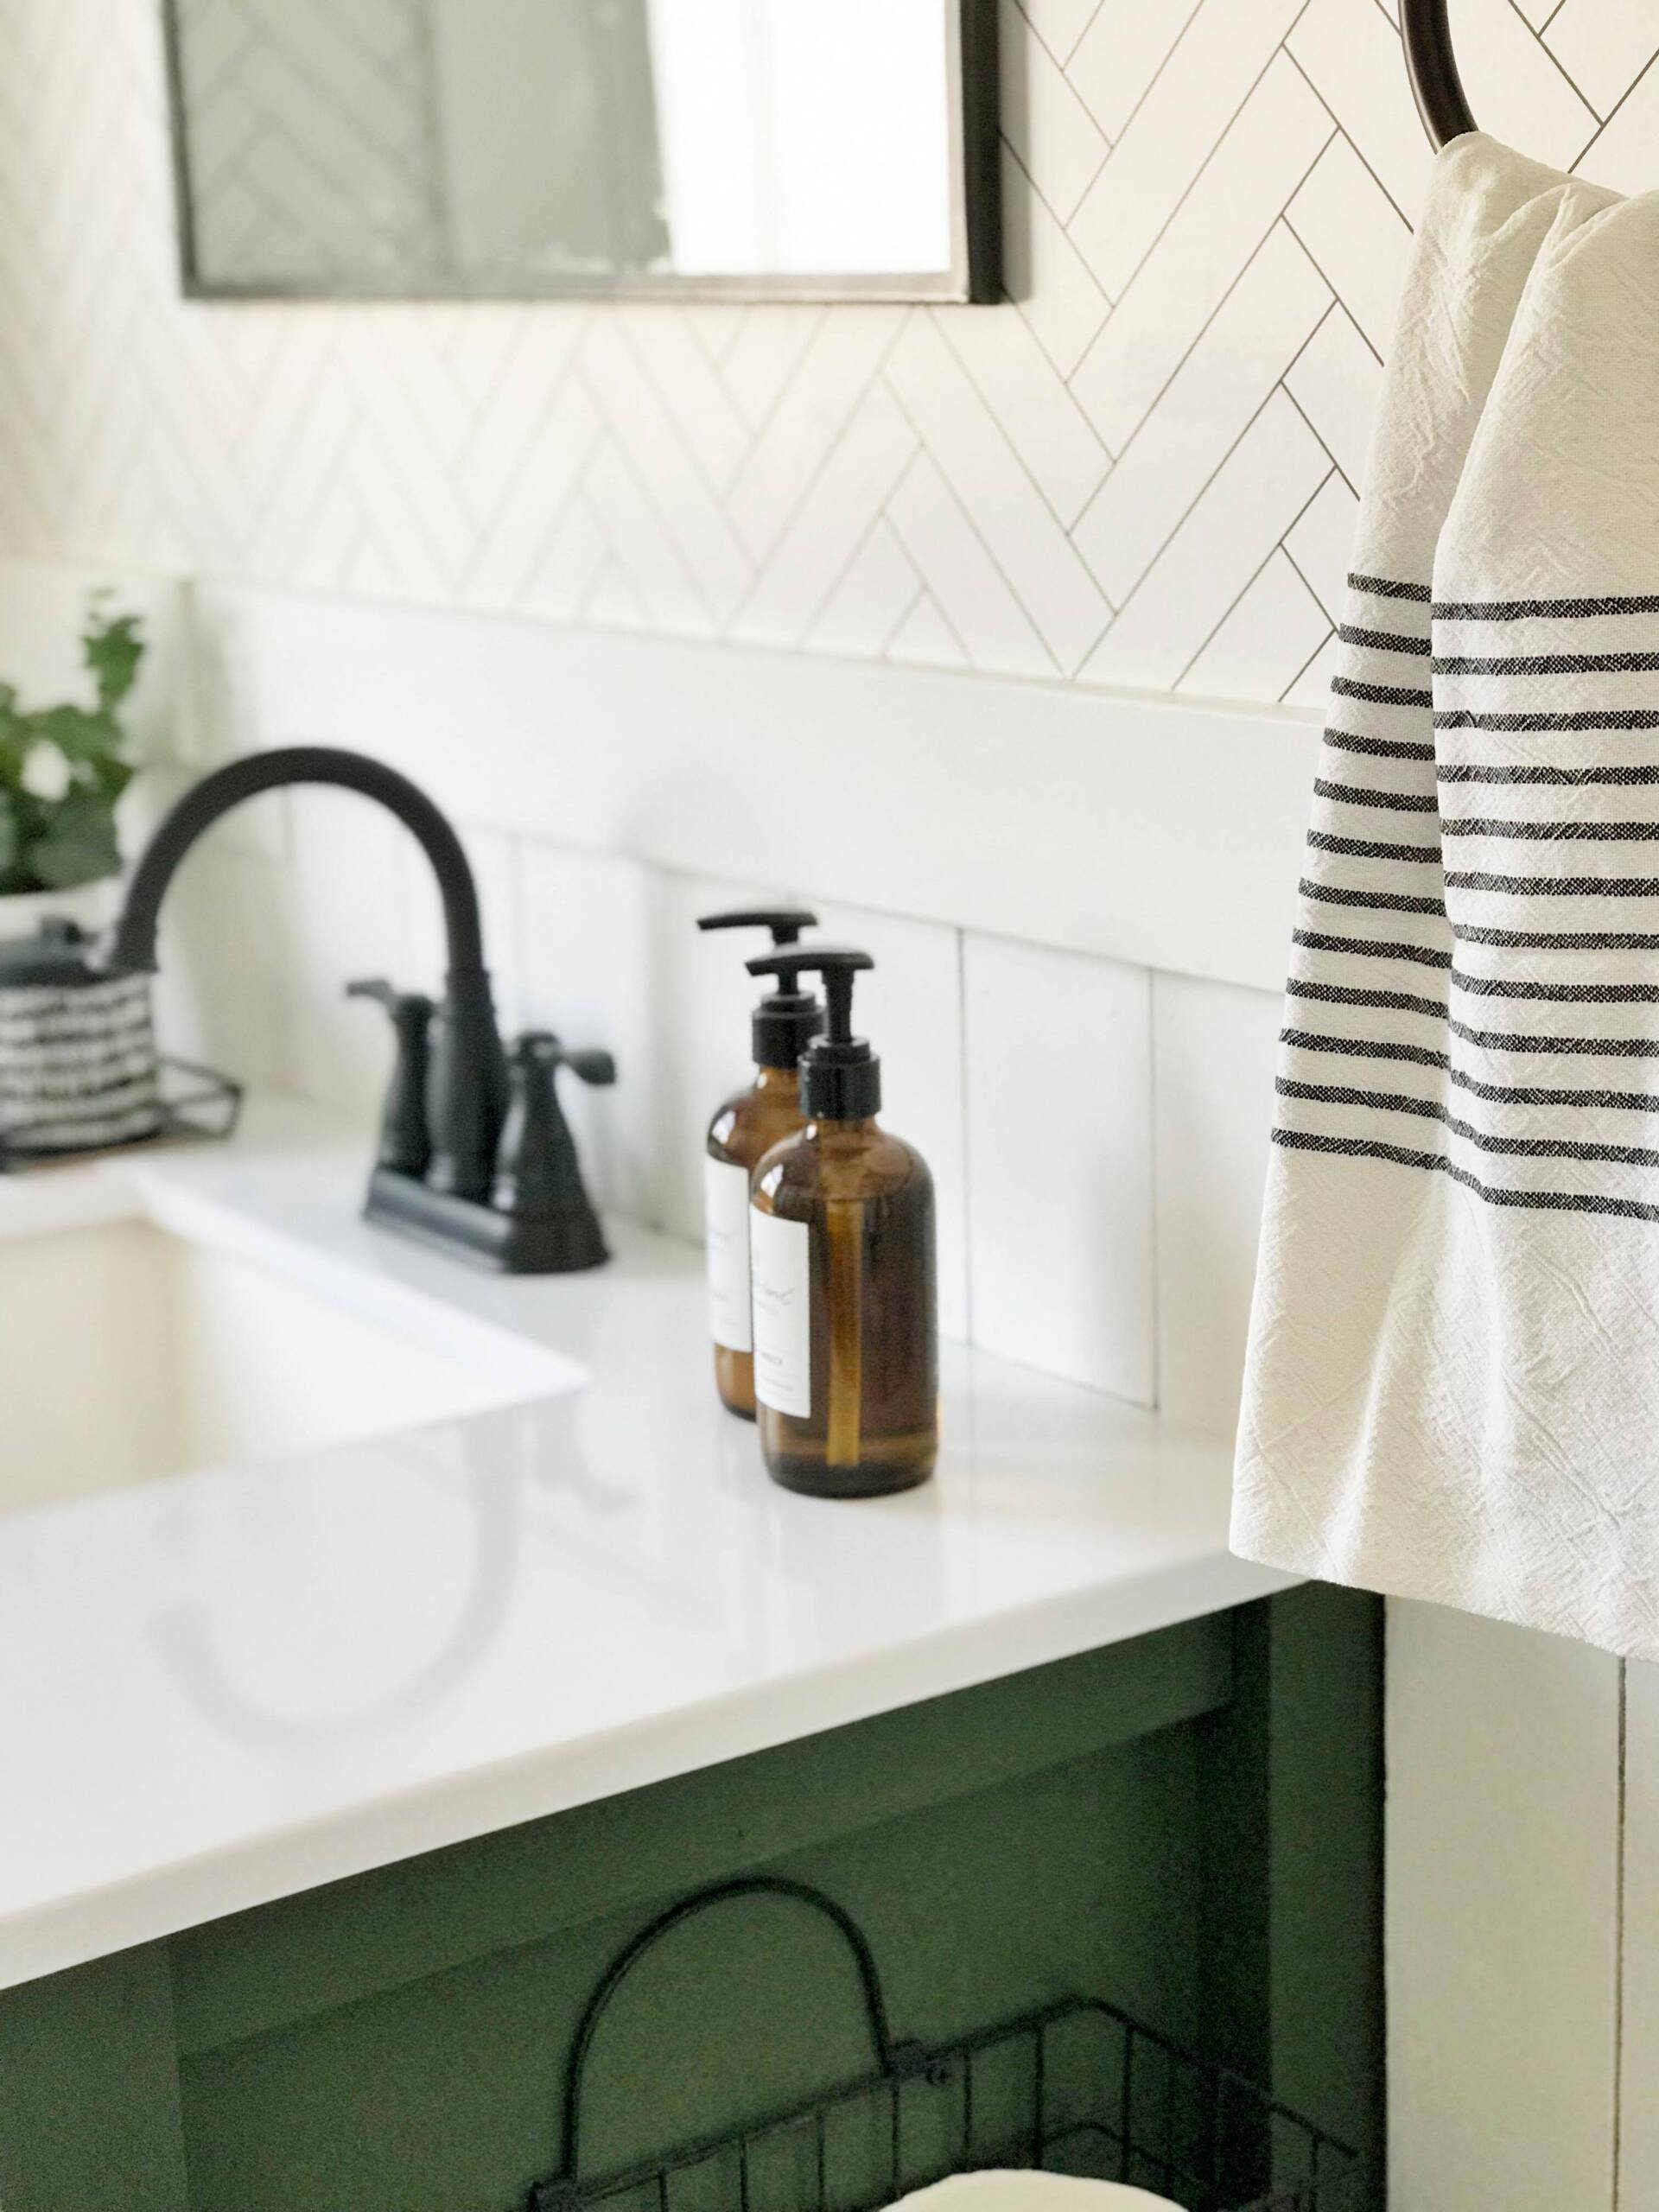
I used it to spray the old tub and sinks in RV and realized how durable this stuff is. I figured it was worth a try on the vanity counter top. Now I have to add a few disclaimers first, because I don’t want to get anyone in major trouble:) Whenever I do a project like this that seems too good to be true, I always know I am taking a risk. That there is a possibility that it could NOT work and be a fail. You have to be willing to weigh the odds because there really isn’t much turning back at this point. I knew I had a $200 vanity that lasted us 7 years and that if I screwed it up terribly I would maybe get the wrath from Ryan for a day :) But that it wouldn’t be the end of the world! So, back to the vanity. I cleaned the top good and let it dry, and then taped off all of the wood. My little trick here is to use press and seal to cover at least a foot all around, and then painters tape to get close to the edge. I also recommend putting an old towel or blanket on the floor because this stuff spreads and gets sticky residue everywhere. Also, you may want to crack a window or turn the fan on while applying. I sprayed the counters and it worked amazing. It created a nice smooth shiny finish that looked just like a white solid surface. I was in love! But then I had to go and spray my faucet a flat black with this stuff….
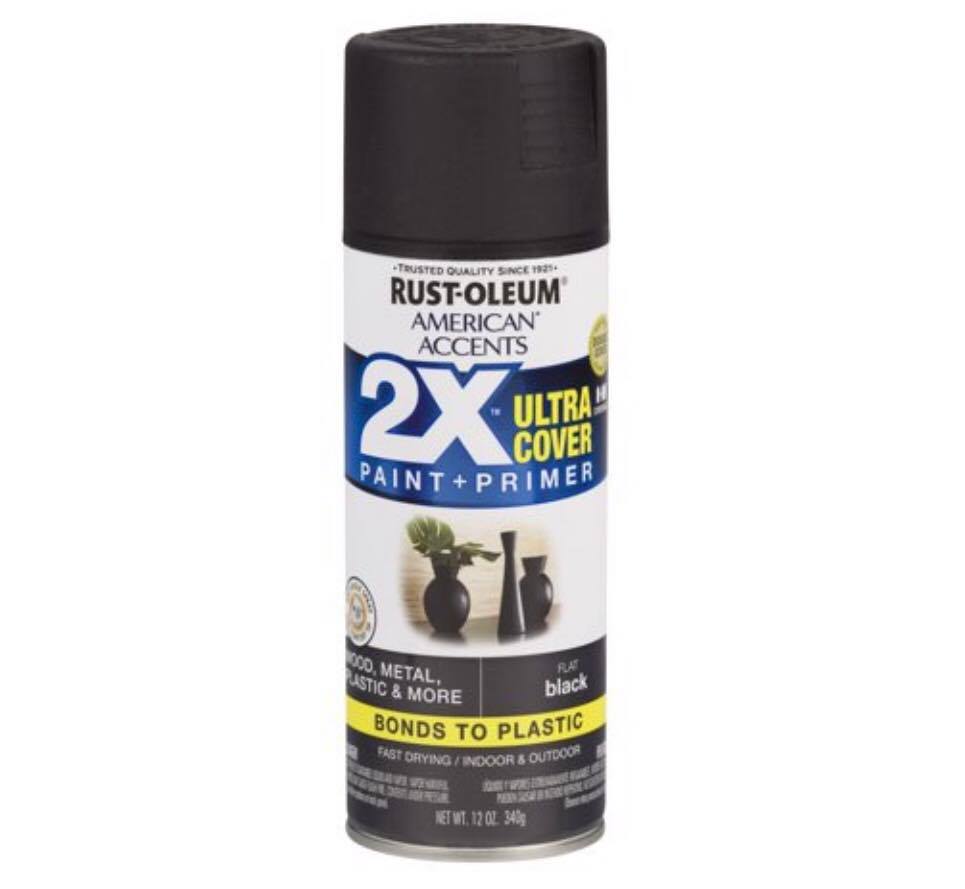
Which you can find here. Do you know how much I love spray paint. It virtually changes the look of everything with pennies. I sprayed my old garbage can in this as well and voila! It looks brand new. Okay, back to the point. When I was spraying my faucet, I taped it off but sadly left a small gap and a few spots got onto my newly sprayed counters. No problem I thought. I’ll just touch it up with a quick shot of rv appliance paint over the top. Well, this is where you need to learn from my mistakes. I did not read the directions clearly and it says to apply a second coat within a half an hour of the first one, or after 7 days! I was way past the 30 minutes of my first coat when I sprayed, and sadly it bubbles over the old stuff. I since have learned that this is because spray paint is considered “hot” until its cured, and spraying over hot spray paint will bubble it. So, I took my palm sander and sanded down the bubbles and will now wait another 6 days to re-spray my vanity. All of this to say I learned a few things that I hope you can learn from me.
1.) I would give your counters two coats for sure, but do it within 10-15 minutes after the first.
2.) always read the directions carefully!
3.) This stuff is solid!!! I couldn’t scratch it if I tried. I also took paint thinner to it in hopes I could just rub off the bubbles, and it didn’t touch it. Good to know! The finish is strong and I believe will stand up to washing it with chemicals after it is fully cured!
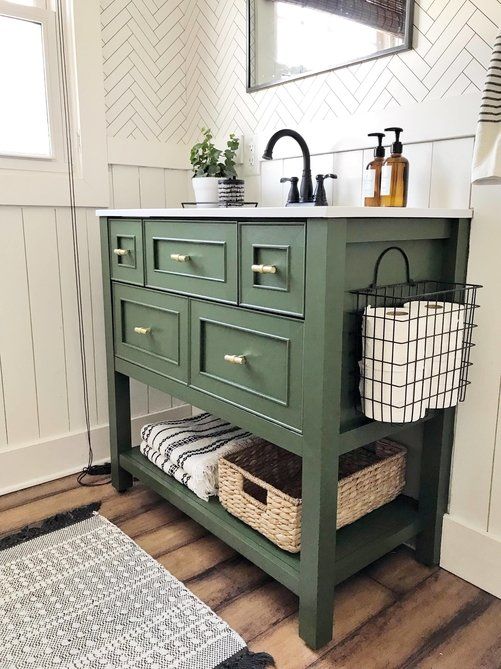
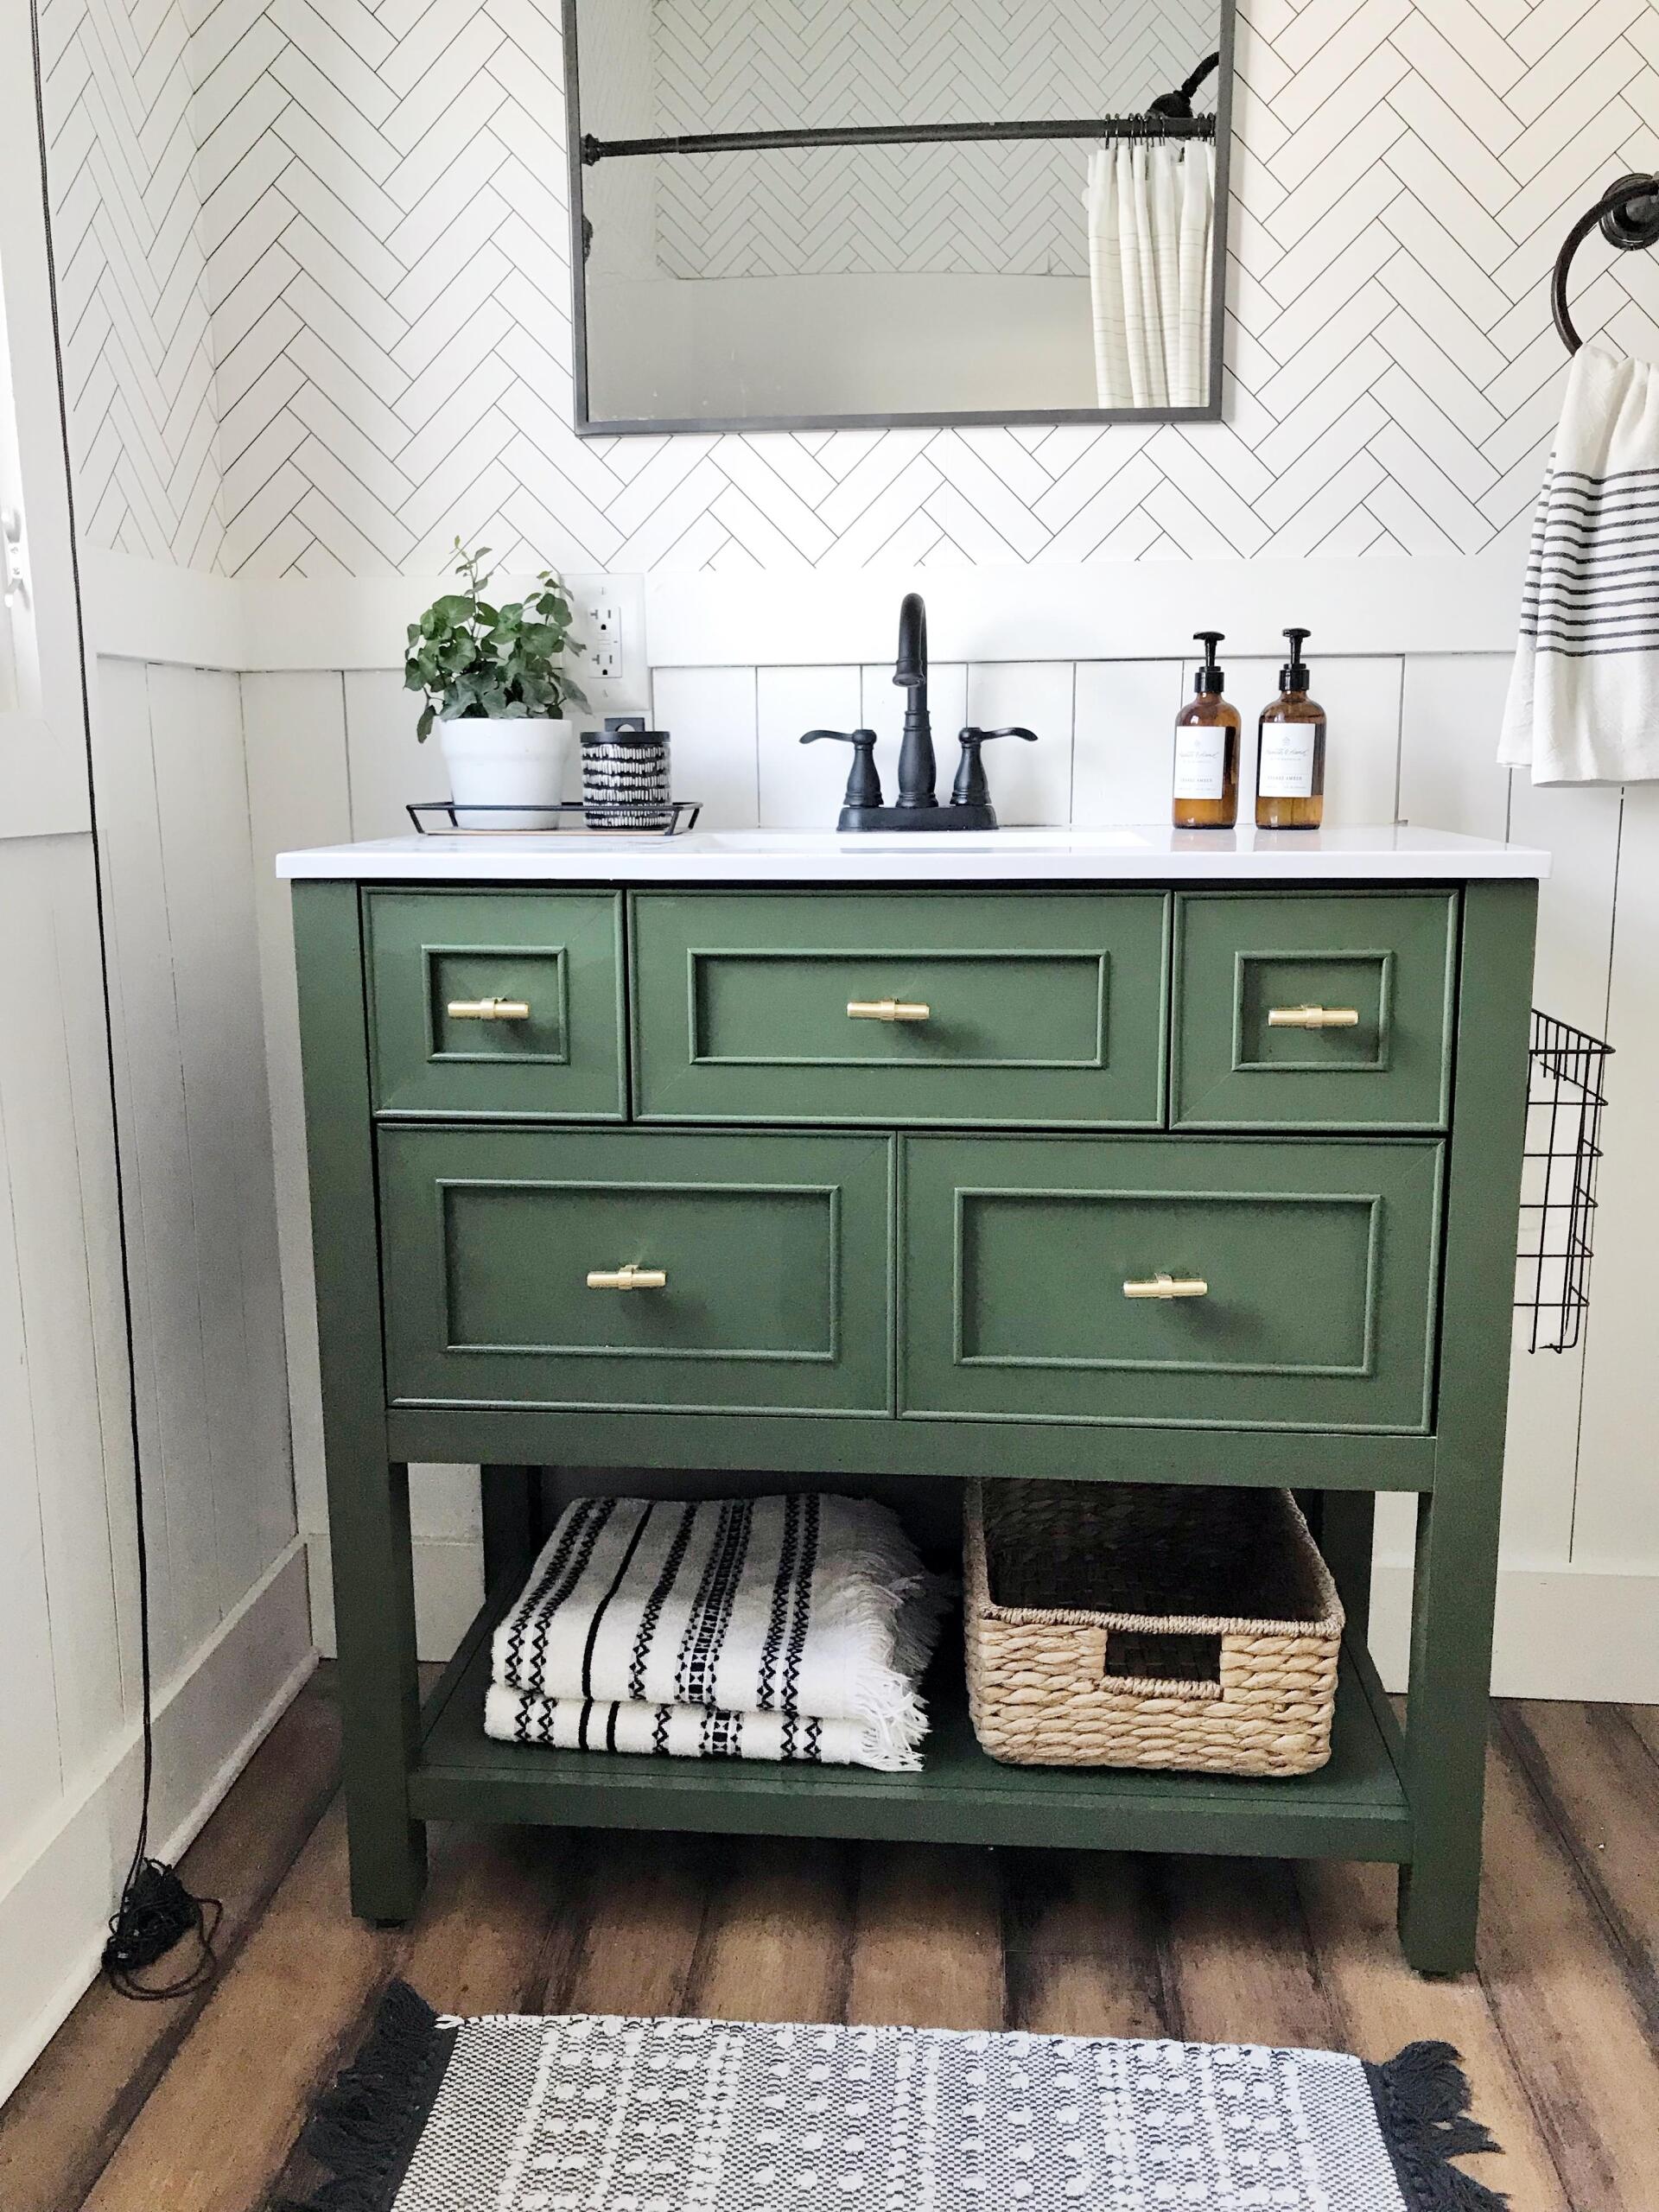
Okay, now onto the fun stuff! Here is the before and after picture of this one day project:)
I’m in love with the results. I painted the cabinet with this gorgeous green!
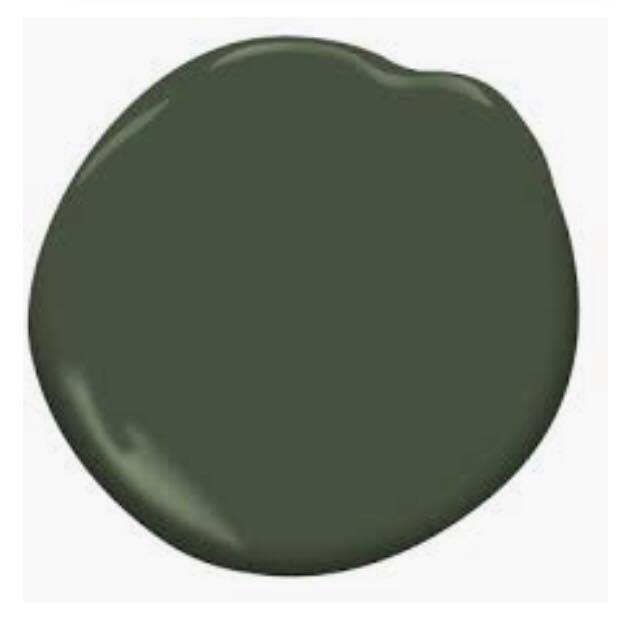
The color is Chimchurri by Benjamin Moore. I always get asked a million questions how I paint cabinets. And honestly I’m probably not the best one to ask. I am a getter done fast kinda girl, so I just do the necessary, like wipe down the cabinet and start painting. No sanding, no priming, just paint. Most times this works for me…and every once in awhile it doesn’t. You also have to know paint. Cabinets you open constantly, like garbage doors or highly used drawers, will chip after time. The solution is a quick 5 minute touch up:) So be okay that you might have a chip or two from time to time but the fix is quick and easy!

Isn’t it a stunning green? I’m sure some of you are shocked that I have color in my house. I know, my kids are too!
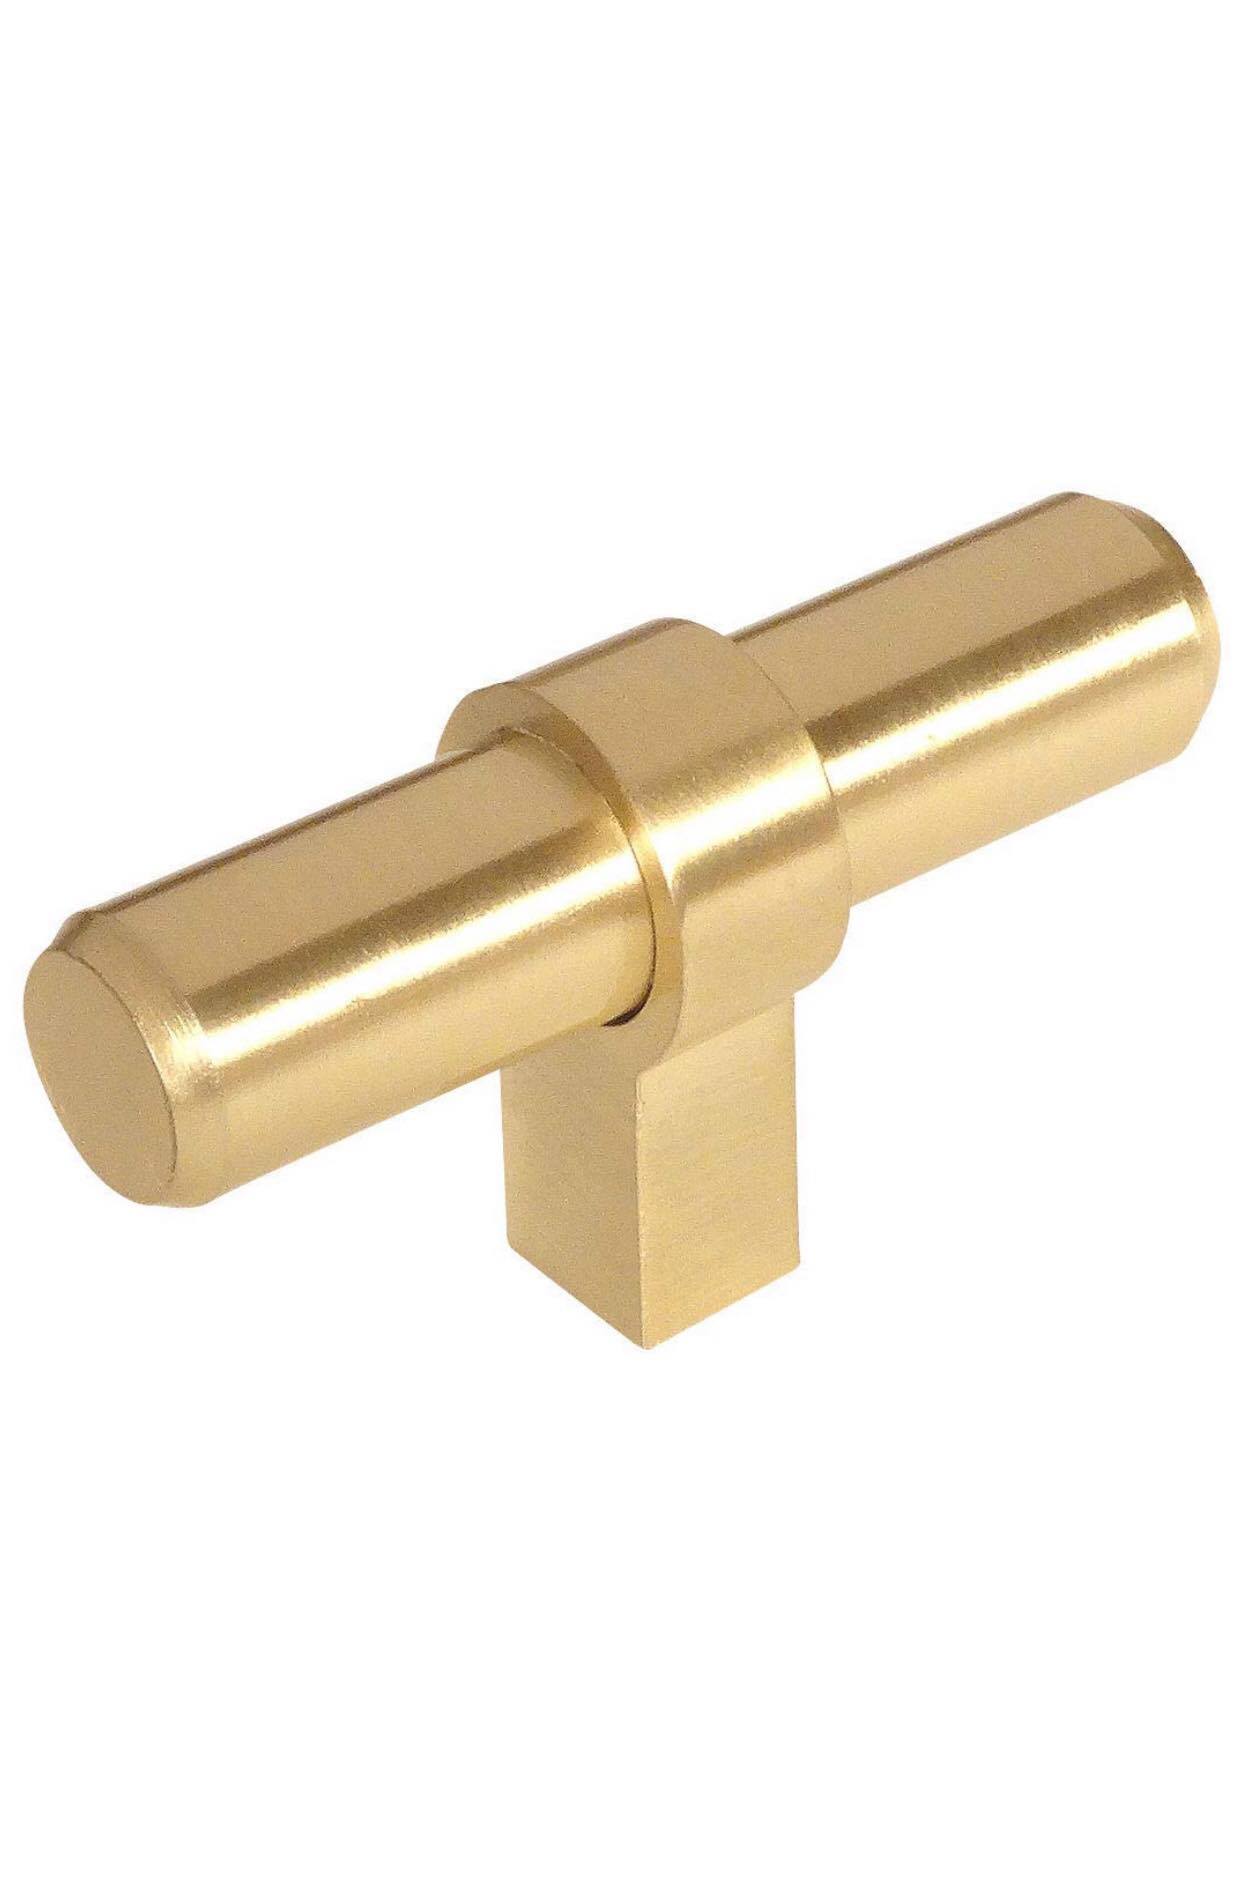
You can find these here. These are amazing quality and even prettier in person. And the price is a steal for how many you get!
I’ll add the rest of the links at the bottom of the page and just show you the rest of the pretty pictures:)
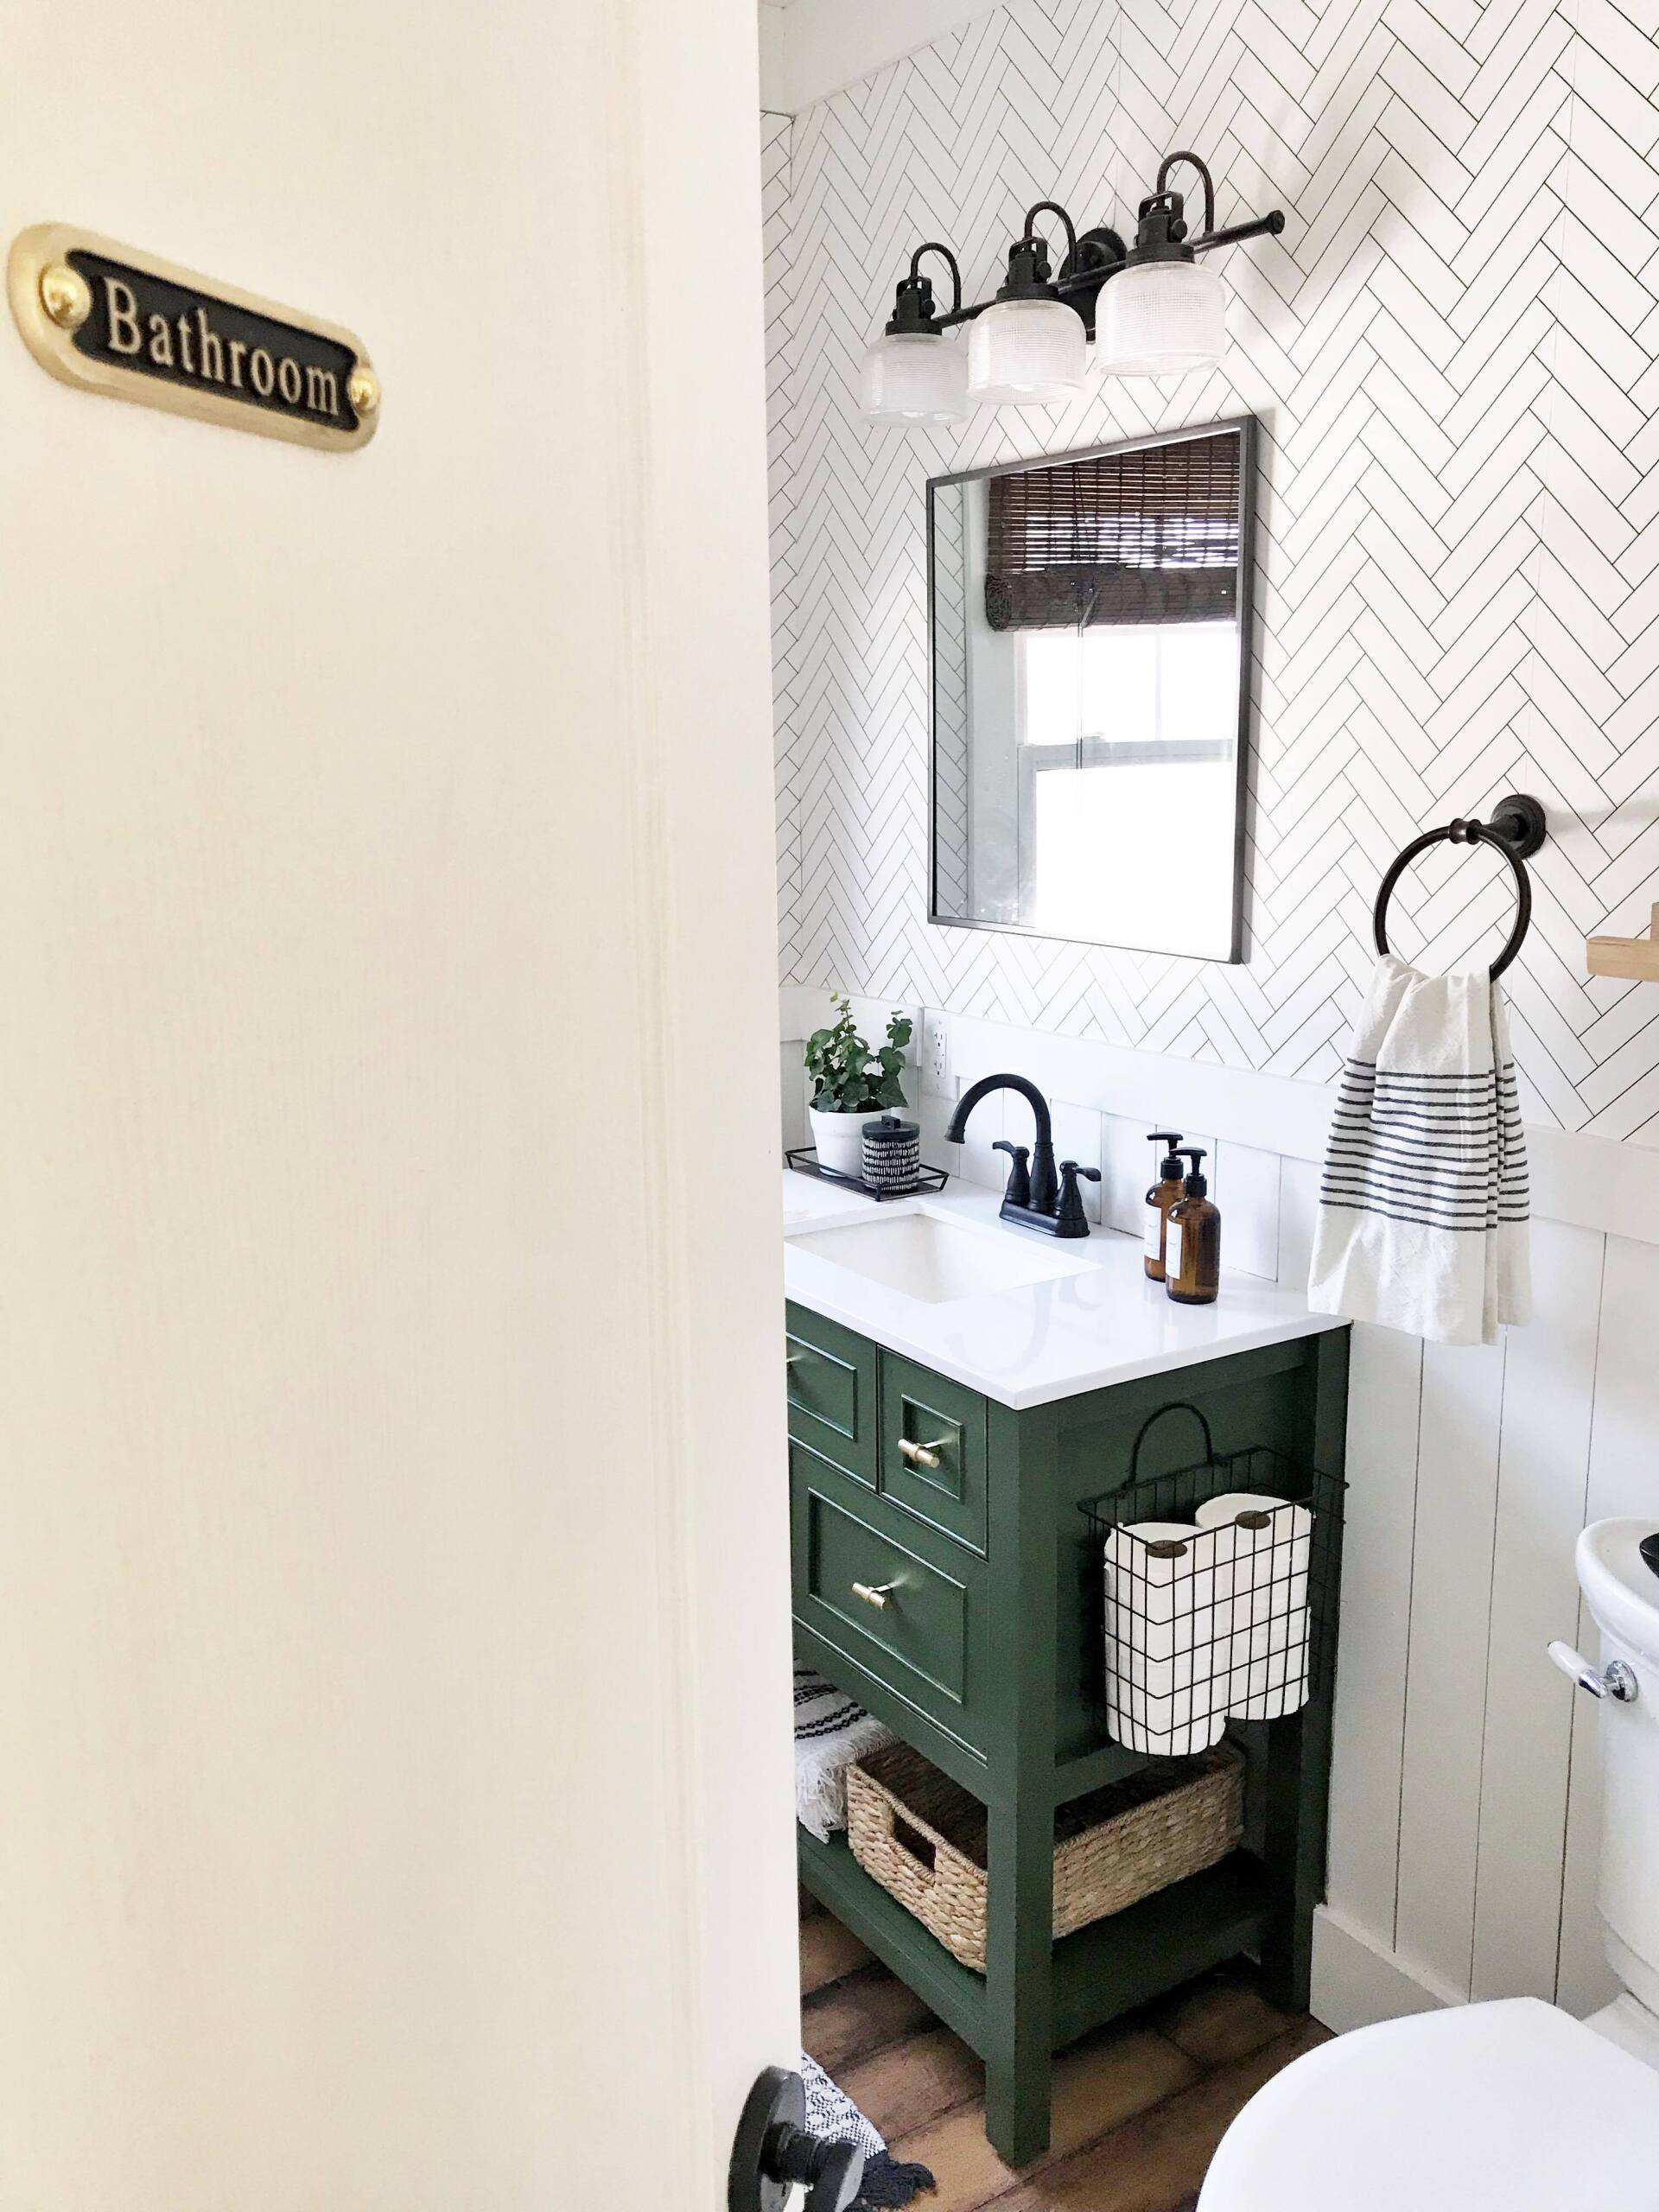
My other favorite purchase was this little bathroom plaque for the outside of the door. Just enough gold to set it apart.
Did I mention how much I love black/white/green/and natural all mixed together! Oh, and fun pops of gold!
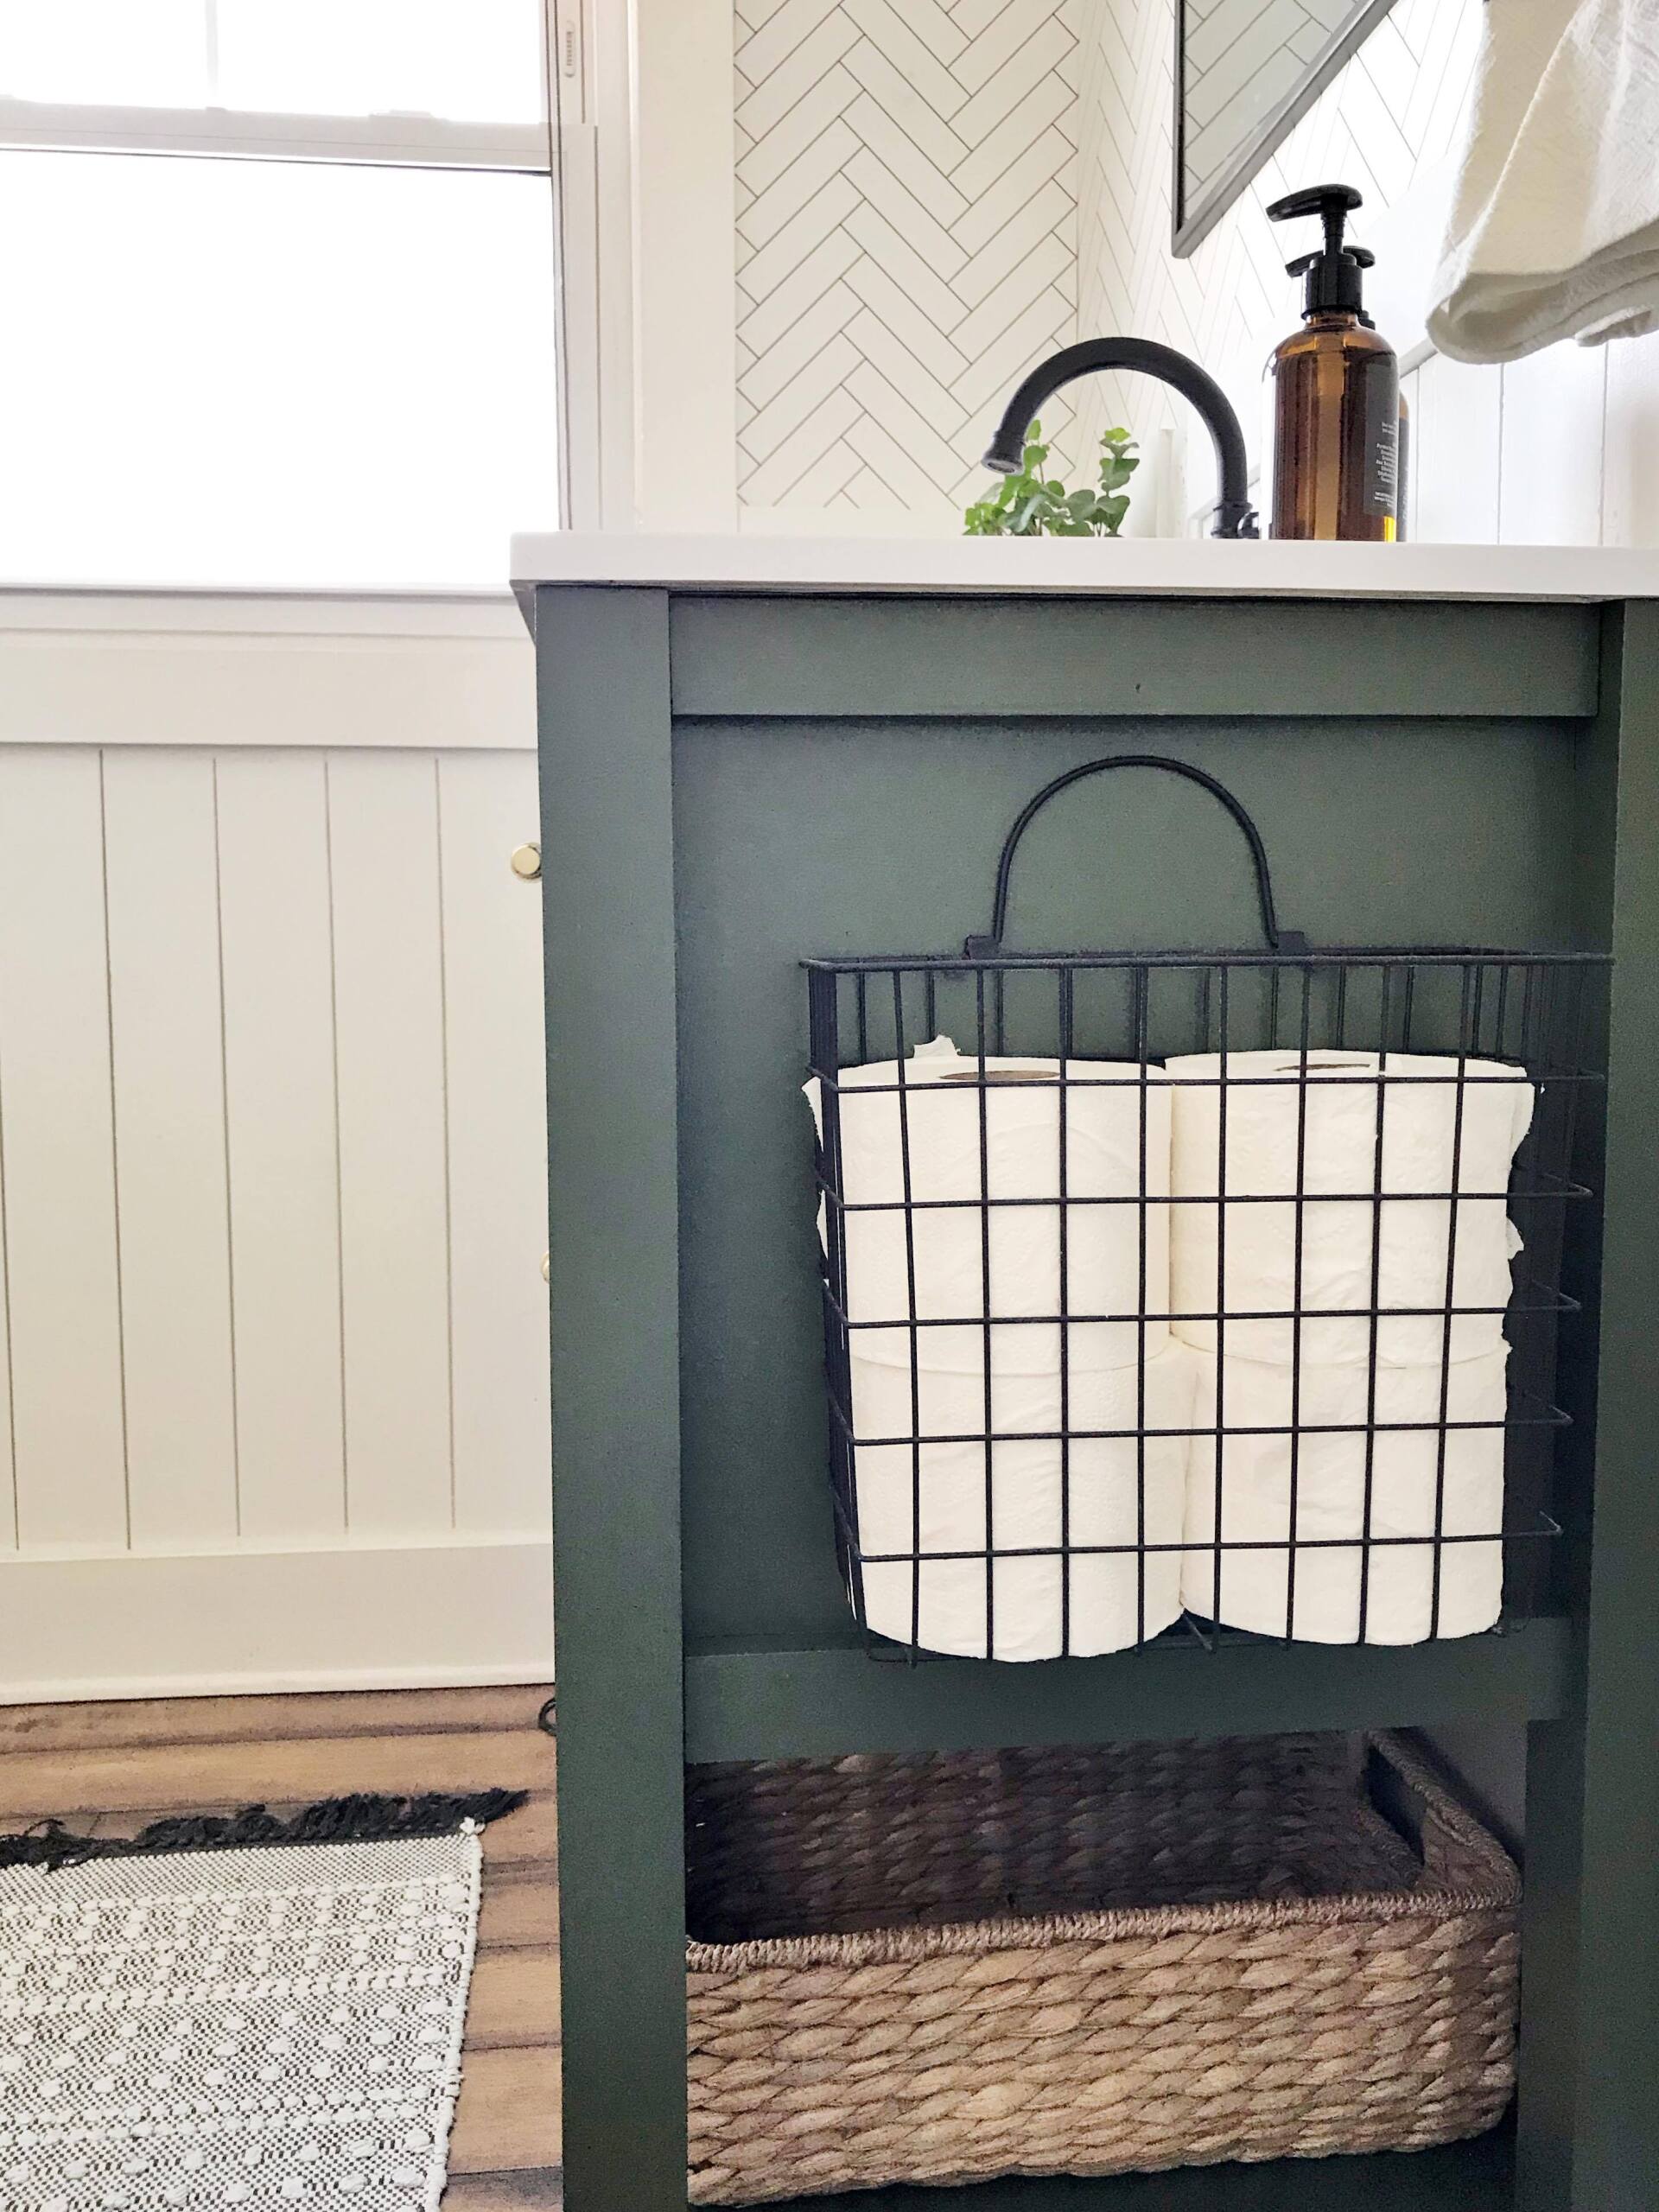
And I also love this little basket for extra tp storage. Since this is the guest bath we don’t have a closet, so storage is limited. This not only adds a fun touch, but is actually functional! I bought this one from a local store and couldn’t find this exact one, but will add one to the links that is similar. I did spray this one with the same flat black I used on the faucet, and you would want to spray the one I linked as well;)
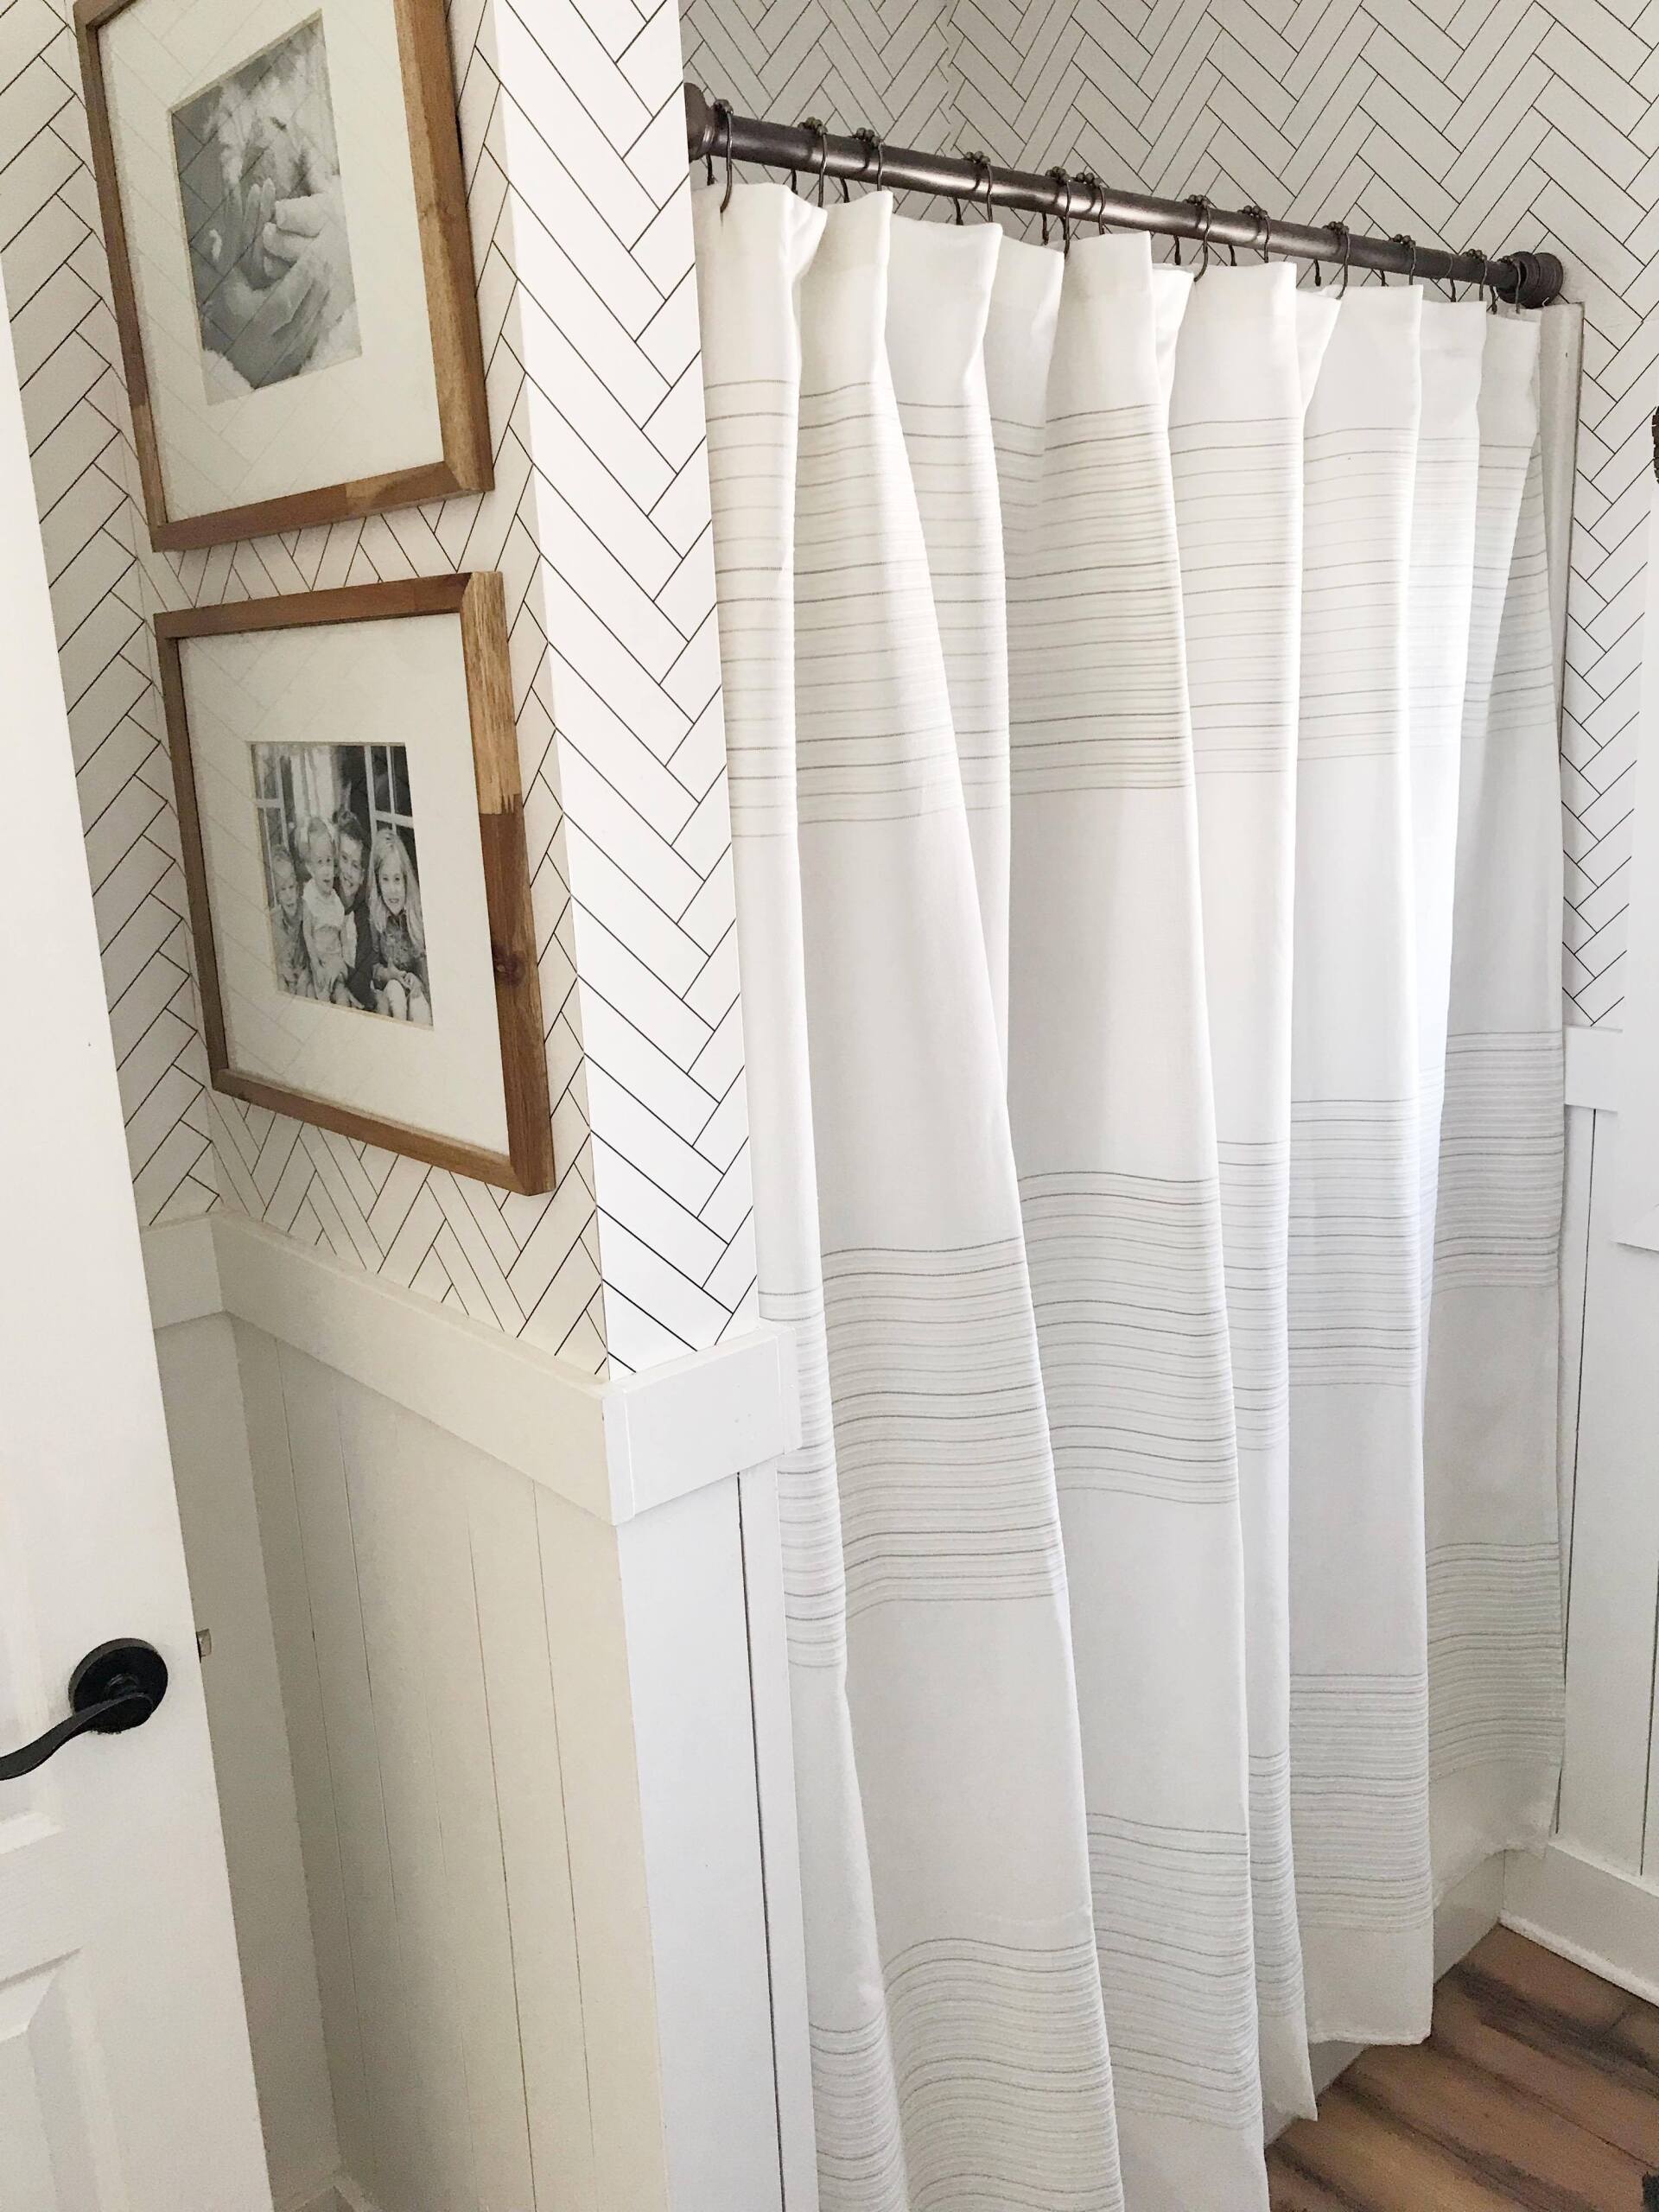
I also added this super simple shower curtain that pulls in just a hint of the green that’s in the vanity.
So that’s a wrap! Also, because I feel like this is life-changing information:) I have had so many people ask if they could use this appliance spray paint on laminate counter tops. And although I personally haven’t tried it, I had a follower on instagram say they did use this exact same product on their laminate counters while they were saving up for their forever counters, and it worked amazing!! So cheers to all those ugly yellow/brown/orange/blue counters going bye bye!!! It might not be a forever change, but it can be a “until we can afford it” change….and golly that an amazing option. Because my theory is, it’s better to take a chance and love your home then live with something you hate because you are afraid to try:) Also, if you want more encouragement and thrifty idea, come follow me over on instagram @prvbsthirtyonegirl to see all my latest happenings! Okay, enough yapping….links coming!
LINKS