BATHROOM REMODEL AT THE LAKESIDE COTTAGE
Lakeside Cottage Bathroom Before & After
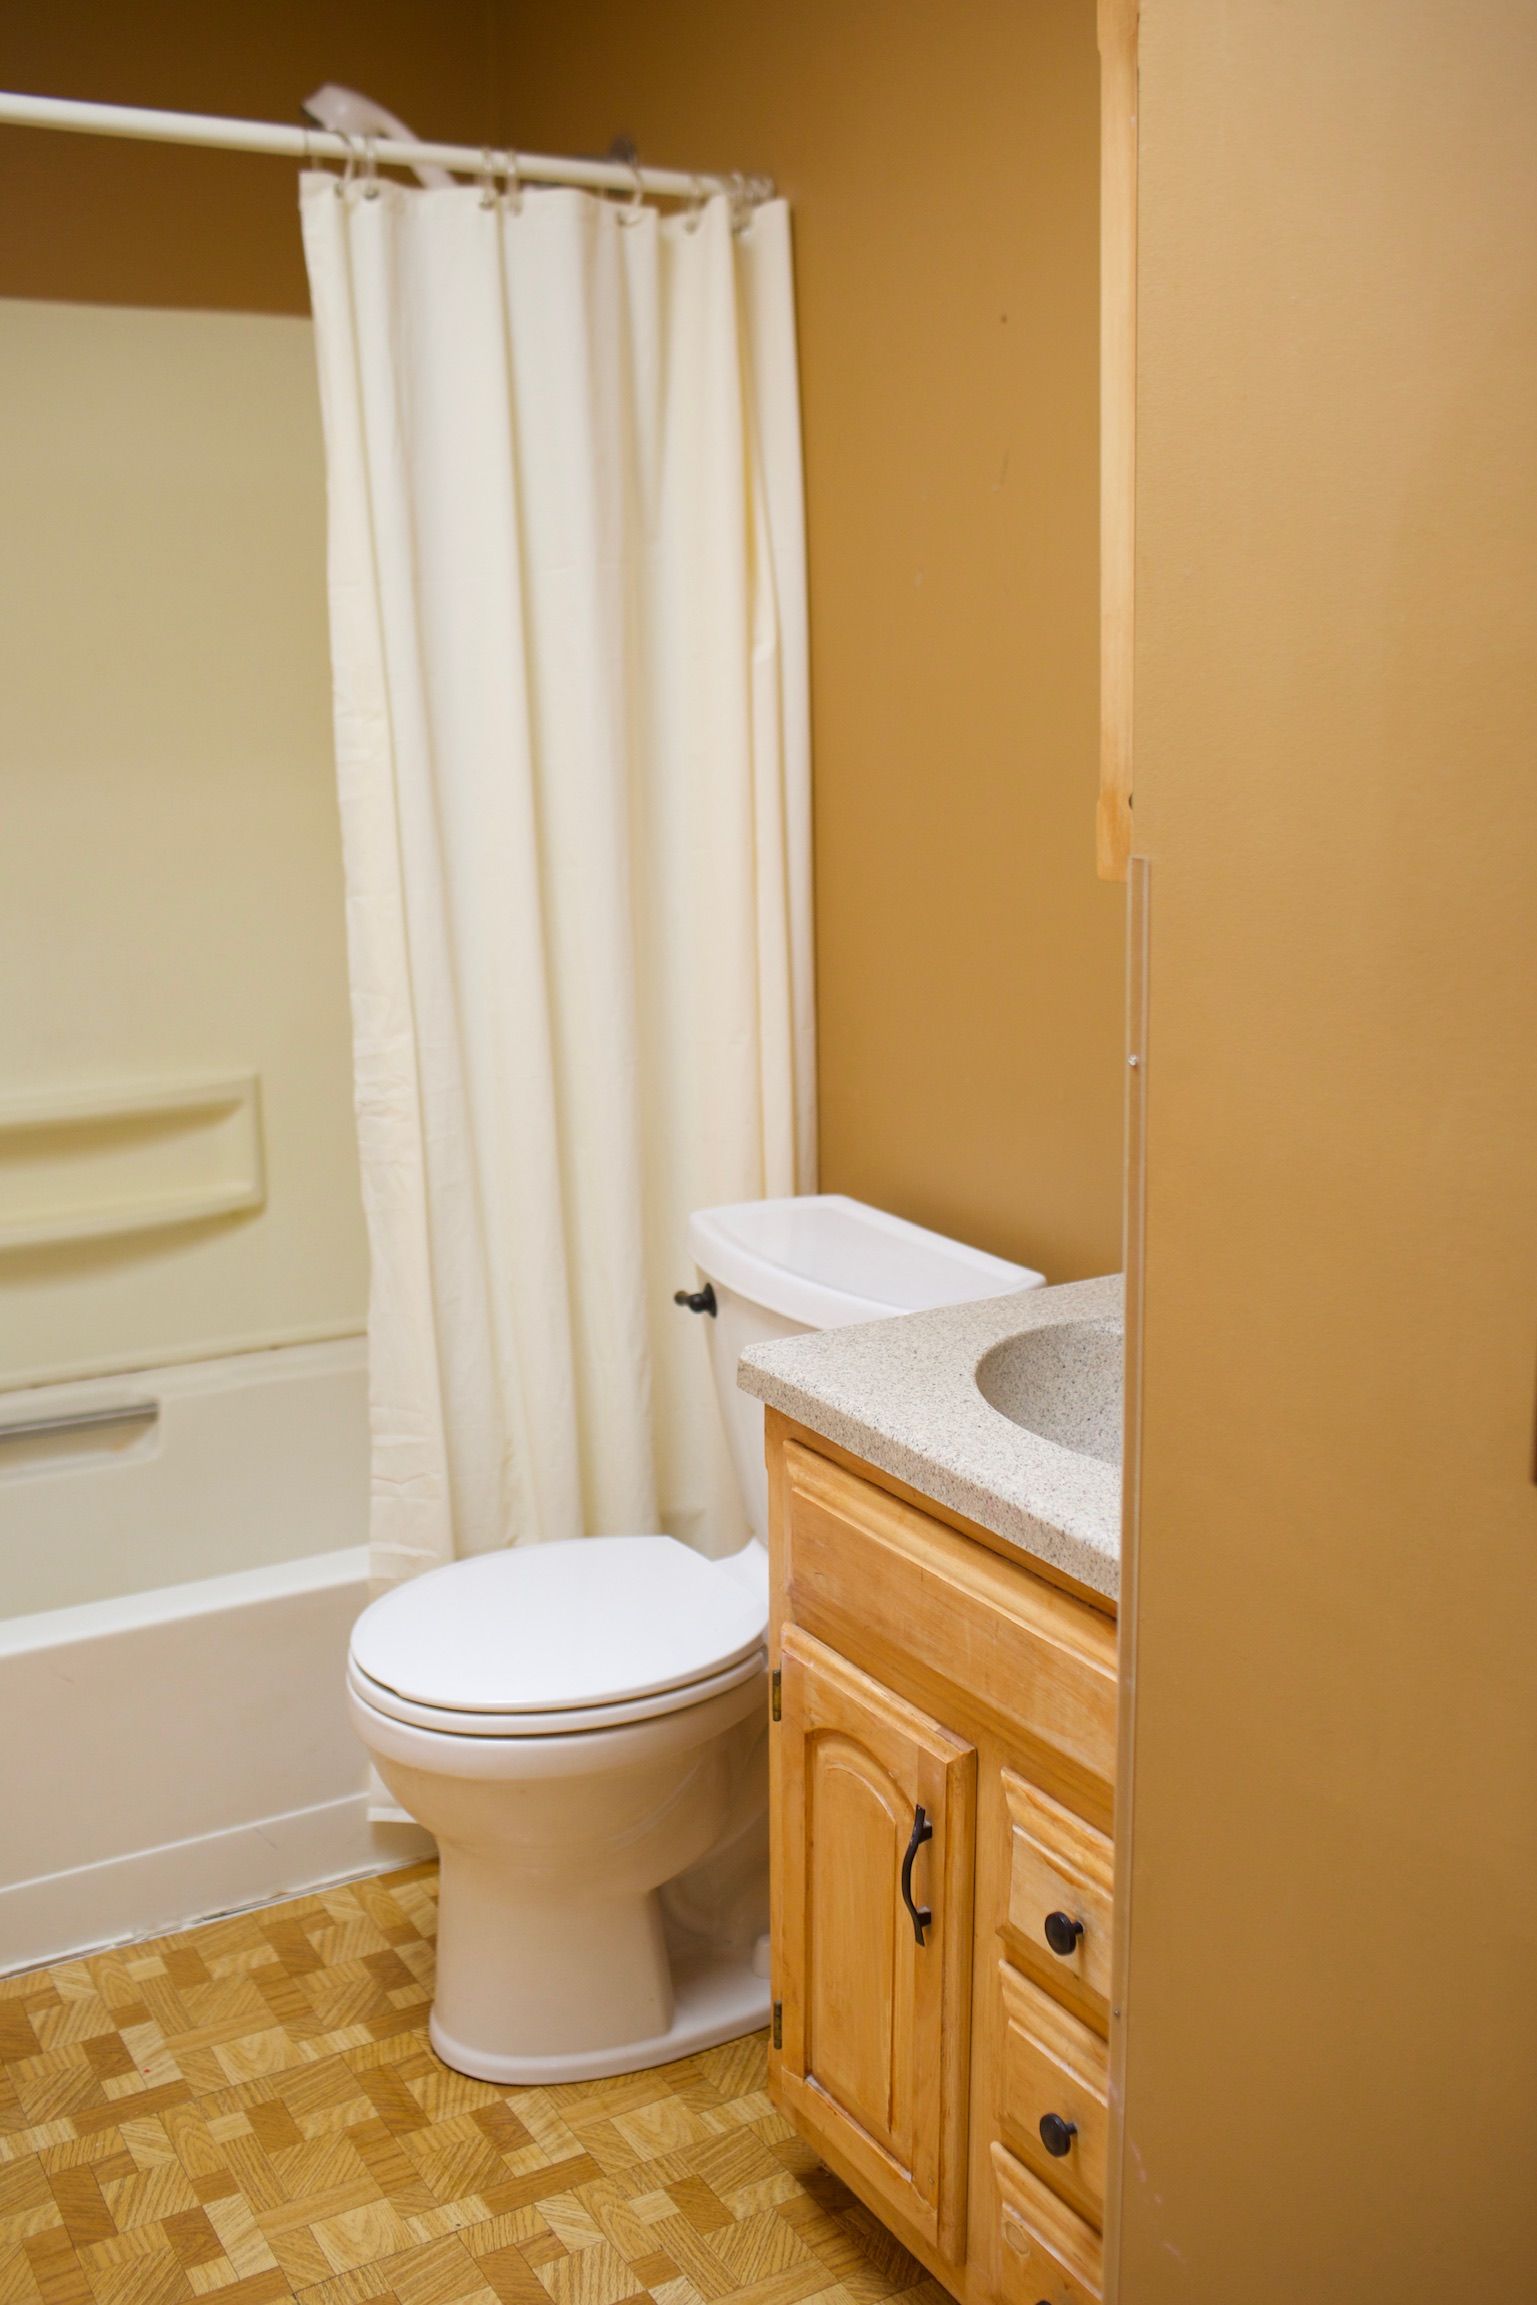
The Lakeside Cottage has one bathroom in the cute 1,000+ square foot place. So I wanted to create a dreamy bathroom that has all the functions you need but also needed to stick within the budget we had set for the room.
Let's check out the before

and the after!


Knowing we wanted to maintain a tight budget, we decided to keep the tub since it was in pretty good shape, and just replace the surround that definitely looked dated. Ryan put a new surround in and once he did that, the tub looked pretty yellow in comparison, so we actually bought Rustoleum's tub and tile spray paint and gave the tub 3 coats of that and now the whole shower looks brand new!
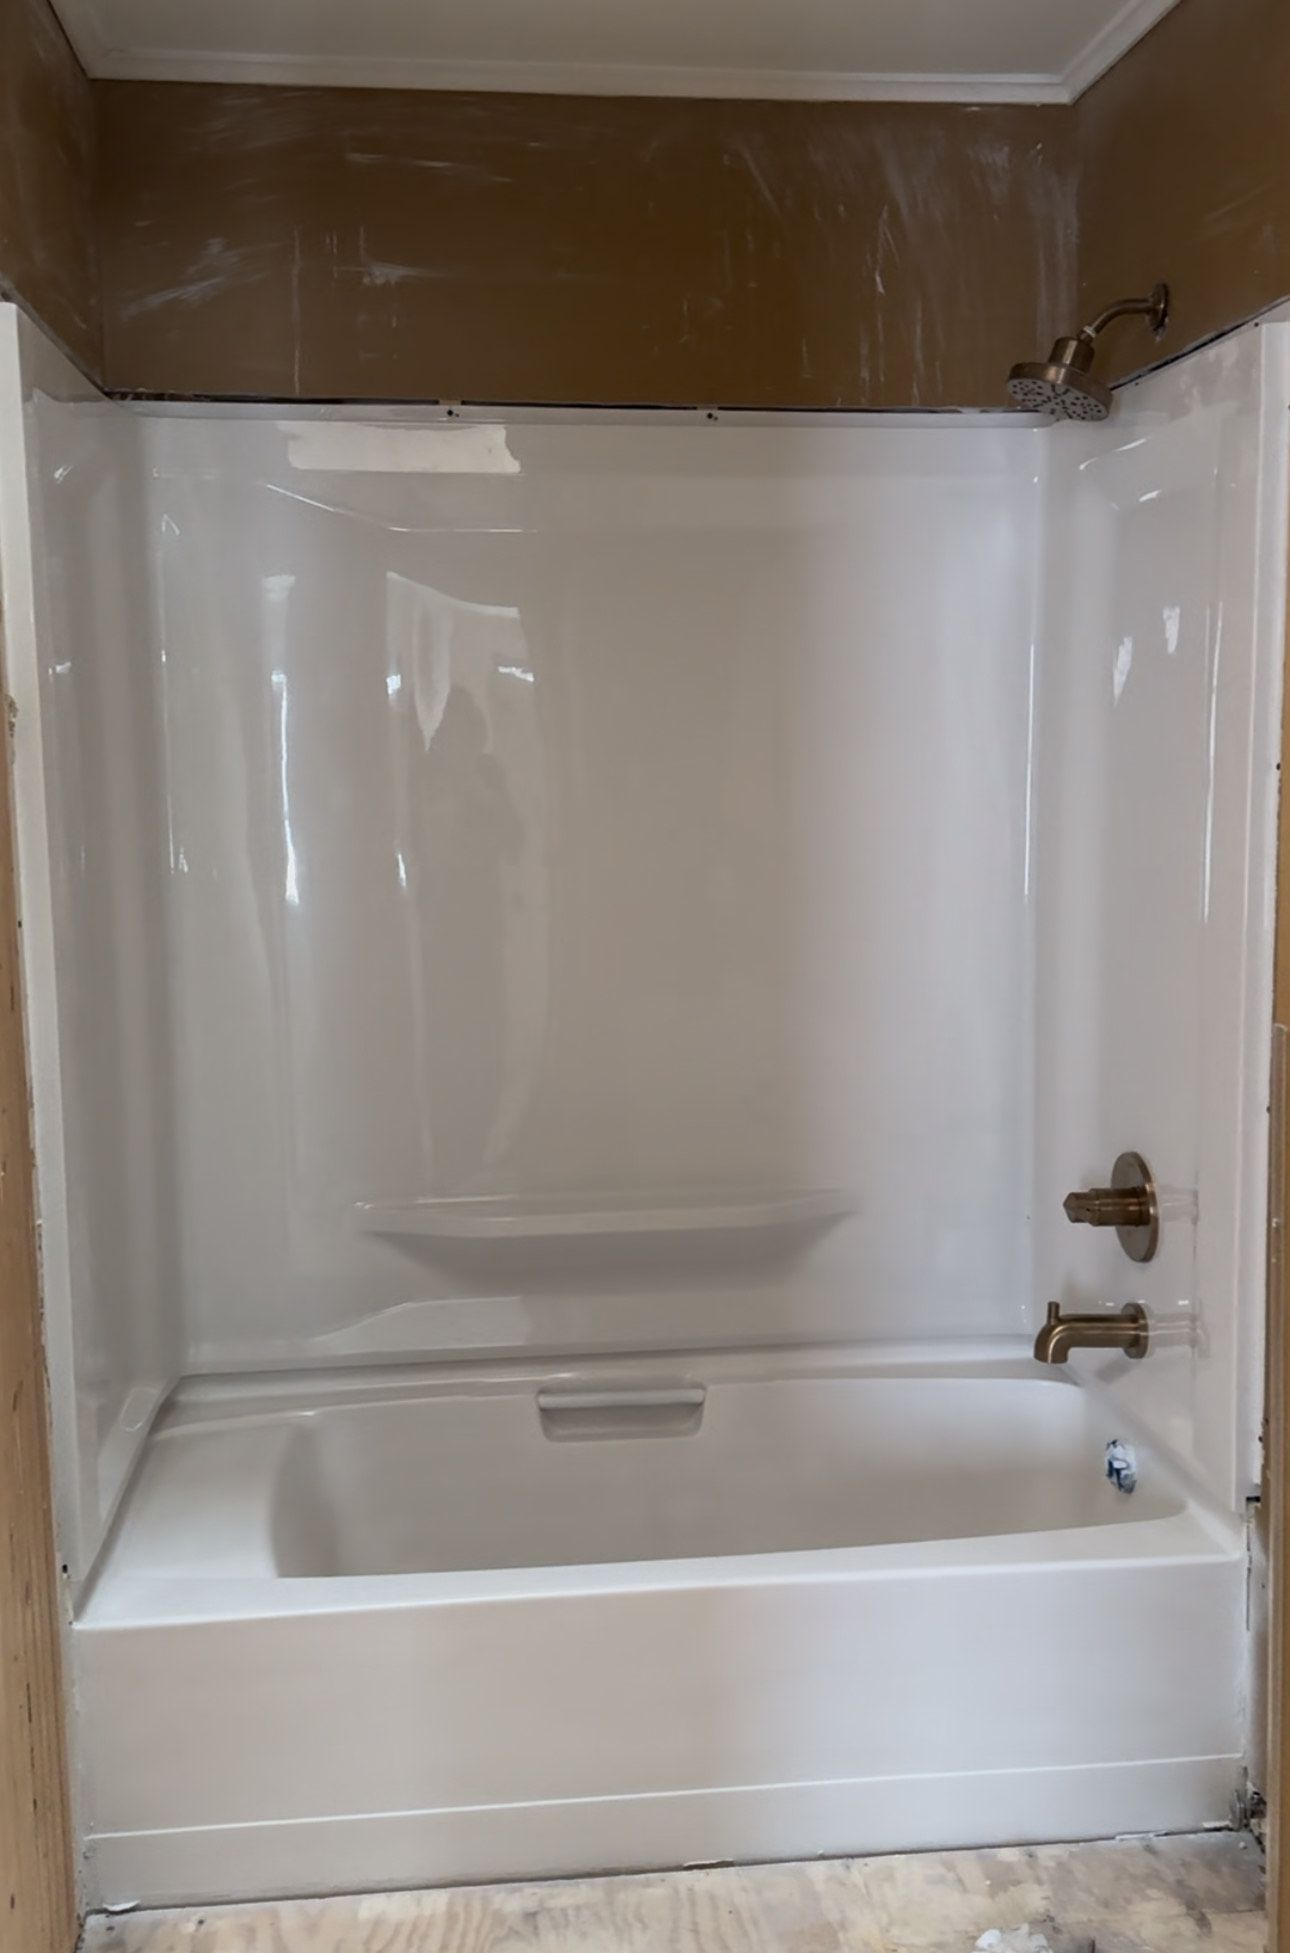
I found the surround from Menards. They had so many to choose from but I really liked the simple design of this one.
Another before...

and after!
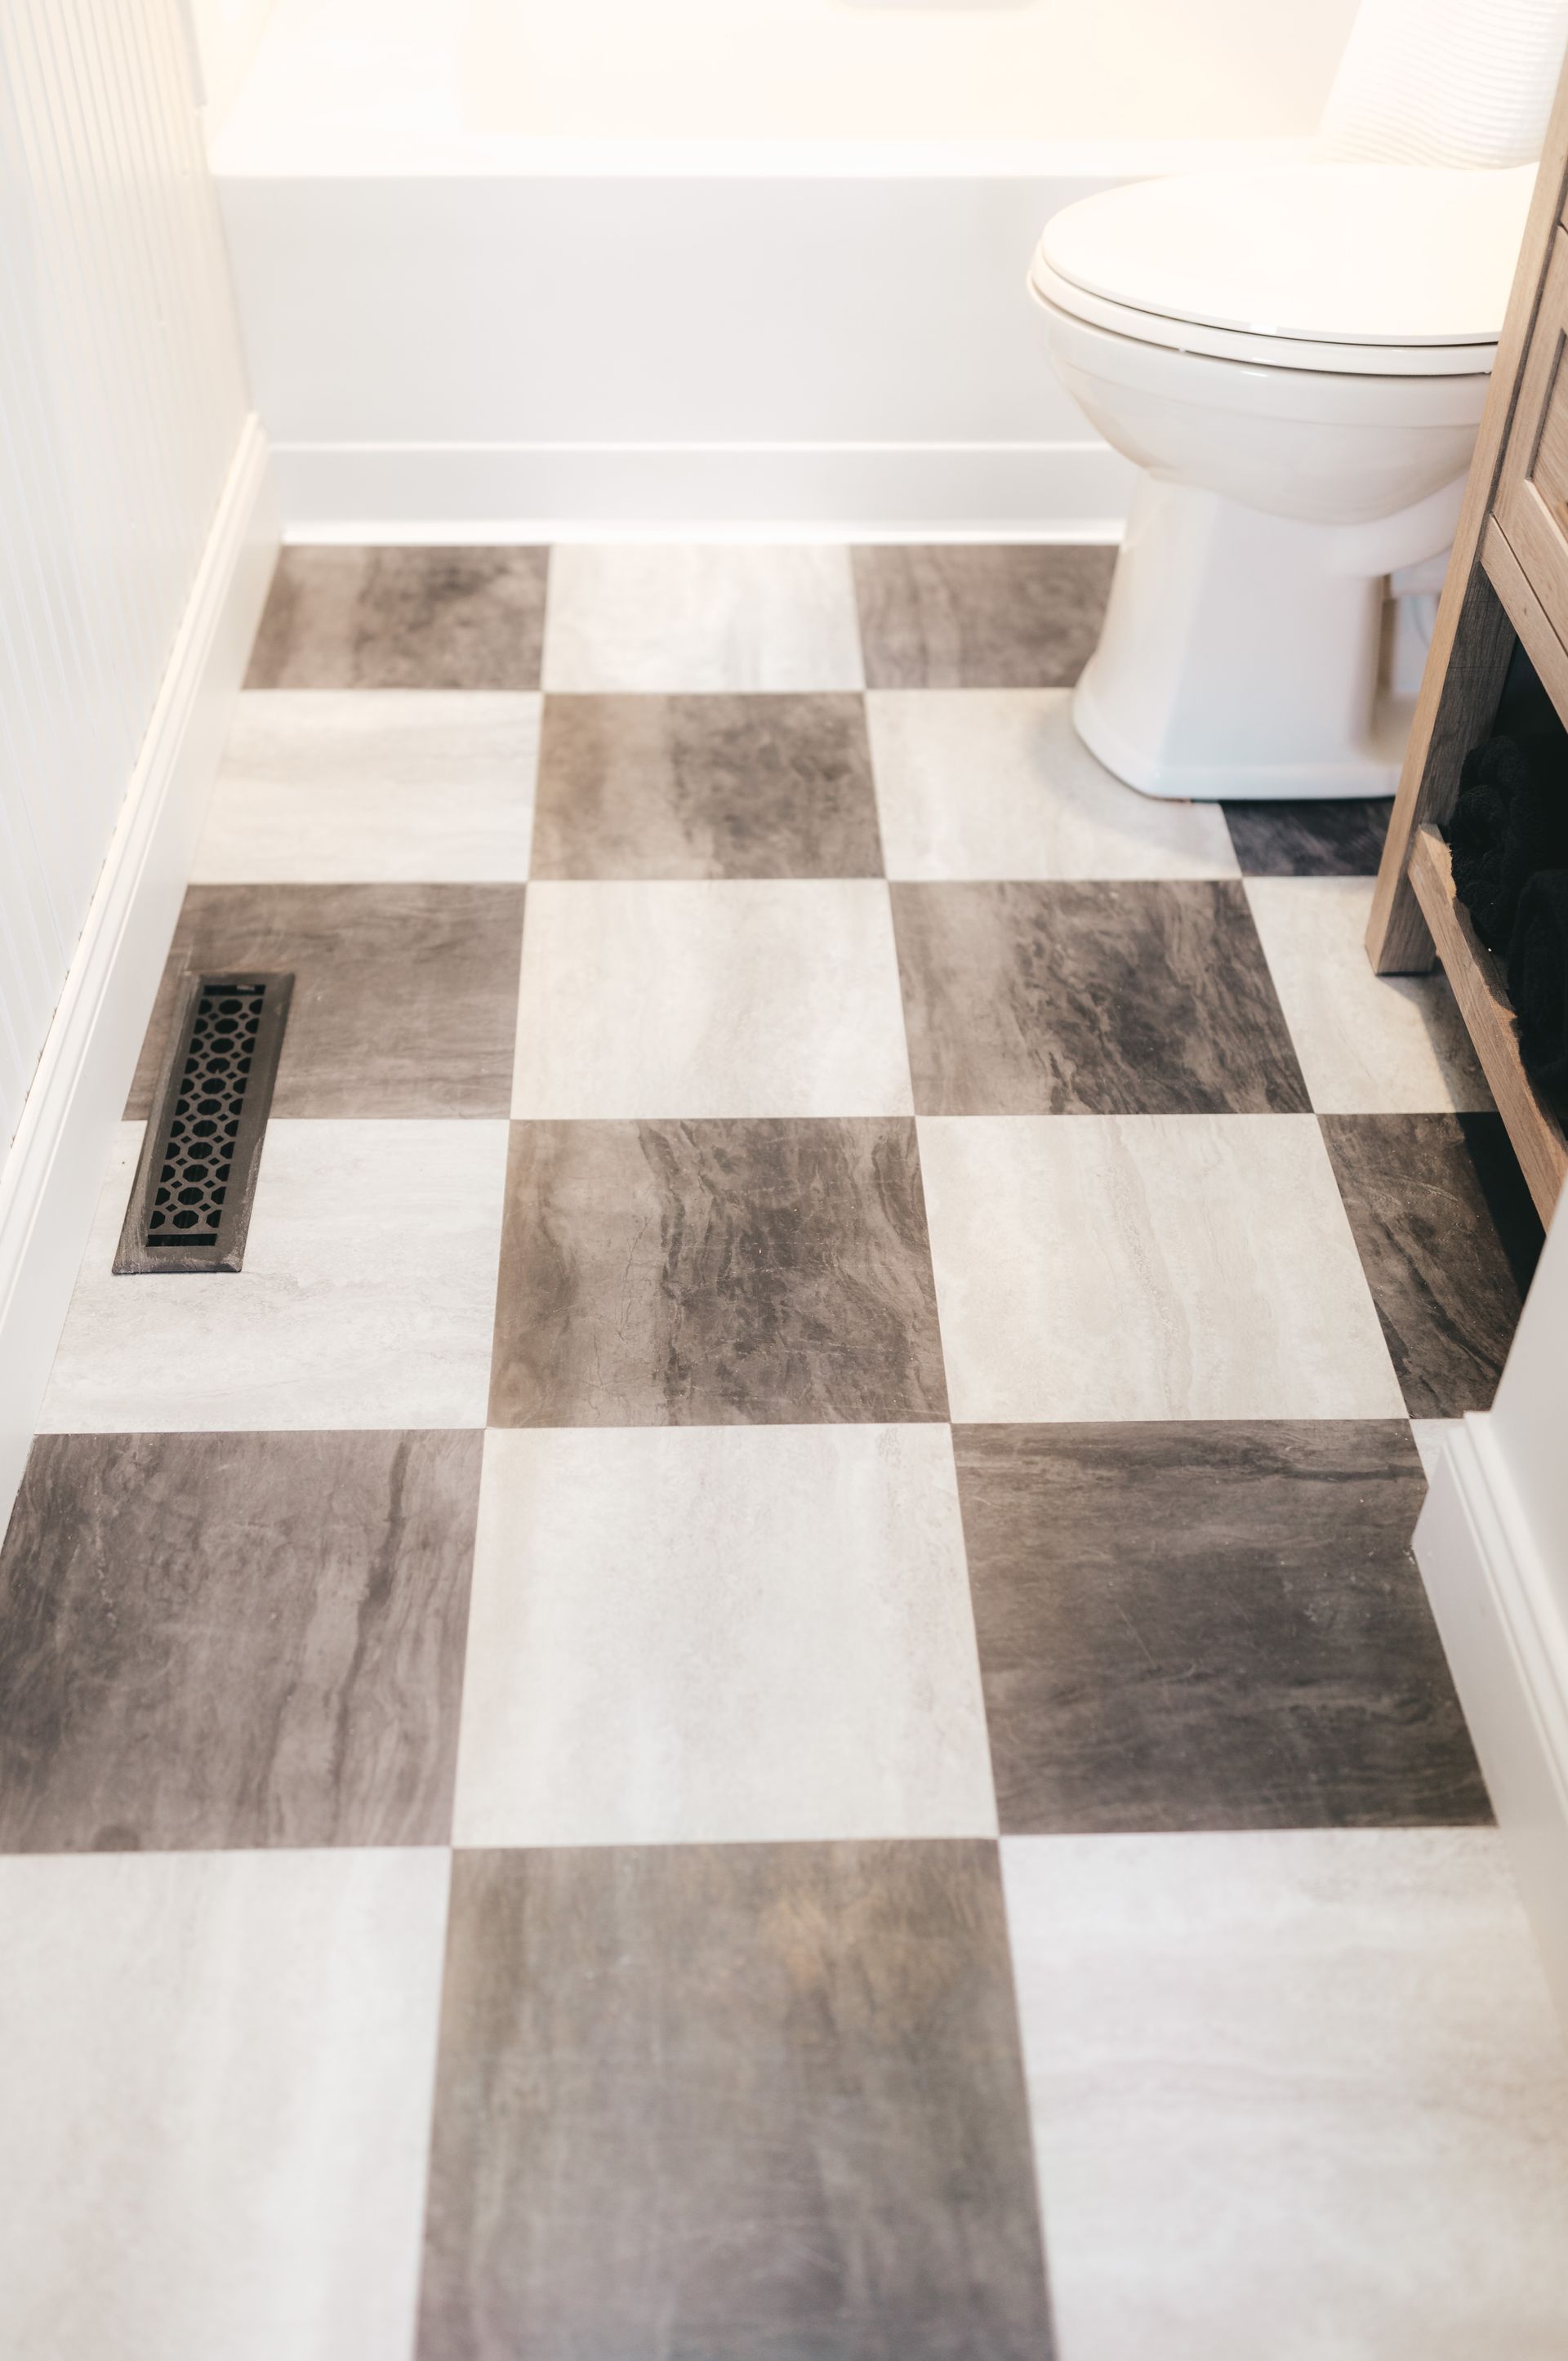
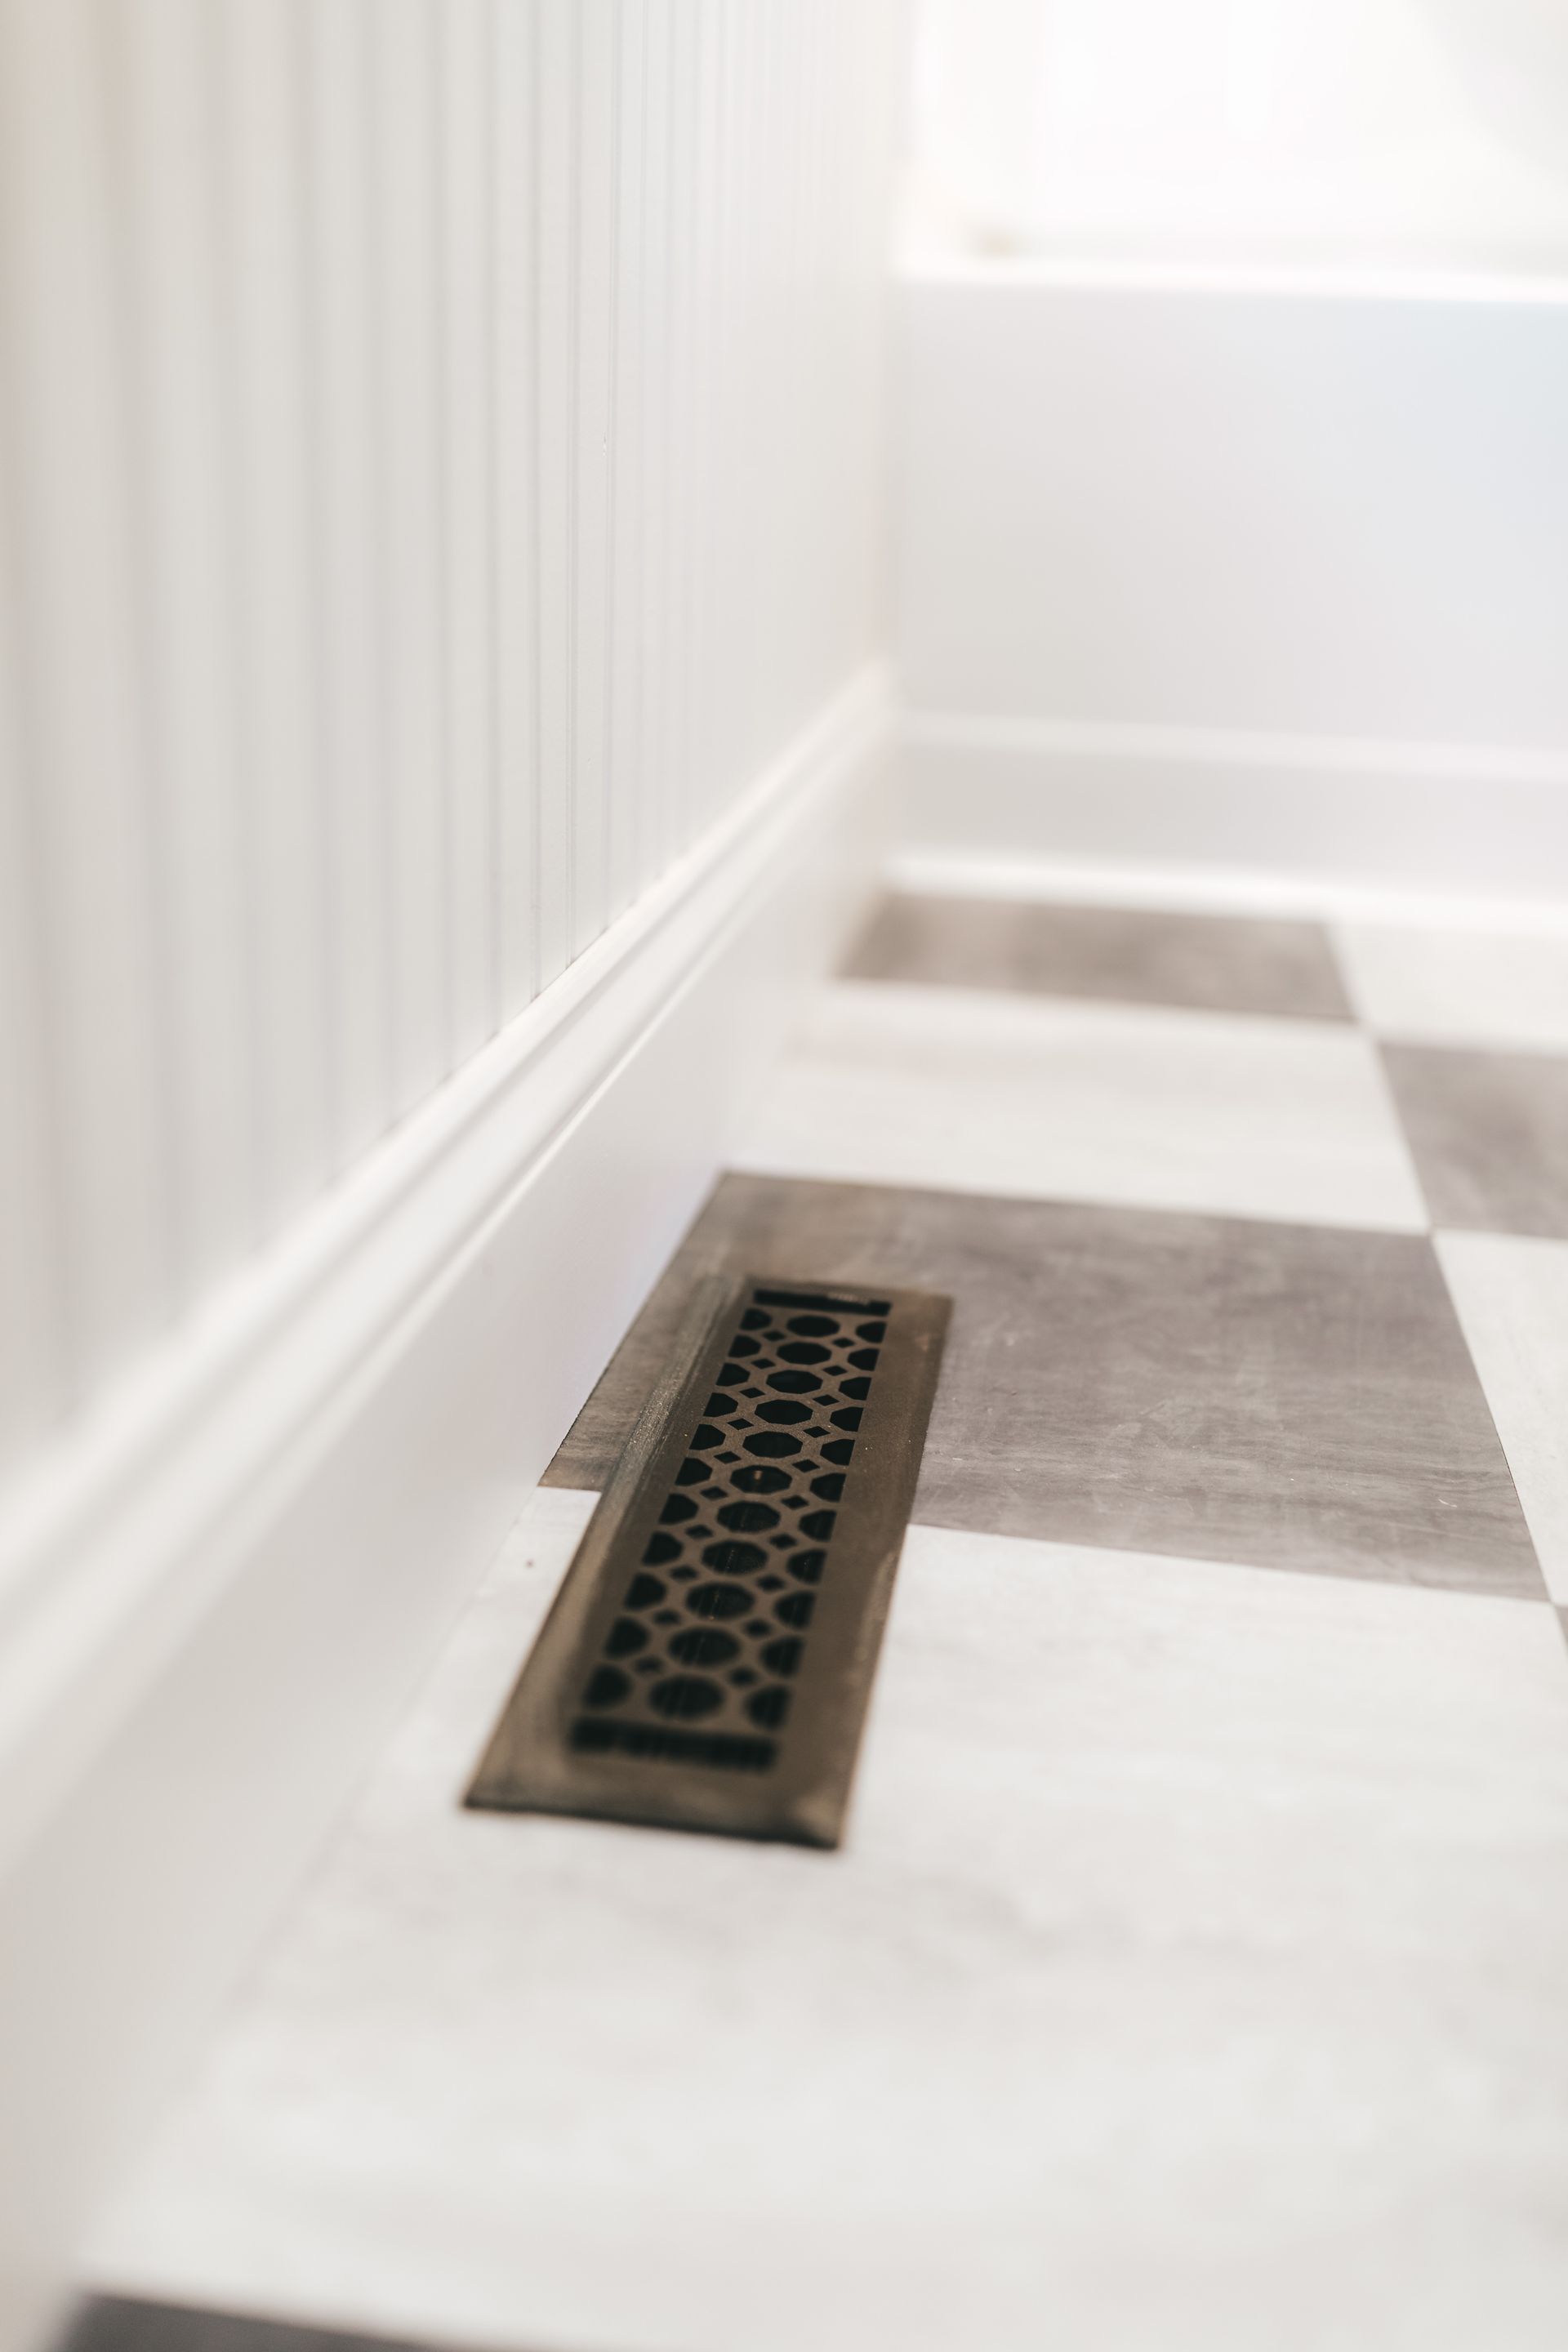
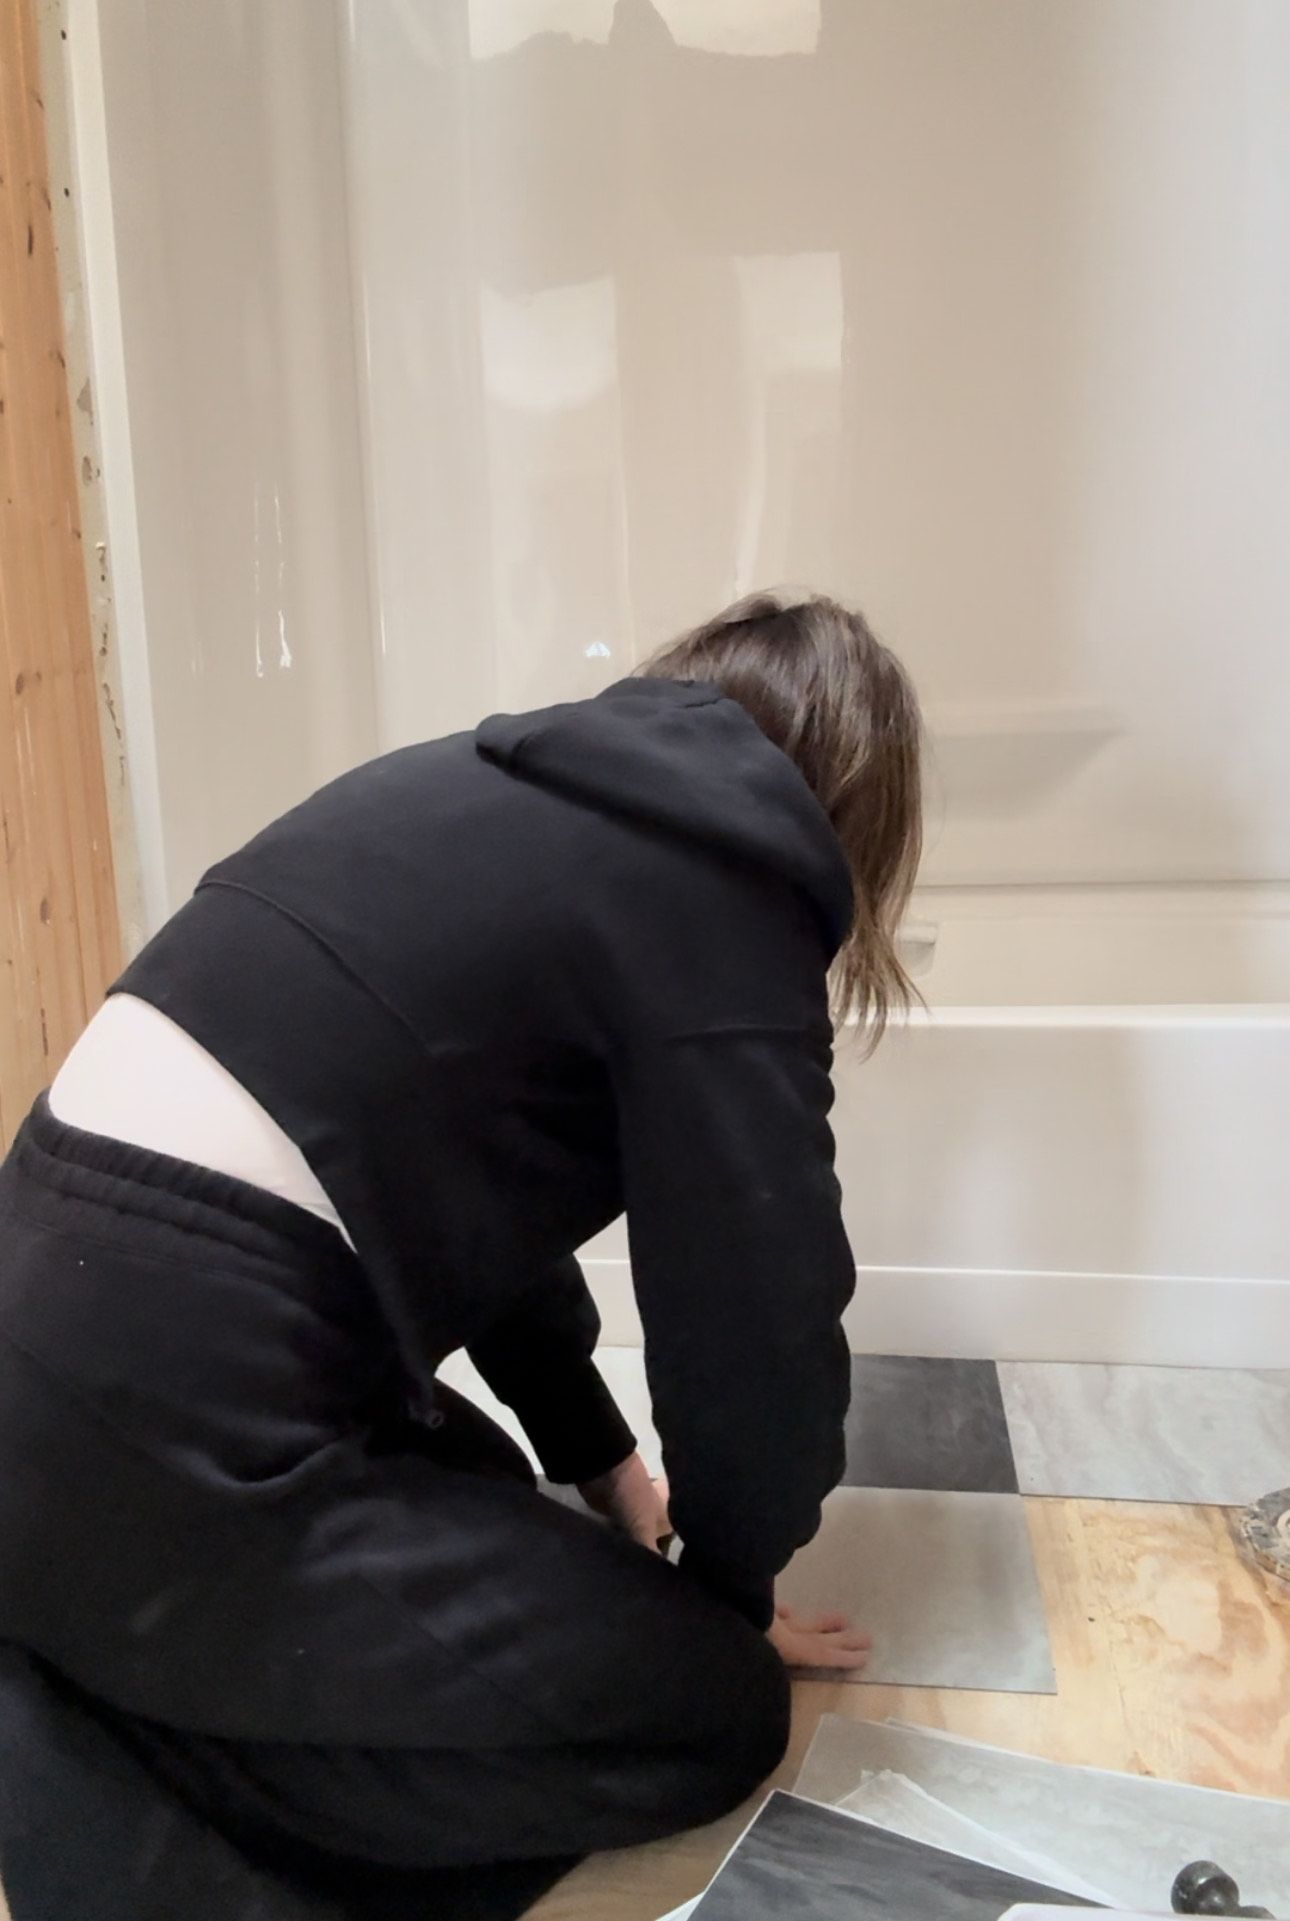
After we got the new surround in, we ripped out the flooring and took out the toilet and vanity. I decided to also save on the flooring since I knew I was splurging on the wall tile. So I ended up using this peel and stick flooring and laid it in a checkerboard pattern. I'm so in love and the floor only cost me $60 to do! I always get so much feedback on putting peel and stick in a bathroom, but I did this in our kids bathroom over a year ago now, they splash in the tub and rarely use a bath mat when they get out, and it's held up great. So I am a believer and love the end result!
I still think this peel and stick flooring is my favorite part of the room, one because it only cost $60 and 2, because it only took 30 minutes to install and all I needed was a scissors! You can find the charcoal squares HERE and the tan squares HERE.
before...
and after!

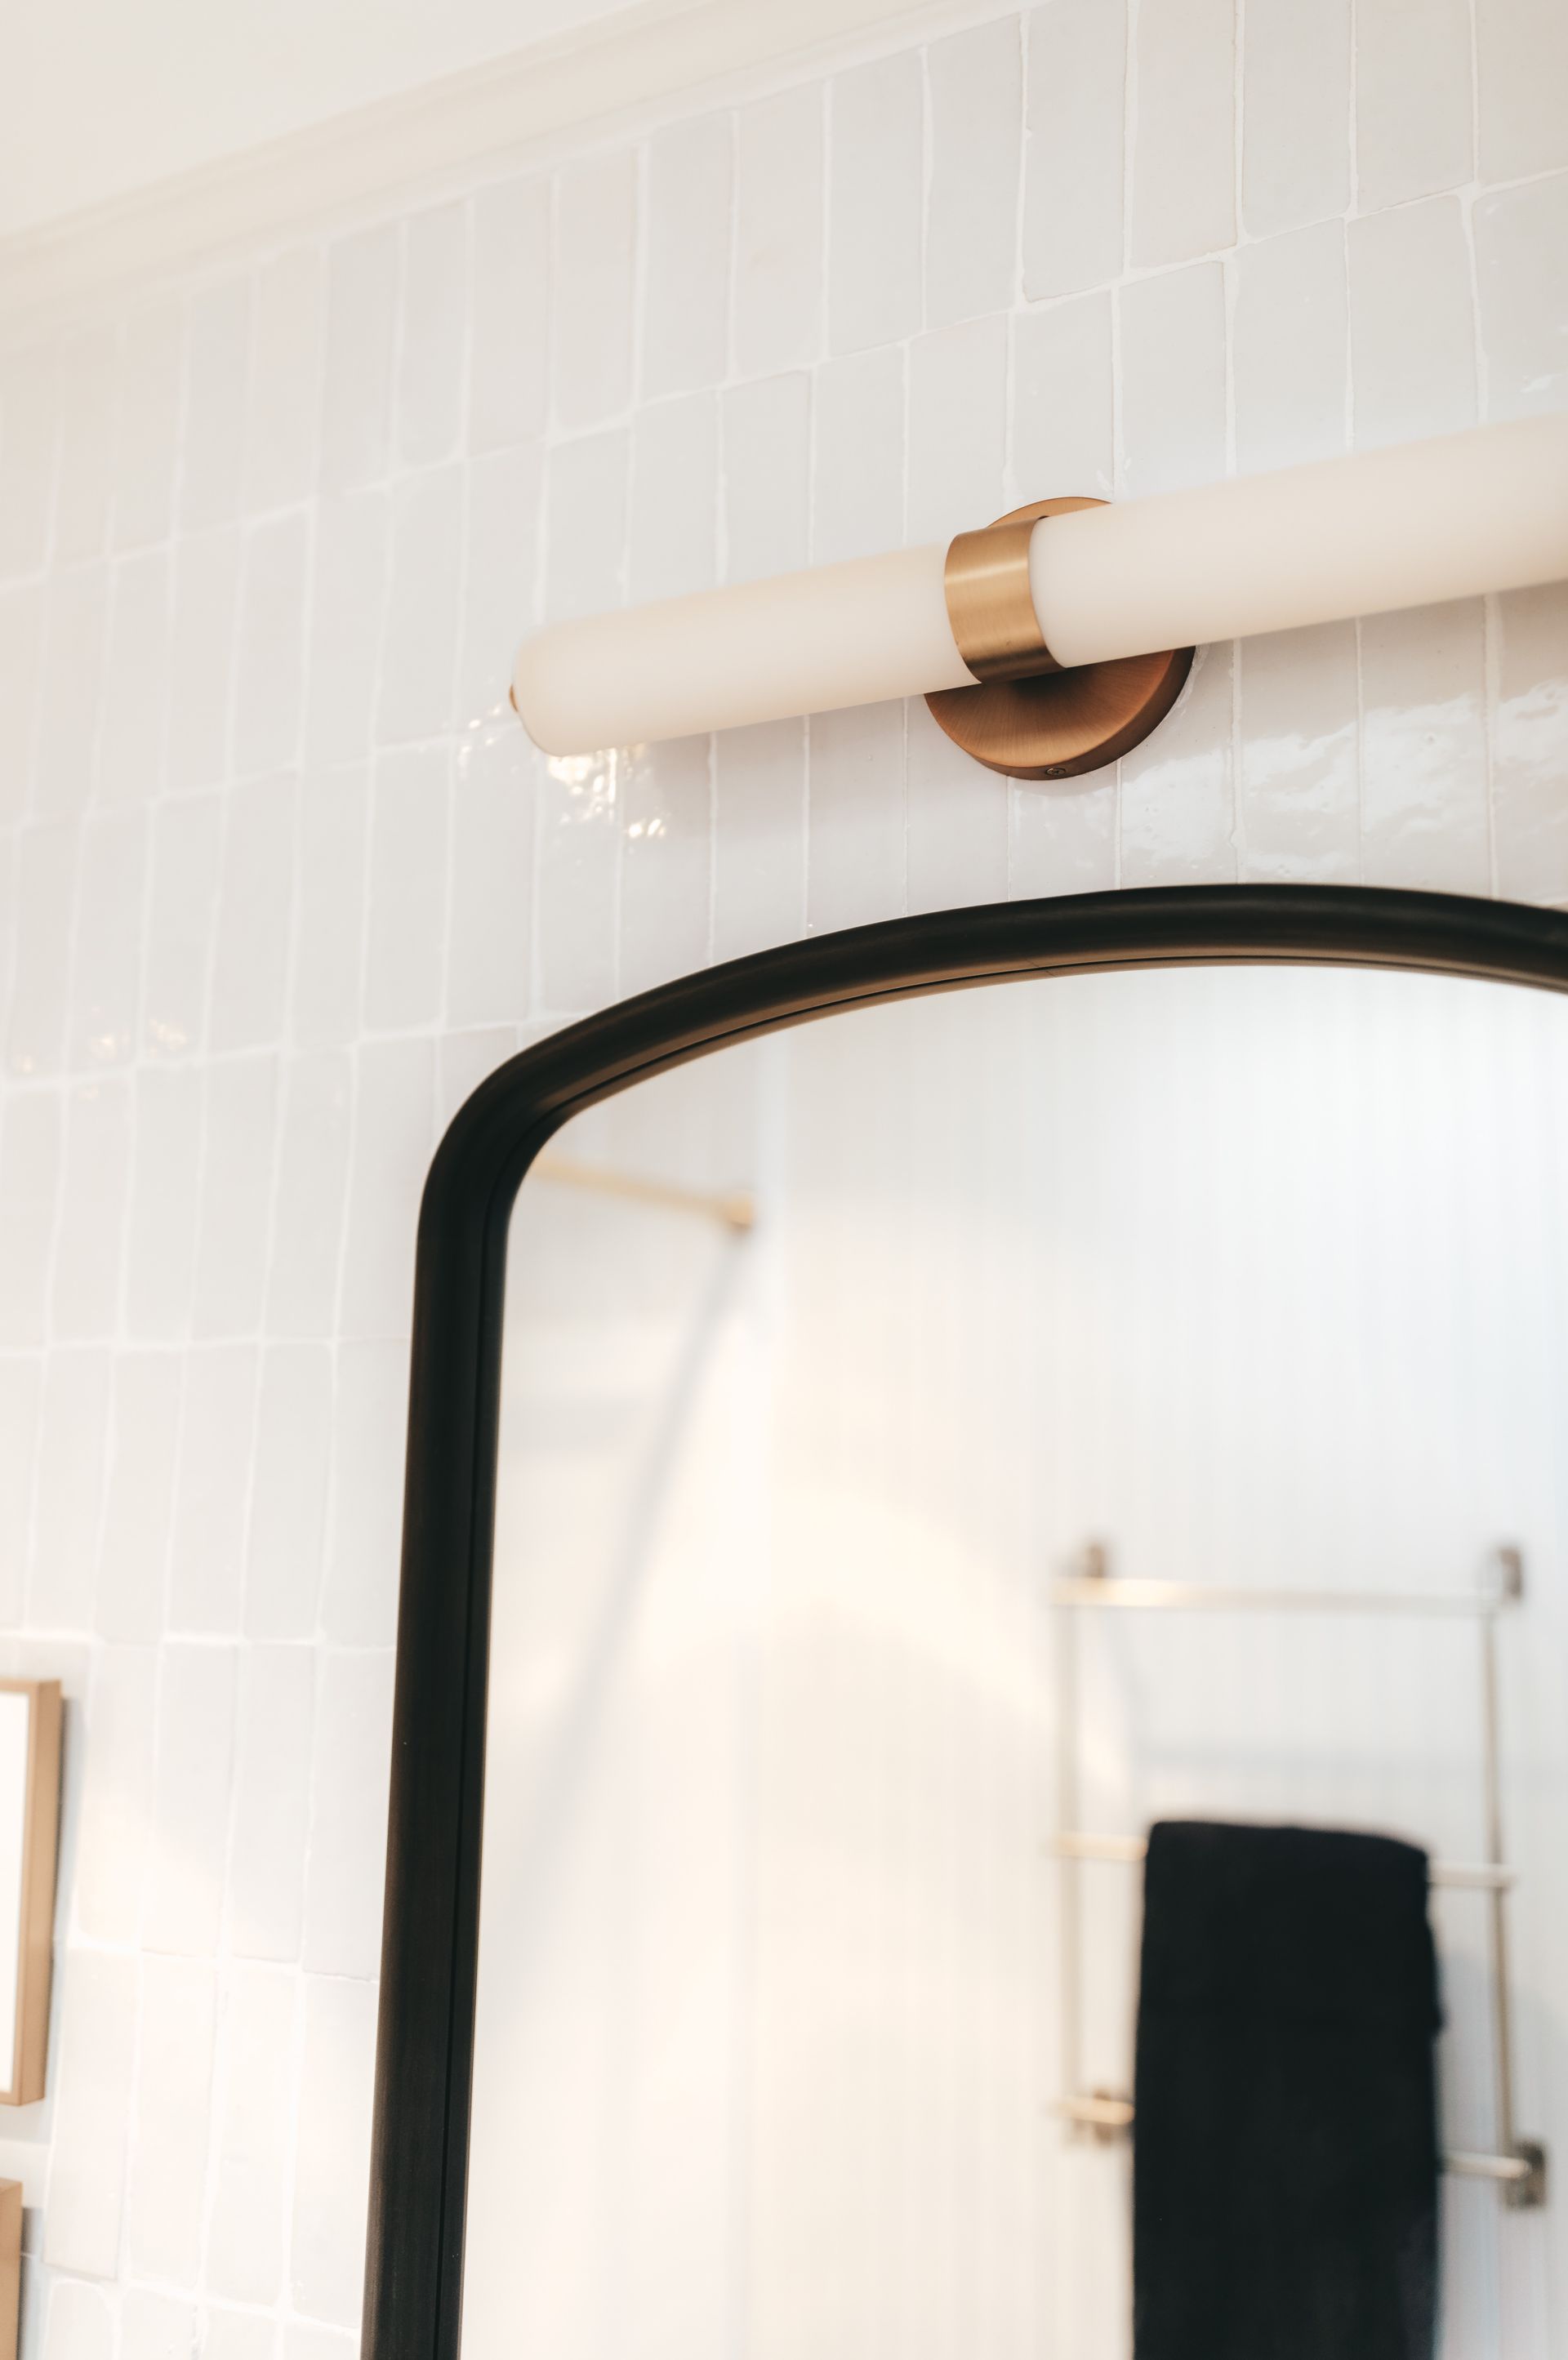
This handcrafted zellinge tile is EVERYTHING! I got it from Alexander James Tile Shop and it did not disappoint. Note: If you are a perfectionist you might struggle with this tile. Each tile is unique in height and thickness so you have to embrace the imperfections, and that's what makes it so unique and full of texture. There are so many ways you can arrange the tiles, but lately I have loved the stacked look and decided to do that in here.
before...

and after!
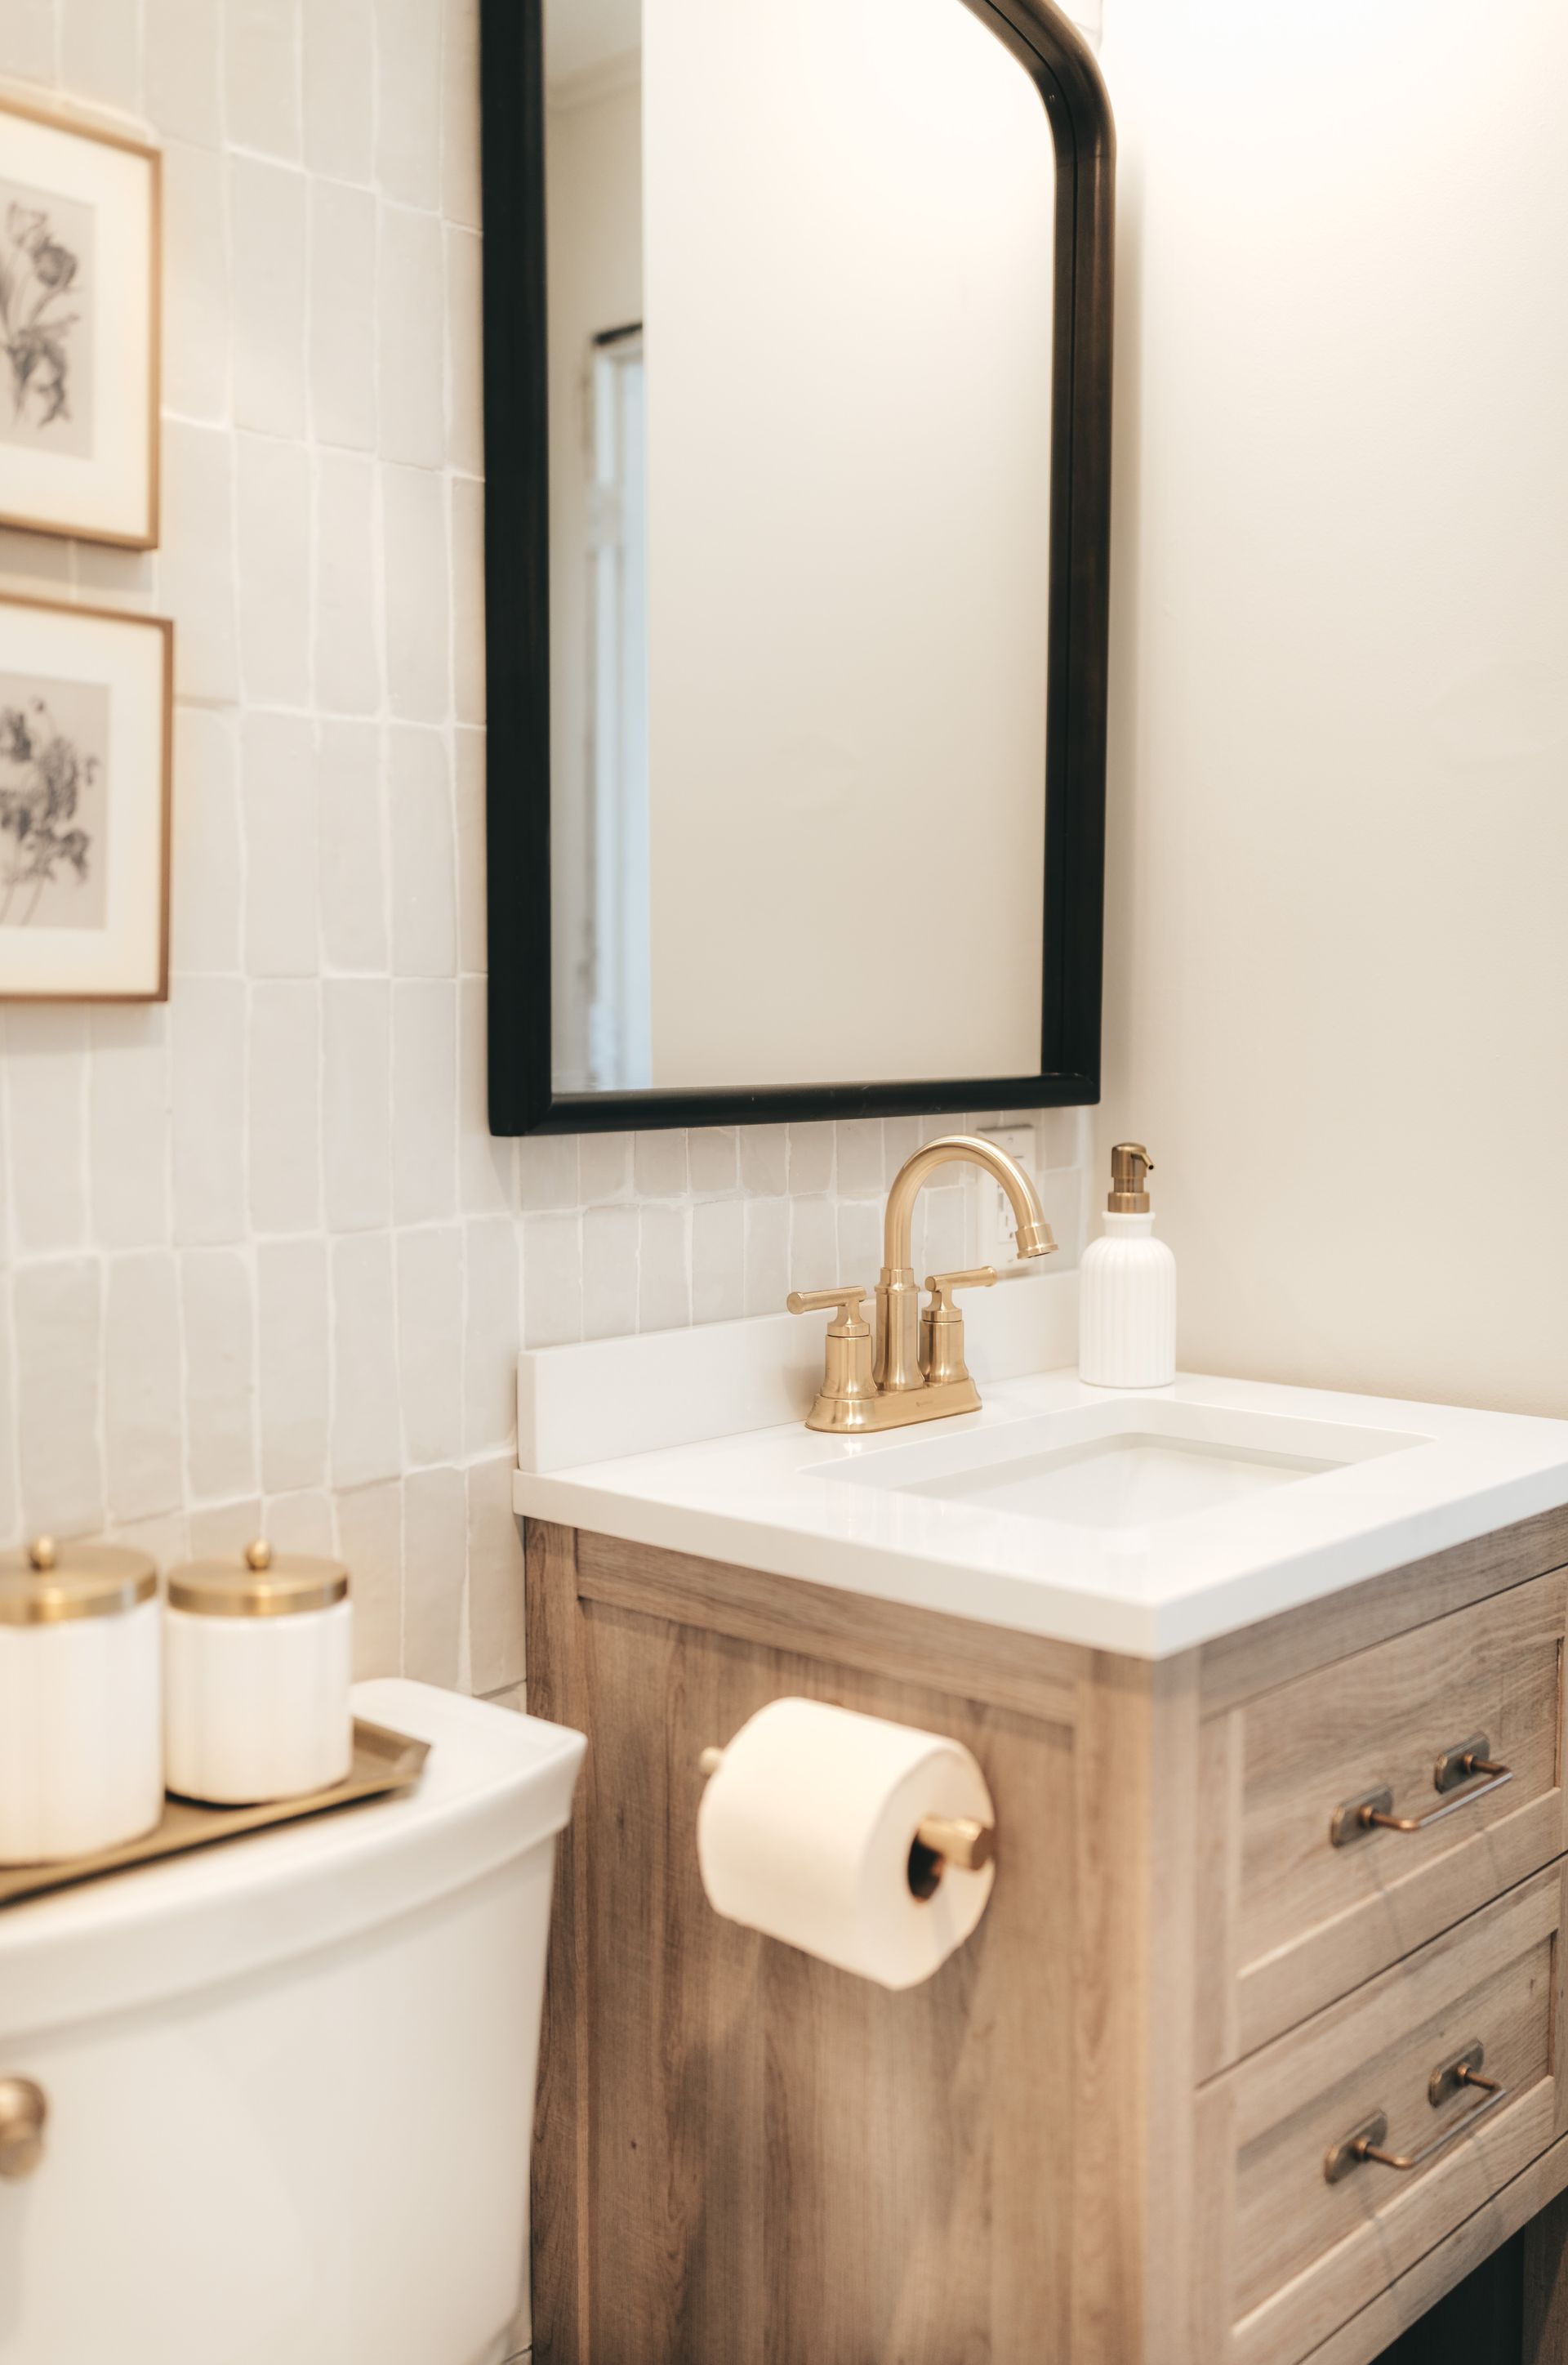
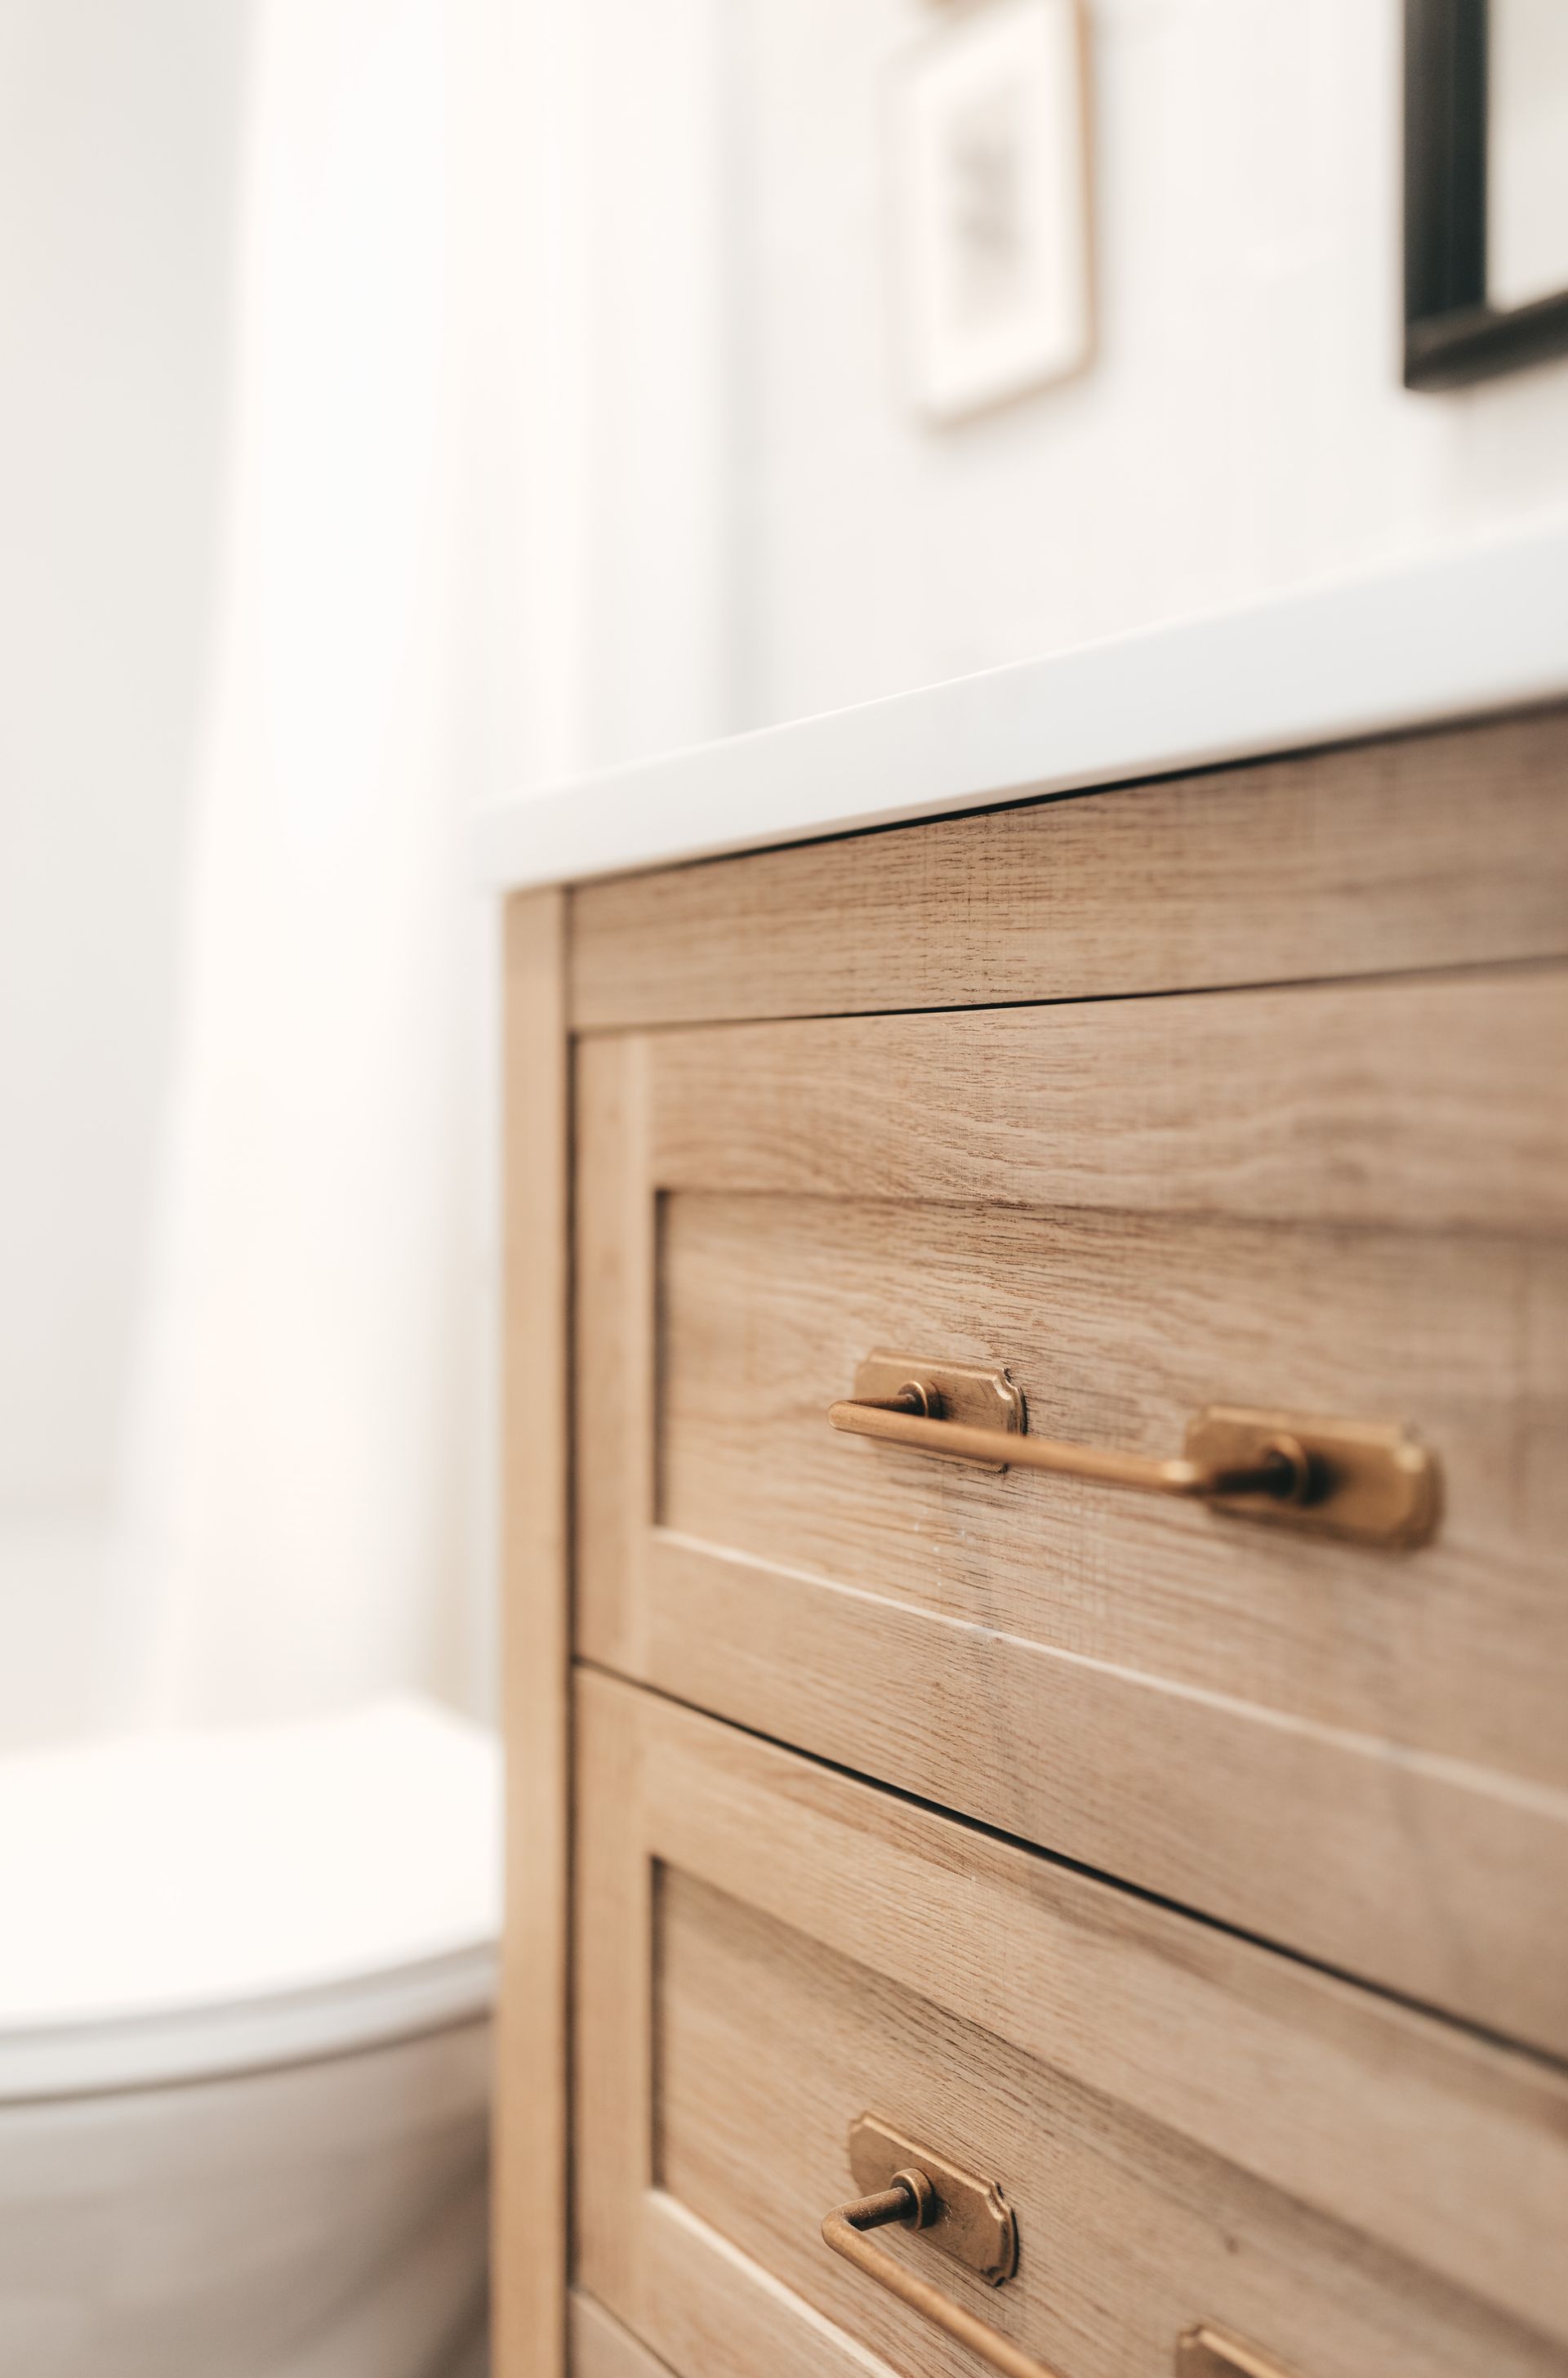
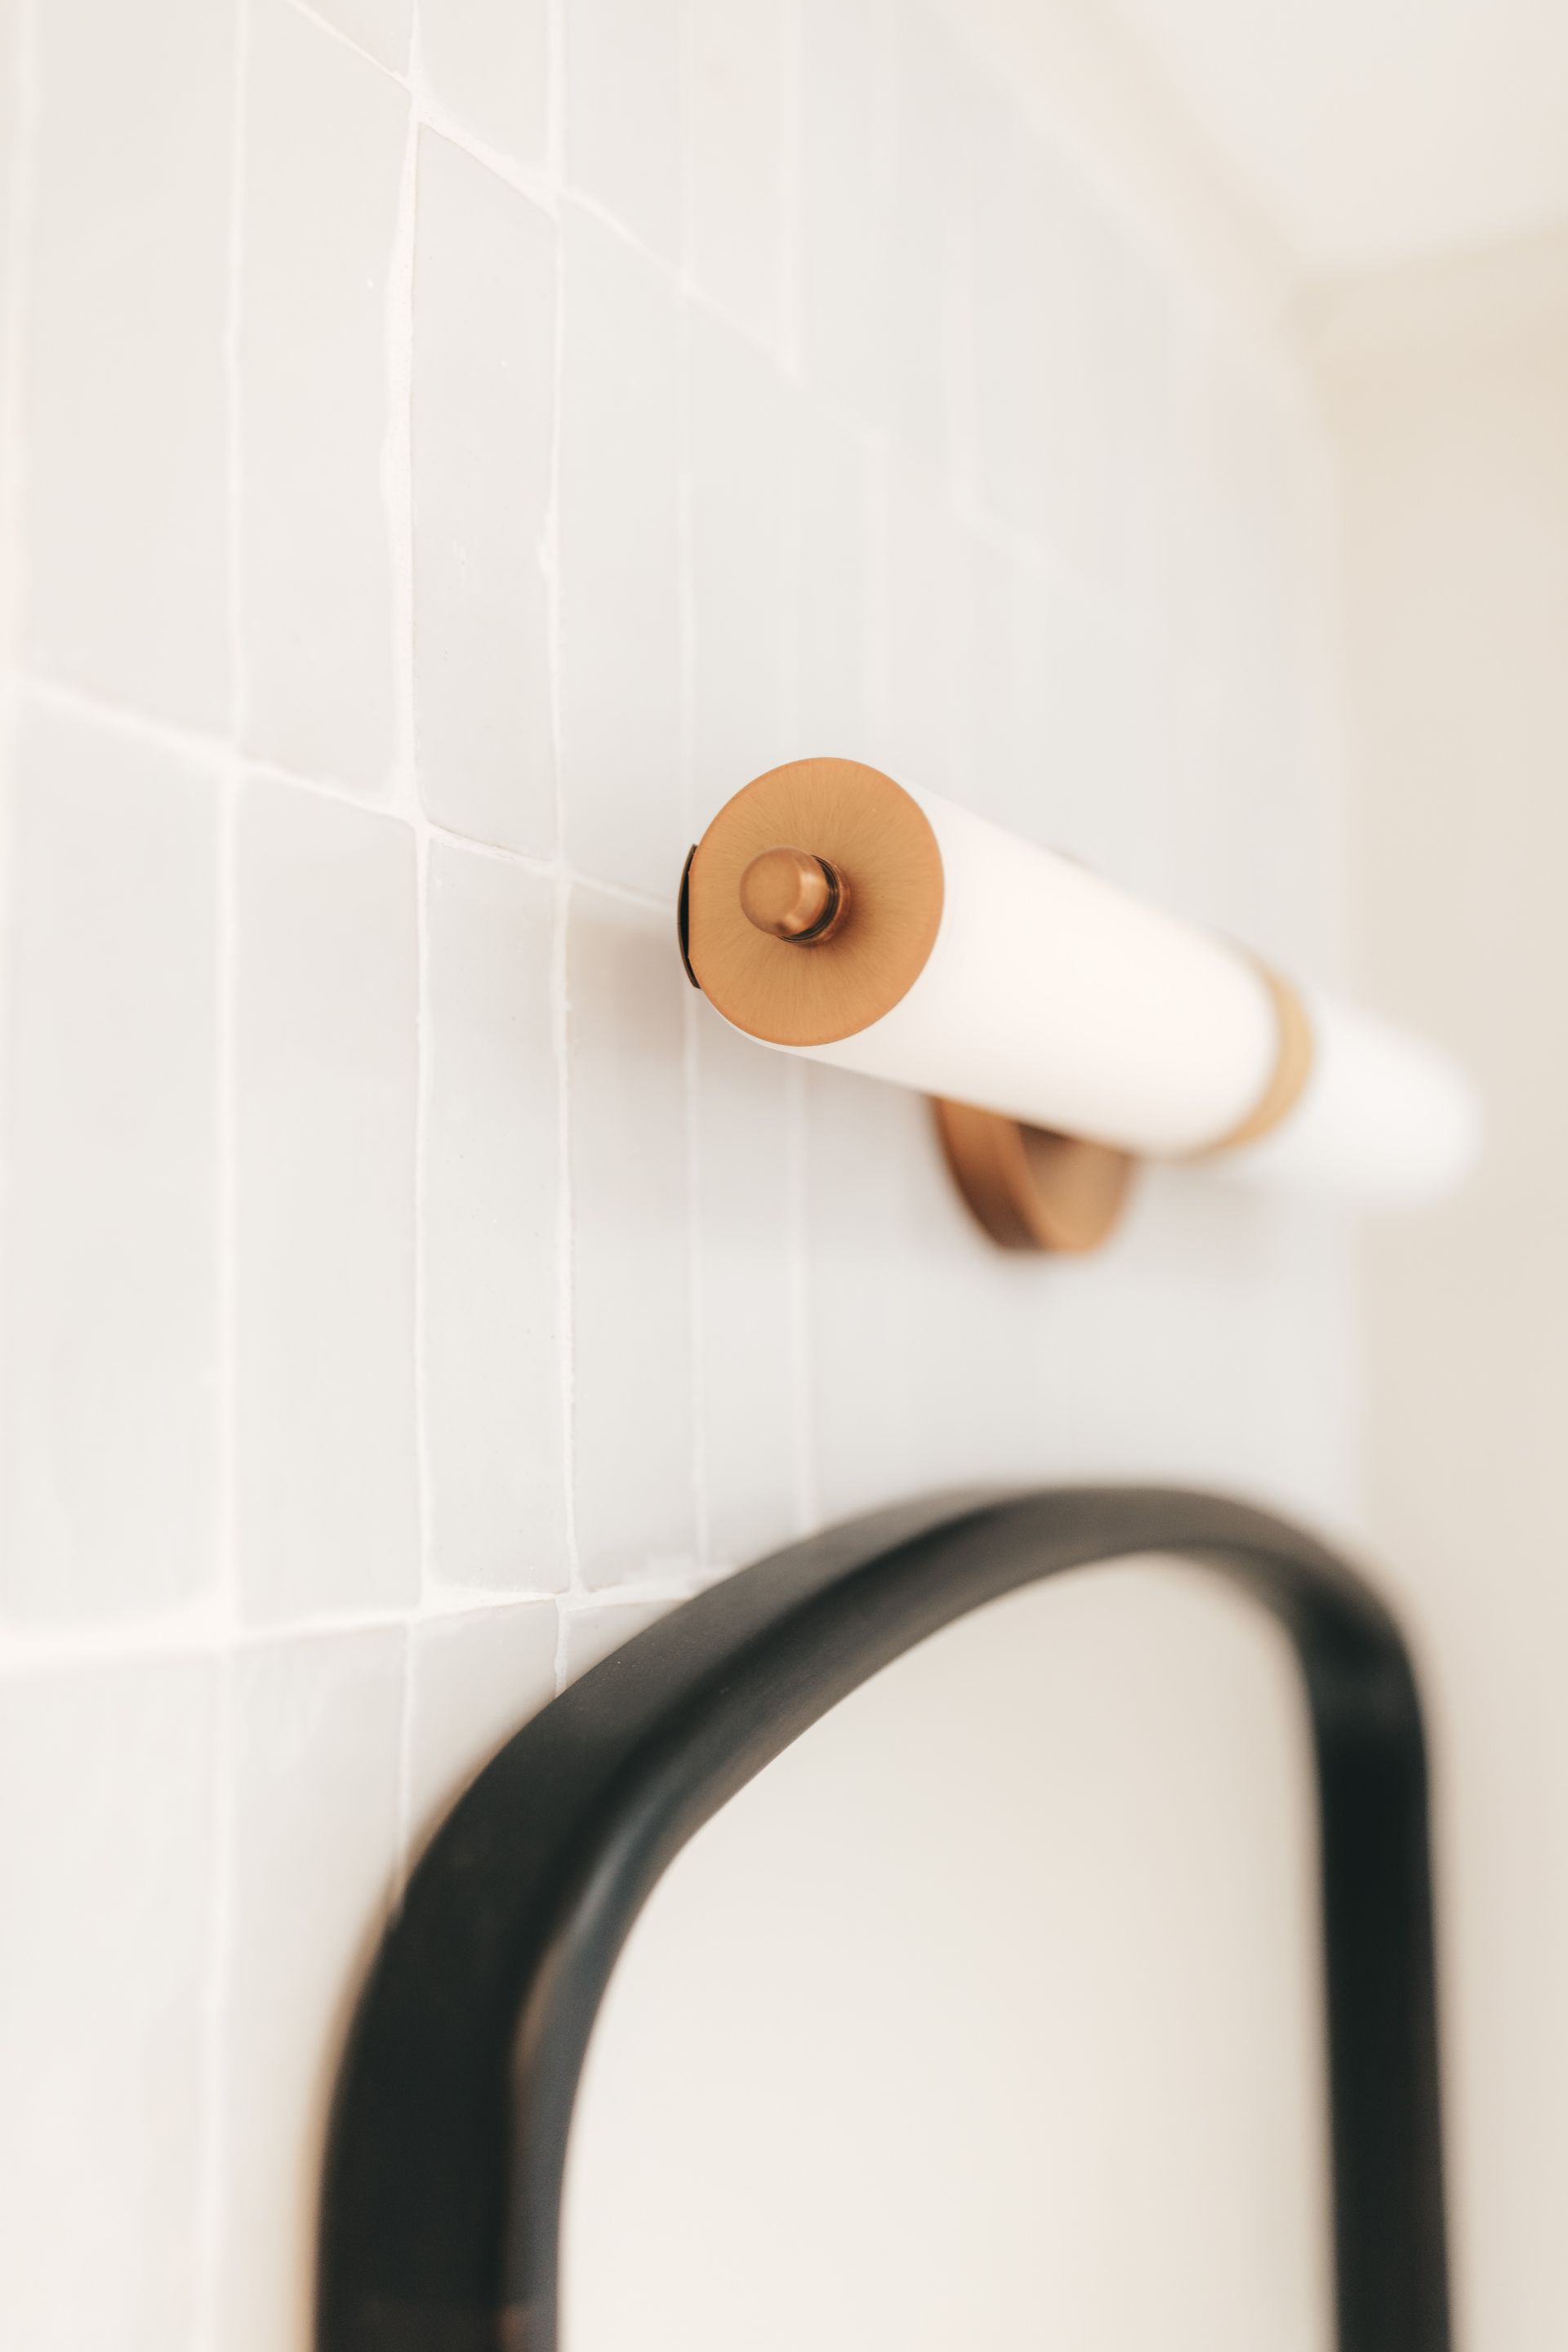
Another area I saved on was the vanity. I found this in stock vanity from Home Depot and couldn't believe the price tag! It was only $299 and came with the solid surface countertop. A huge score and also budget saver. To make it look a little more original I swapped out he stock hardware and added these pulls with these backplates. It instantly gave it a boost and no one would know how inexpensive it is!
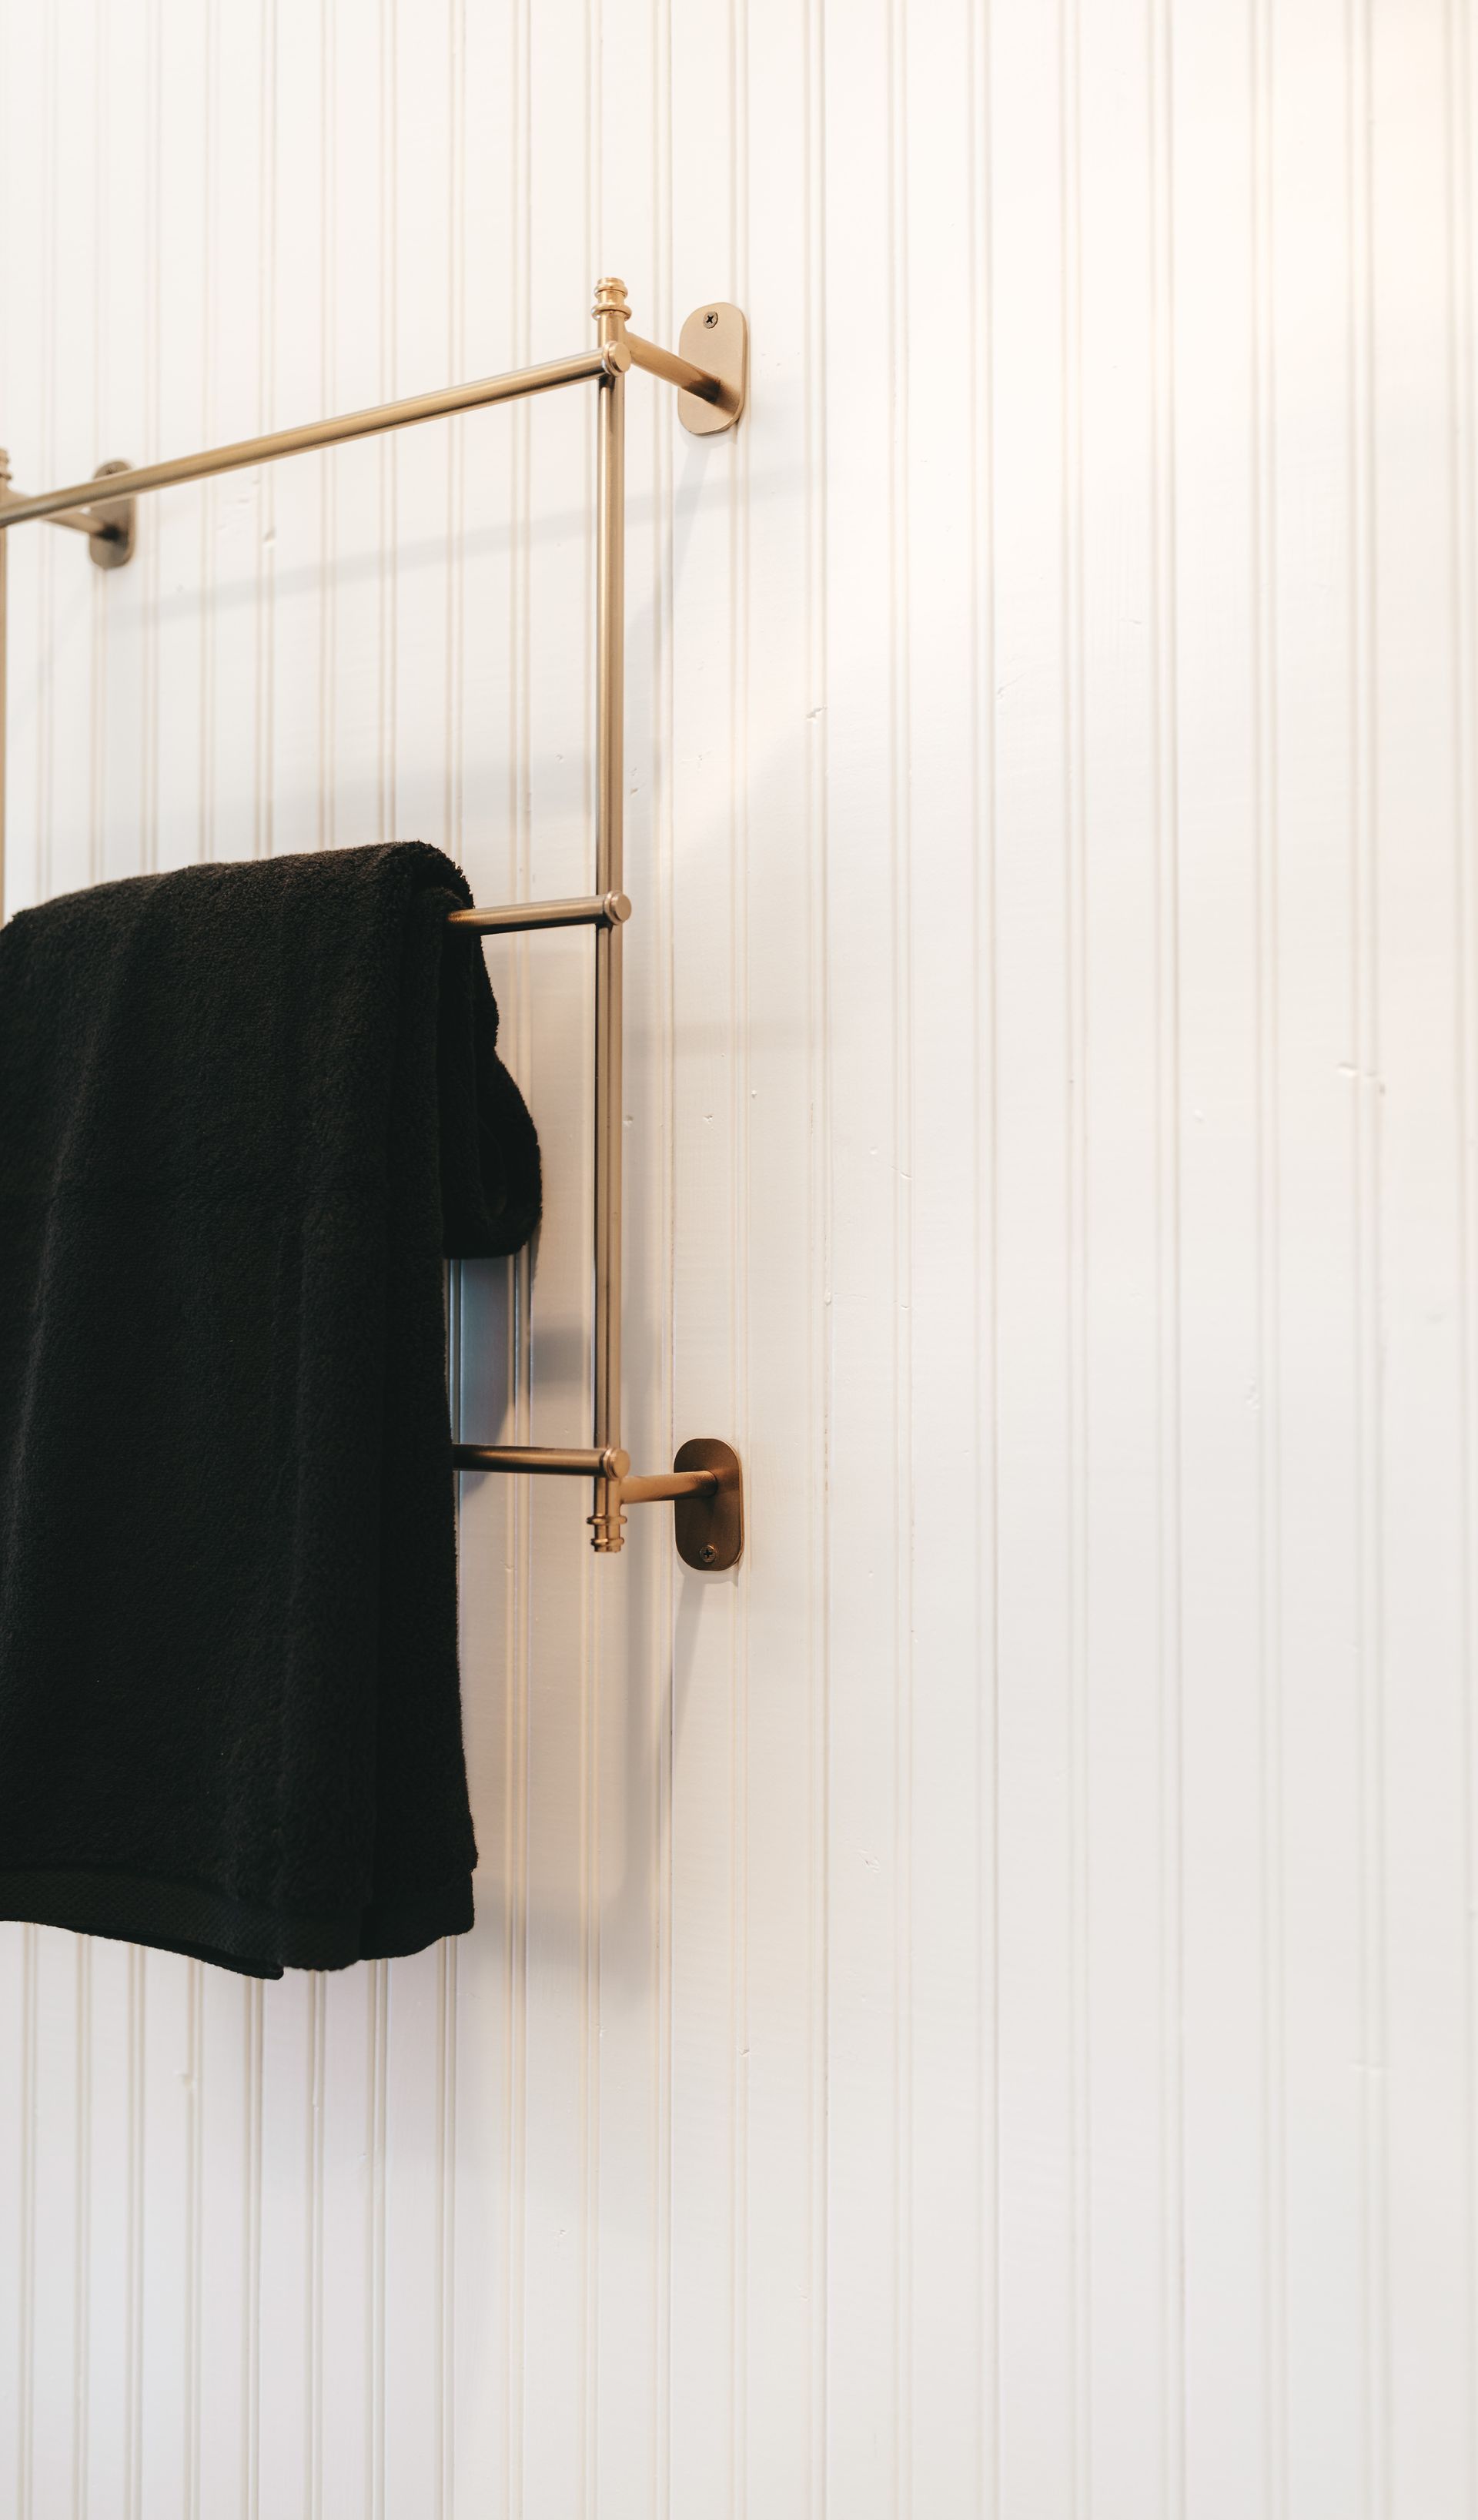
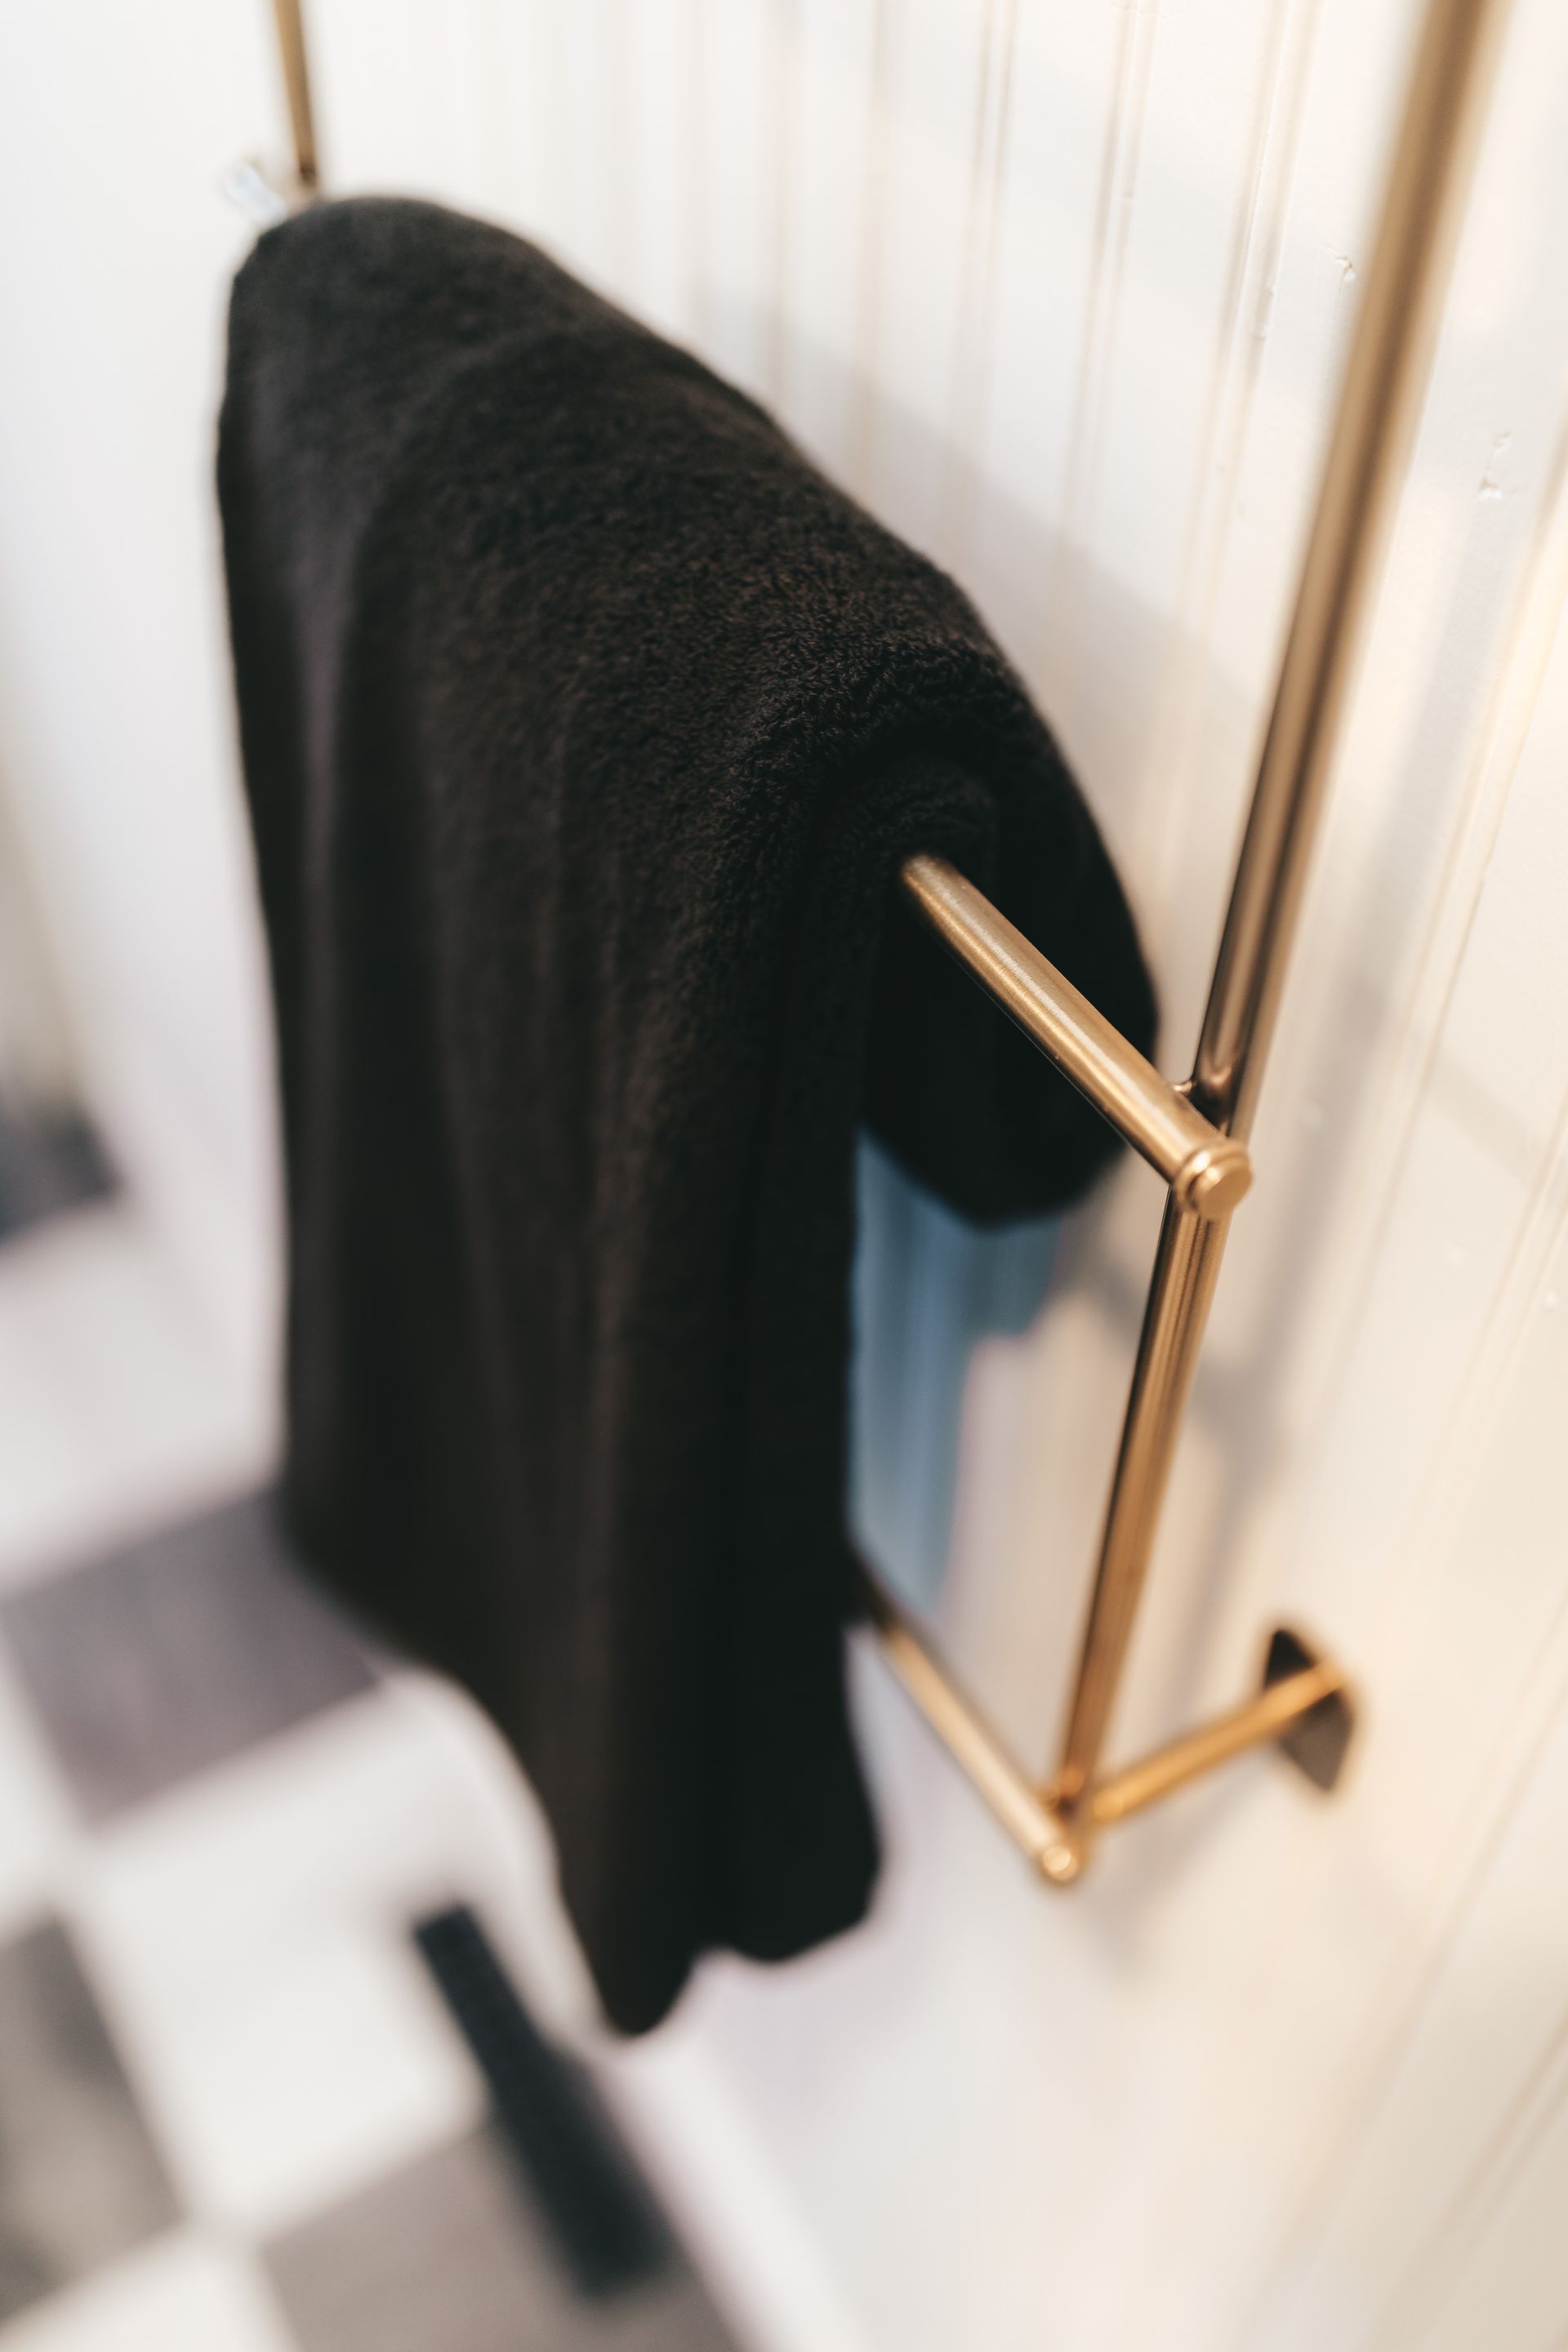
I actually loved the bead board wall that was in the bathroom and decided to keep it for a little extra visual interest. I painted the walls the color "Blanched" by Magnolia Paints and it's the perfect warmer creamy color.
The Budget Breakdown & All The Links
Tub Surround: $325
Peel and Stick Flooring/black: $30
Peel And Stick Flooring/Beige: $30
Tub Spray Paint: $40
Gallon of paint: $35
Shampoo & Conditioner bottles: $25
1 Gallon of Paint: $35
Total: $2533