BYE BYE SHIPLAP
Bye-Bye Shiplap!
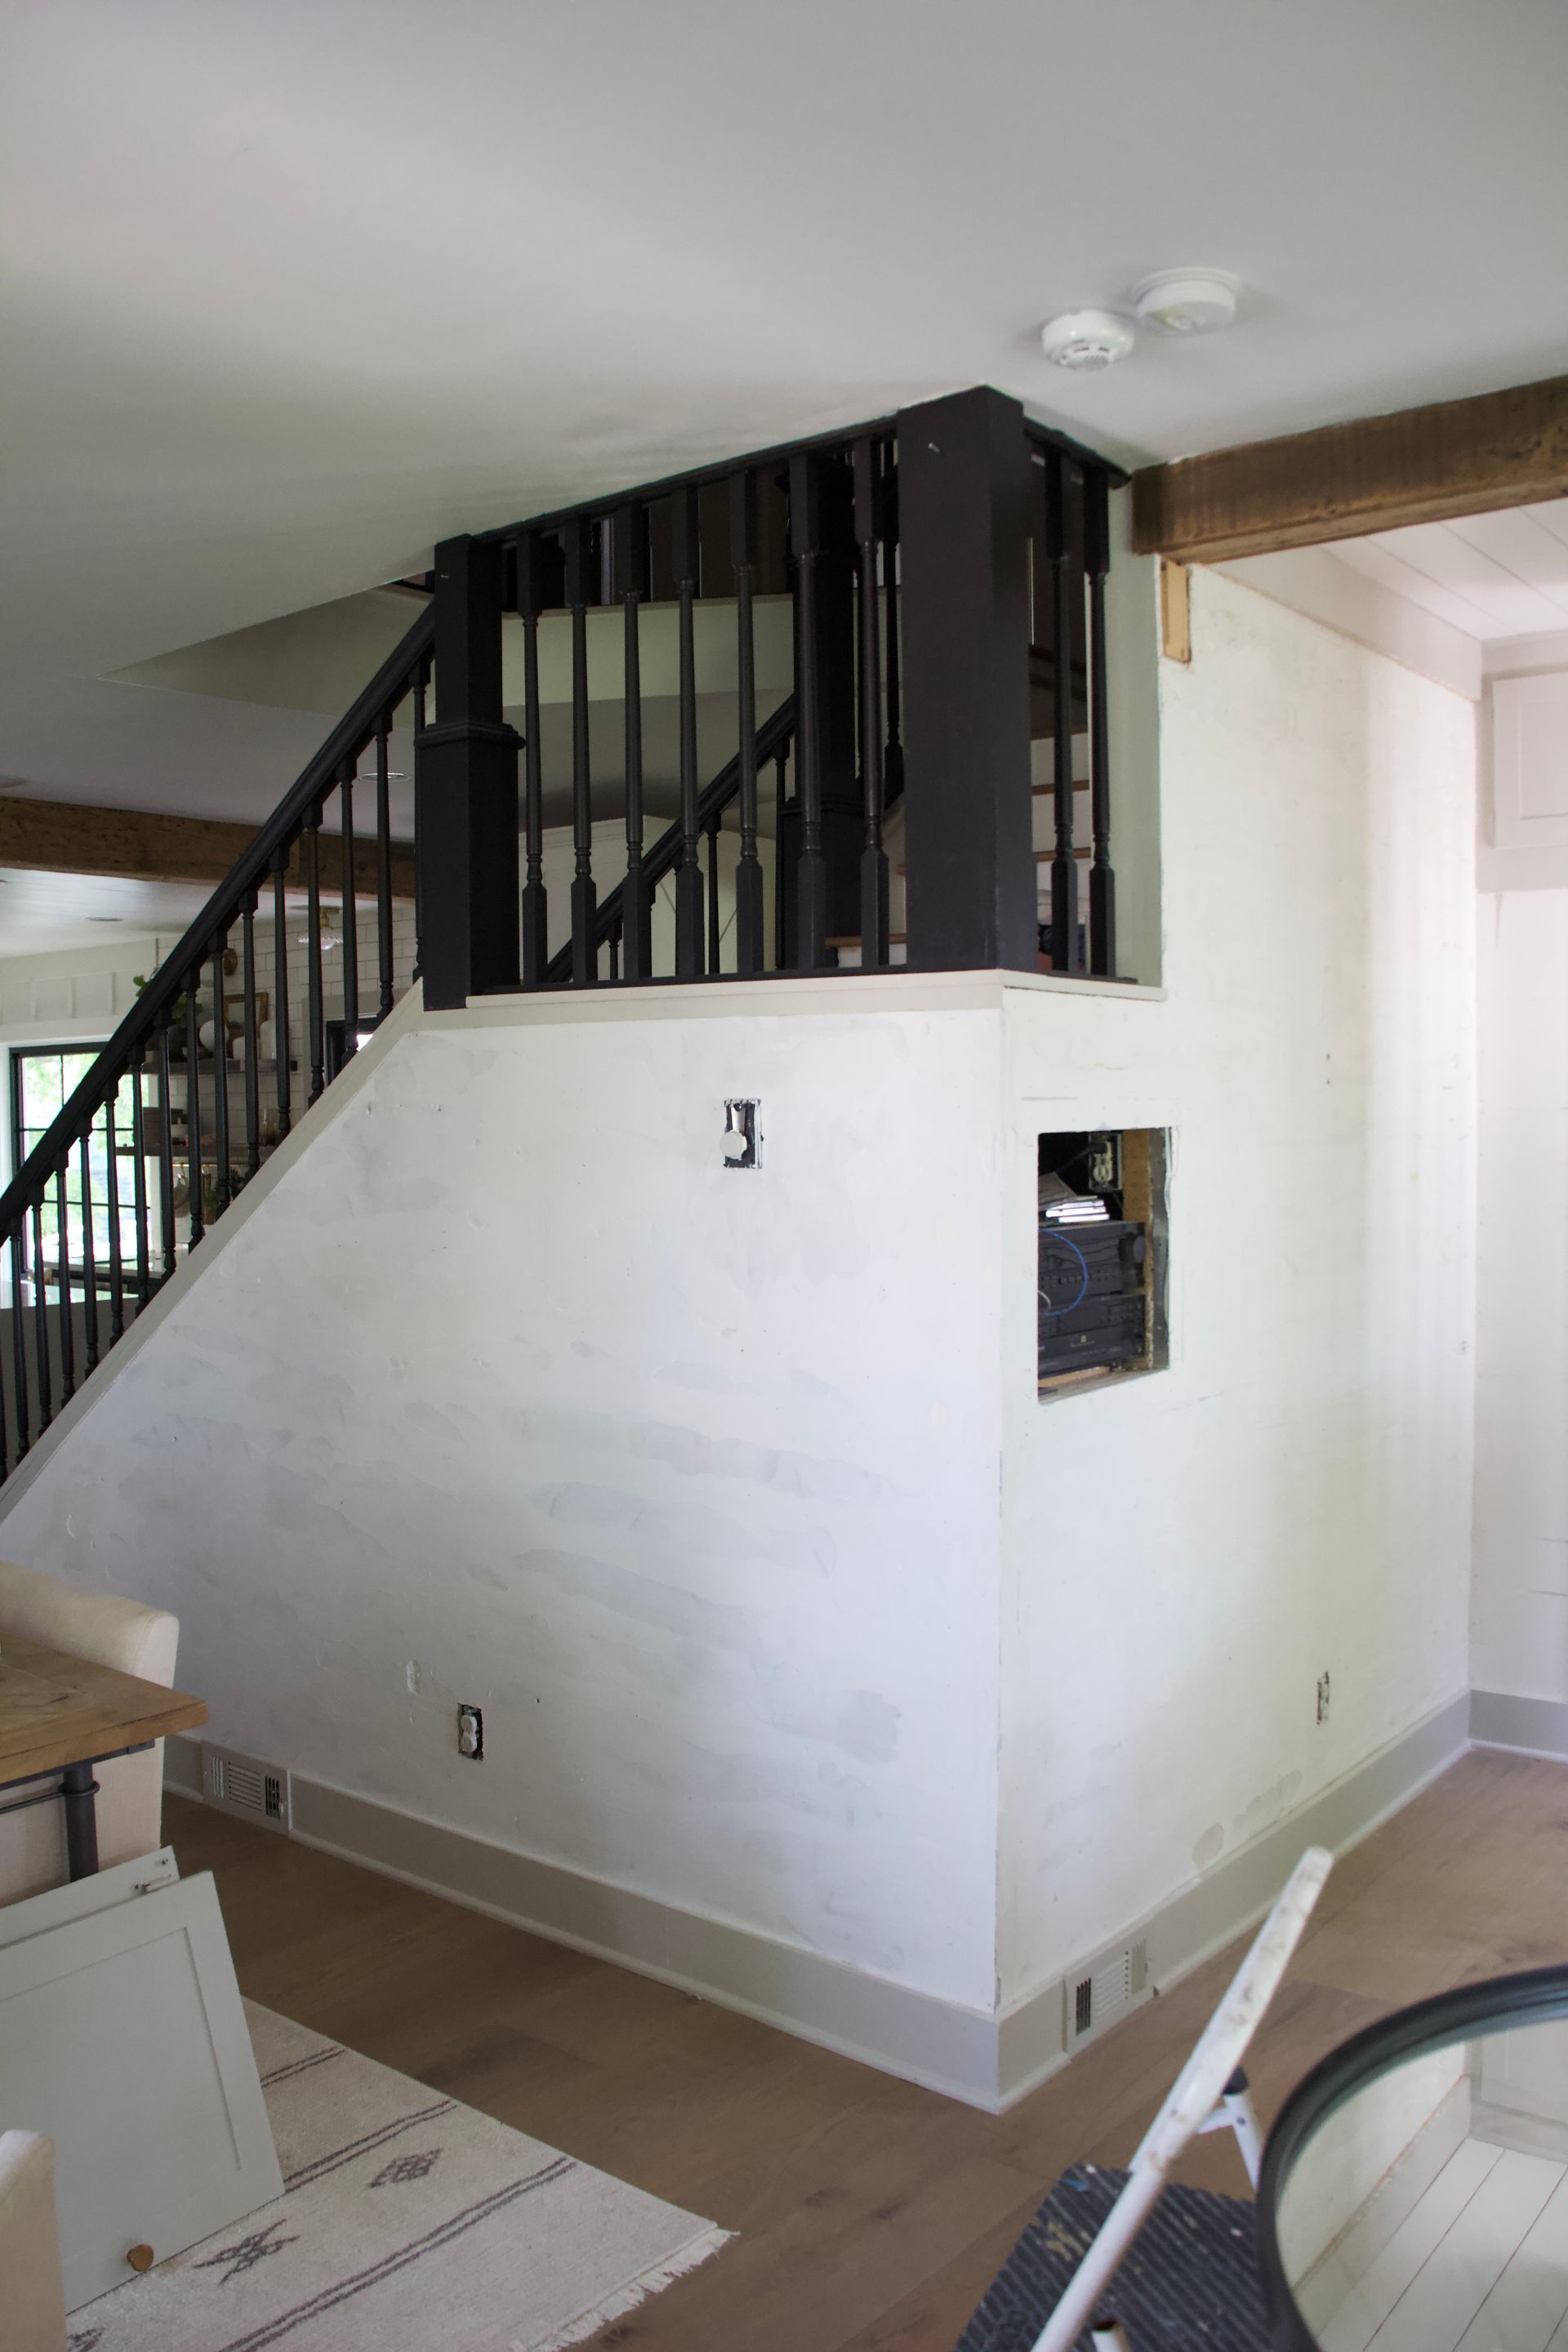
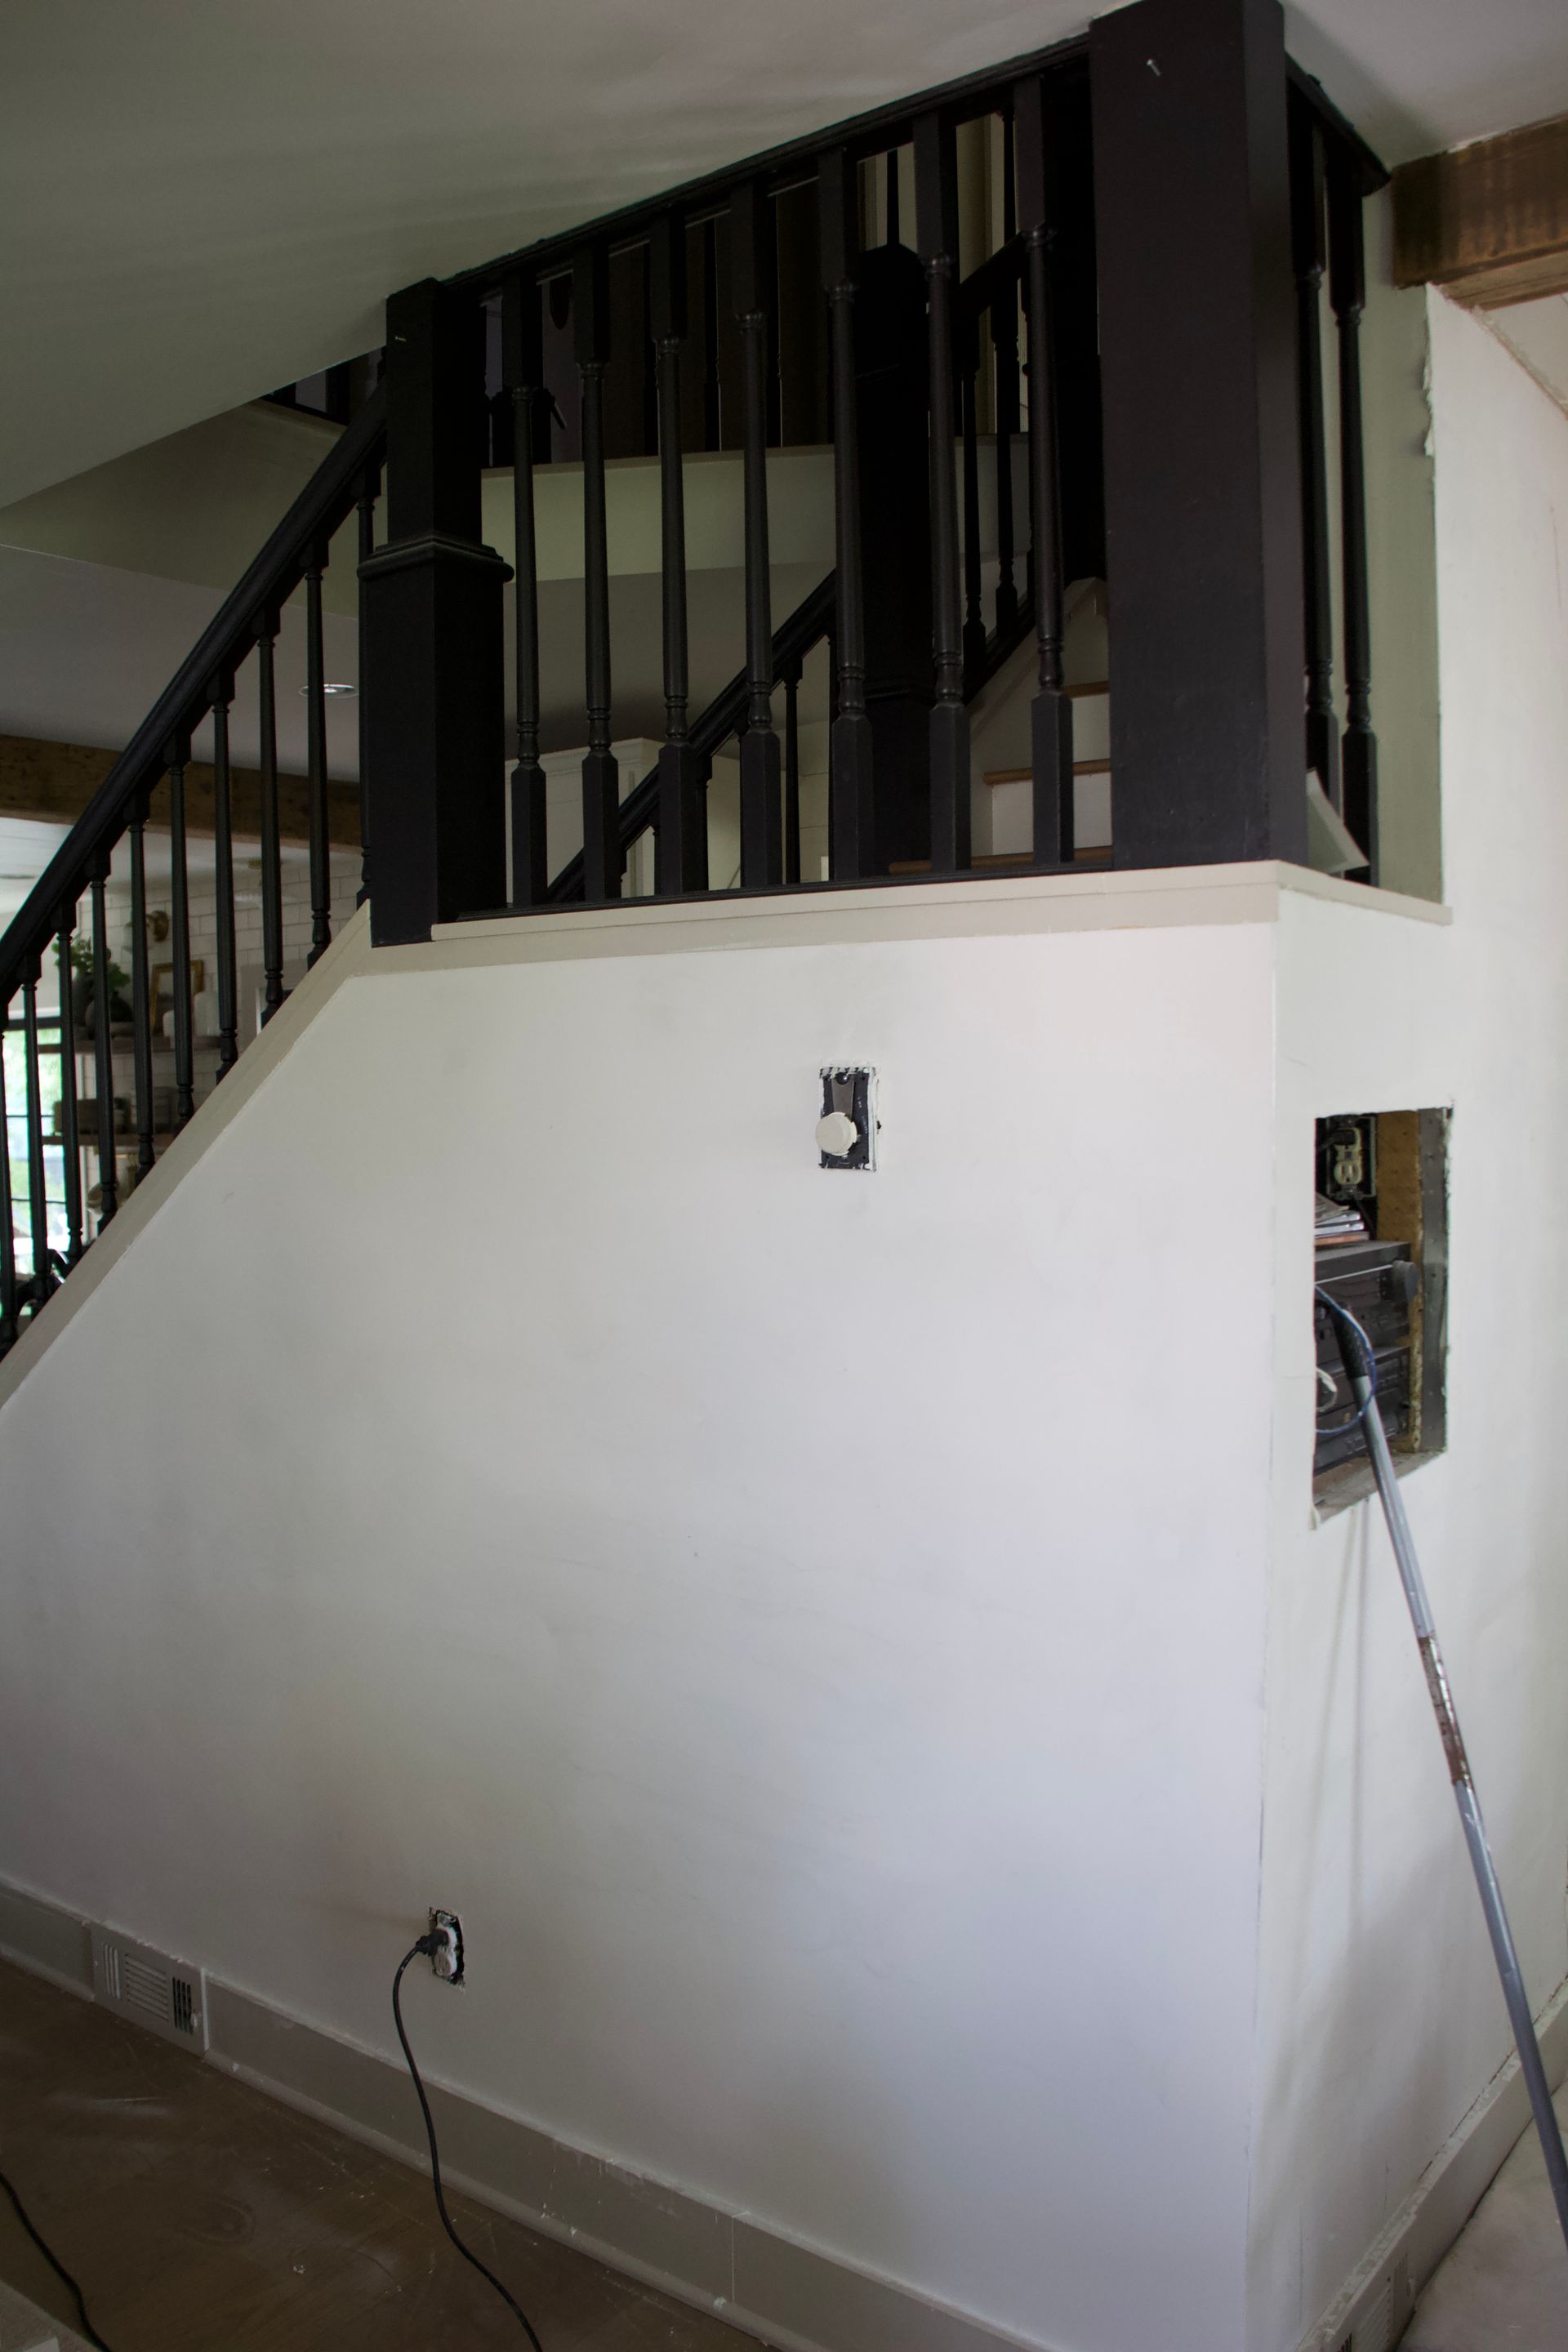
Yes, you read that correct, Bye bye shiplap. Not all of the shiplap in our house is going Bye Bye but some is officially retiring. This area was actually my first wall I ever did shiplap on, and you can tell. The qualify is not it, the boards don't meet in places so it's time to take it down and for something different!
I am going to show you how I prepared the wall in steps below incase someday you decide to take shiplap down and was to restore the previous wall as best as possible without getting all new sheetrock!
Note, there is nothing wrong with the before by any means and I loved this look for quite some time, but I have a vision of what this could do and I was itching for a project I could do. So now it's happening!

Step #1.
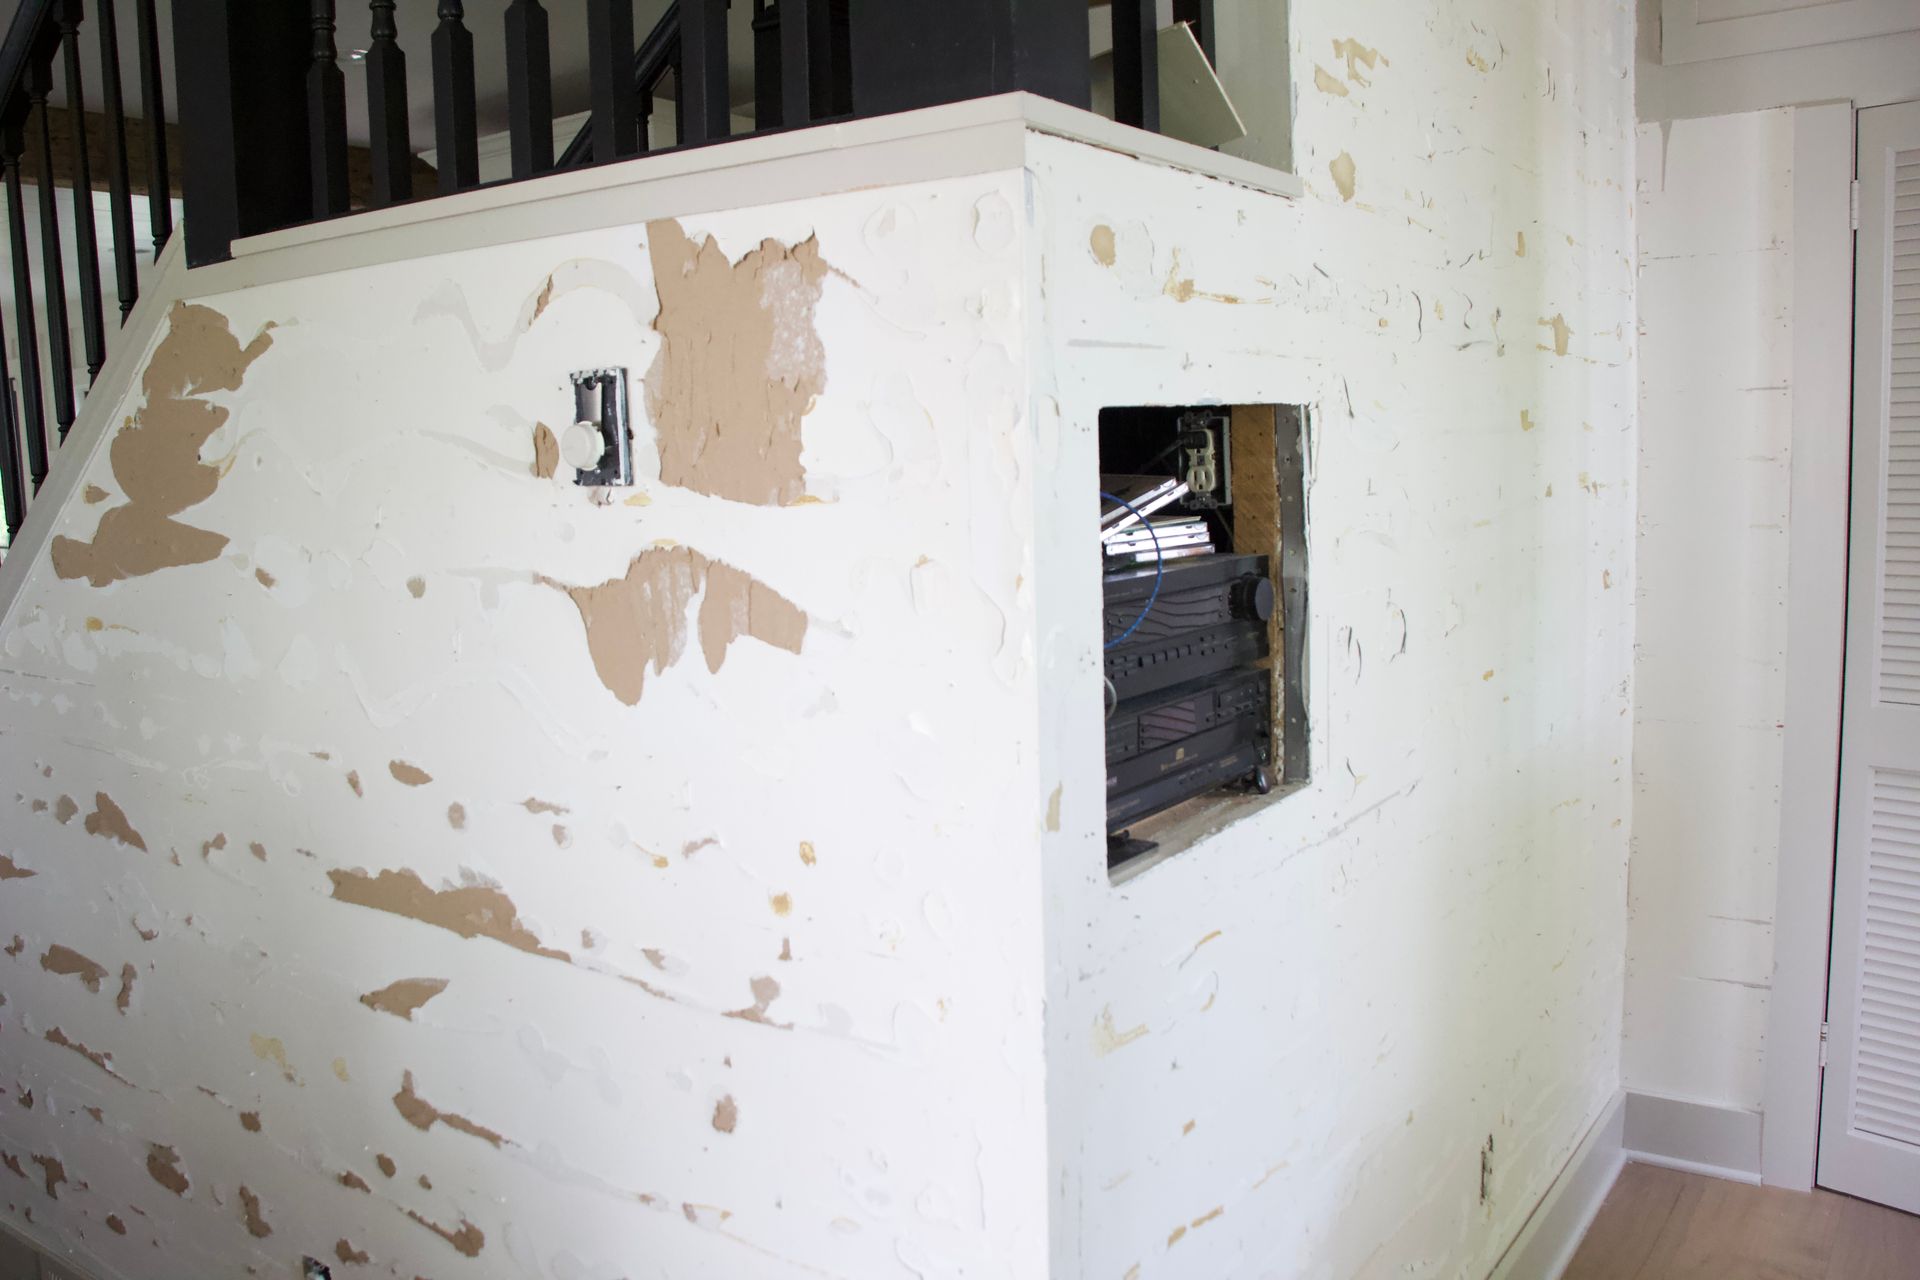
Tearing off is the easy part. And let me tell you why I don't recommend ship lapping with glue another because it completely dissipates the wall. Defiantly a lesson learned after finding this out. The paint and nails of the ship lap hold up just fine and wont wreck your walls nearly as day as the glue will... Boy oh boy did the tearing off step make a mess let me tell you!
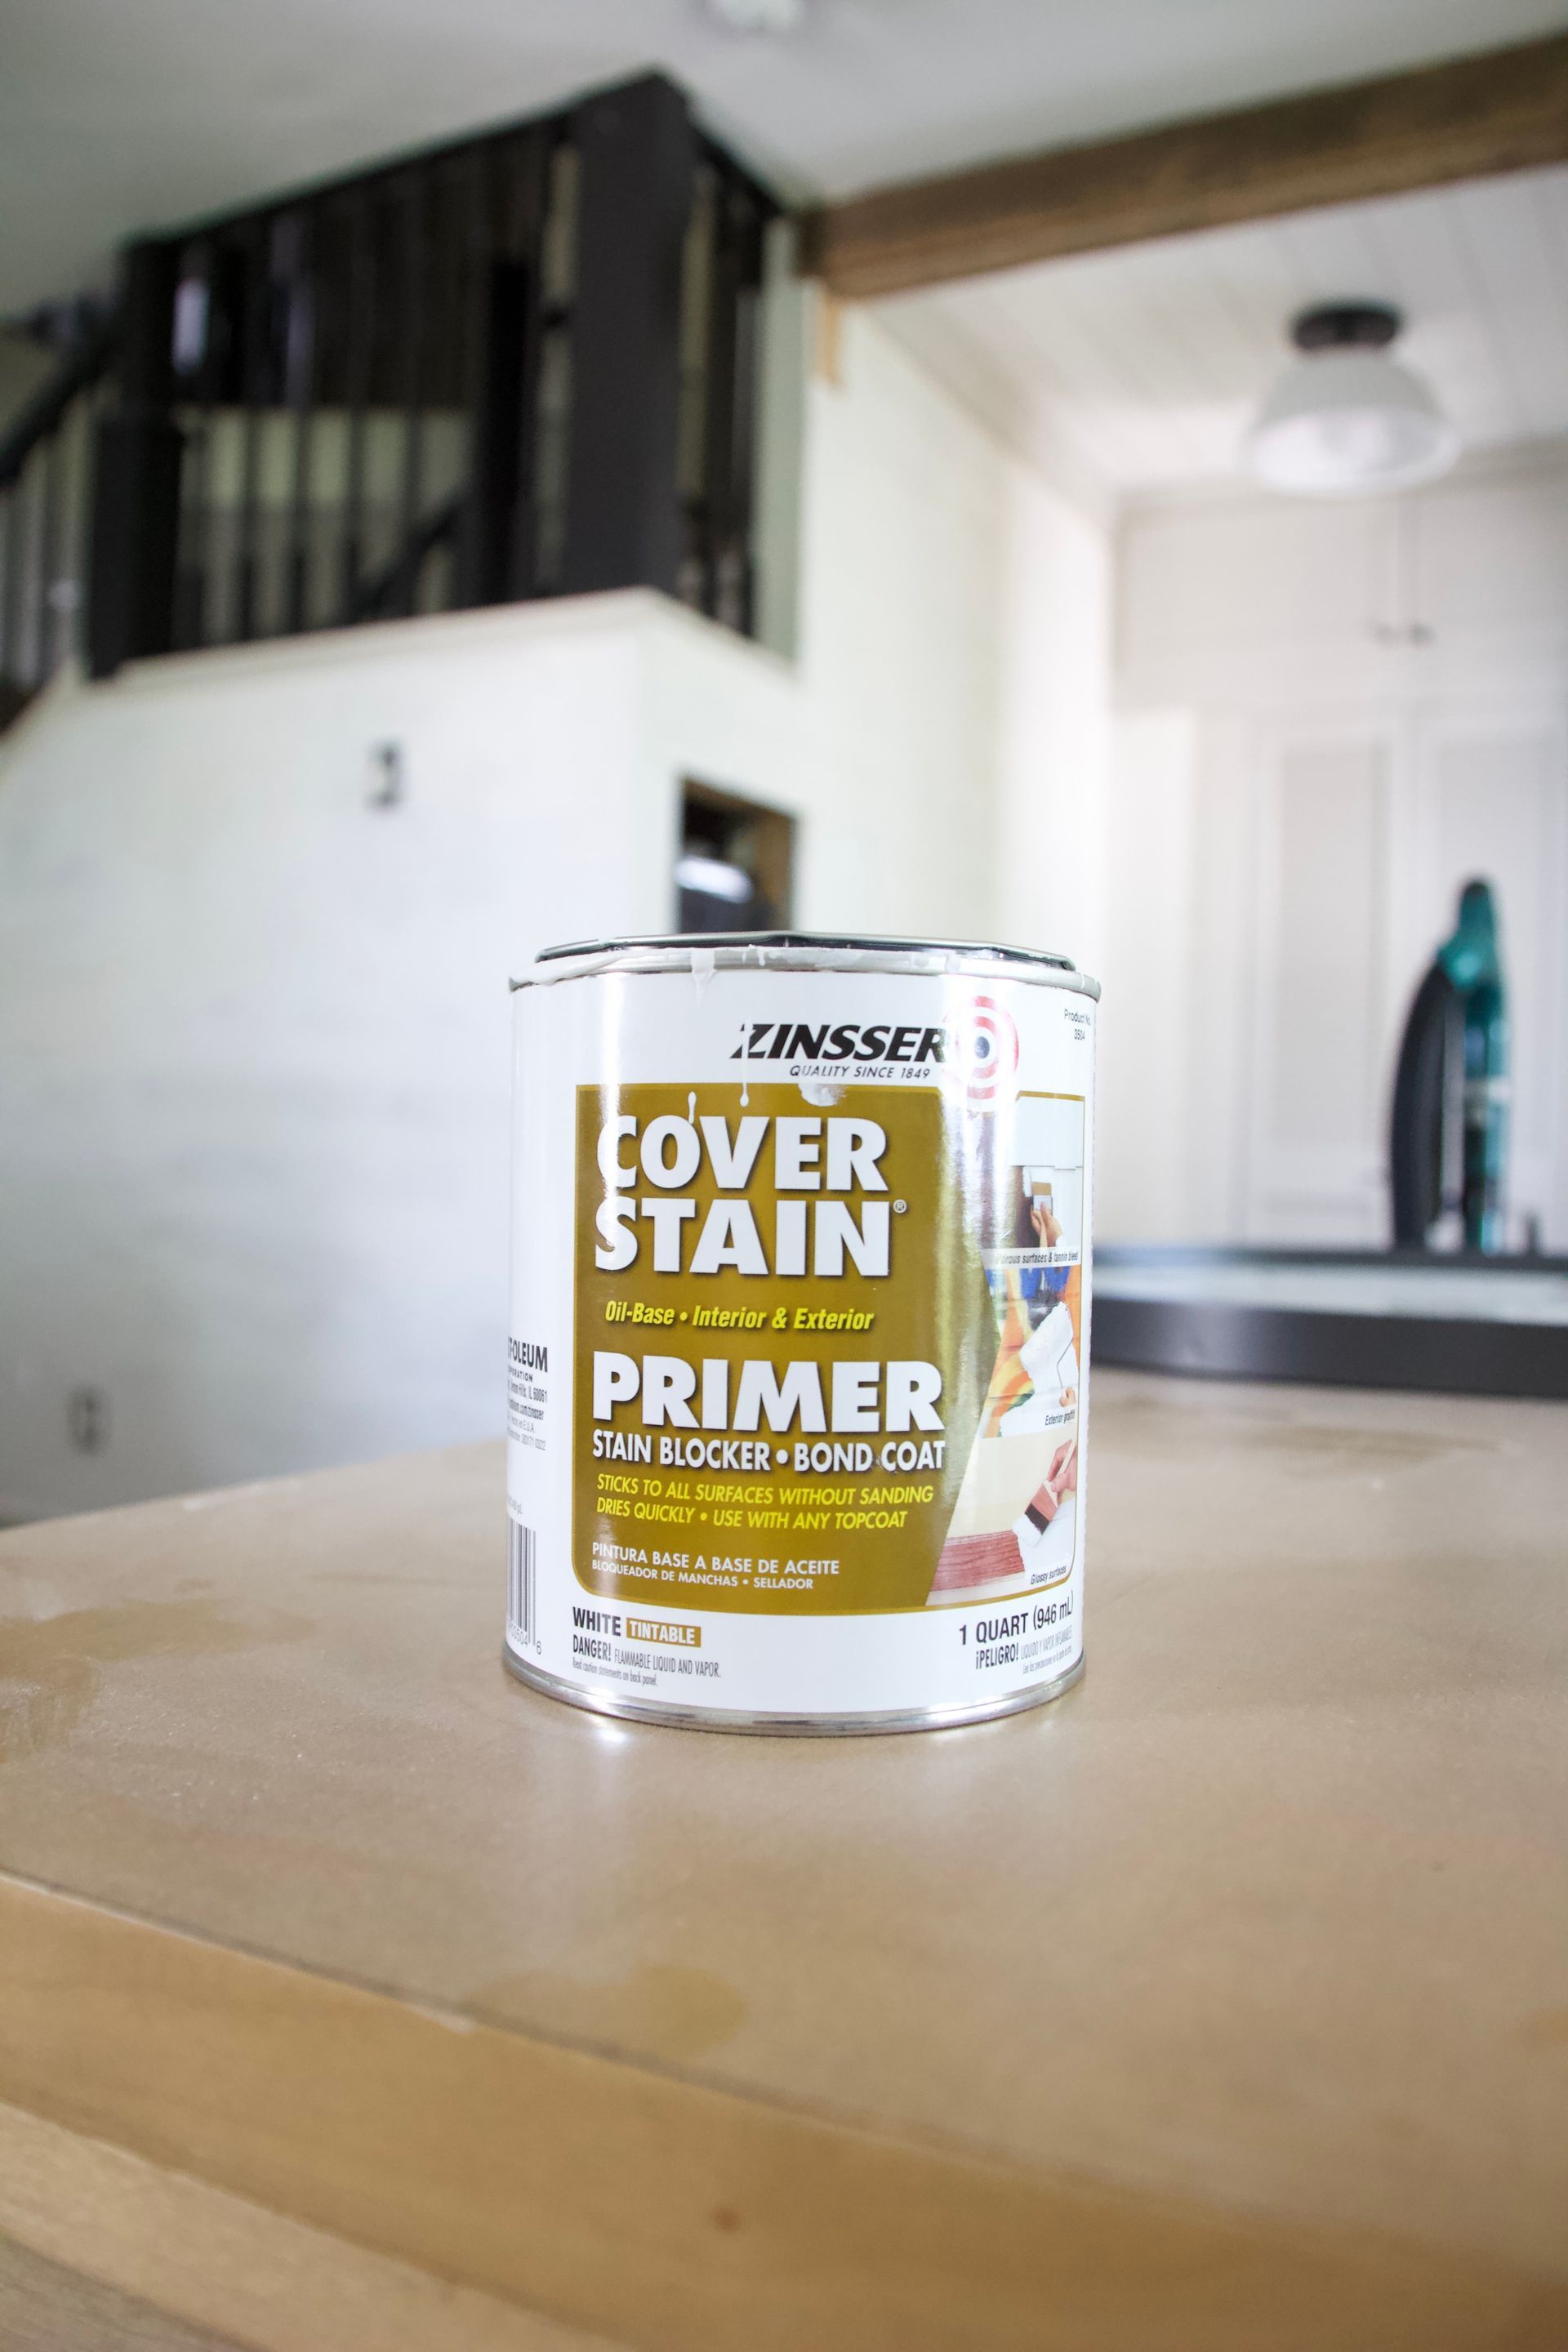
Step #2. I used this Primer to seal the raw open paper next.
This is the part during projects especially demo ones where I think to myself "Why am I doing this?" But then I remember starting is the hardest part and now I am committed to doing it!
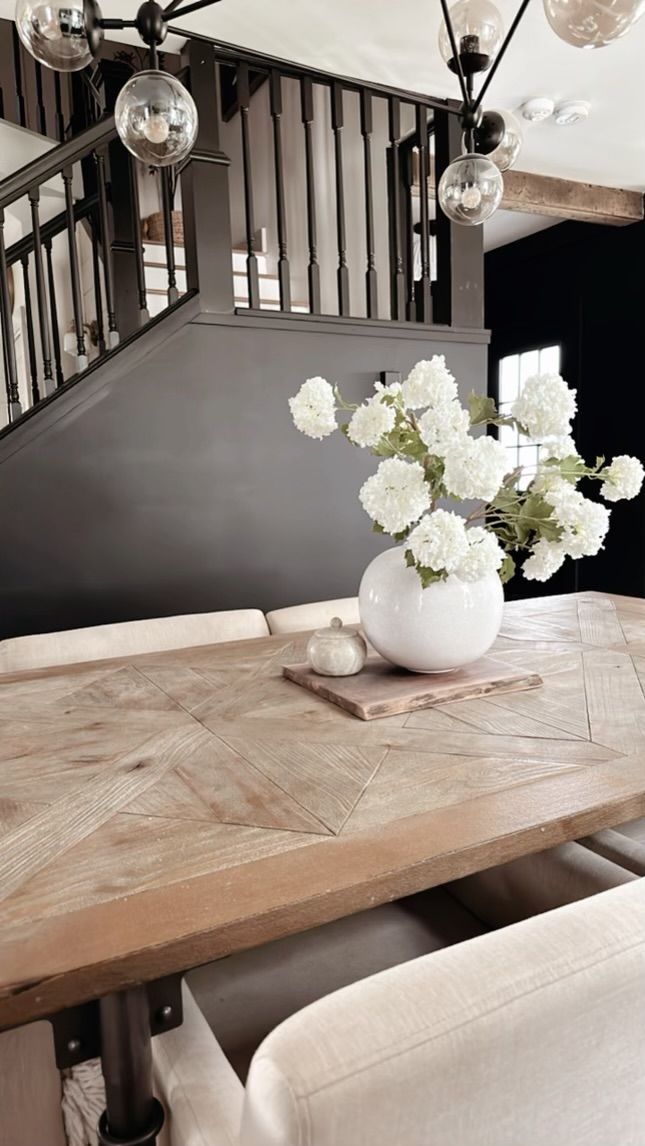
Notice the dust on the table, Lol that's what my entire house looks like right now!
After sealing the raw paper I wanted to try sanding the wall before doing anything else to get it smoother, but I wasn't sure if it would tear more or not. It didn't tare and helped smooth out very well! I use this cordless Dewalt Sander that works great with fine grit paper.
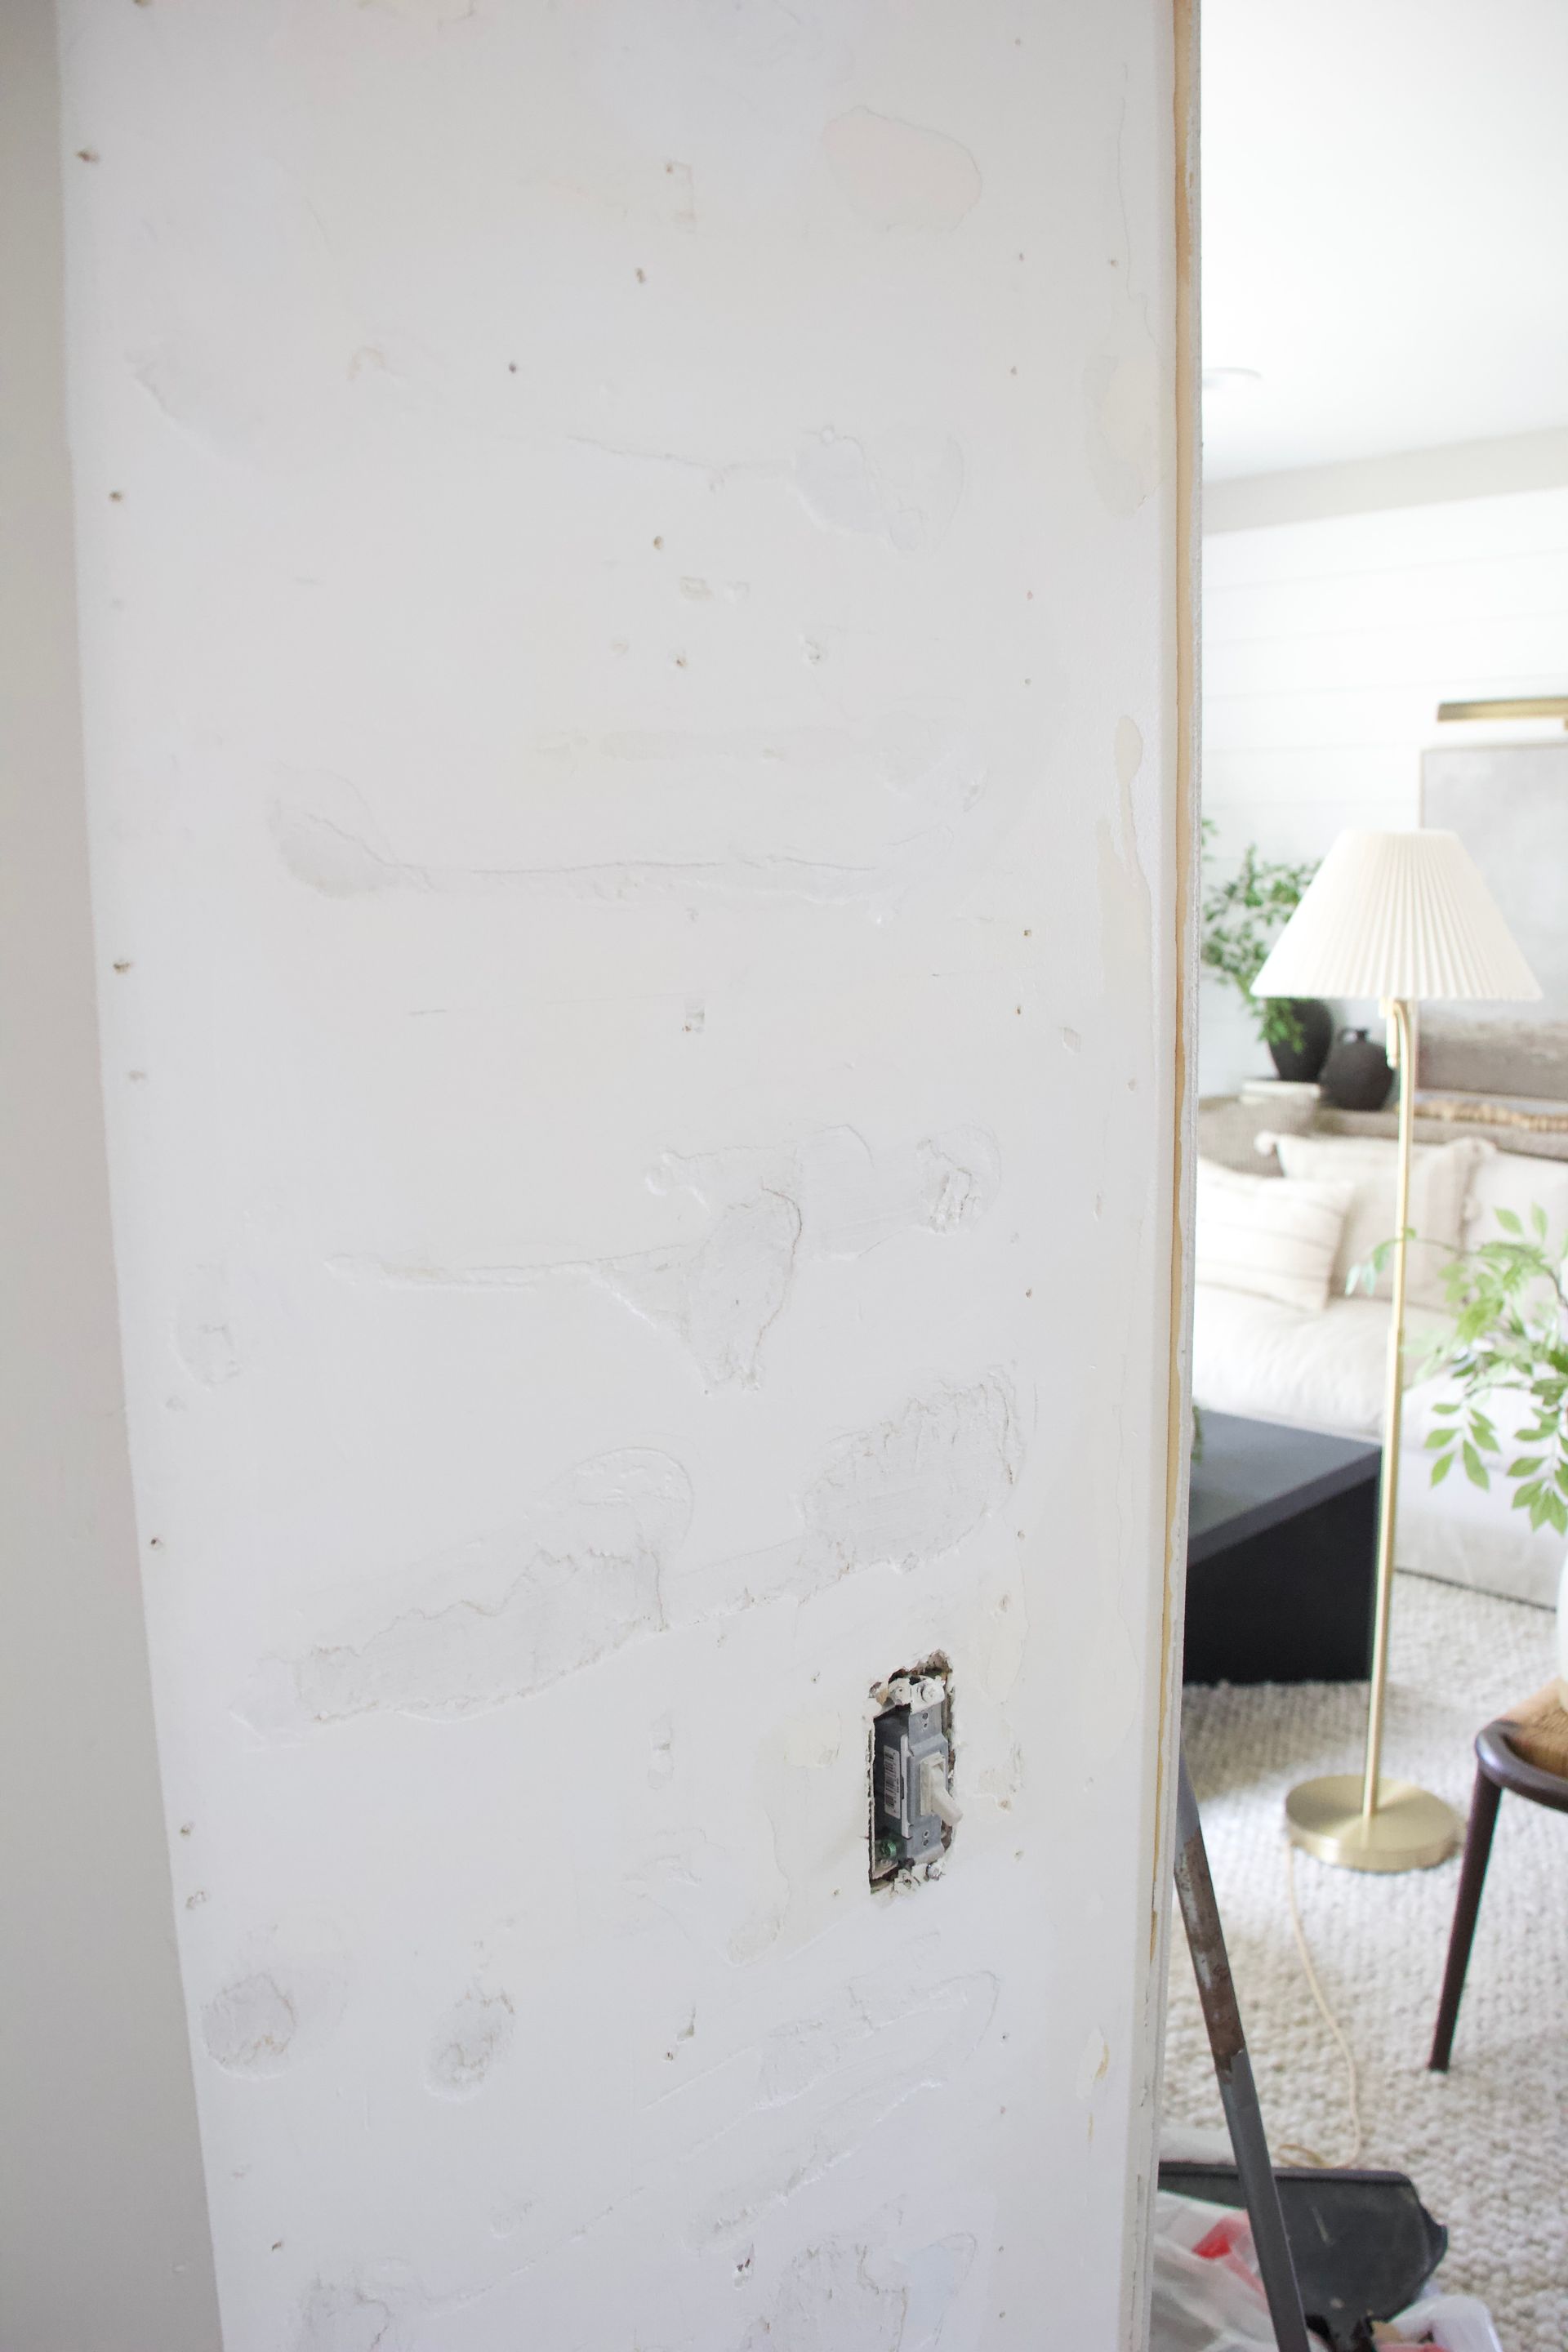
This is what it looks like up close after sanding. Defiantly needing to be filled.
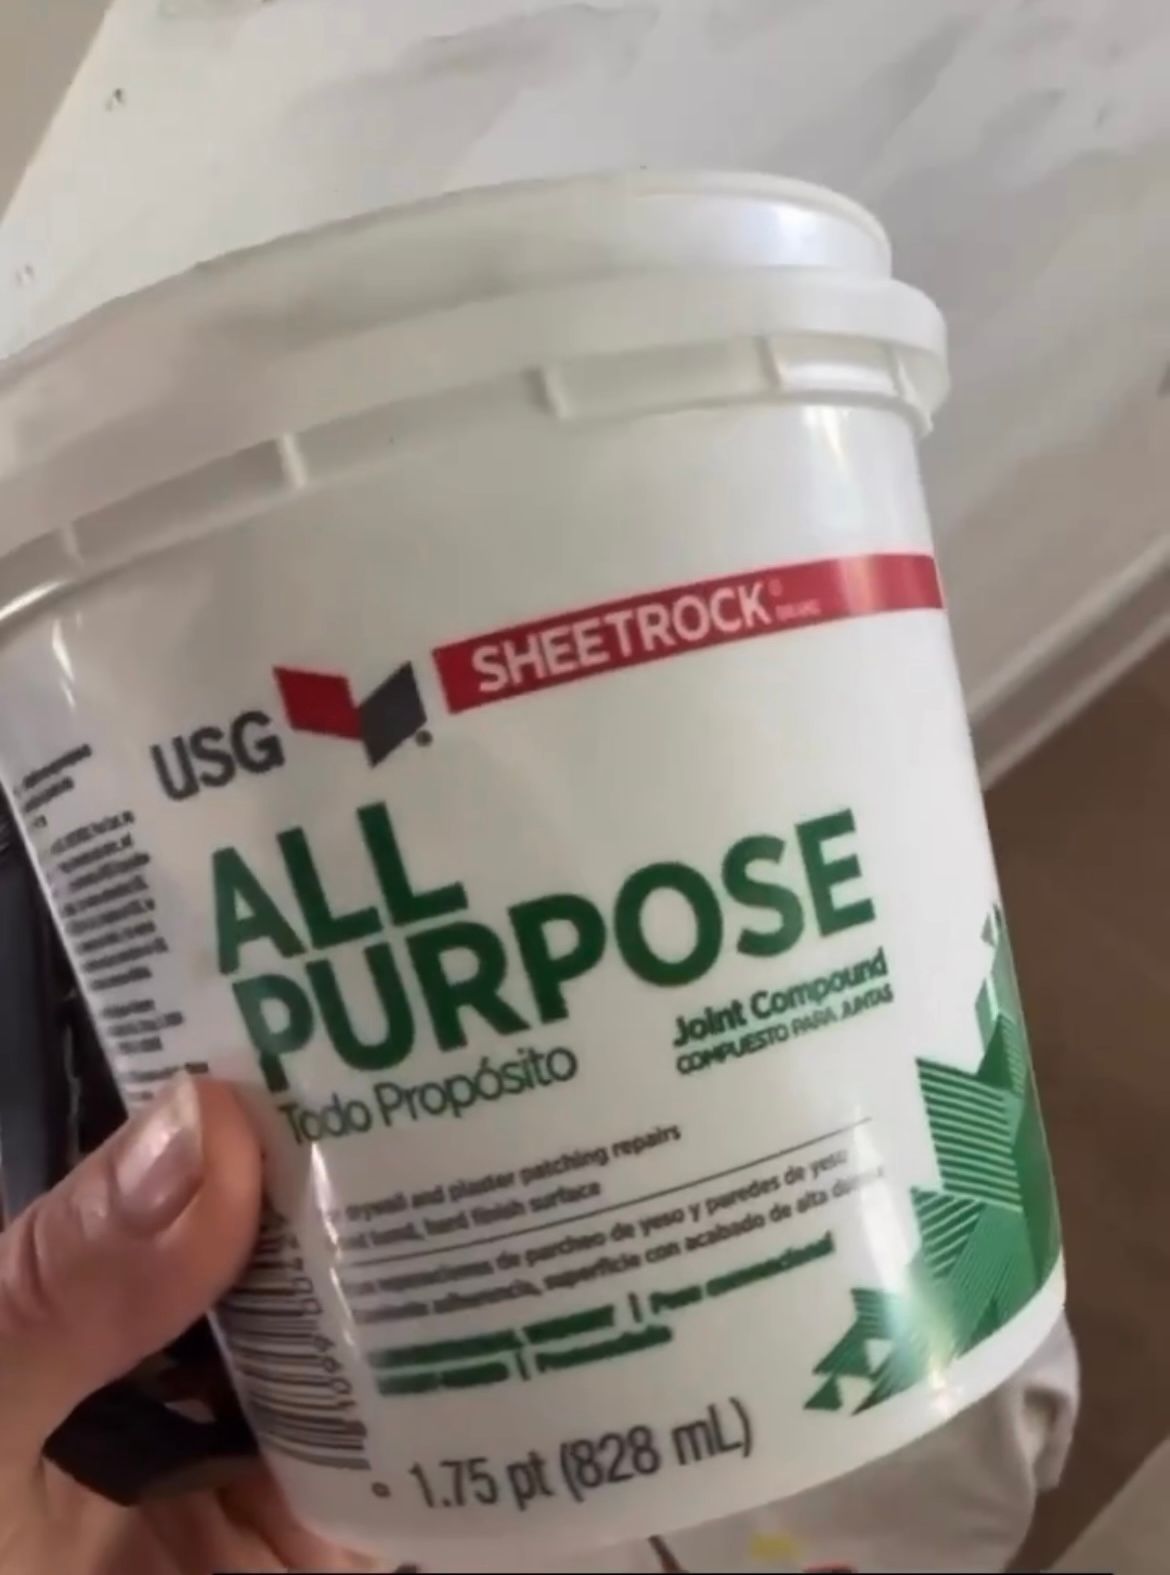
Next step - We used this All Purpose Sheetrock compound to fill the deep holes before did a skim coat. I filled every hole until it was level with the sheet rock as much as possible. There might of been more holes than I realized LOL. Before we skim coated next, I hand sanded all the walls again to make sure it was smooth for the skim coat to go on.
Ryan showed me how to do skim coat with drywall mud. There is a big of a technique to this process. But for us non-perfectionists I got it as good as I could and said, "good enough!". After that guess what, more sanding. Last and final sanding job praise!!!
Then I put on a coat of Zinsser primer + drywall primer before PAINT!
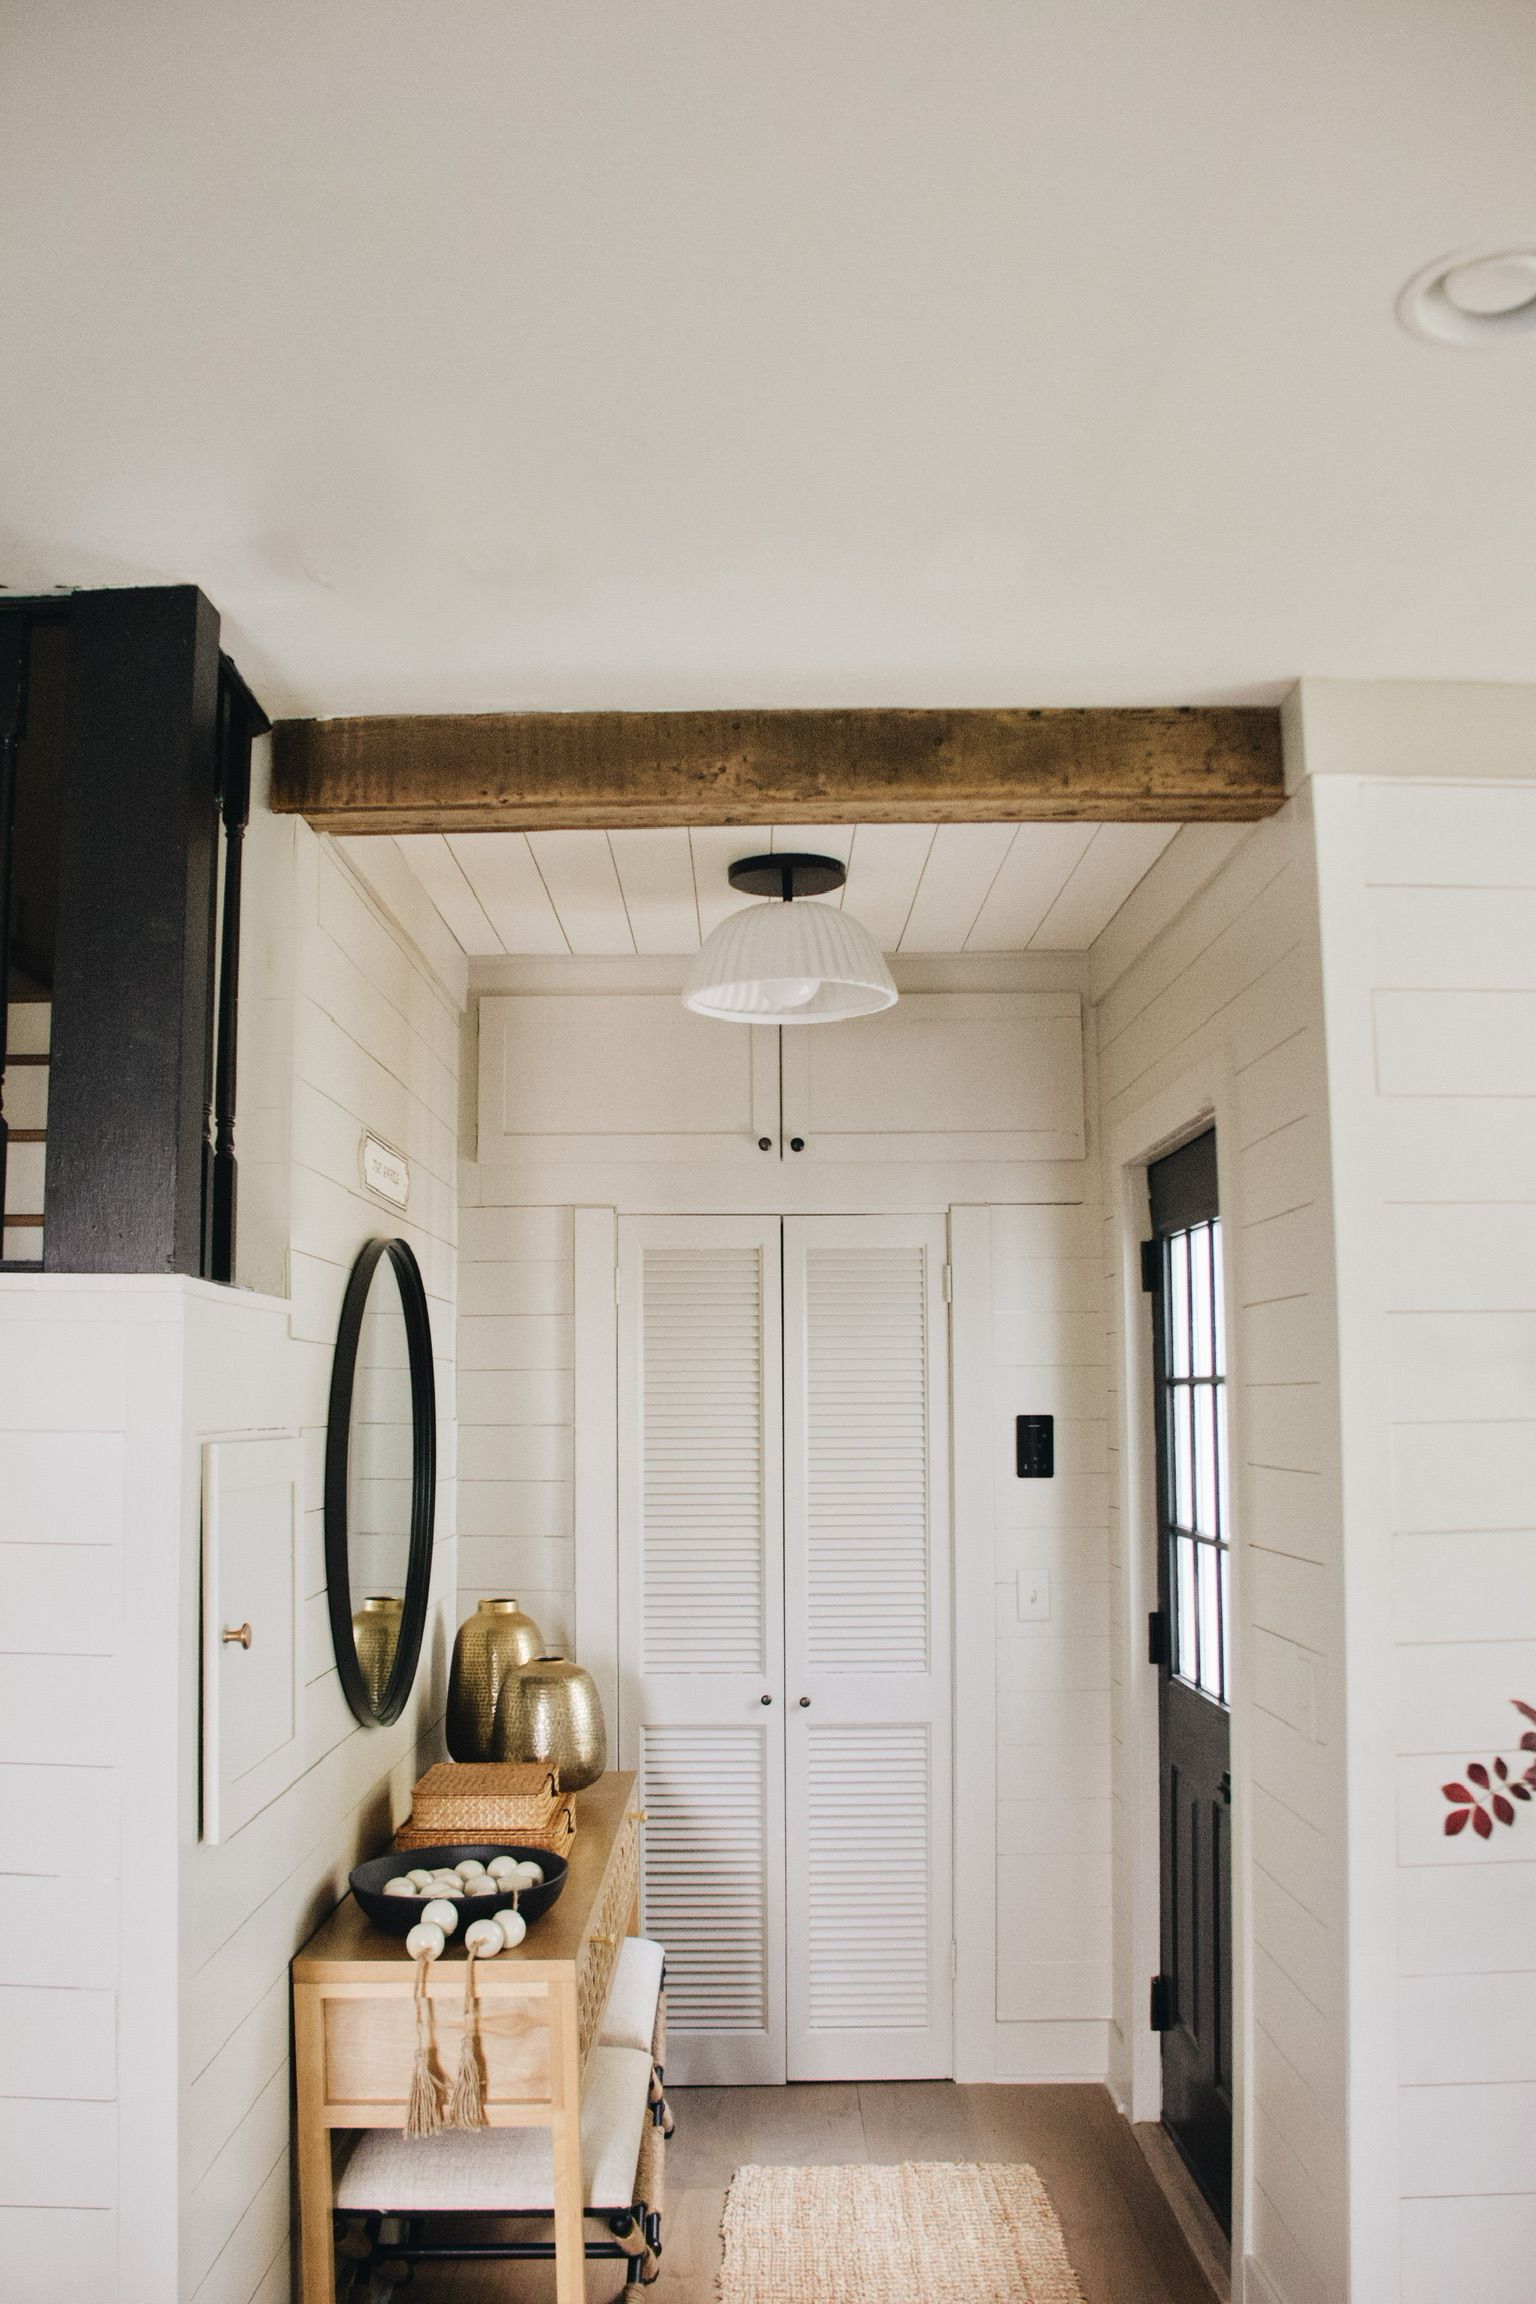
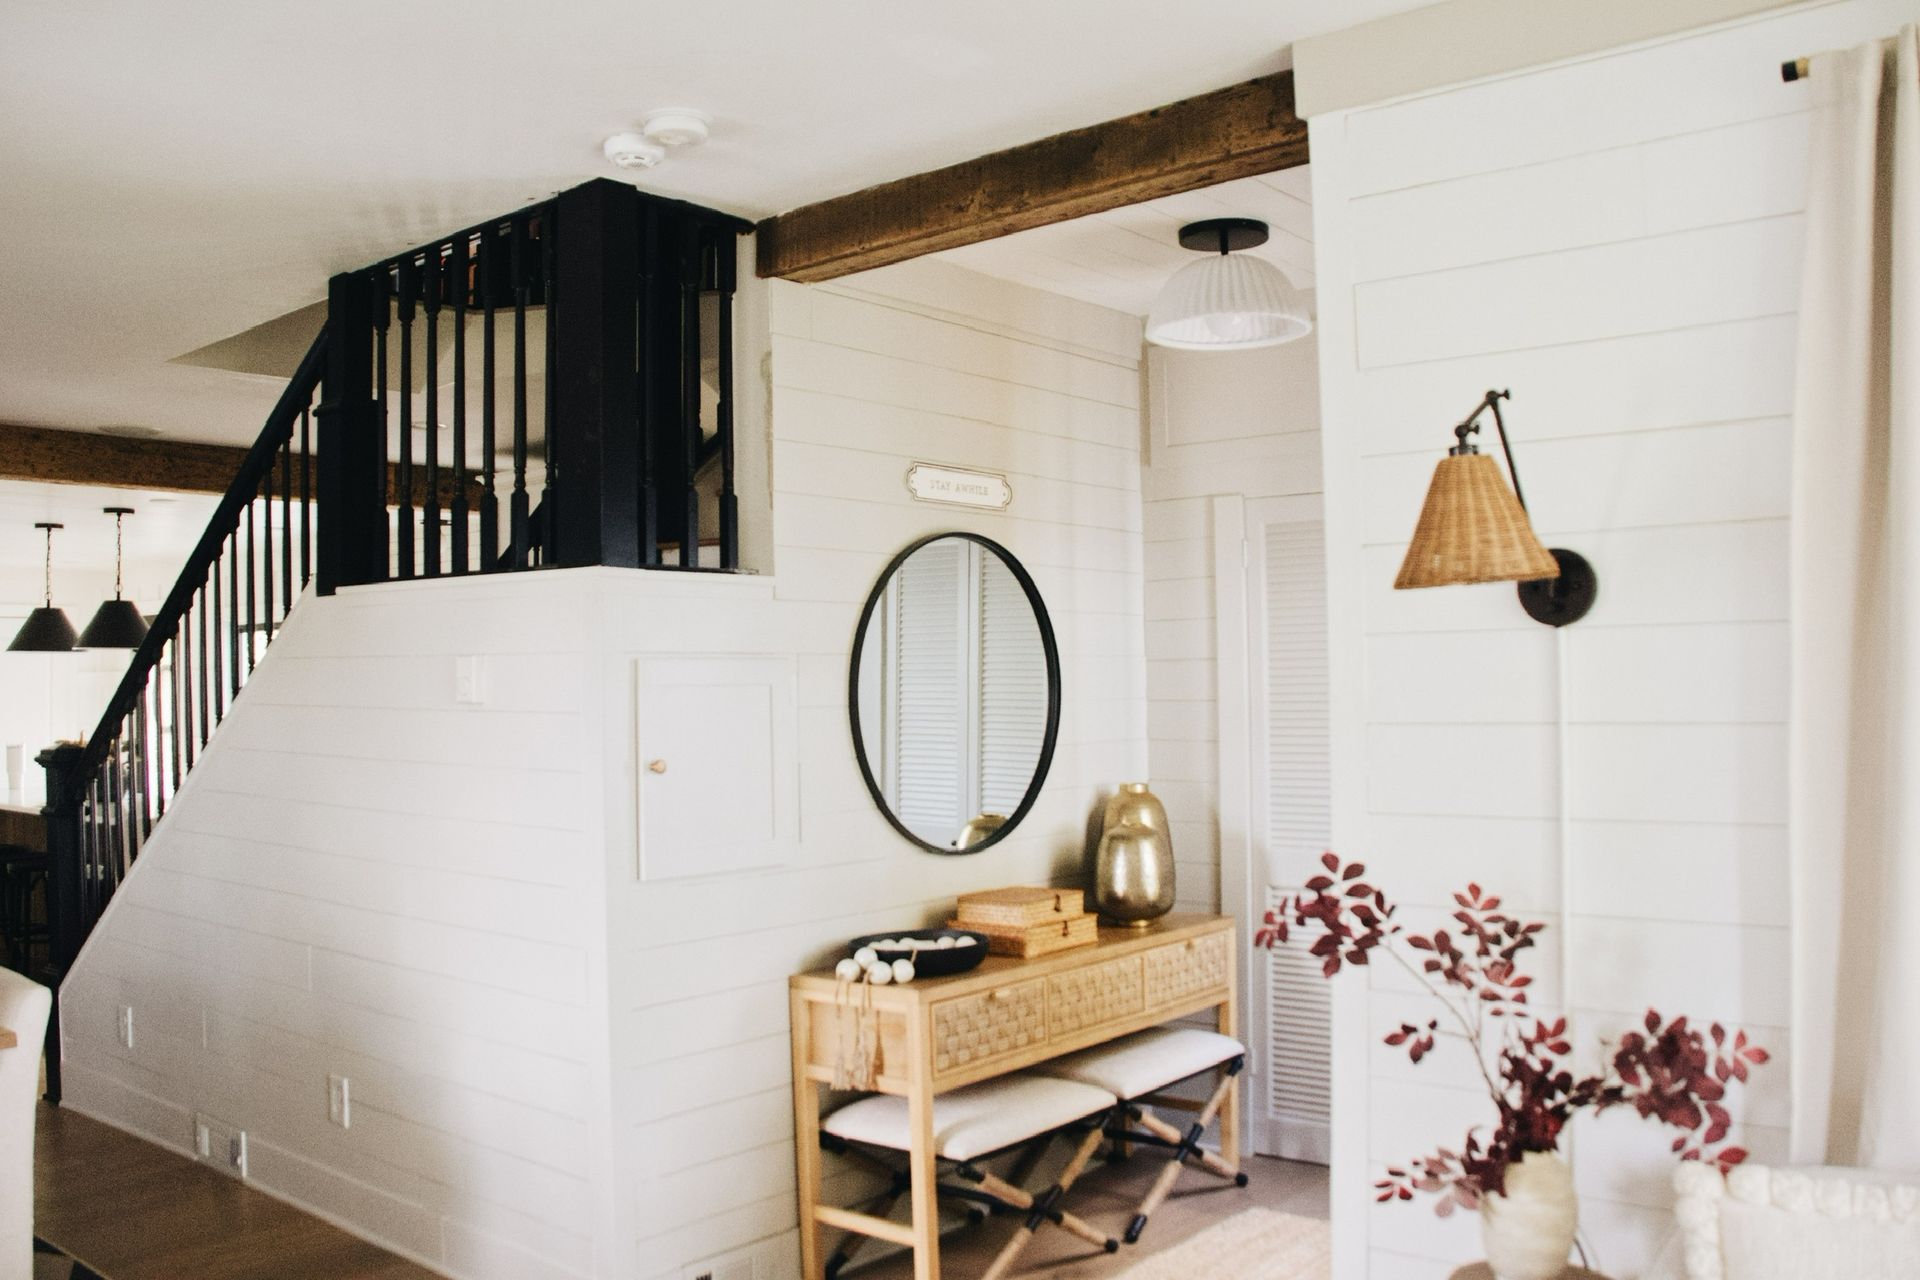
After
Ta Da!! Did you think it was going black?! Watch the reel above to find out what I am really doing to this wall, I can't wait!
I knew this would be a job but holy smokes I didn't realized how big of a job it would be! Now that the tough and messy part is over, I can move onto step #2!
Stay Tuned!!