DIY– A Painted Rug
I have decided to work on Kynlees room and try to pull it all together the last couple of weeks. I knew I didn’t want to spend much money so I’ve done a few projects that cost little to nothing. The first I’m going to share is a painted rug.
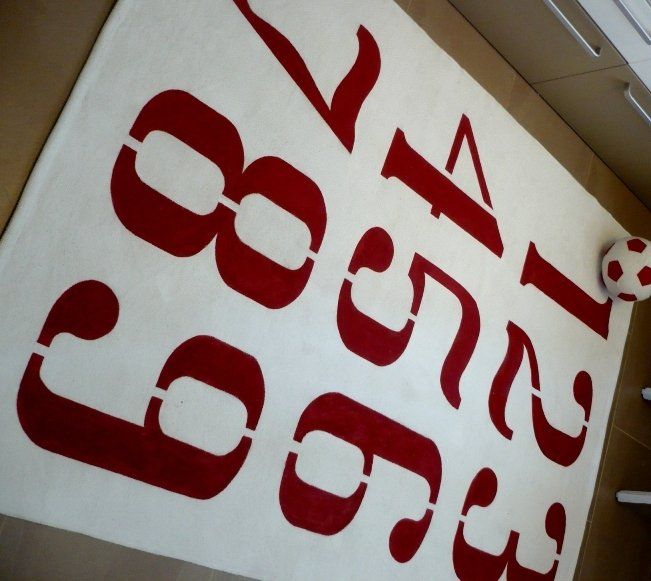
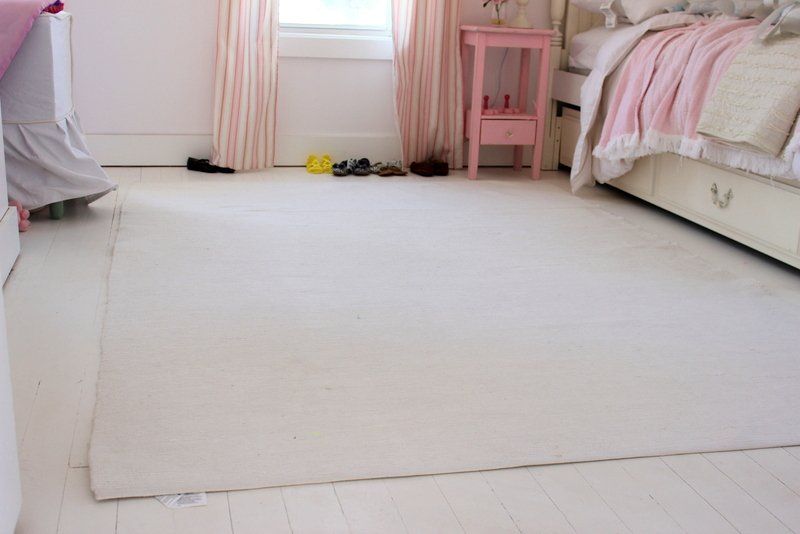
I had bought this rug from ikea a year ago just to help warm up the floors a bit.
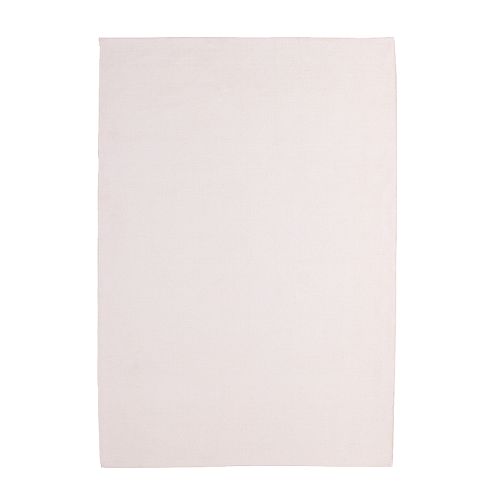
As you can tell, my fear of color and commitment once again played into the factor on this choice. I also loved the price tag of $40 and knew that if I ever wanted to change it out in the future, I haven’t spent much. Then I was noticing a trend with these rugs in the blog world…people were PAINTING them! Genius!
So, I’d love to say I came up with this idea, but I in know way did:)
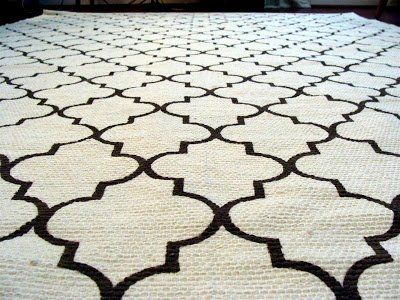
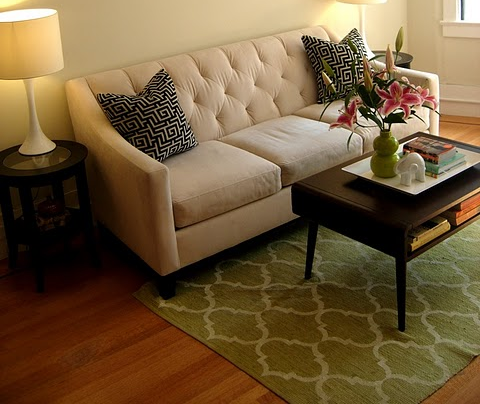
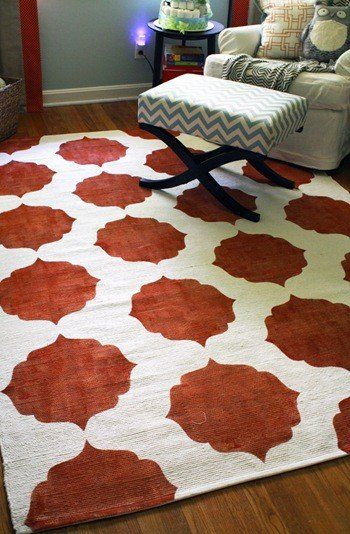
Here are some of the great rugs I saw…
So, I started off on my adventure. First I needed to cut a pattern…
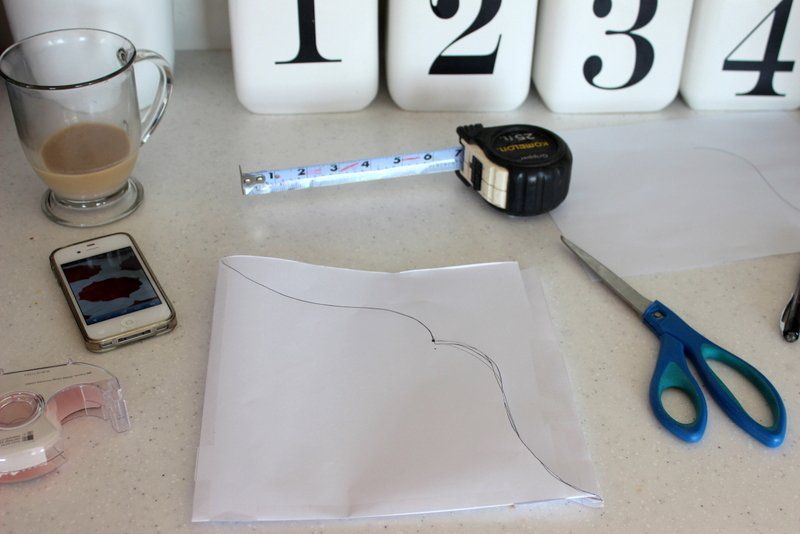
I ended up taping a few pieces of paper together to get them big enough, then I folded them into fourths. As you can see, coffee (with a tiche of creamer:) is essential for this part! Then I drew to the best of my ability the pattern I wanted.

Since the paper is folded in fourths, it ensures all the sides will be the same. Perfect!
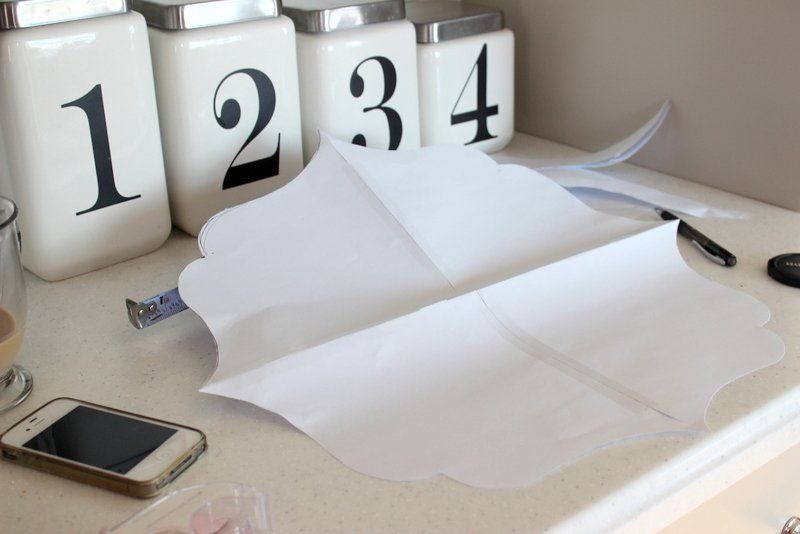
Now I have my pattern.
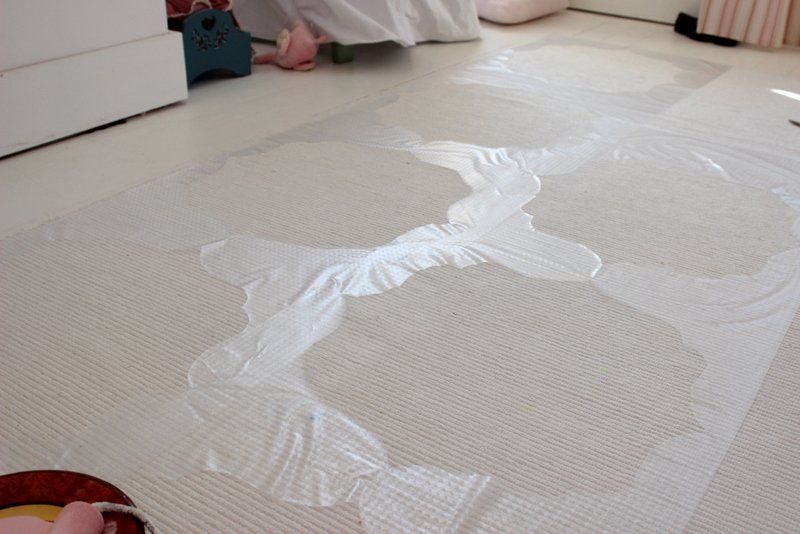
Next I bought clear contact paper and cut a piece as long as my rug was. One roll only did about a row and a half, it would’ve been kinda nice to have 2 complete rows, but we went with it.
I didn’t get pics of every step, I always forget to stop and photograph during a project, you’d think I’d learn! But, contact paper is nice because it had a grid on the back so you can easily space and make sure your pattern is straight. I traced my design on and then cut them out. The trickiest part was laying the contact paper down without too many wrinkles.
Here’s how Kynlees rug was before..
and then I laid down a row and a half of contact paper..
and once that is done you get to start painting. I used a small foam roller. Since it’s a rug, it sucks up a lot of paint. I bought a quart thinking it would be plenty and I almost ran out.
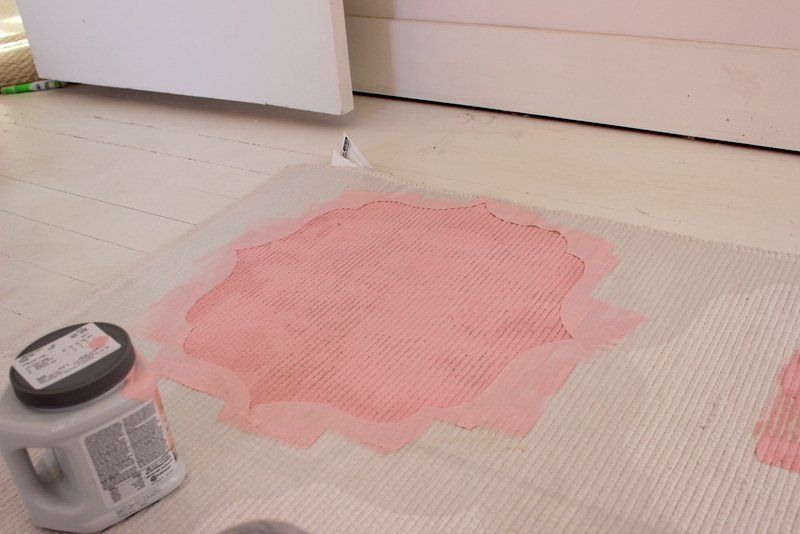
I painted a row at a time and then usually went back over them once more for better coverage, even if they weren’t completely dry.
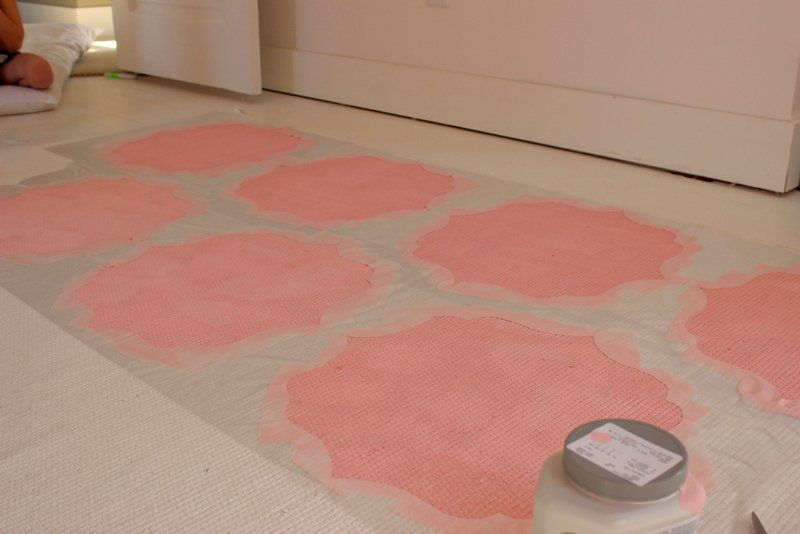
The real tricky part was moving the two rows over to do the other half of the rug. This is where you may just want to splurge on another roll of $5 contact paper, but you know me…always trying to be super thrifty:) If you can’t get it to lay down perfectly, it’s okay…just stick it down as best as possible. So…the after??
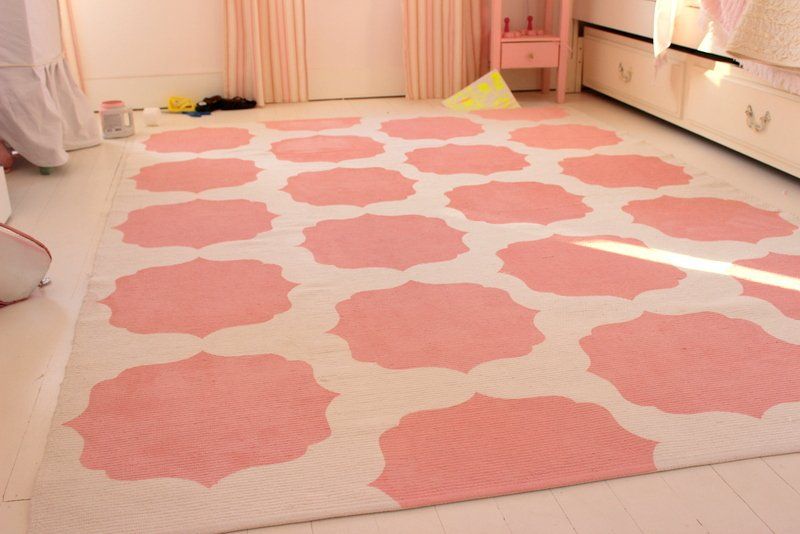
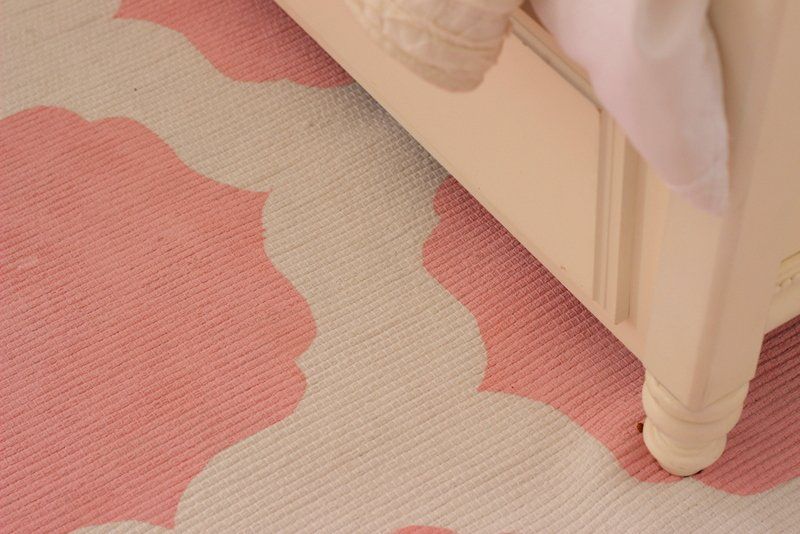
It brings in a fun pop of color. And this is how it looked once I put the room back together…
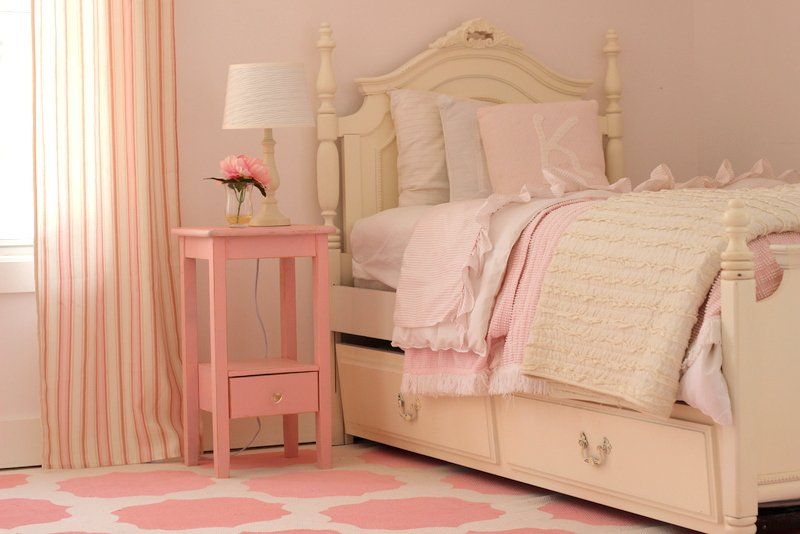
and
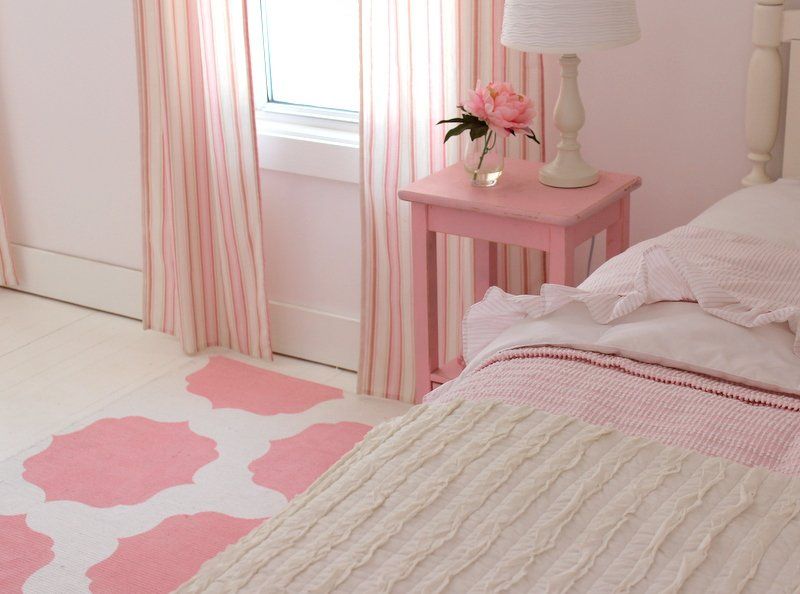
I love how bright her room gets with the super tall windows and white floors. Yes, we still have to put some quarter round around the trim:) always something!
The lines turned out so crisp though,
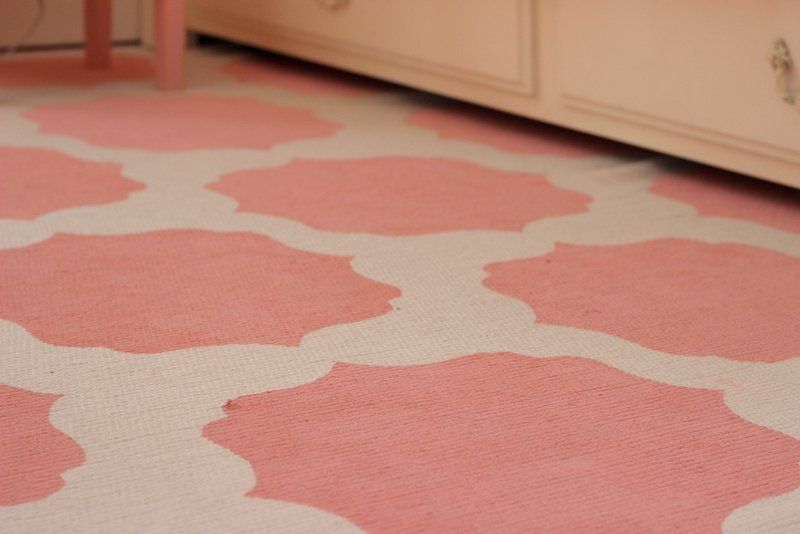
I thought that they would bleed a bit…
So this project cost me a quart of flat paint ($8), a roll of contact paper ($5), a foam roller (1??) and a lot of patience (priceless!)
*** I forgot to say that while some people put in a solution to make the paint more fabric friendly, I did not. Mostly because the nearest Jo-Ann’s is a half an hour away and I wanted it done NOW:) The paint has held up great the last month It is a little crunchy to walk on, but I have noticed it has also softened up the more “use” it’s gotten:)