DIY Master Bedroom Mantle
Master Bedroom Mantle
Our Master oasis is on the journey of getting quite the refresh!
Step by Step it is coming along. Floors, Concrete Walls, Now The Updated Mantle. When the room is completely finished I'm going to write up a blog on all of the sources so you are in the know. But until they lets give this mantle some attention shall we?!
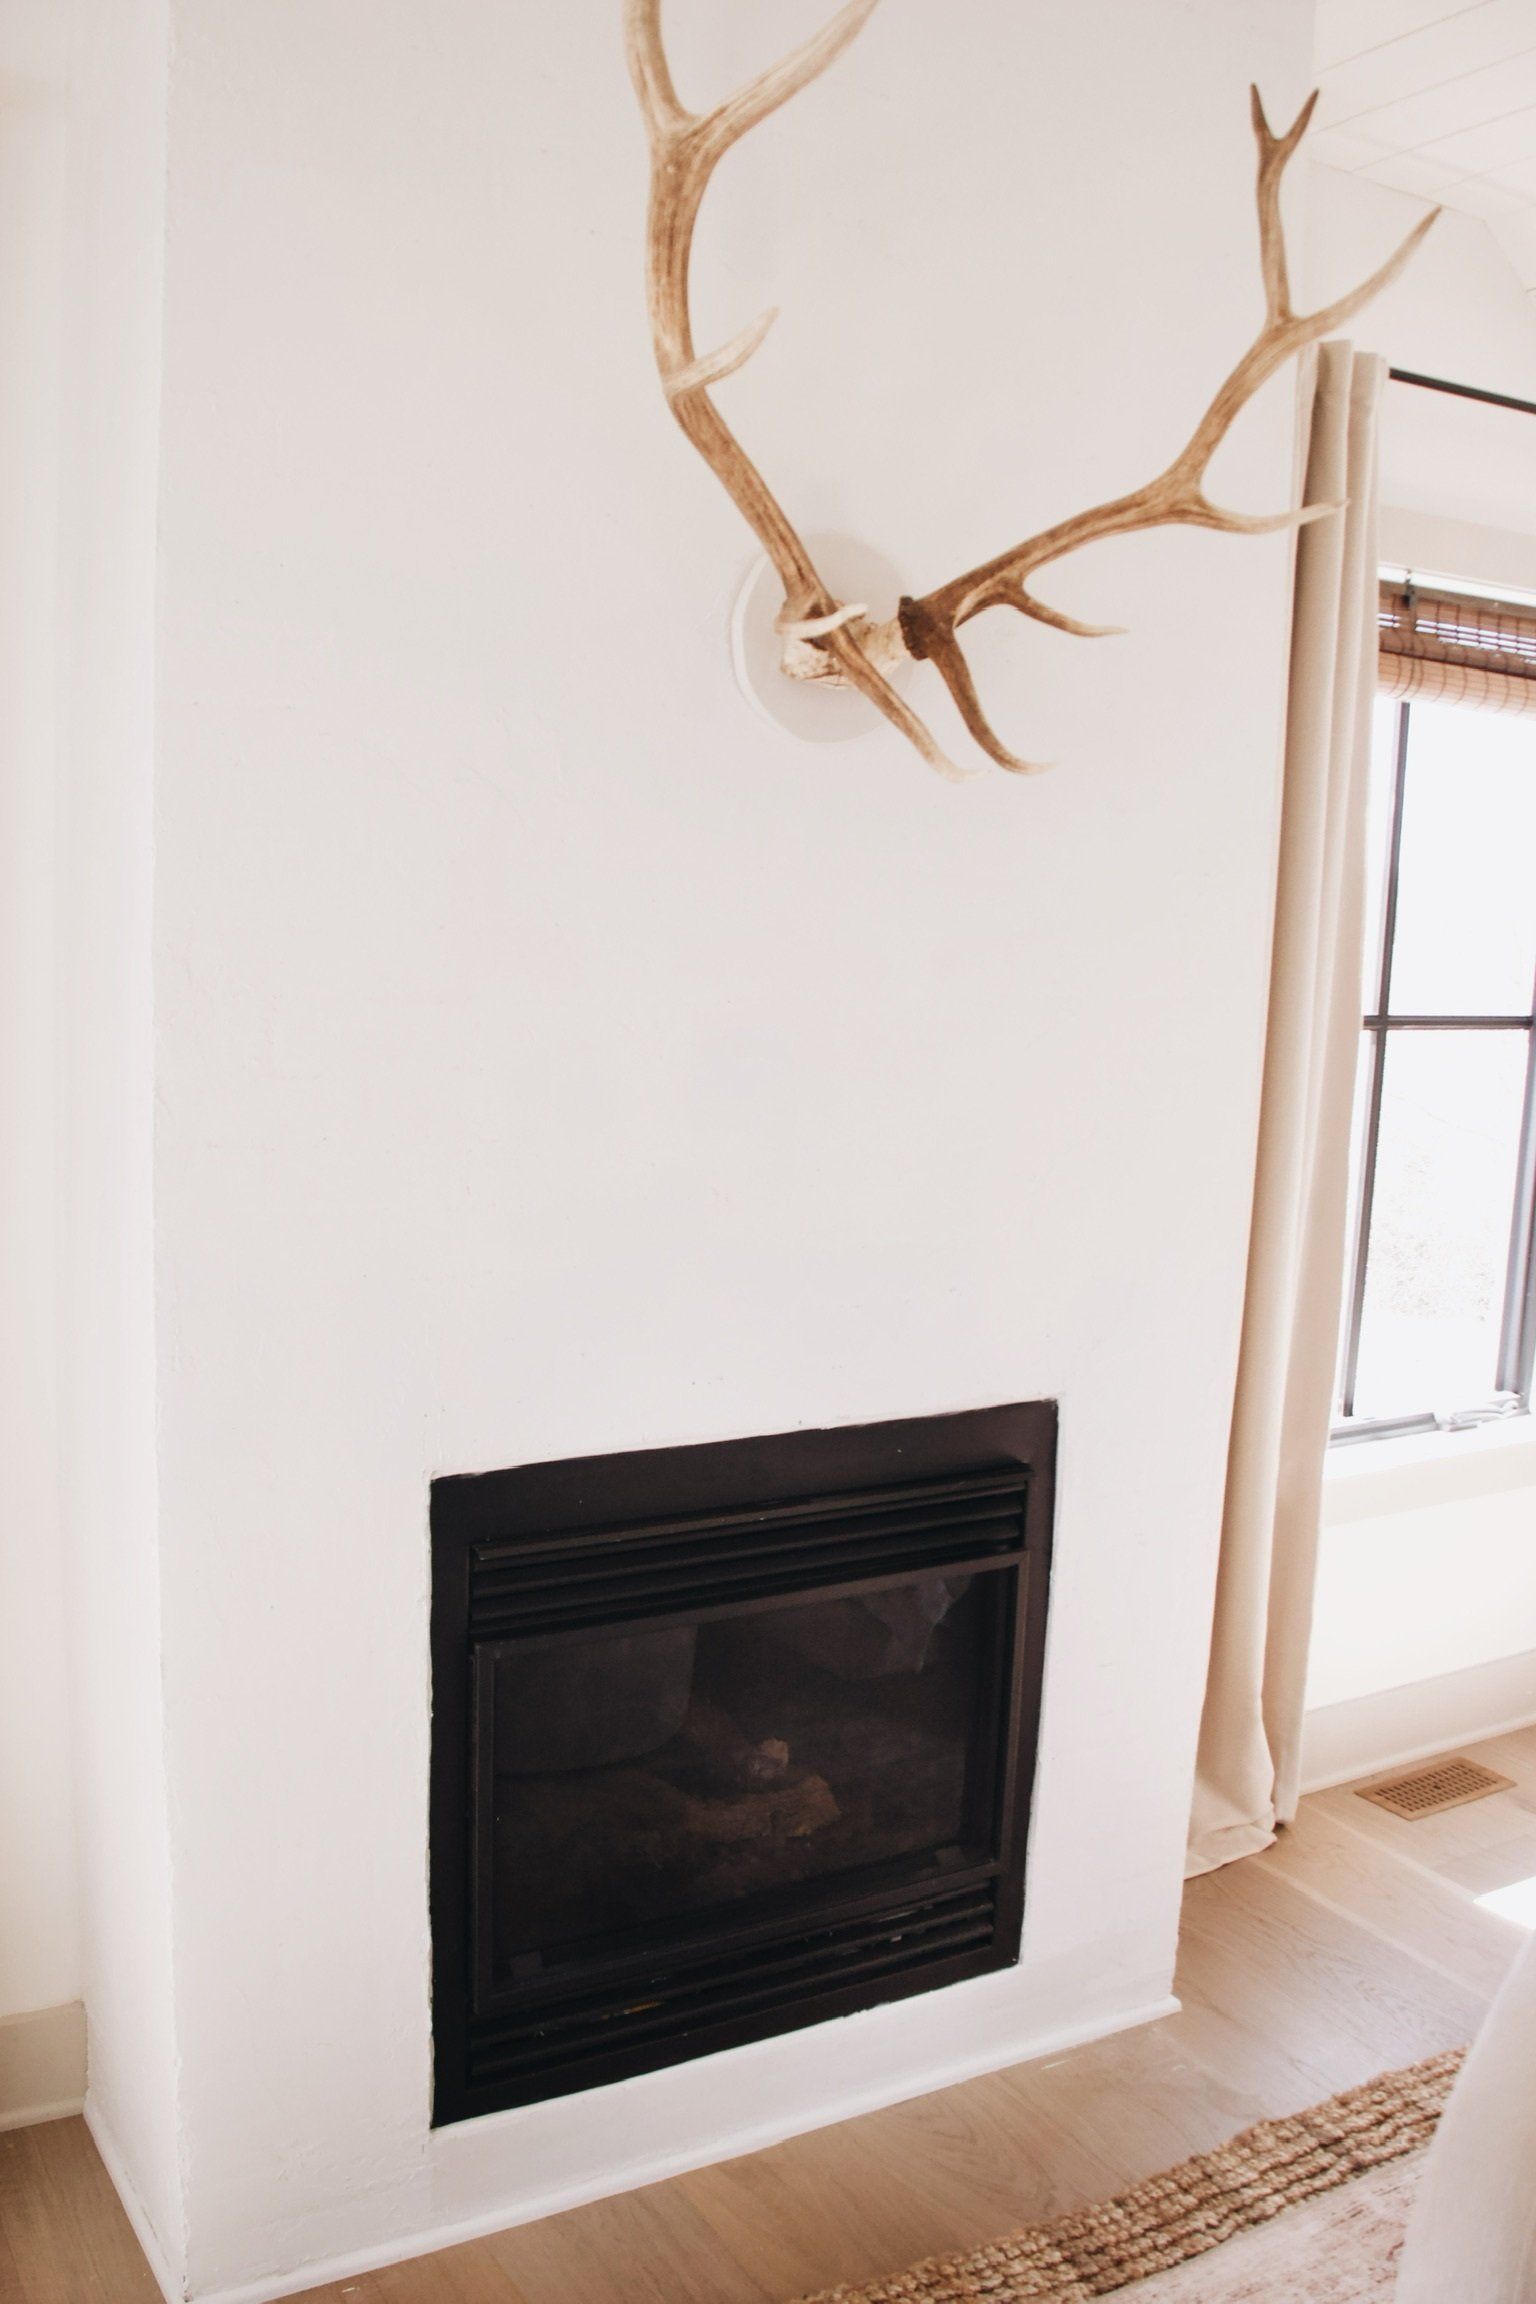
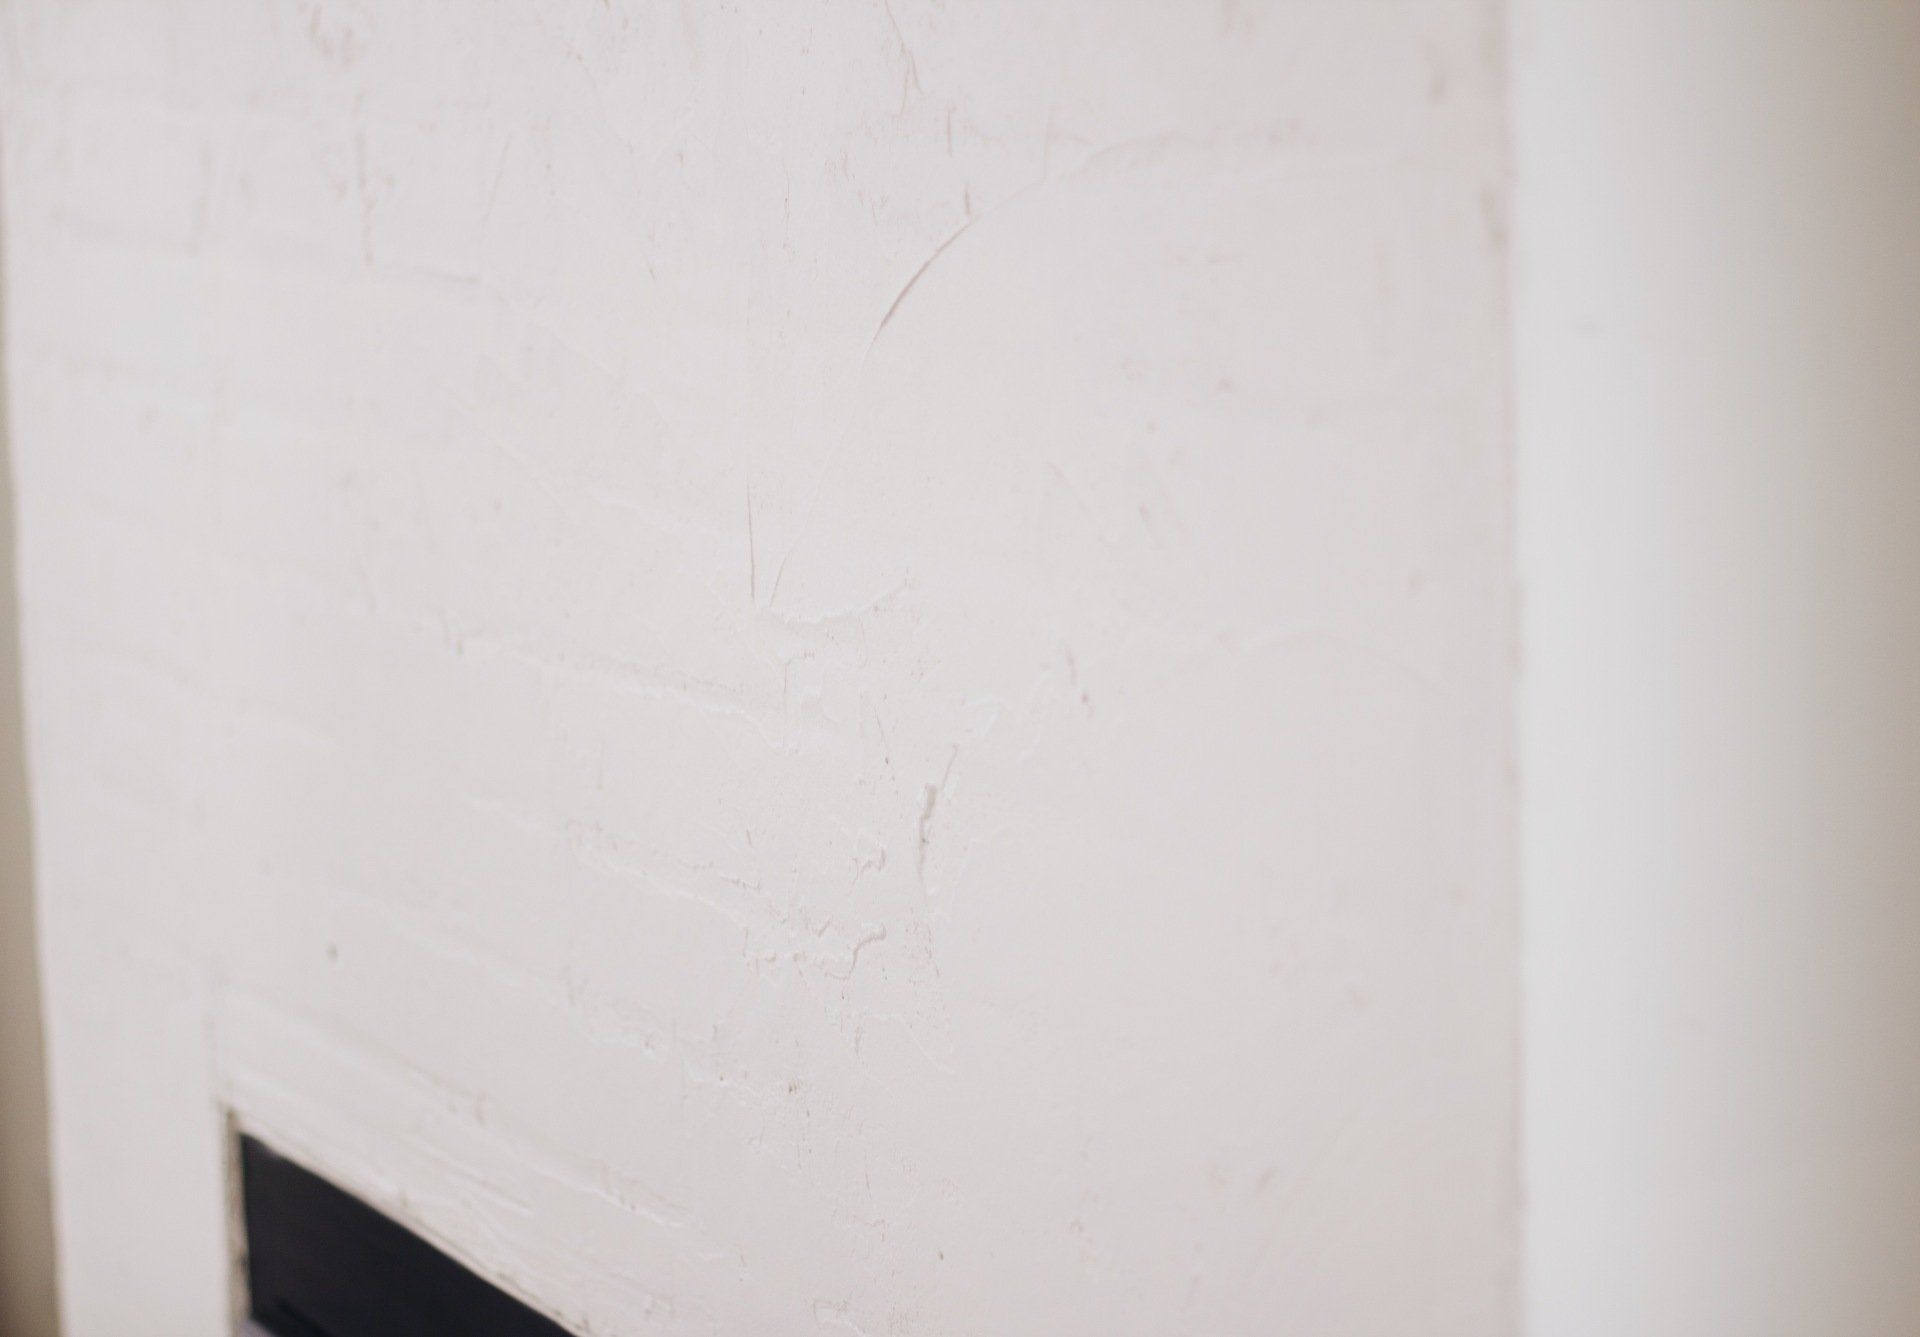
This is what the wall looked like after I finished doing the whole concrete texture process. It's a bit tricky to tell the texture from the photos because it is so subtle but you get the jist.
I had white faux brick on the fireplace before doing the concrete wall, The brick does still show through a tad but I don't mind it because hello to all of the texture!!
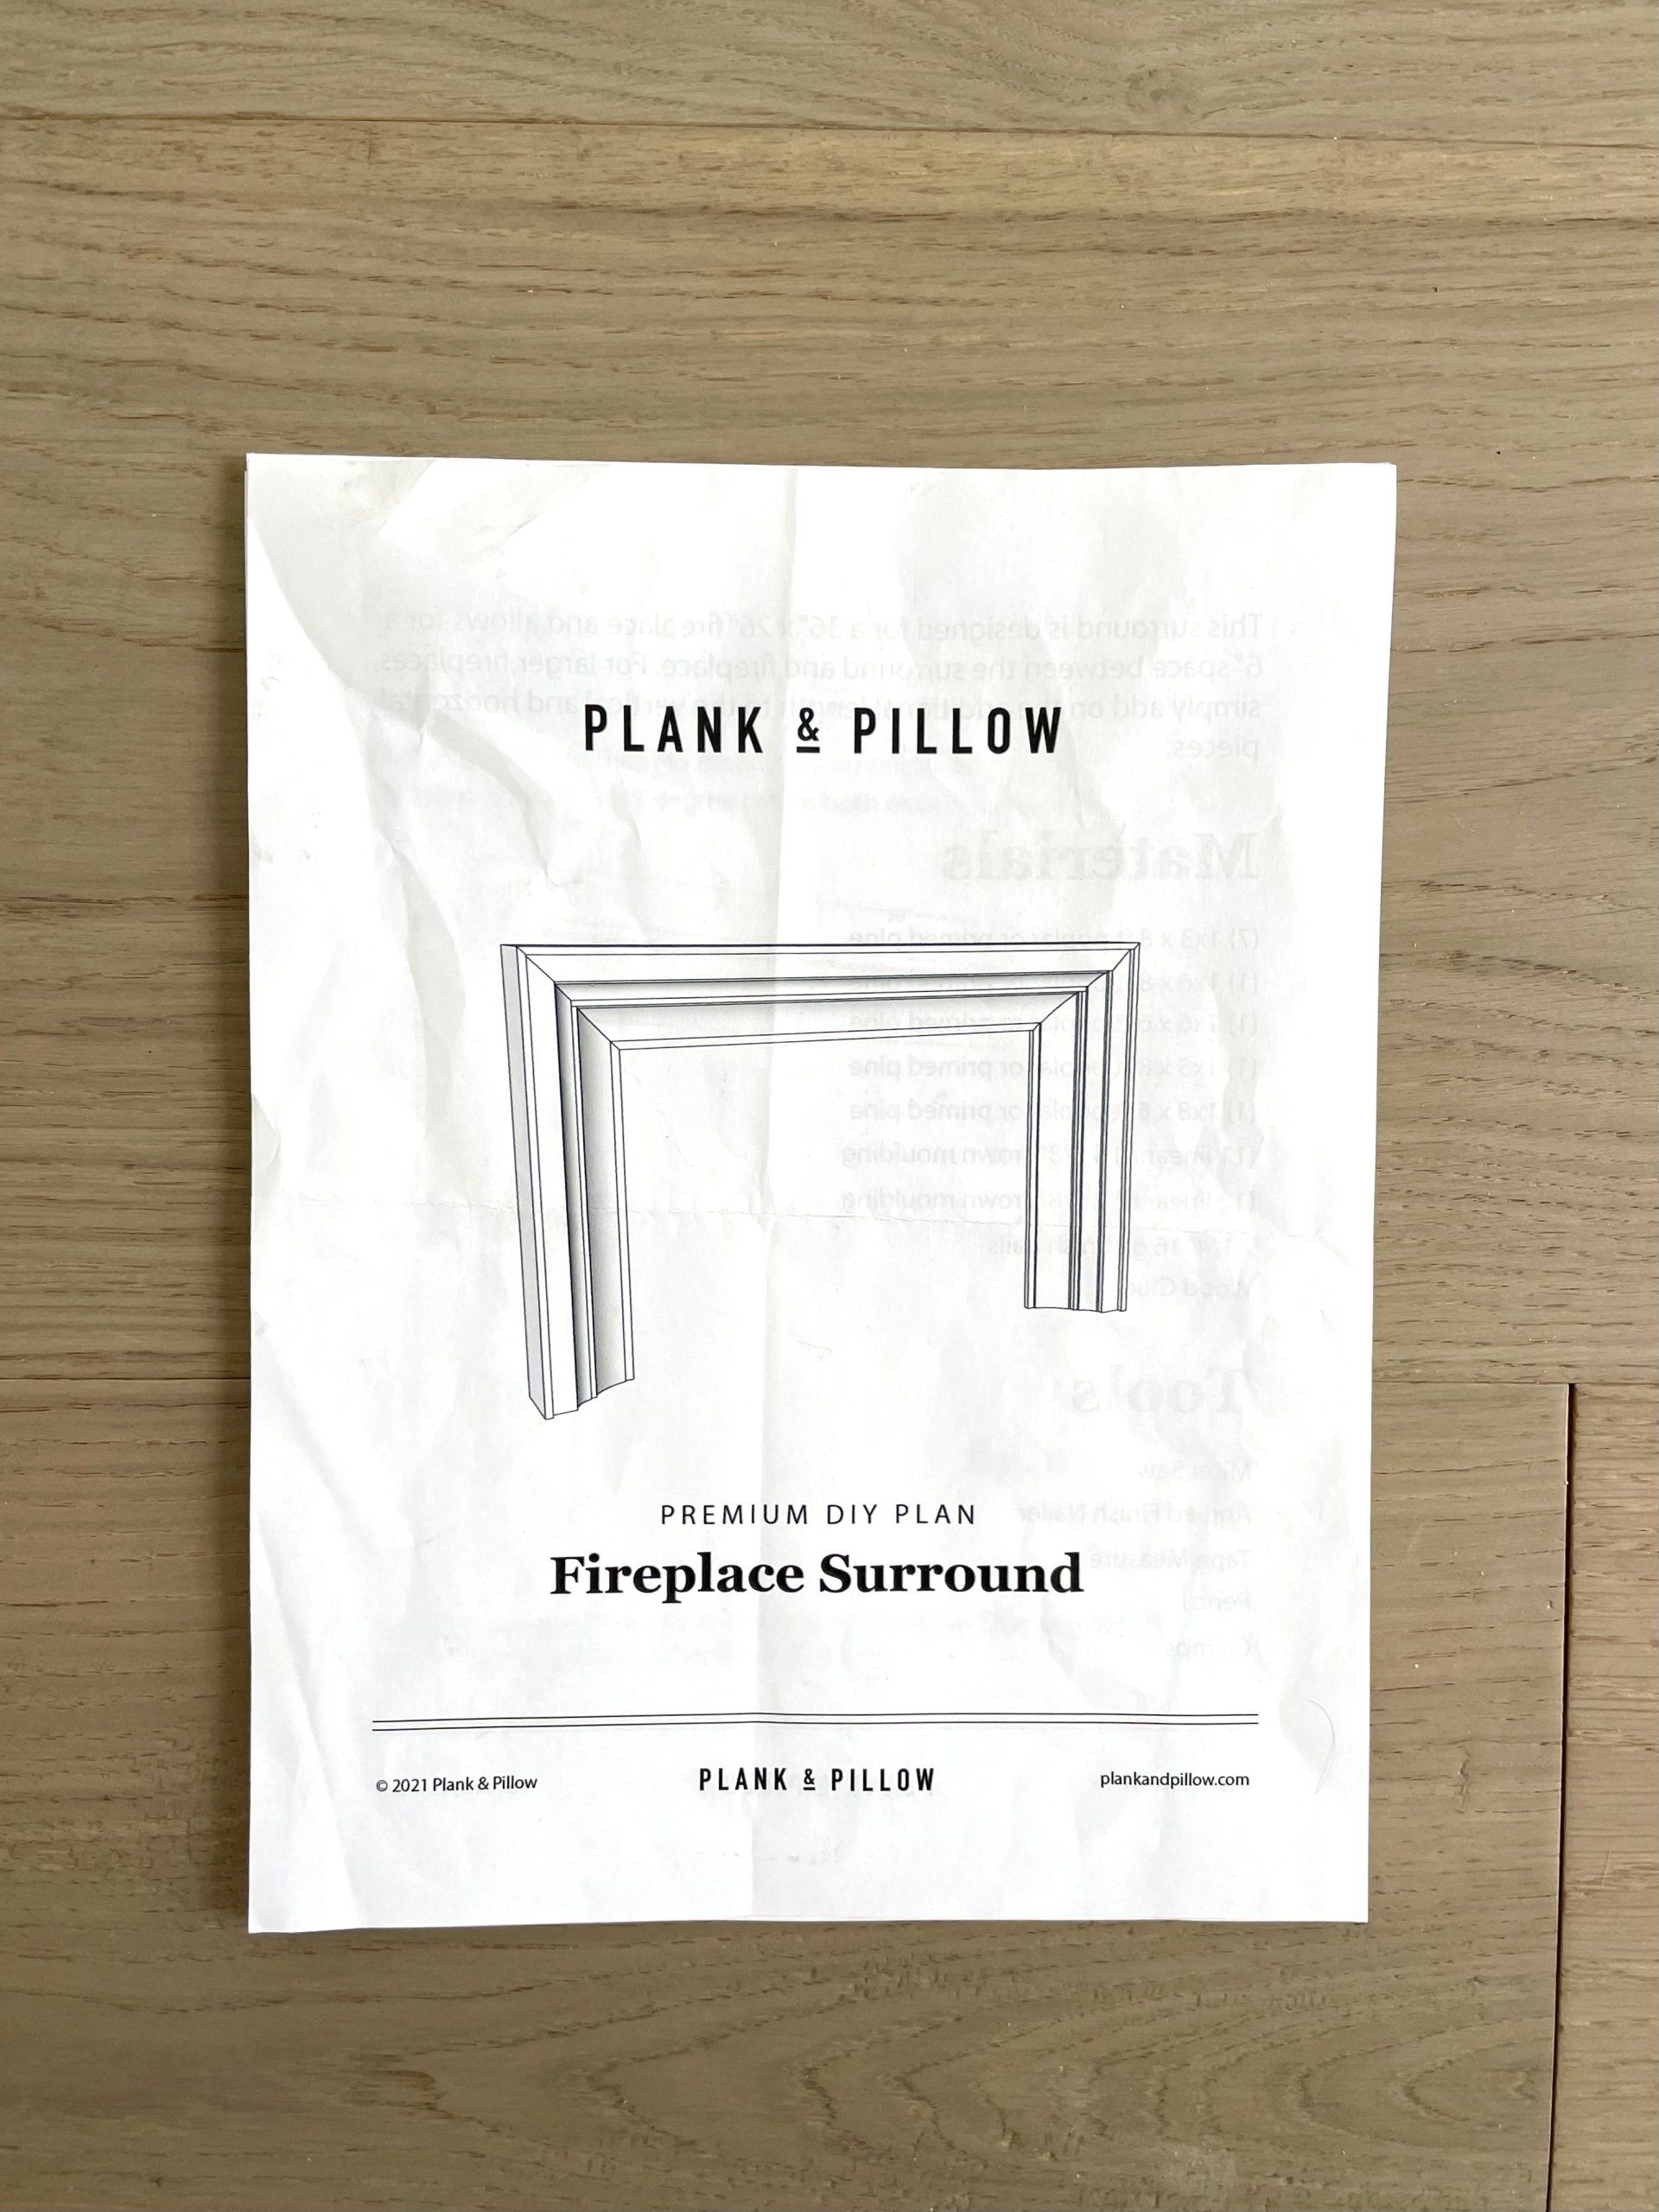
My friends Brooke and Henry over at Plank and Pillow make awesome DIY plans that anyone can follow!
Ever since I saw this surround I knew I wanted something similar! This is the one I went with, Premium DIY Fireplace Surround. It has Step by step directions on how to build it, I just printed mine out..
I needed to majorly modify it because the dimensions of our fireplace are different. Some steps I actually had to eliminate due to the spacing but it is great to have something to go off of.
Since I had to change most of the dimensions for ours I found out that making all of the cuts and laying it out on the floor was the easiest move, placing it together. Then gluing and nailing it together.
This project took me 1 hour to complete. Holy smokes so fast! and with the directions it is so doable! I would definitely rate this a beginner level DIY, which is surprising because it doesn't look like beginner level.
I used all primed pine wood. It is more of an investment, and you could also use regular pine and stain block the knots for about half the price. But I wanted to eliminate that step and since I used about half the lumber as the directions called for, it still kept this project to about $65! Which I think is a great deal for a custom mantle:)
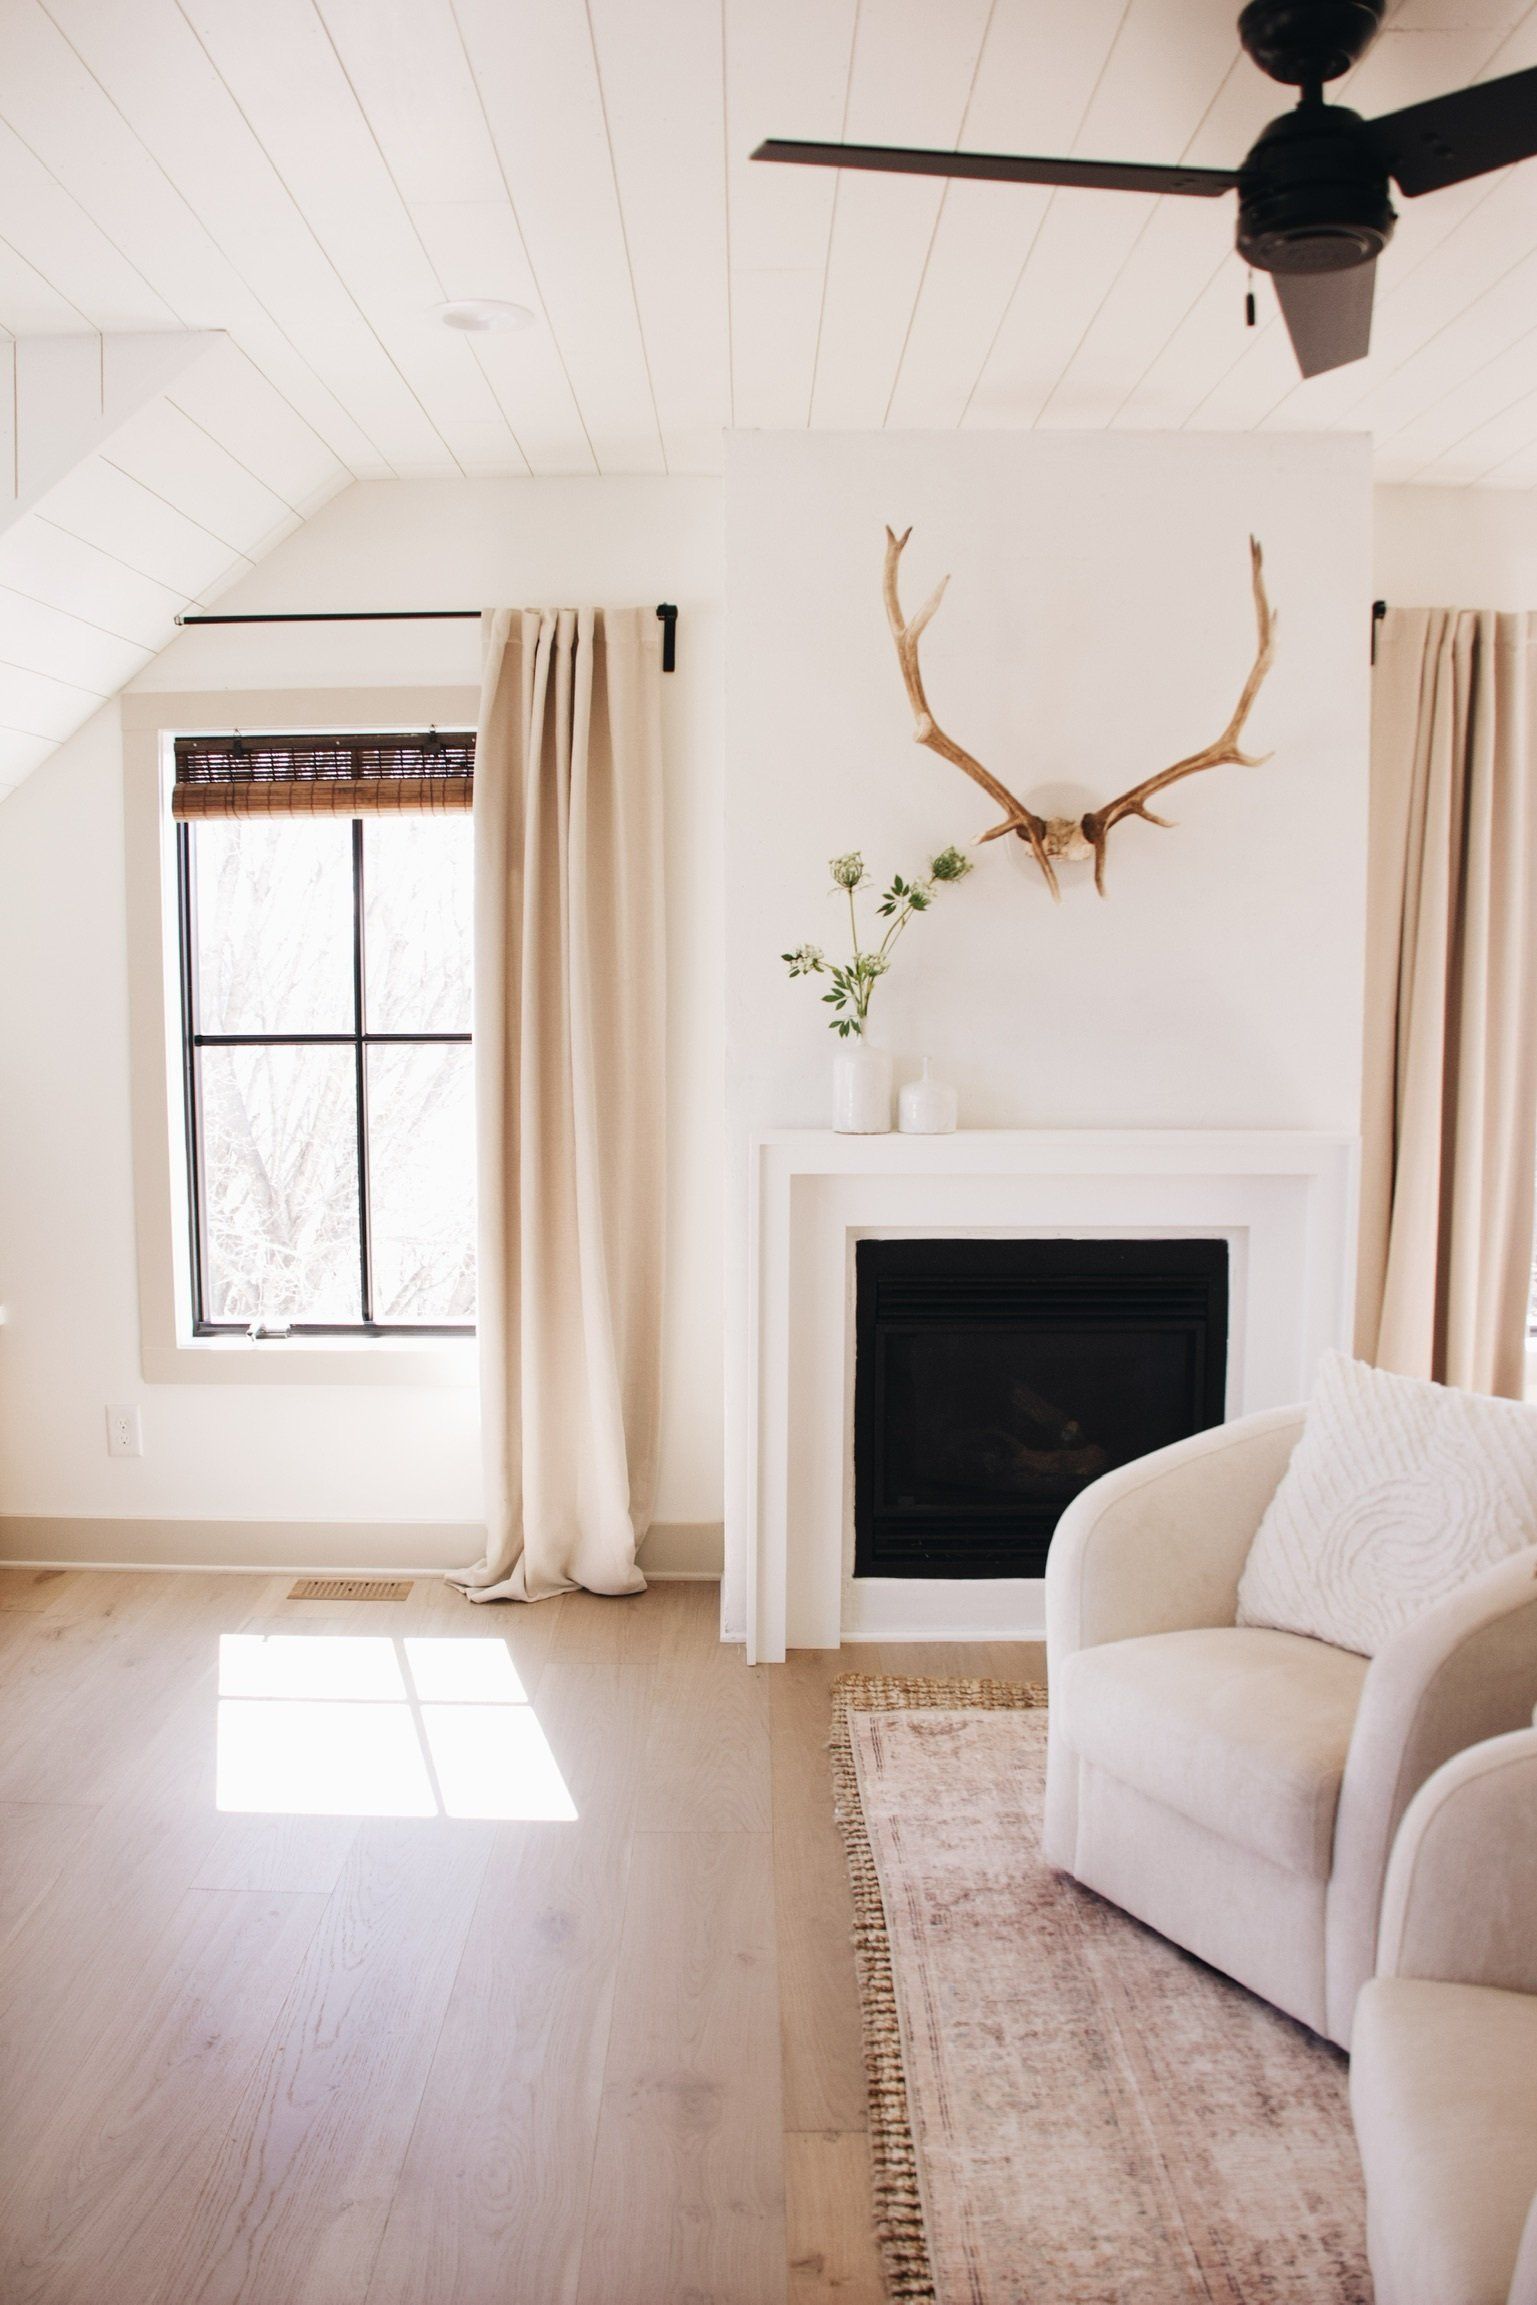
But for now should we just see more of the reveal?!
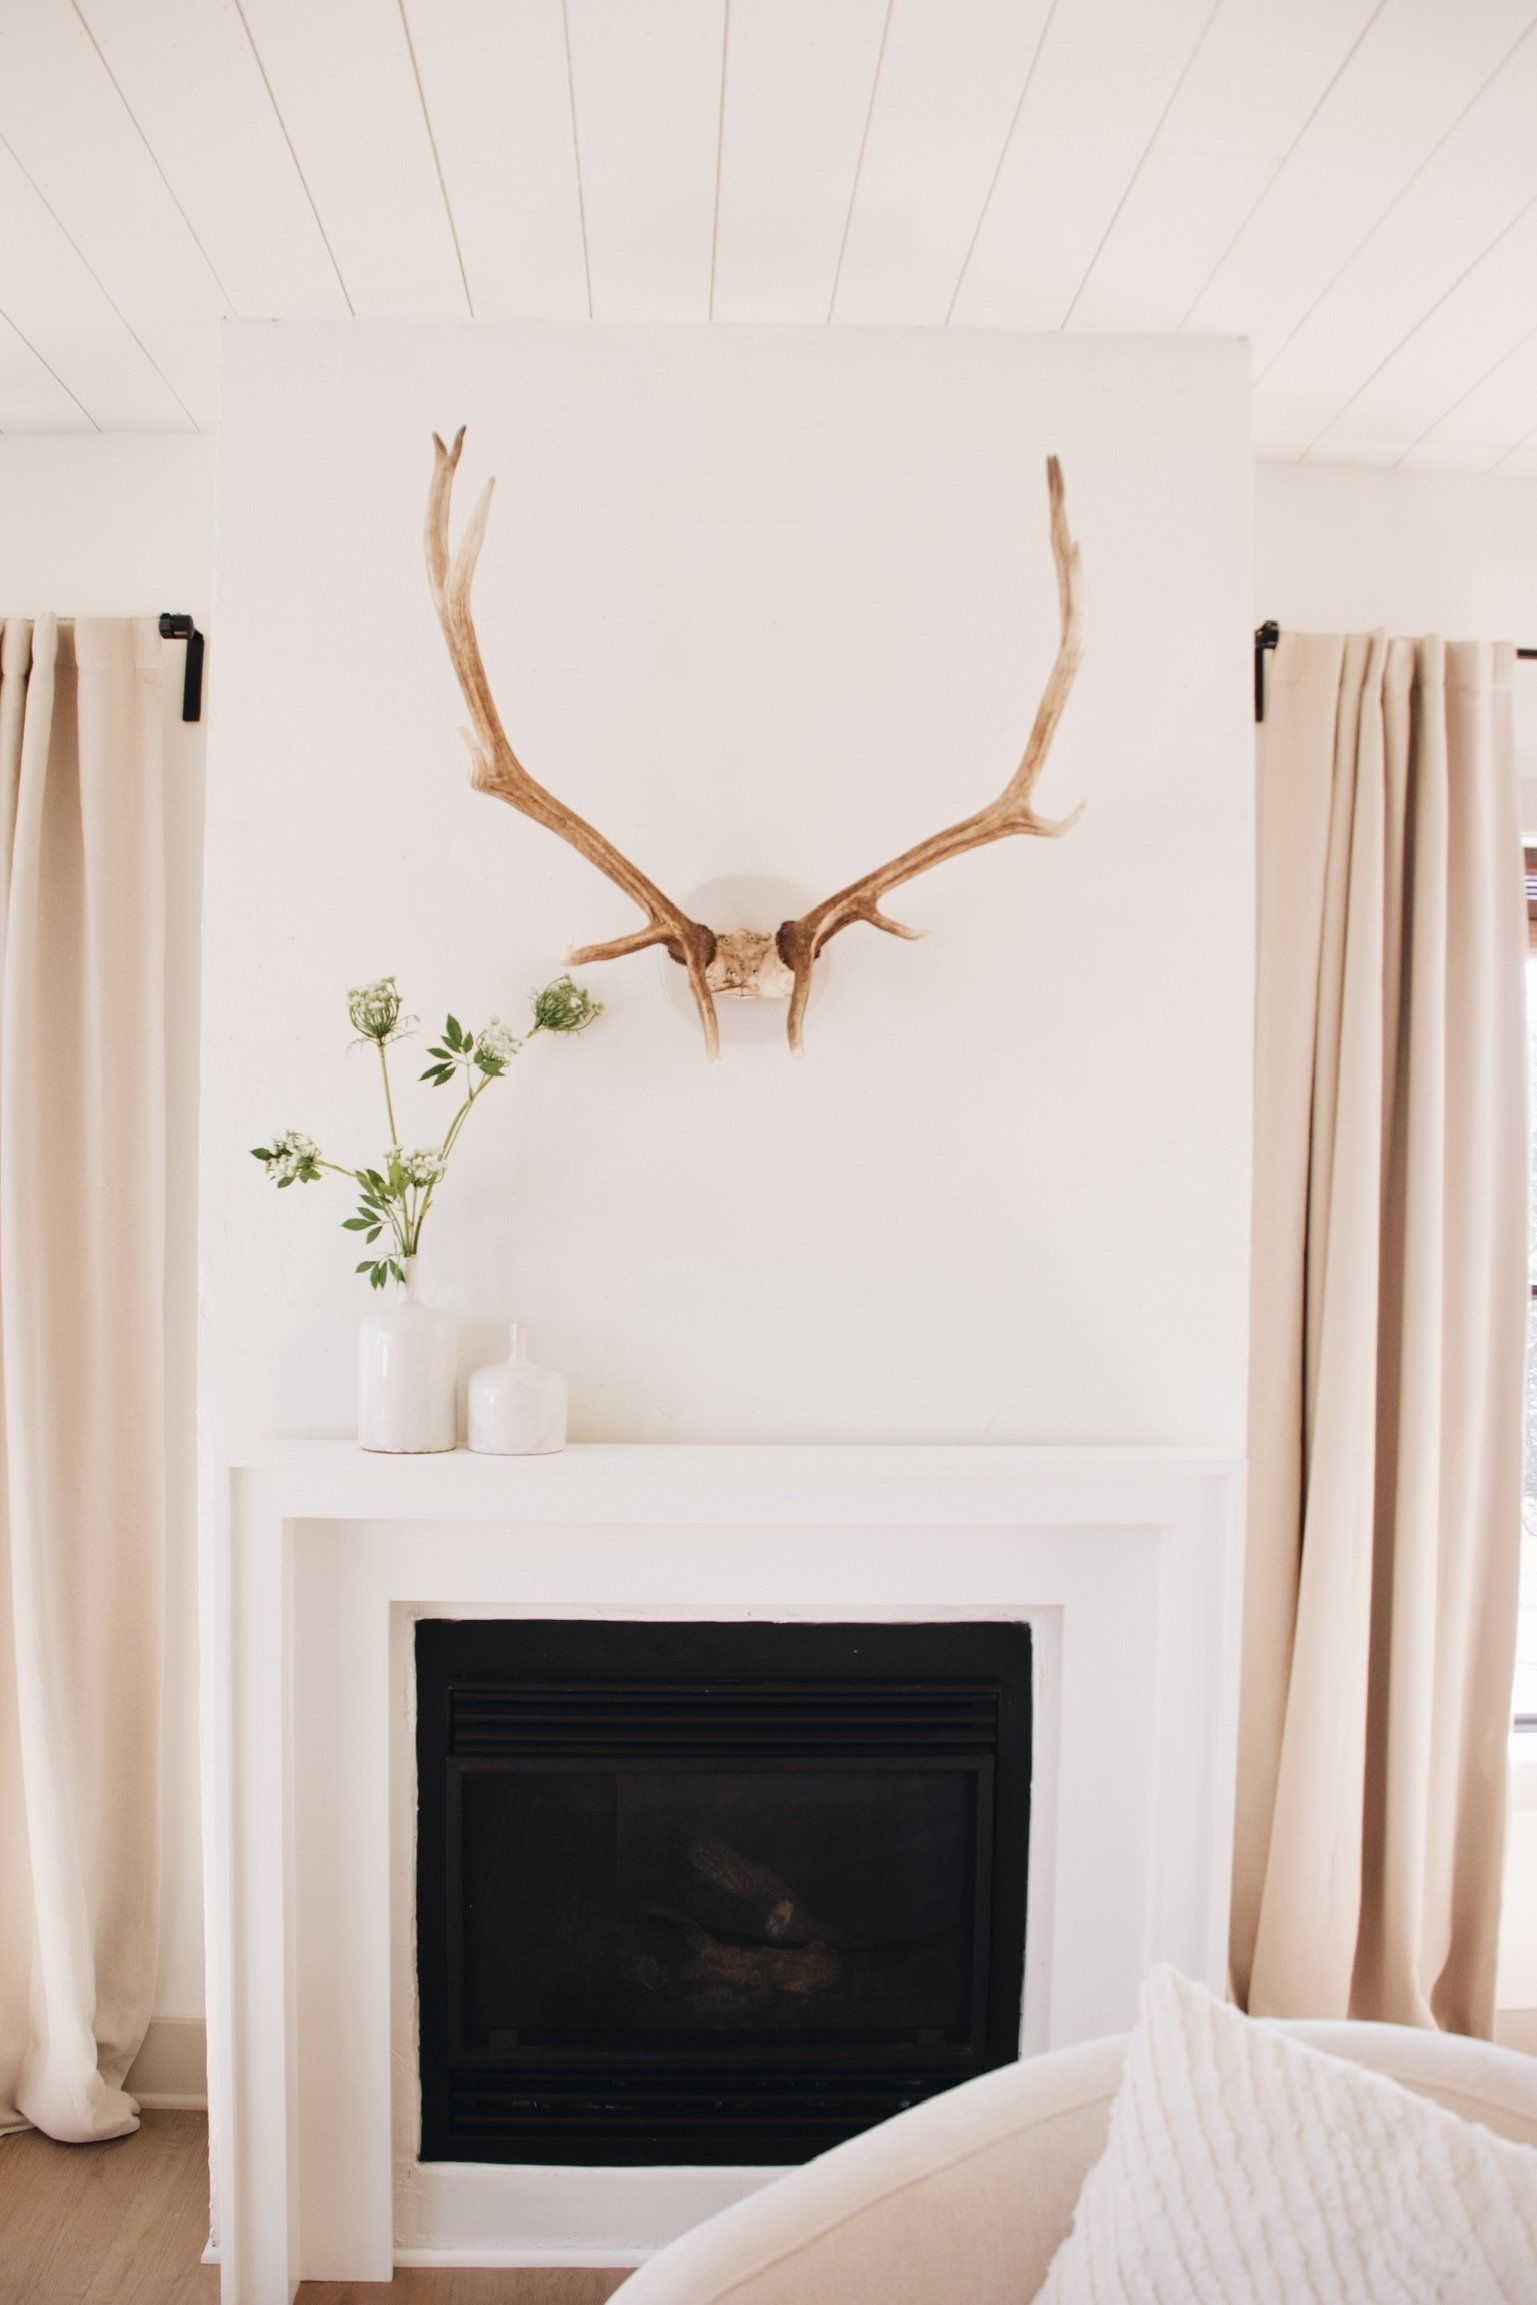
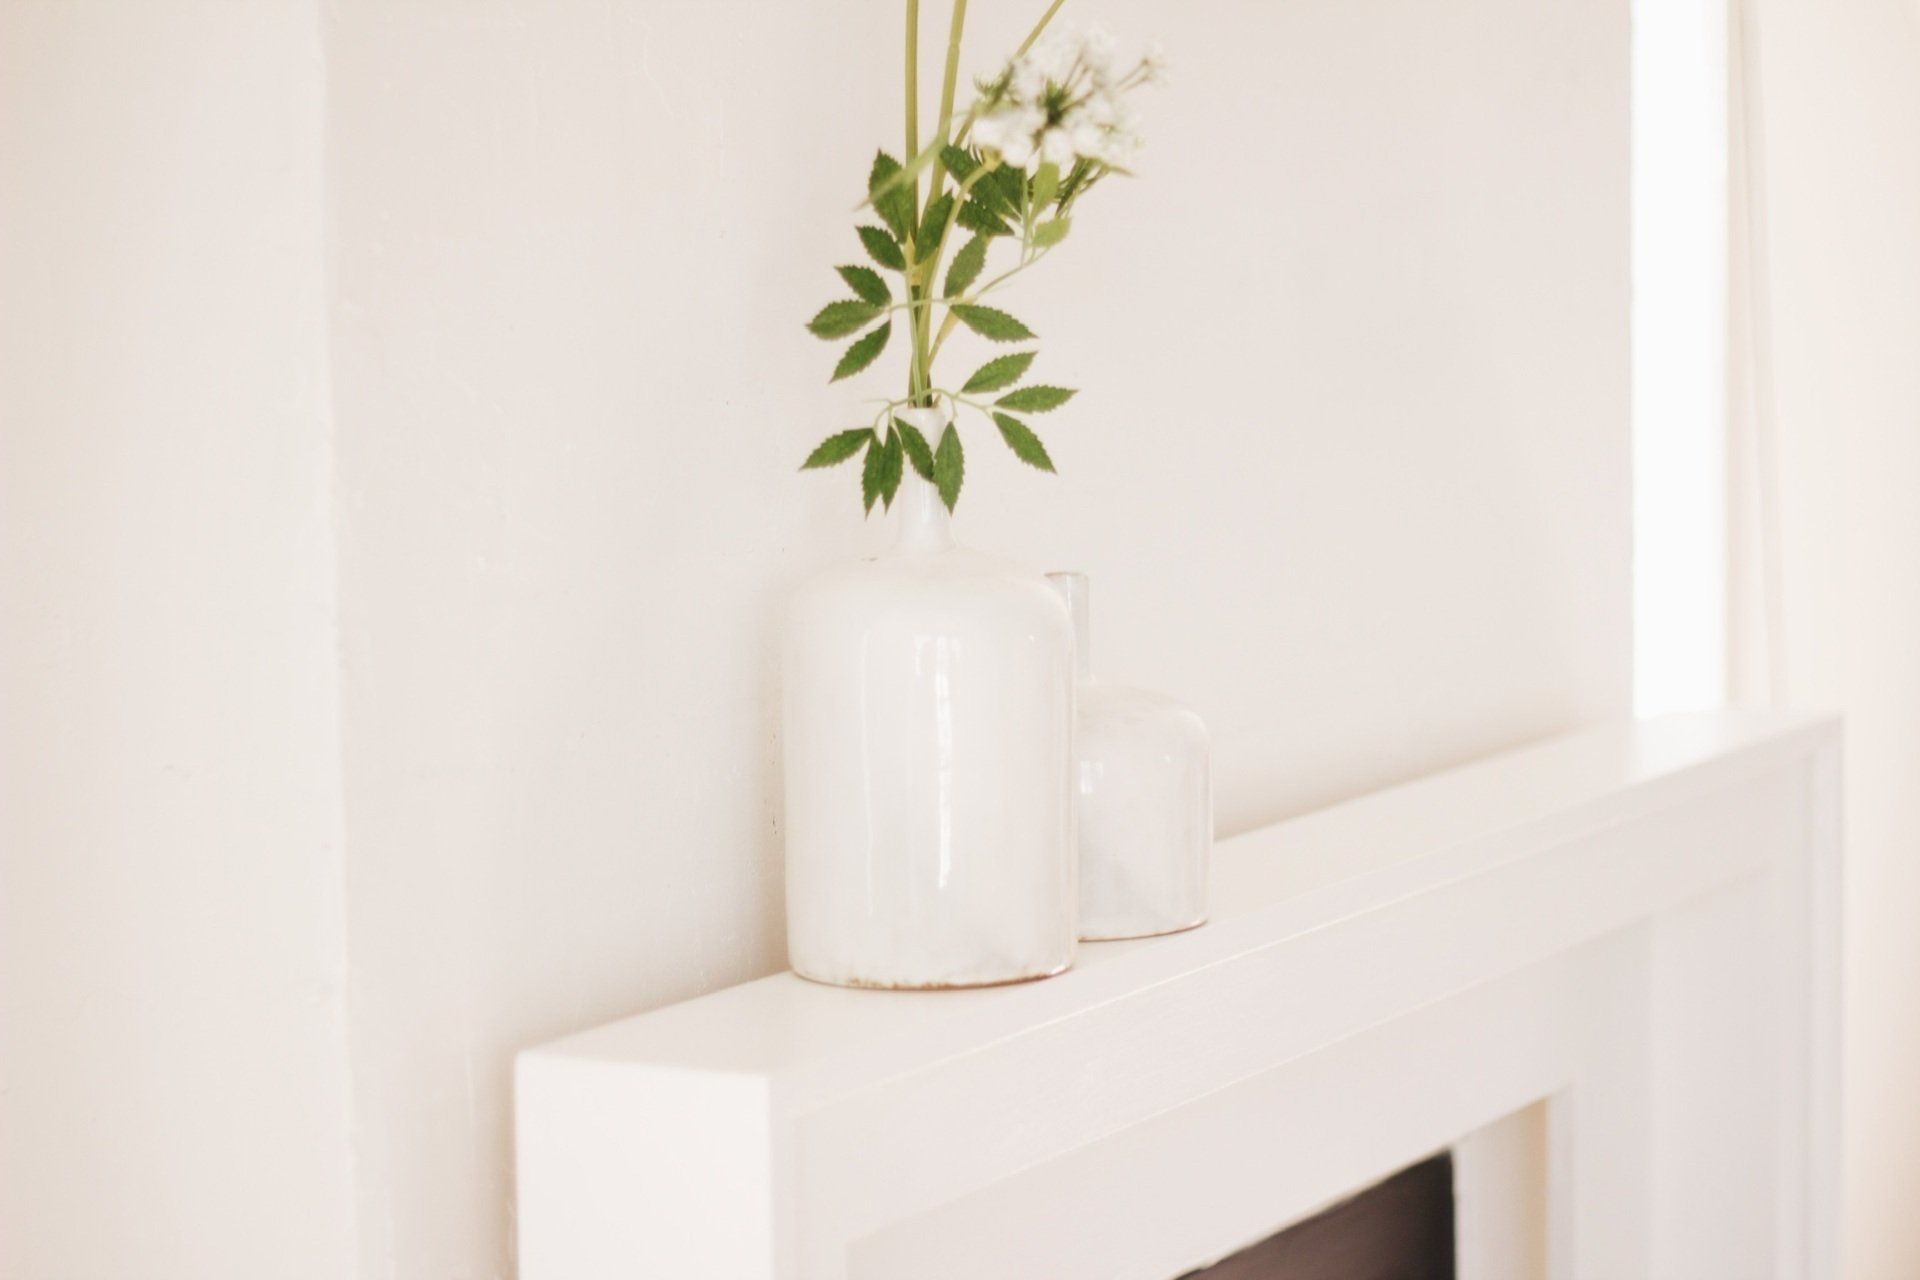
I wanted more of a clean streamline look. Simple yet gives a statement when walking into the room this Is really the first thing that you see.
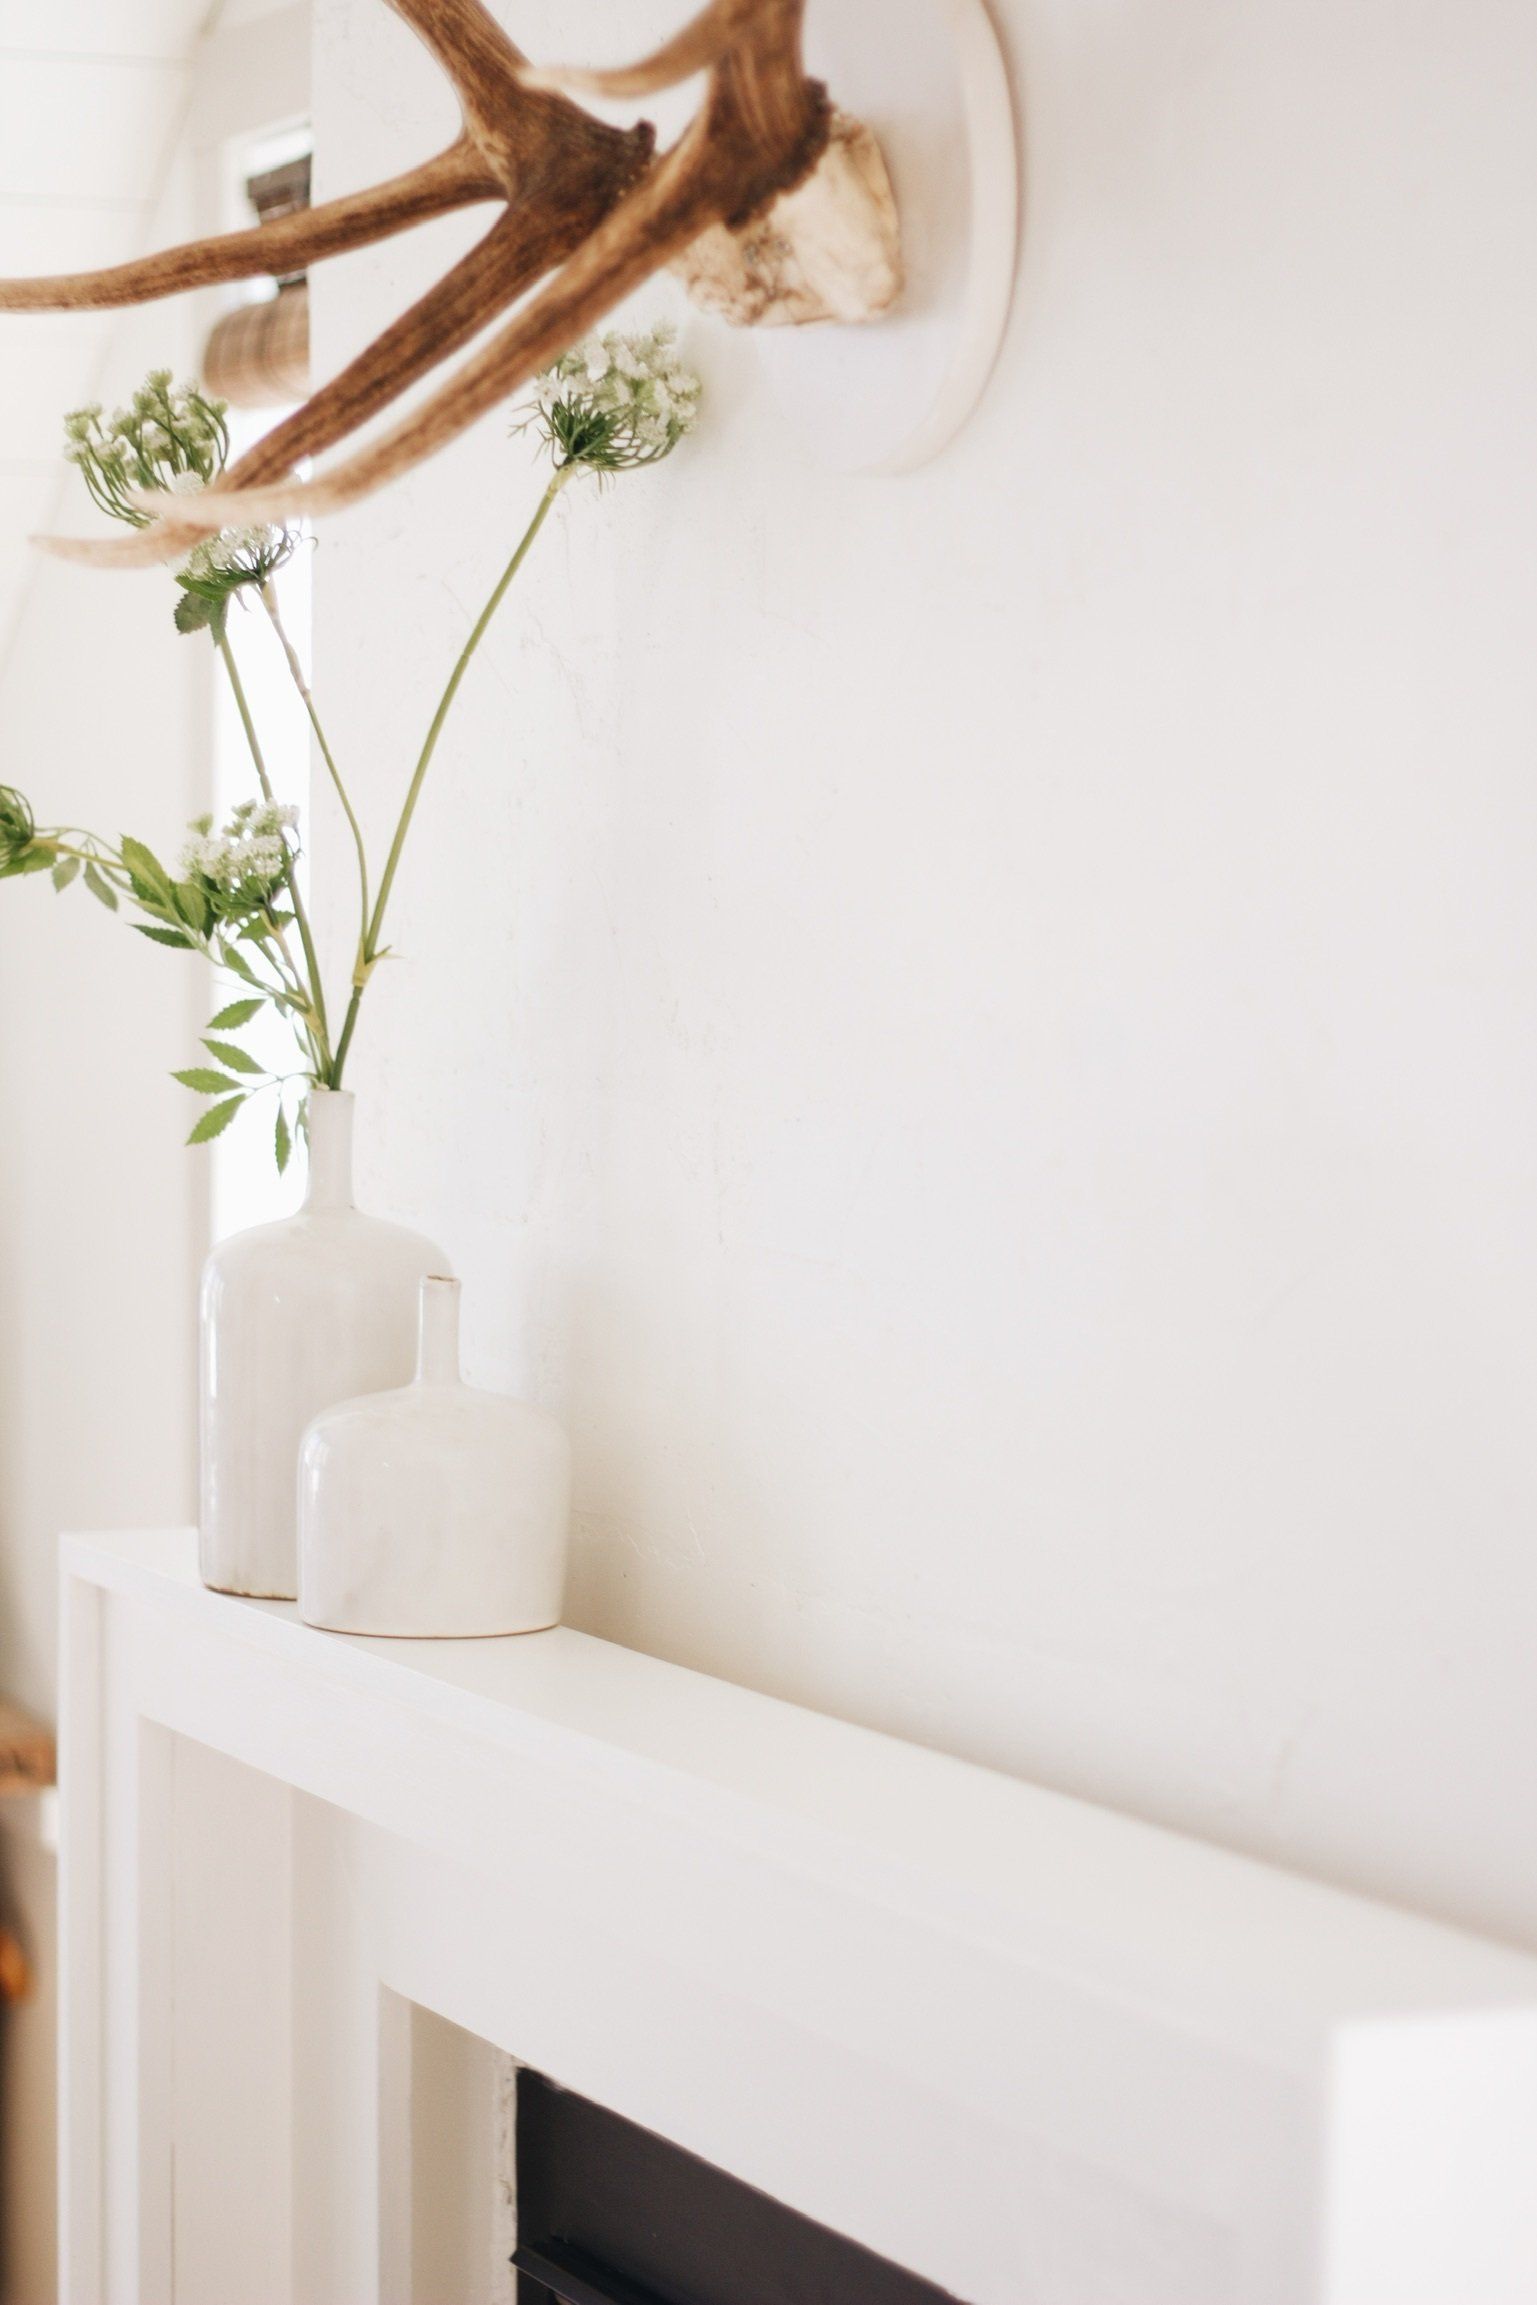
If you watched my Instagram stories yesterday - you saw the poll of trying to decide on the color. Between Revere Pewter or Simply White.
I actually ended up painting it both colors since I was so unsure, but ultimately I went with Simply White By Benjamin Moore. As soon as I painted it white it was exactly what I had envisioned in my head. I was in LOVE!! Airy and Clean line.
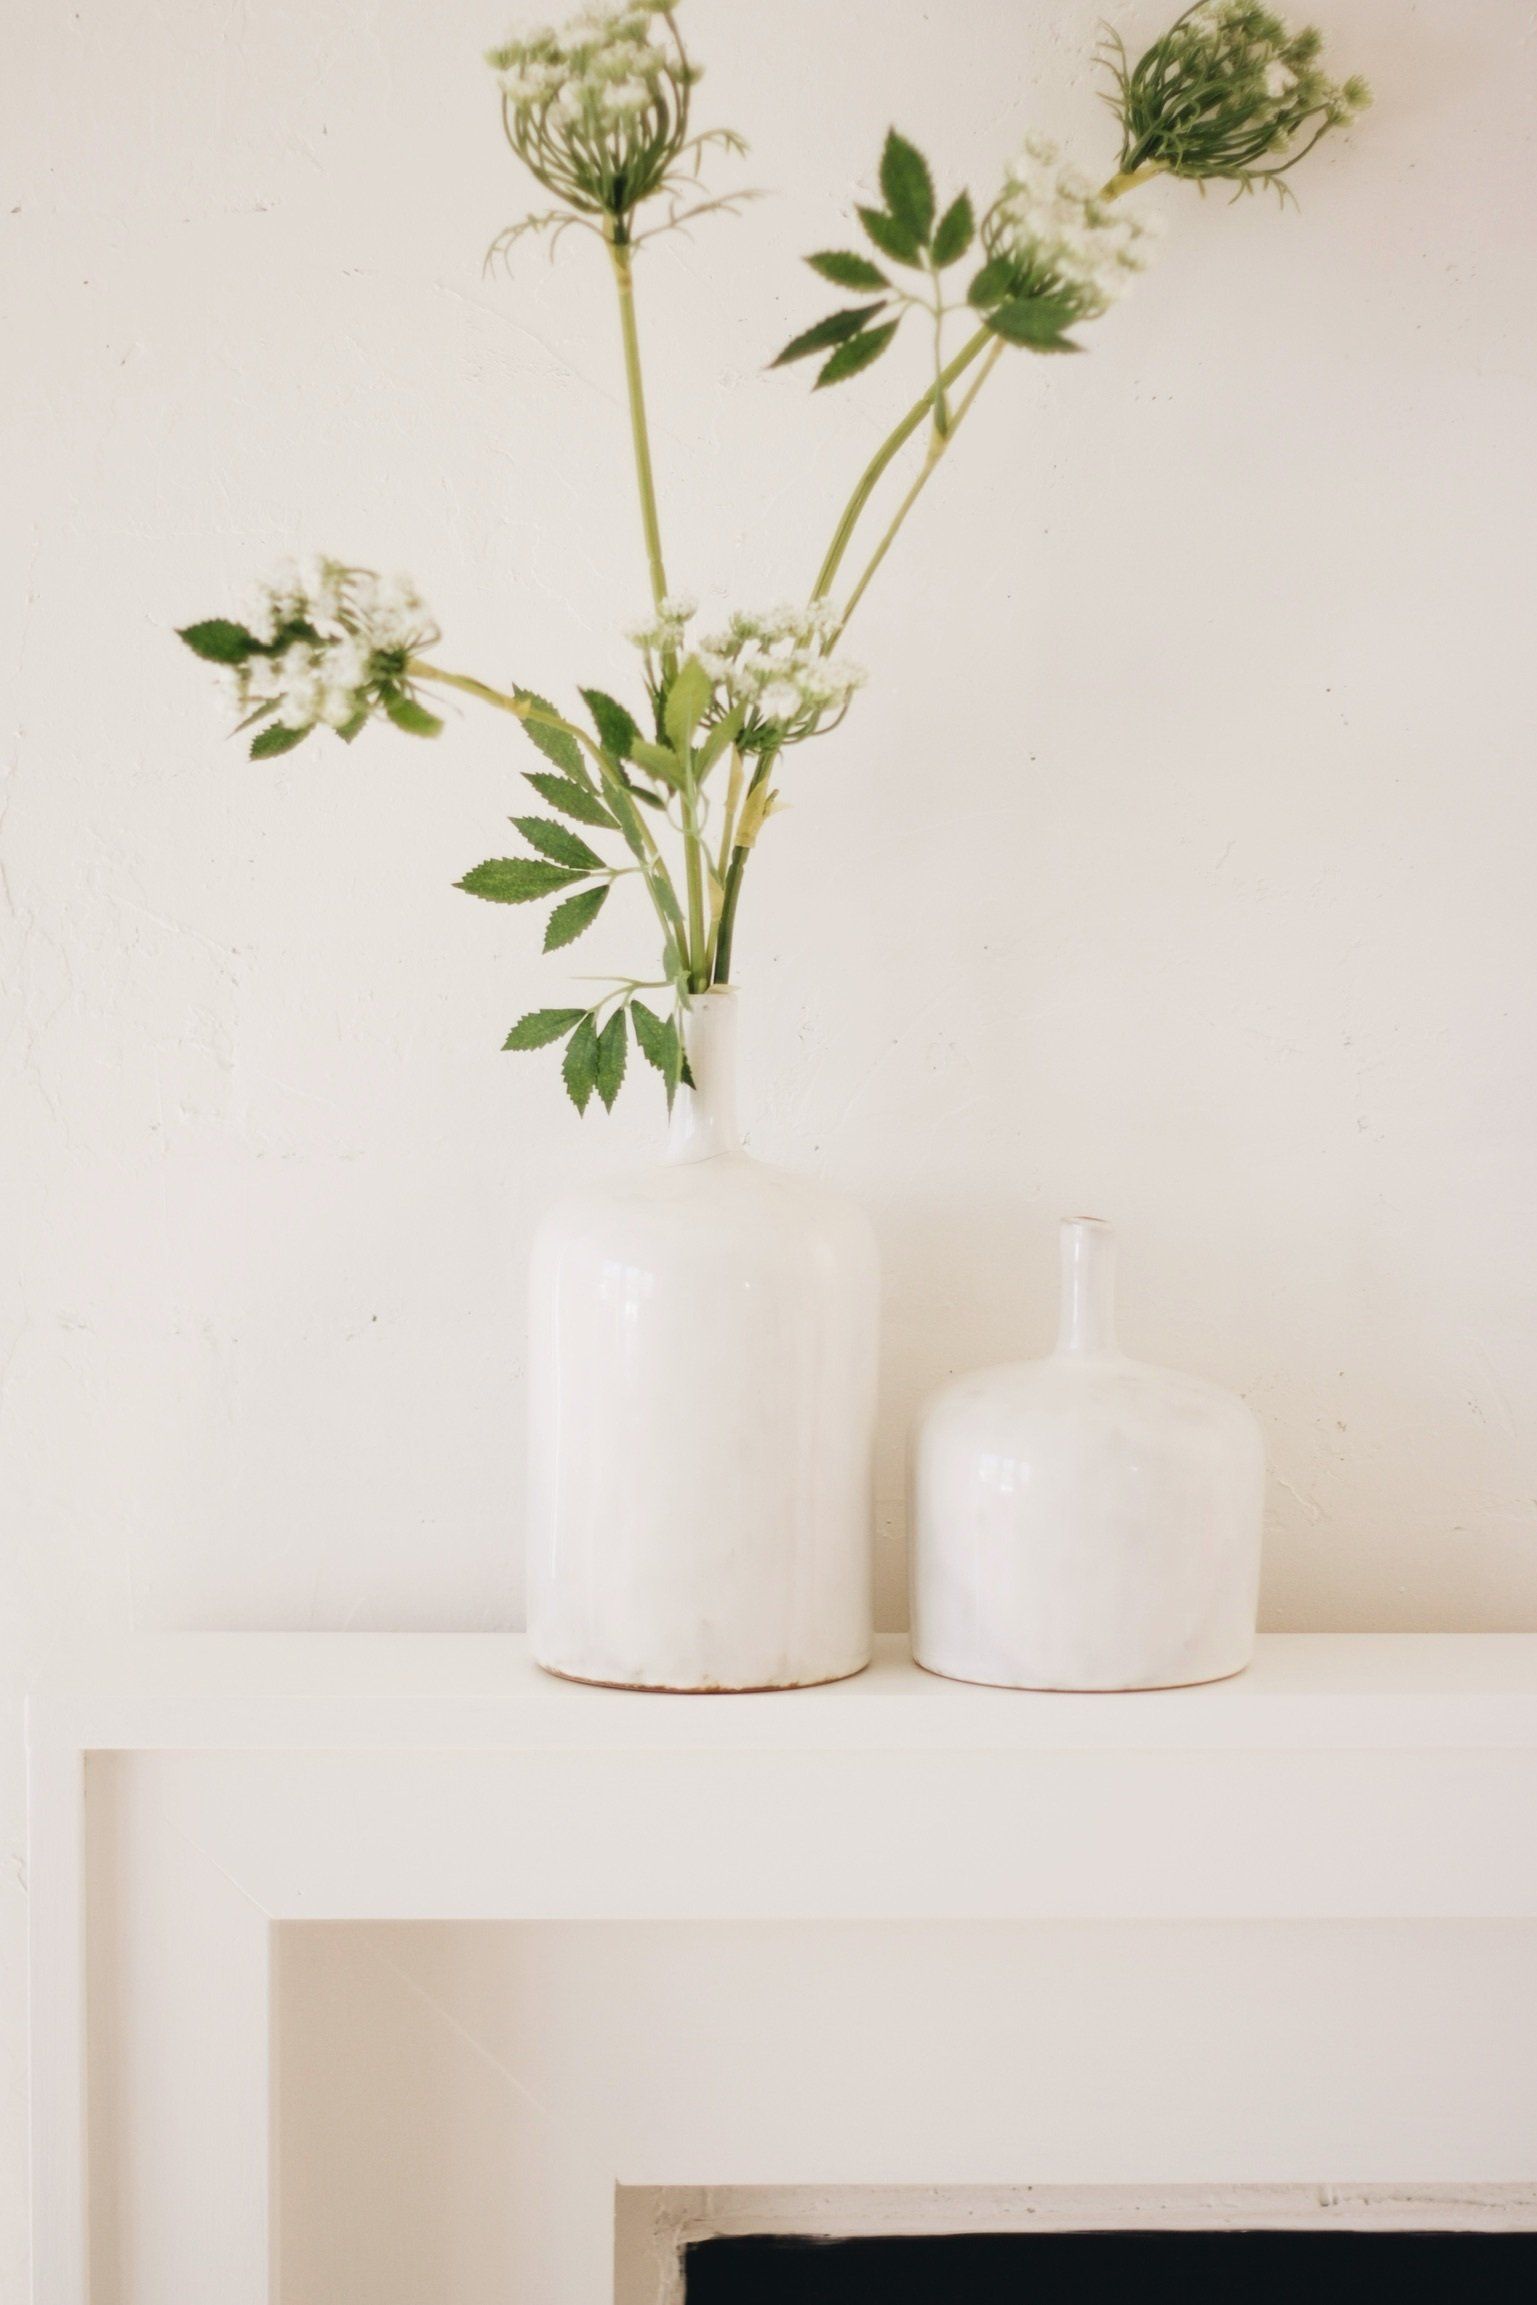
With a slight pop of green for spring. I was super proud of my 45 degree cuts which made the finished product look even more impressive. And I wanted to let you in on the secret that the cuts didn't look anywhere near this impressive before I filled them in with wood filler:) So just remember, you don't need to be perfect, you just gotta know the tricks:)
I am so happy with the way it turned out!!
Stayed turned for the bedroom full reveal to come in the near future!

SHOP THE BEDROOM