RETAINING WALL & FIRE PIT
Outdoor Retaining Wall and Fire Pit Area
In between waiting for certain things to be ready on the cabin rental we are building, we were able to tackle the lakefront project that we knew needed attention. We thought this might be a space that we can enjoy this fall even if the house isn't finished, we could still use this area on crisp fall evenings around the fire pit. Plus, next spring we are going to be so busy on finishing all of the projects on the build that we won't have time to put into the bank, so it was perfect timing.
For the retaining wall supplies we went with a local landscaping business. One of Ryan's best friends has a landscaping business, so he was able to get a lot of inside scoop from him on best budget friendly place to get things / how to DIY this ourselves. As doing a retaining wall on a steep bank like this is a first for us and although Ryan is willing to tackle any project, this one was a bit intimidating.
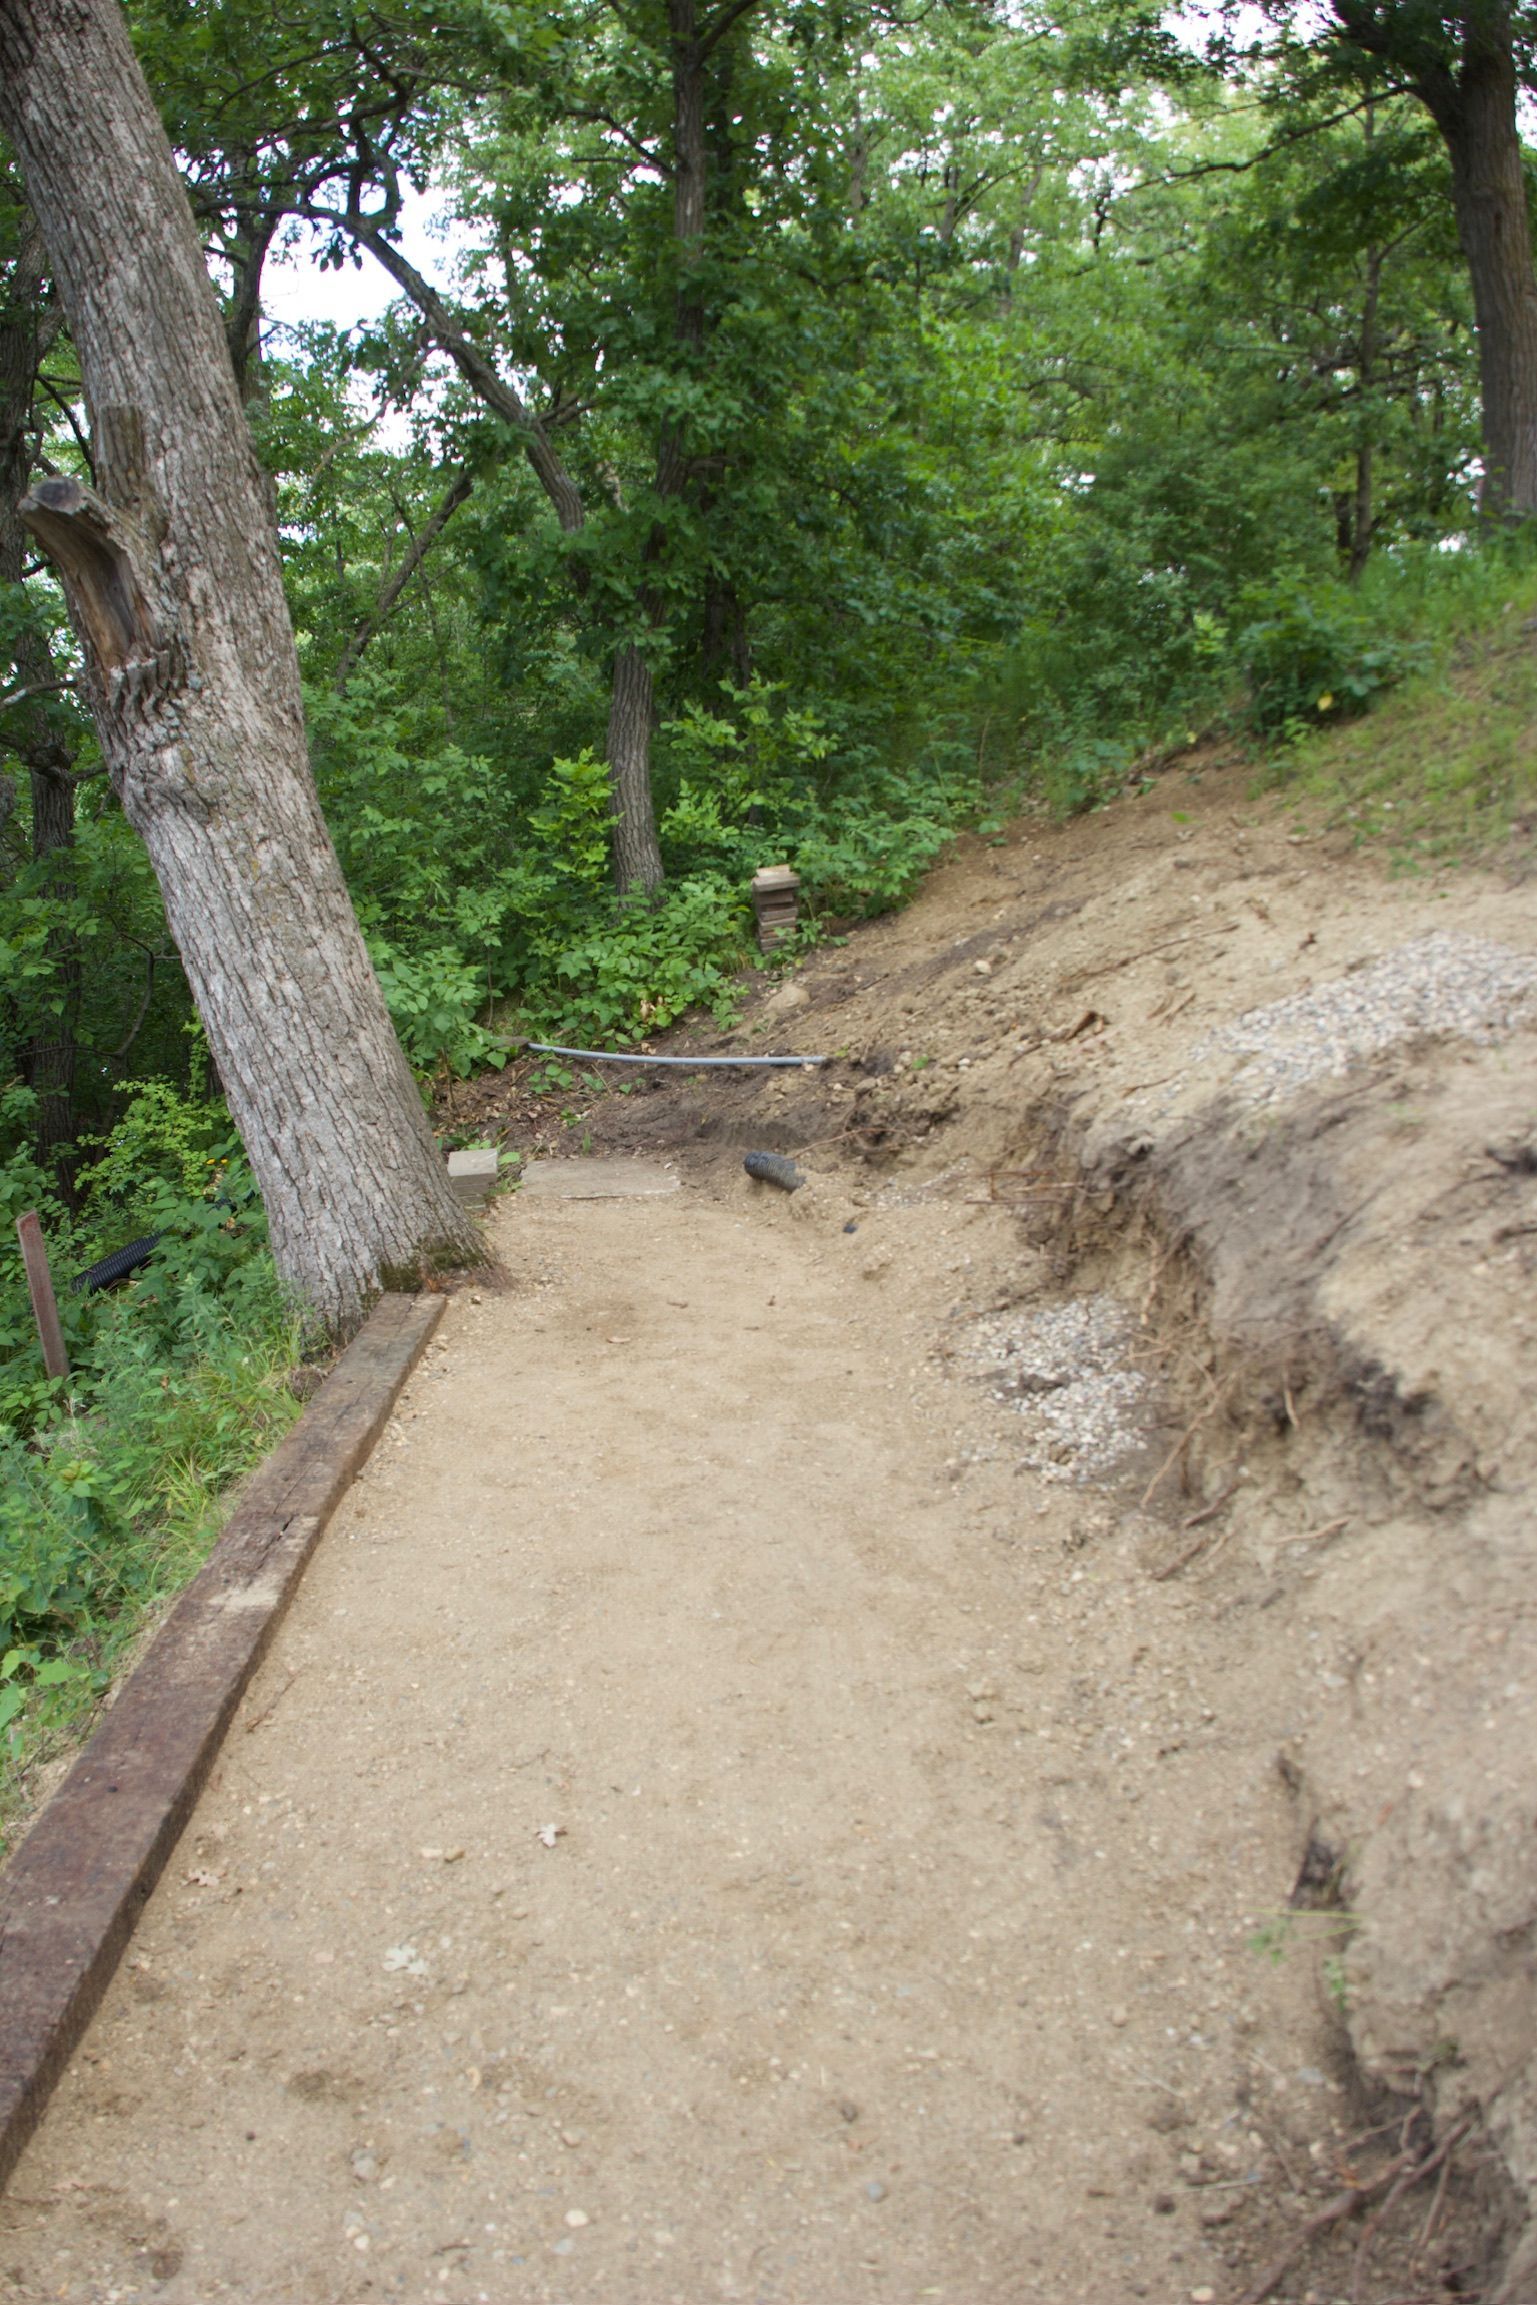
Ryan secured a long railroad tie to keep the walkway nice and sturdy. He added a bit of gravel as well to flatten it out and we widened the path from about 18" to over 30".
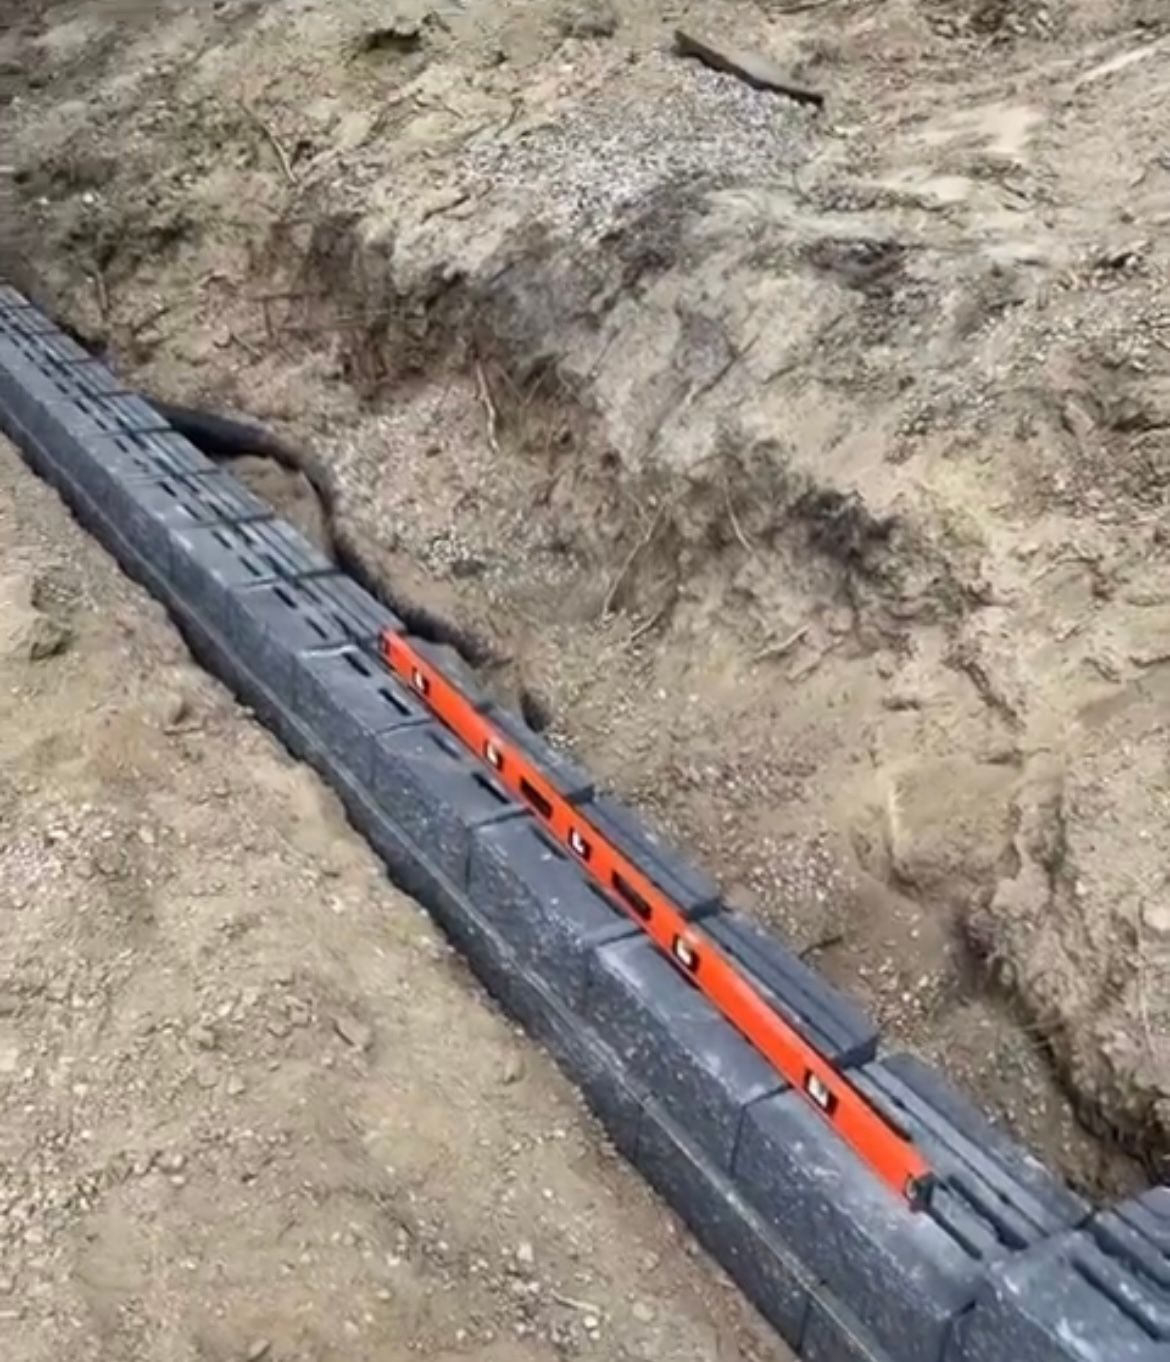
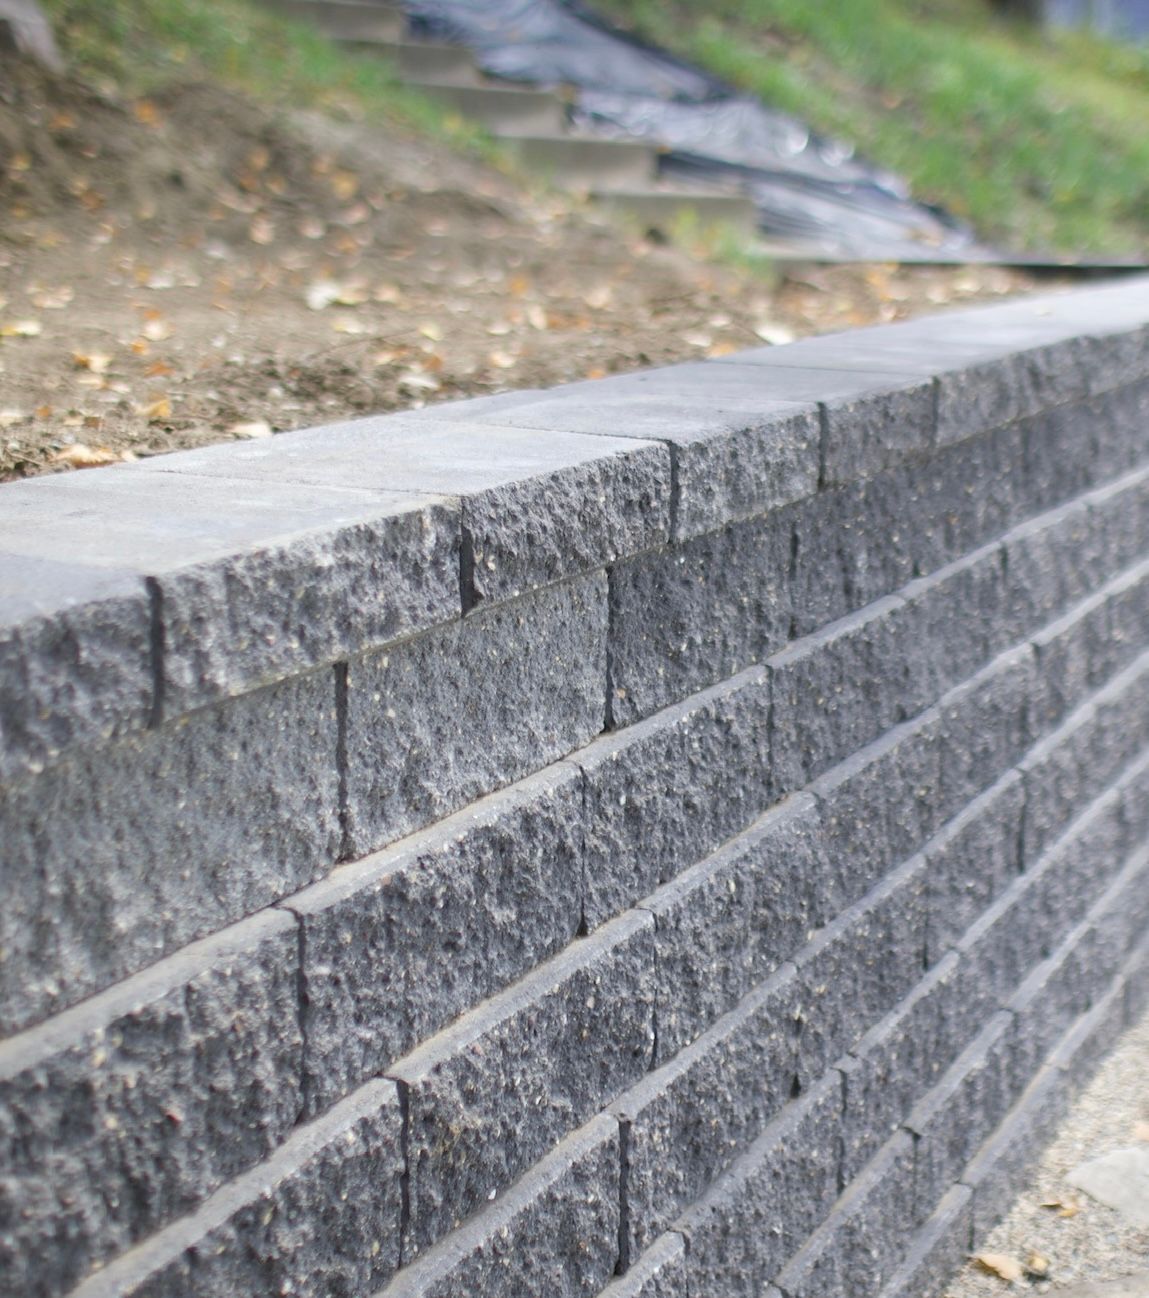
Onto building the retaining wall. We learned that you need to dig the very first put in a drain tile behind the retaining wall so the water is diverted around the wall. You can't see that here, but Ryan dug it in and has it covered behind this first row of blocks. Then, the first row of your wall needs to actually be dug in and level with the ground to get a good footing. Each of these blocks are 80lbs, they are SO HEAVY. We ended up going 8 levels high, that's a lot of blocks to carry! But Ryan is a stud and did a great job tackling this HARD task.
*We are obviously not professional landscapers, but Ryans buddy is, so we are so thankful to have gotten a lot of pointers from him!
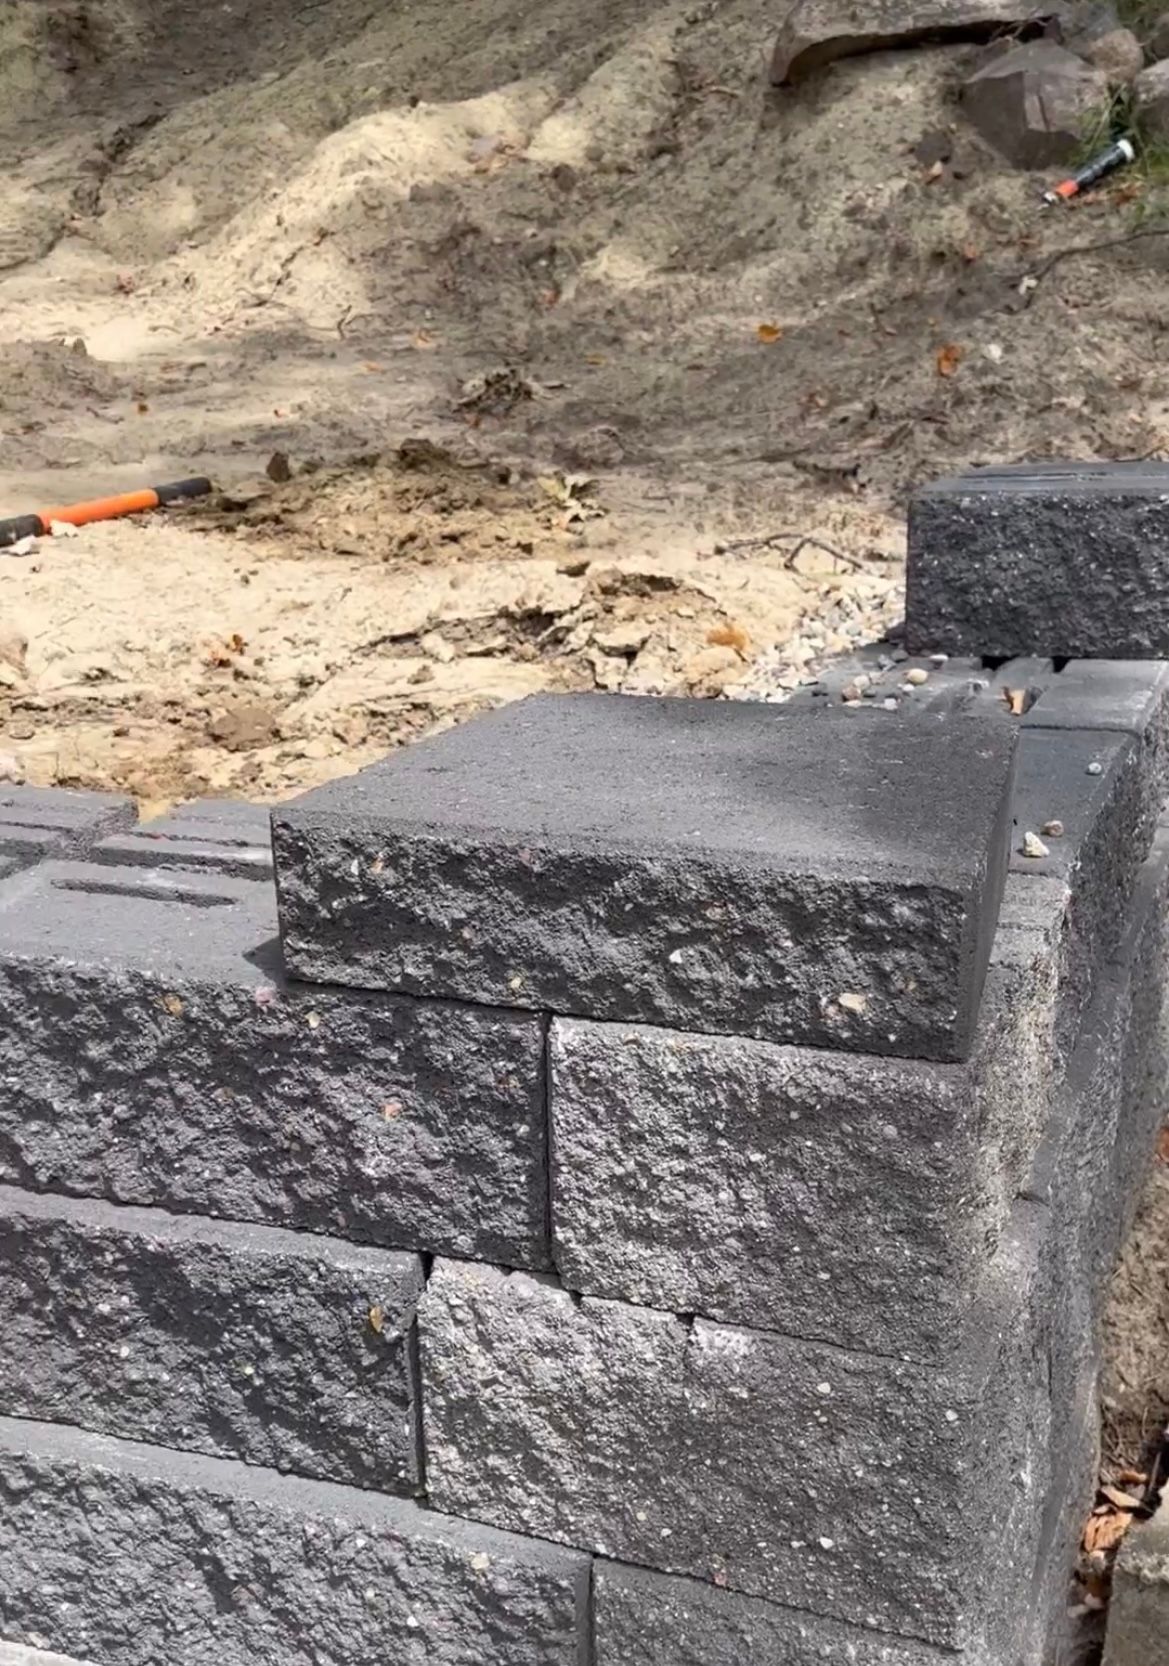
We went with the black blocks, They were a little bit more money but I loved the look of them! Also, we learned to get all of your block from the same load, We added these corner blocks after we purchased the straight blocks, and they ended up being a little lighter. We didn't realize it at the time, but it's a good thing to check ahead of time:) Too late for us now, it is what it is:)
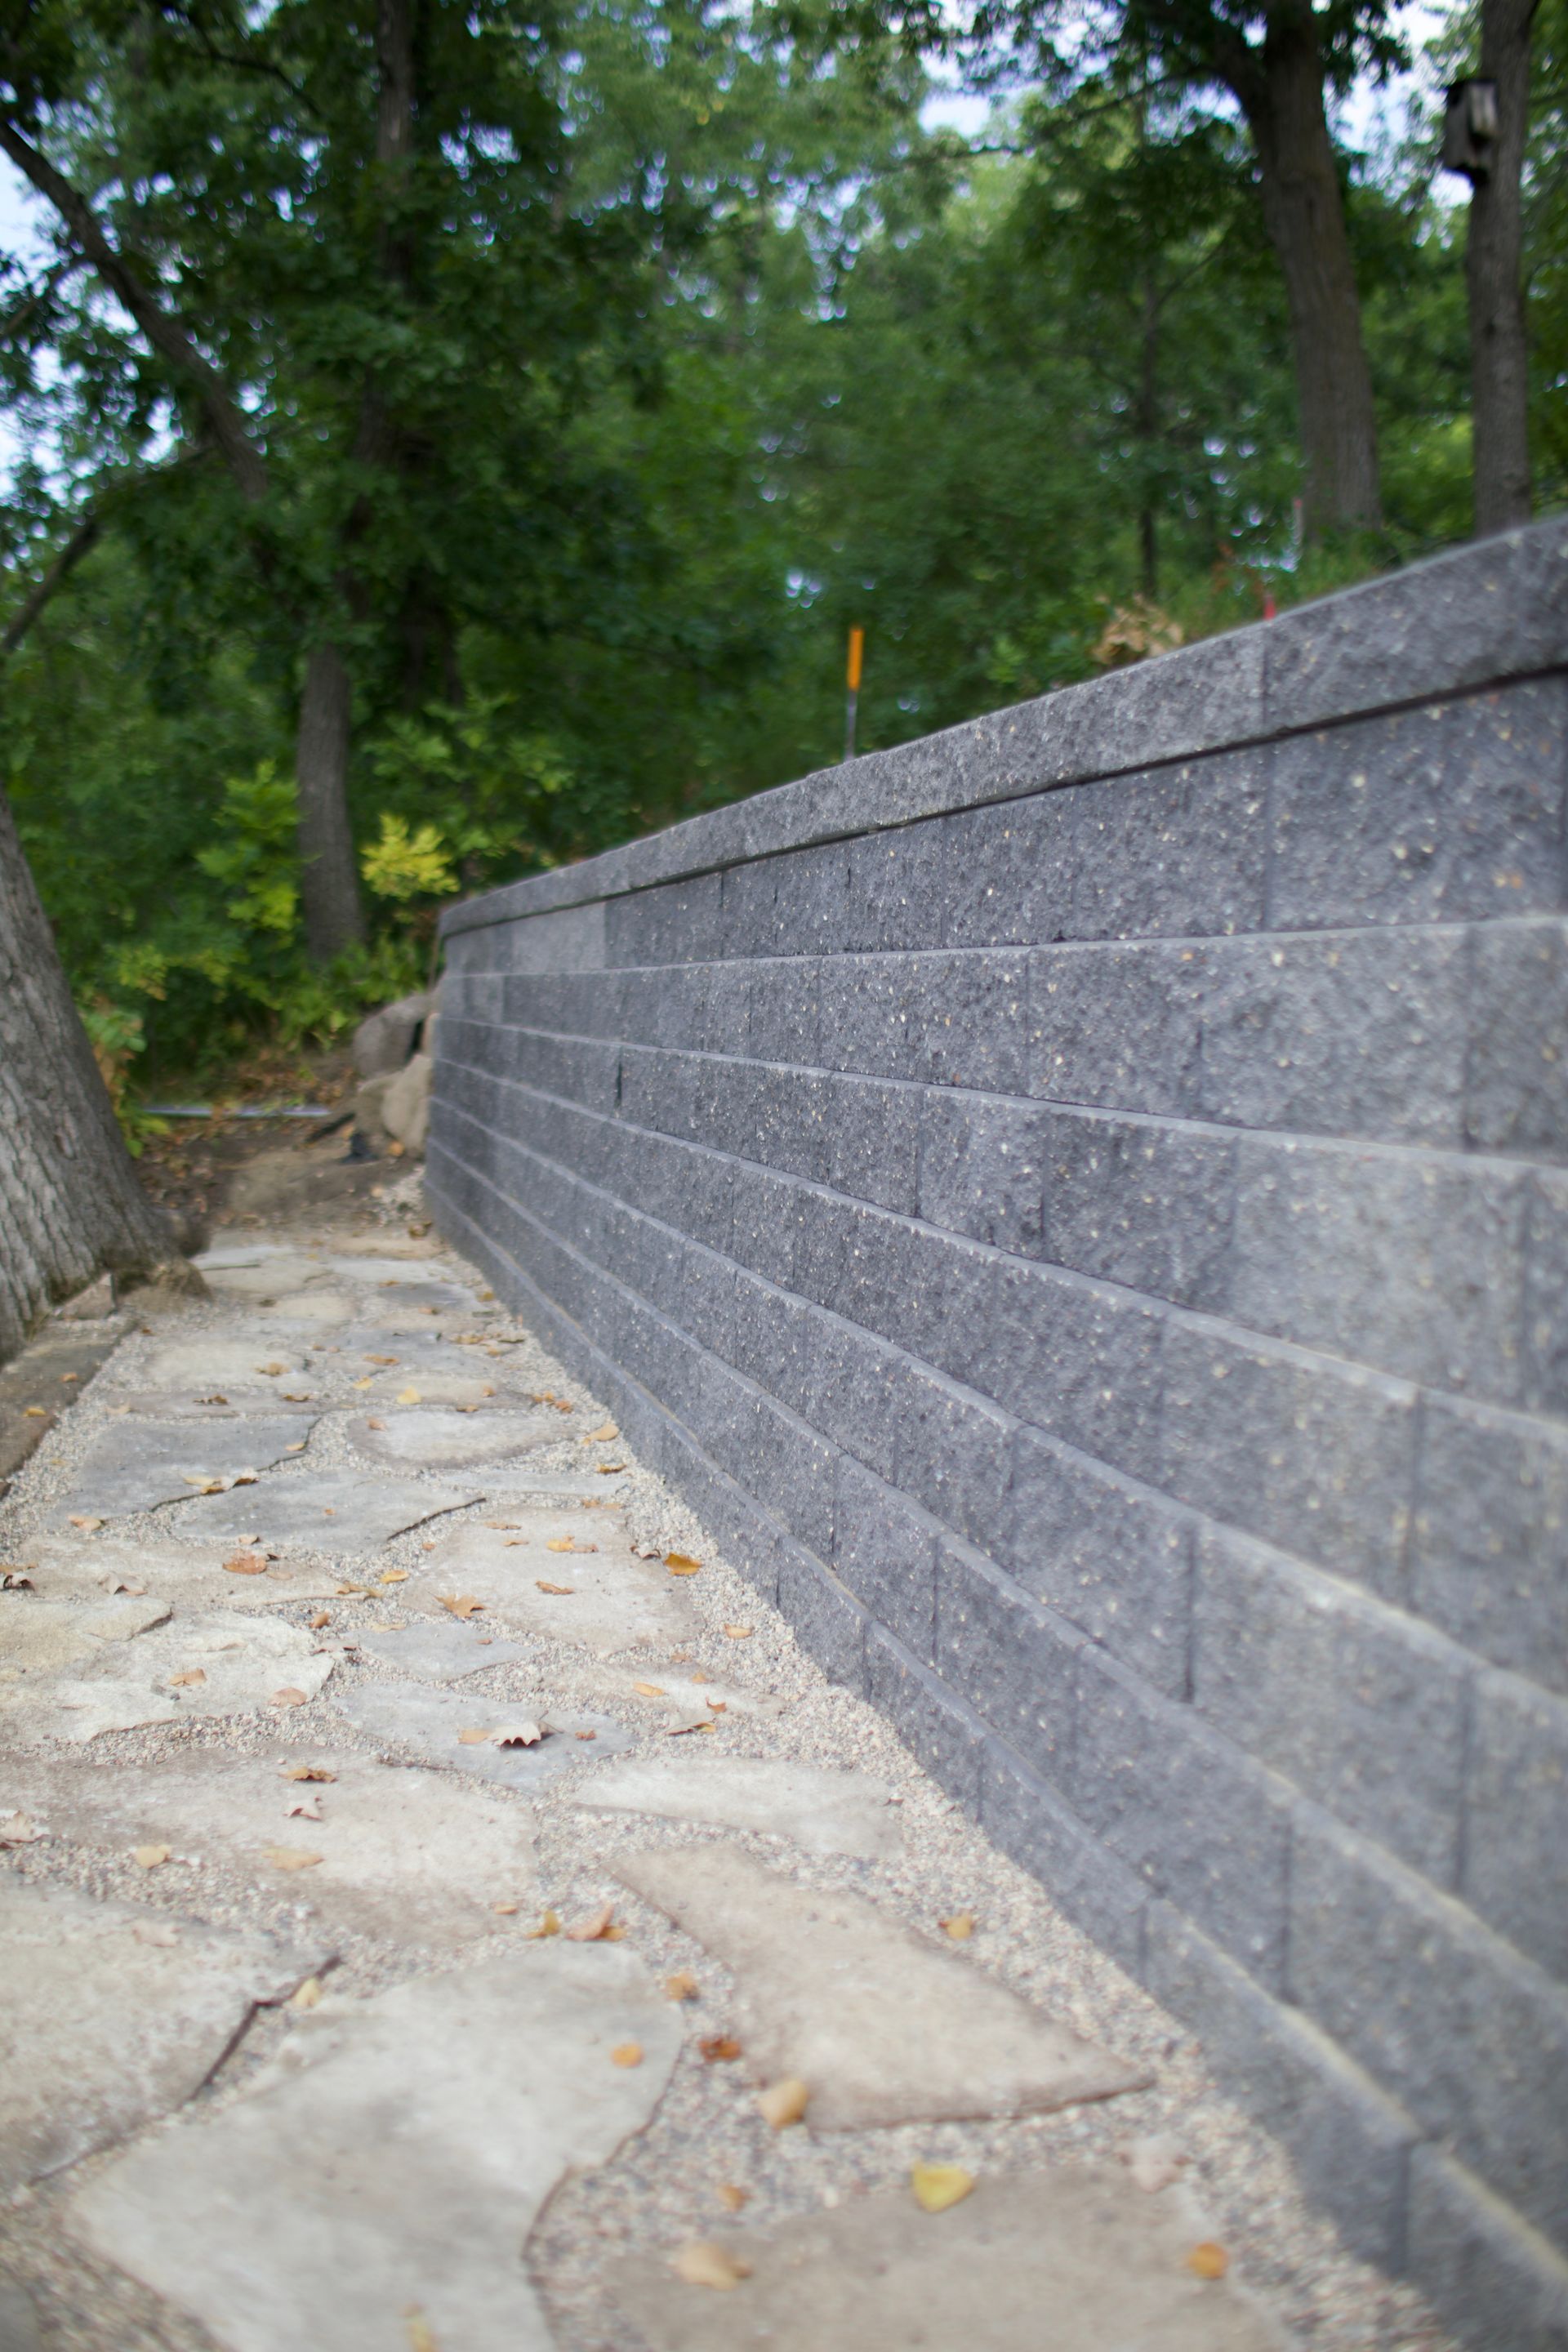
The cap of the wall finishes it off so nicely. We purchased all of the landscaping block from Willow Creek out of Kimball. It is open to the public as well if you are local:) We worked alongside Nagel Landscaping doing this project and he said if you want to do it right, these blocks are 4" deeper than Menards and you won't have to ever redo this wall again.
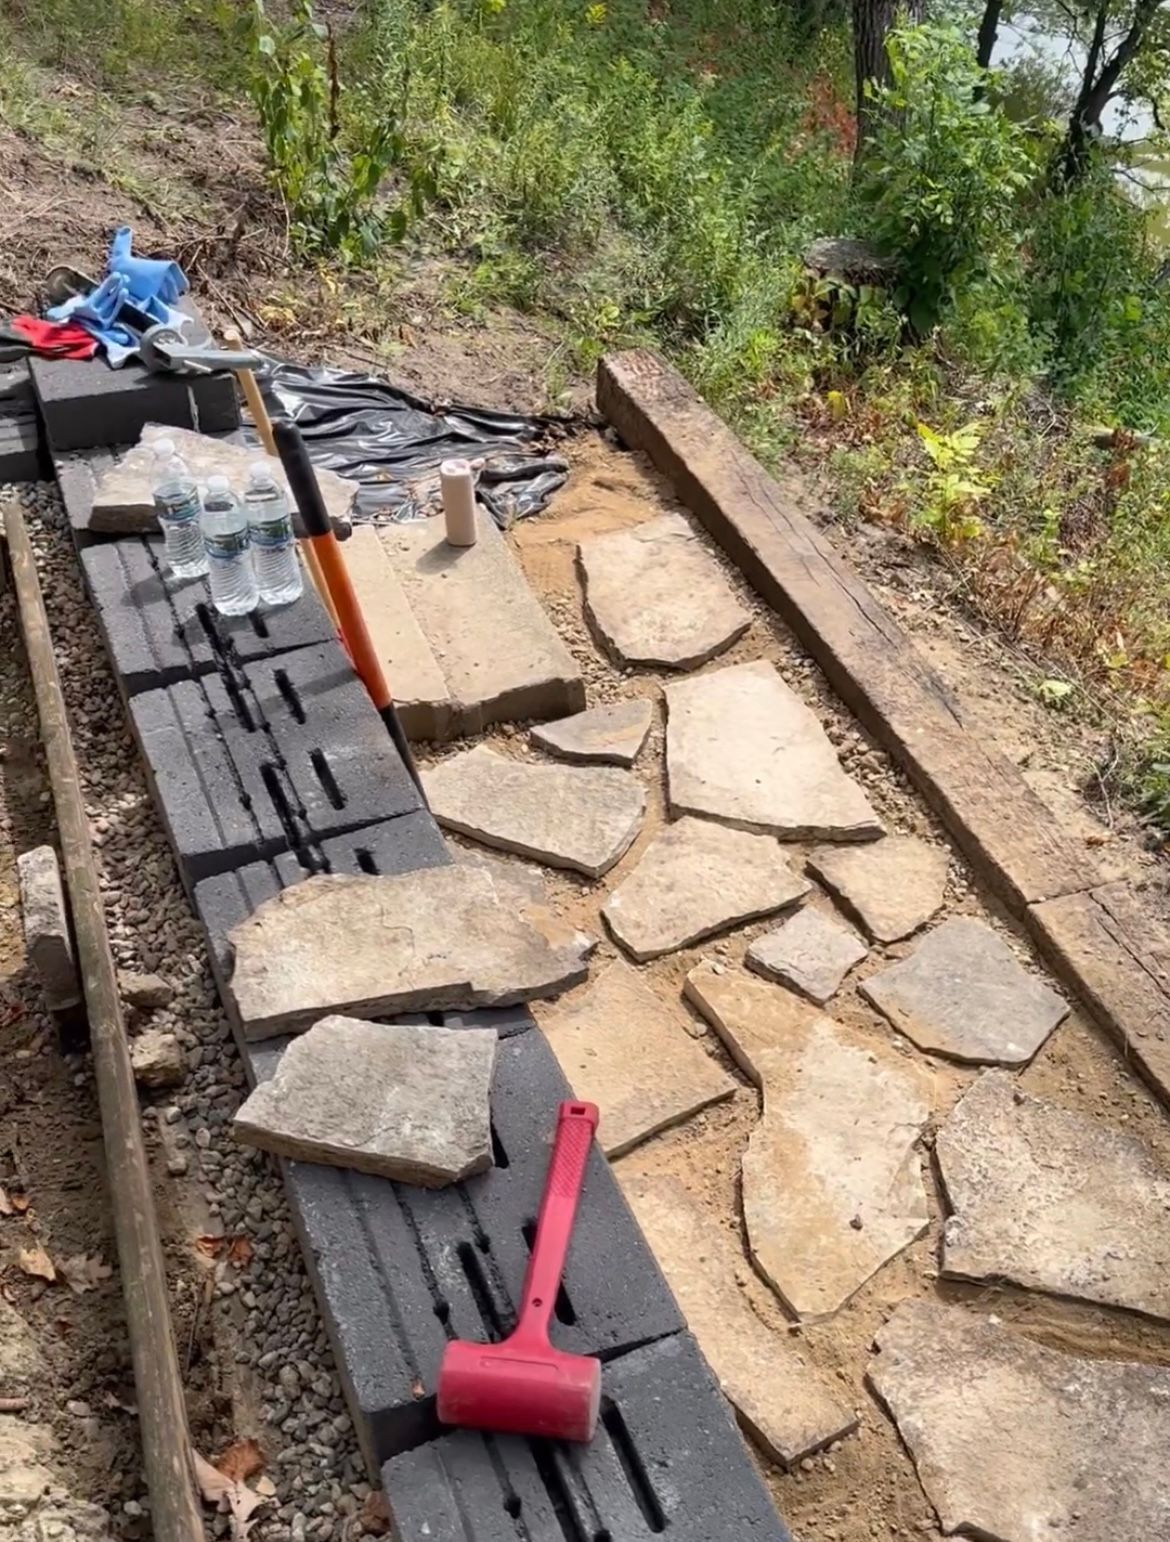
While Ryan was working on finishing the retaining wall, Tate and I worked on the flagstone pathway. We got an unbeatable deal on a pallet of flagstone rock. I LOVE flagstone, but it is so spendy so when we were offered this deal it couldn't be passed up. We ended up getting 5 pallets full of it for $3000, which was about half price. We only used about 1/2 pallet on this walkway and I'm so excited to have all of the leftovers to use as paths between the building and up to the front entrance at the cabin. I was able to play around with the placement of each stone. I dug up just a small amount of dirt before laying it down, then formed it into place.
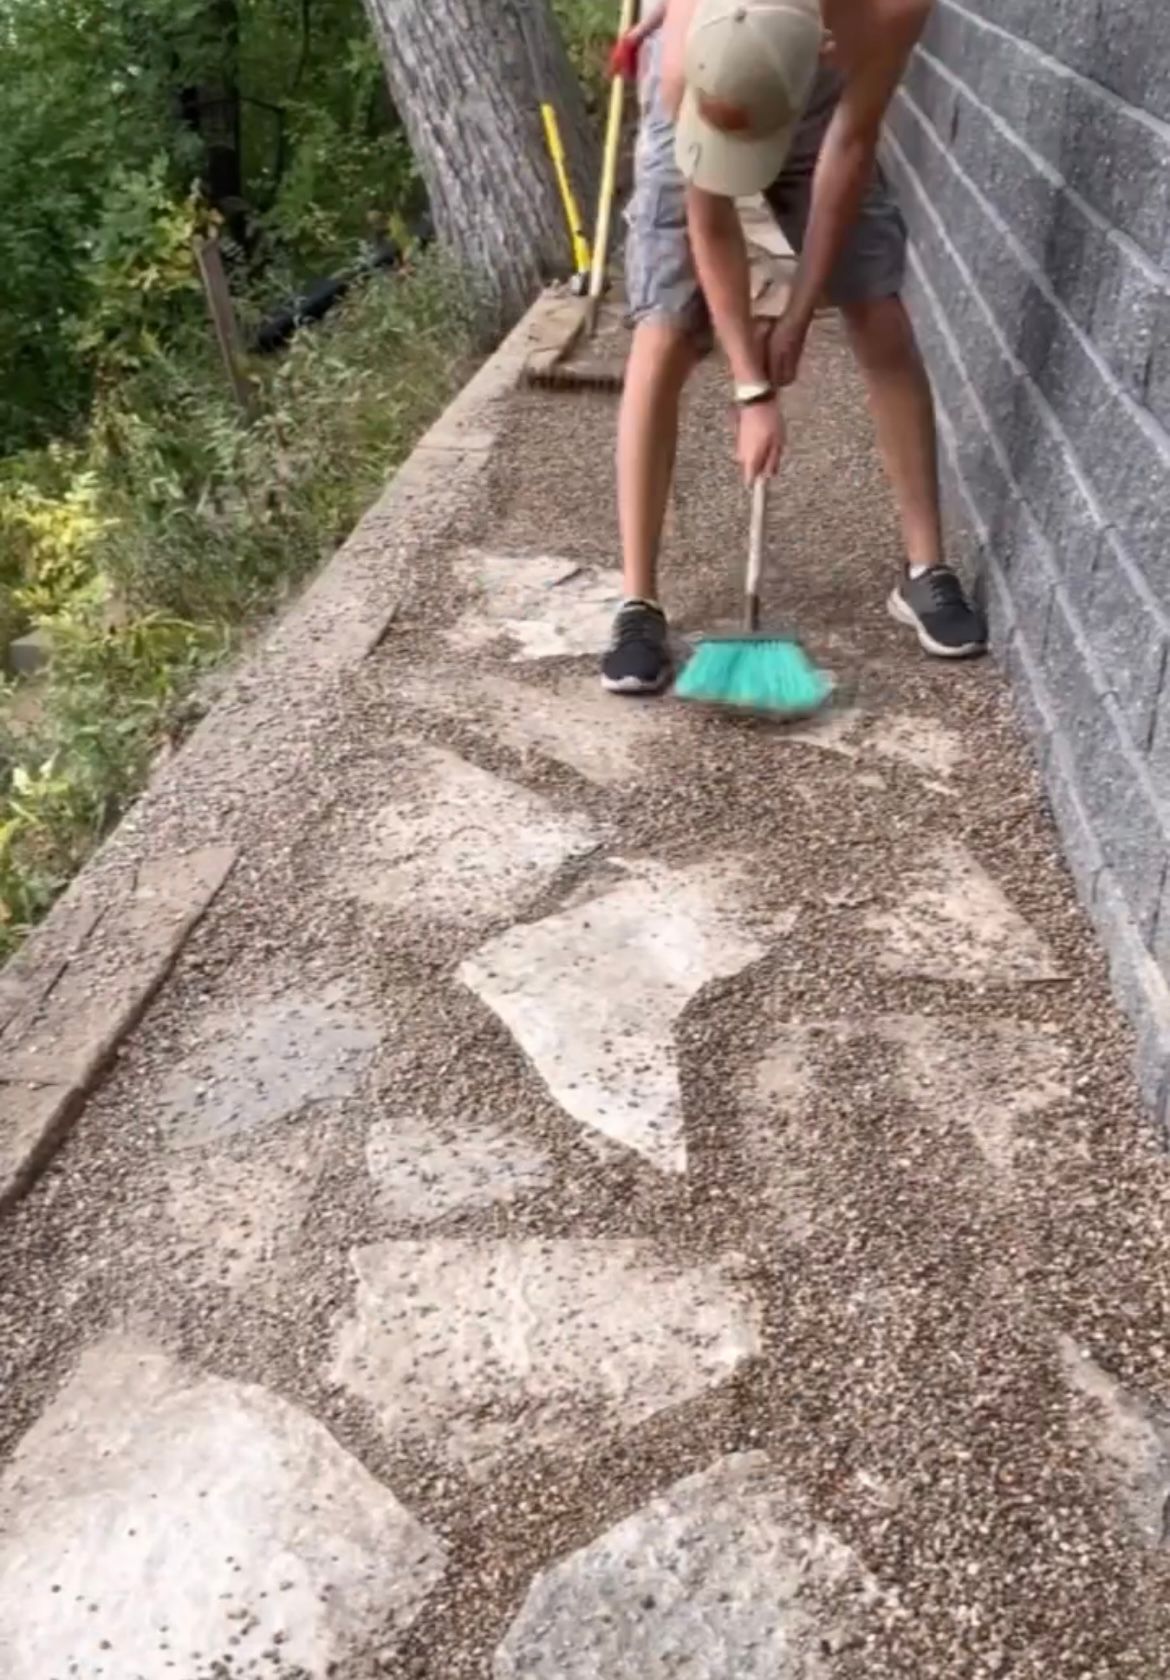
Then we used pea gravel over the entire pathway for in between the stones and to make it more level when walking.
Onto the firepit/landing area!
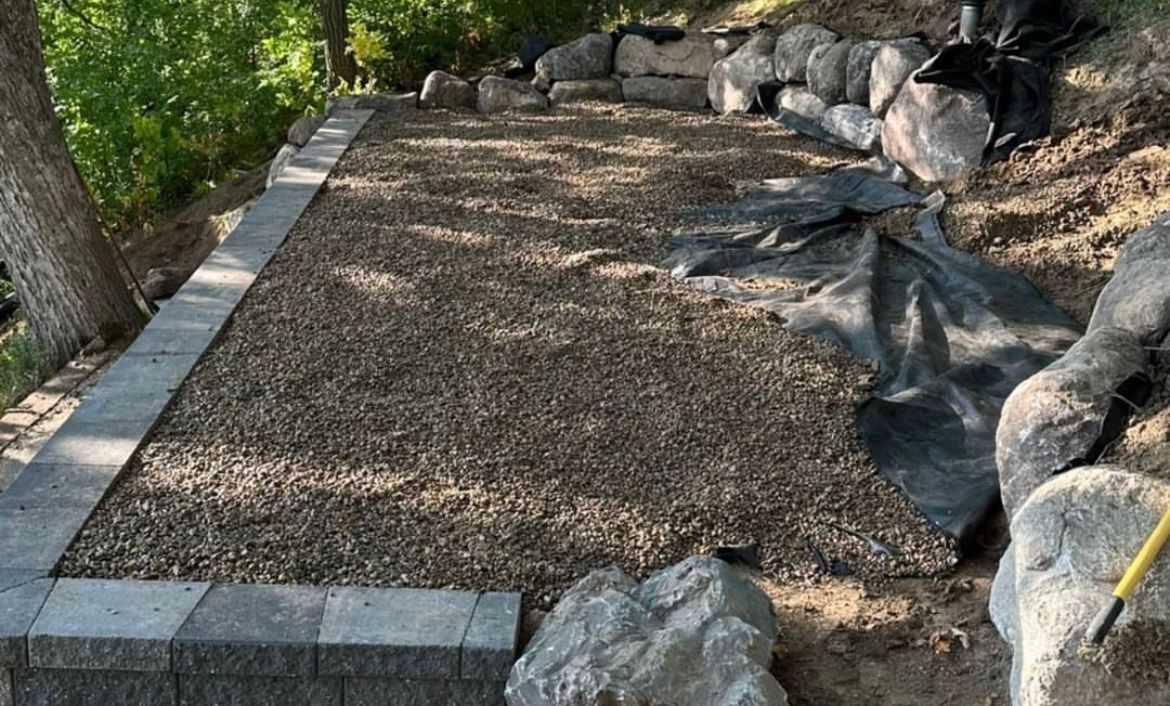
Pea gravel was laid next.
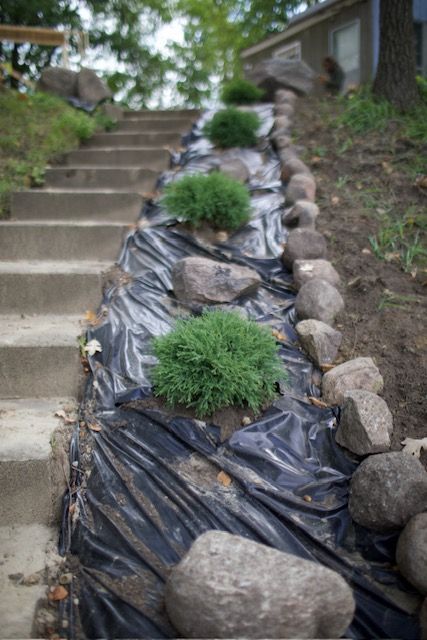
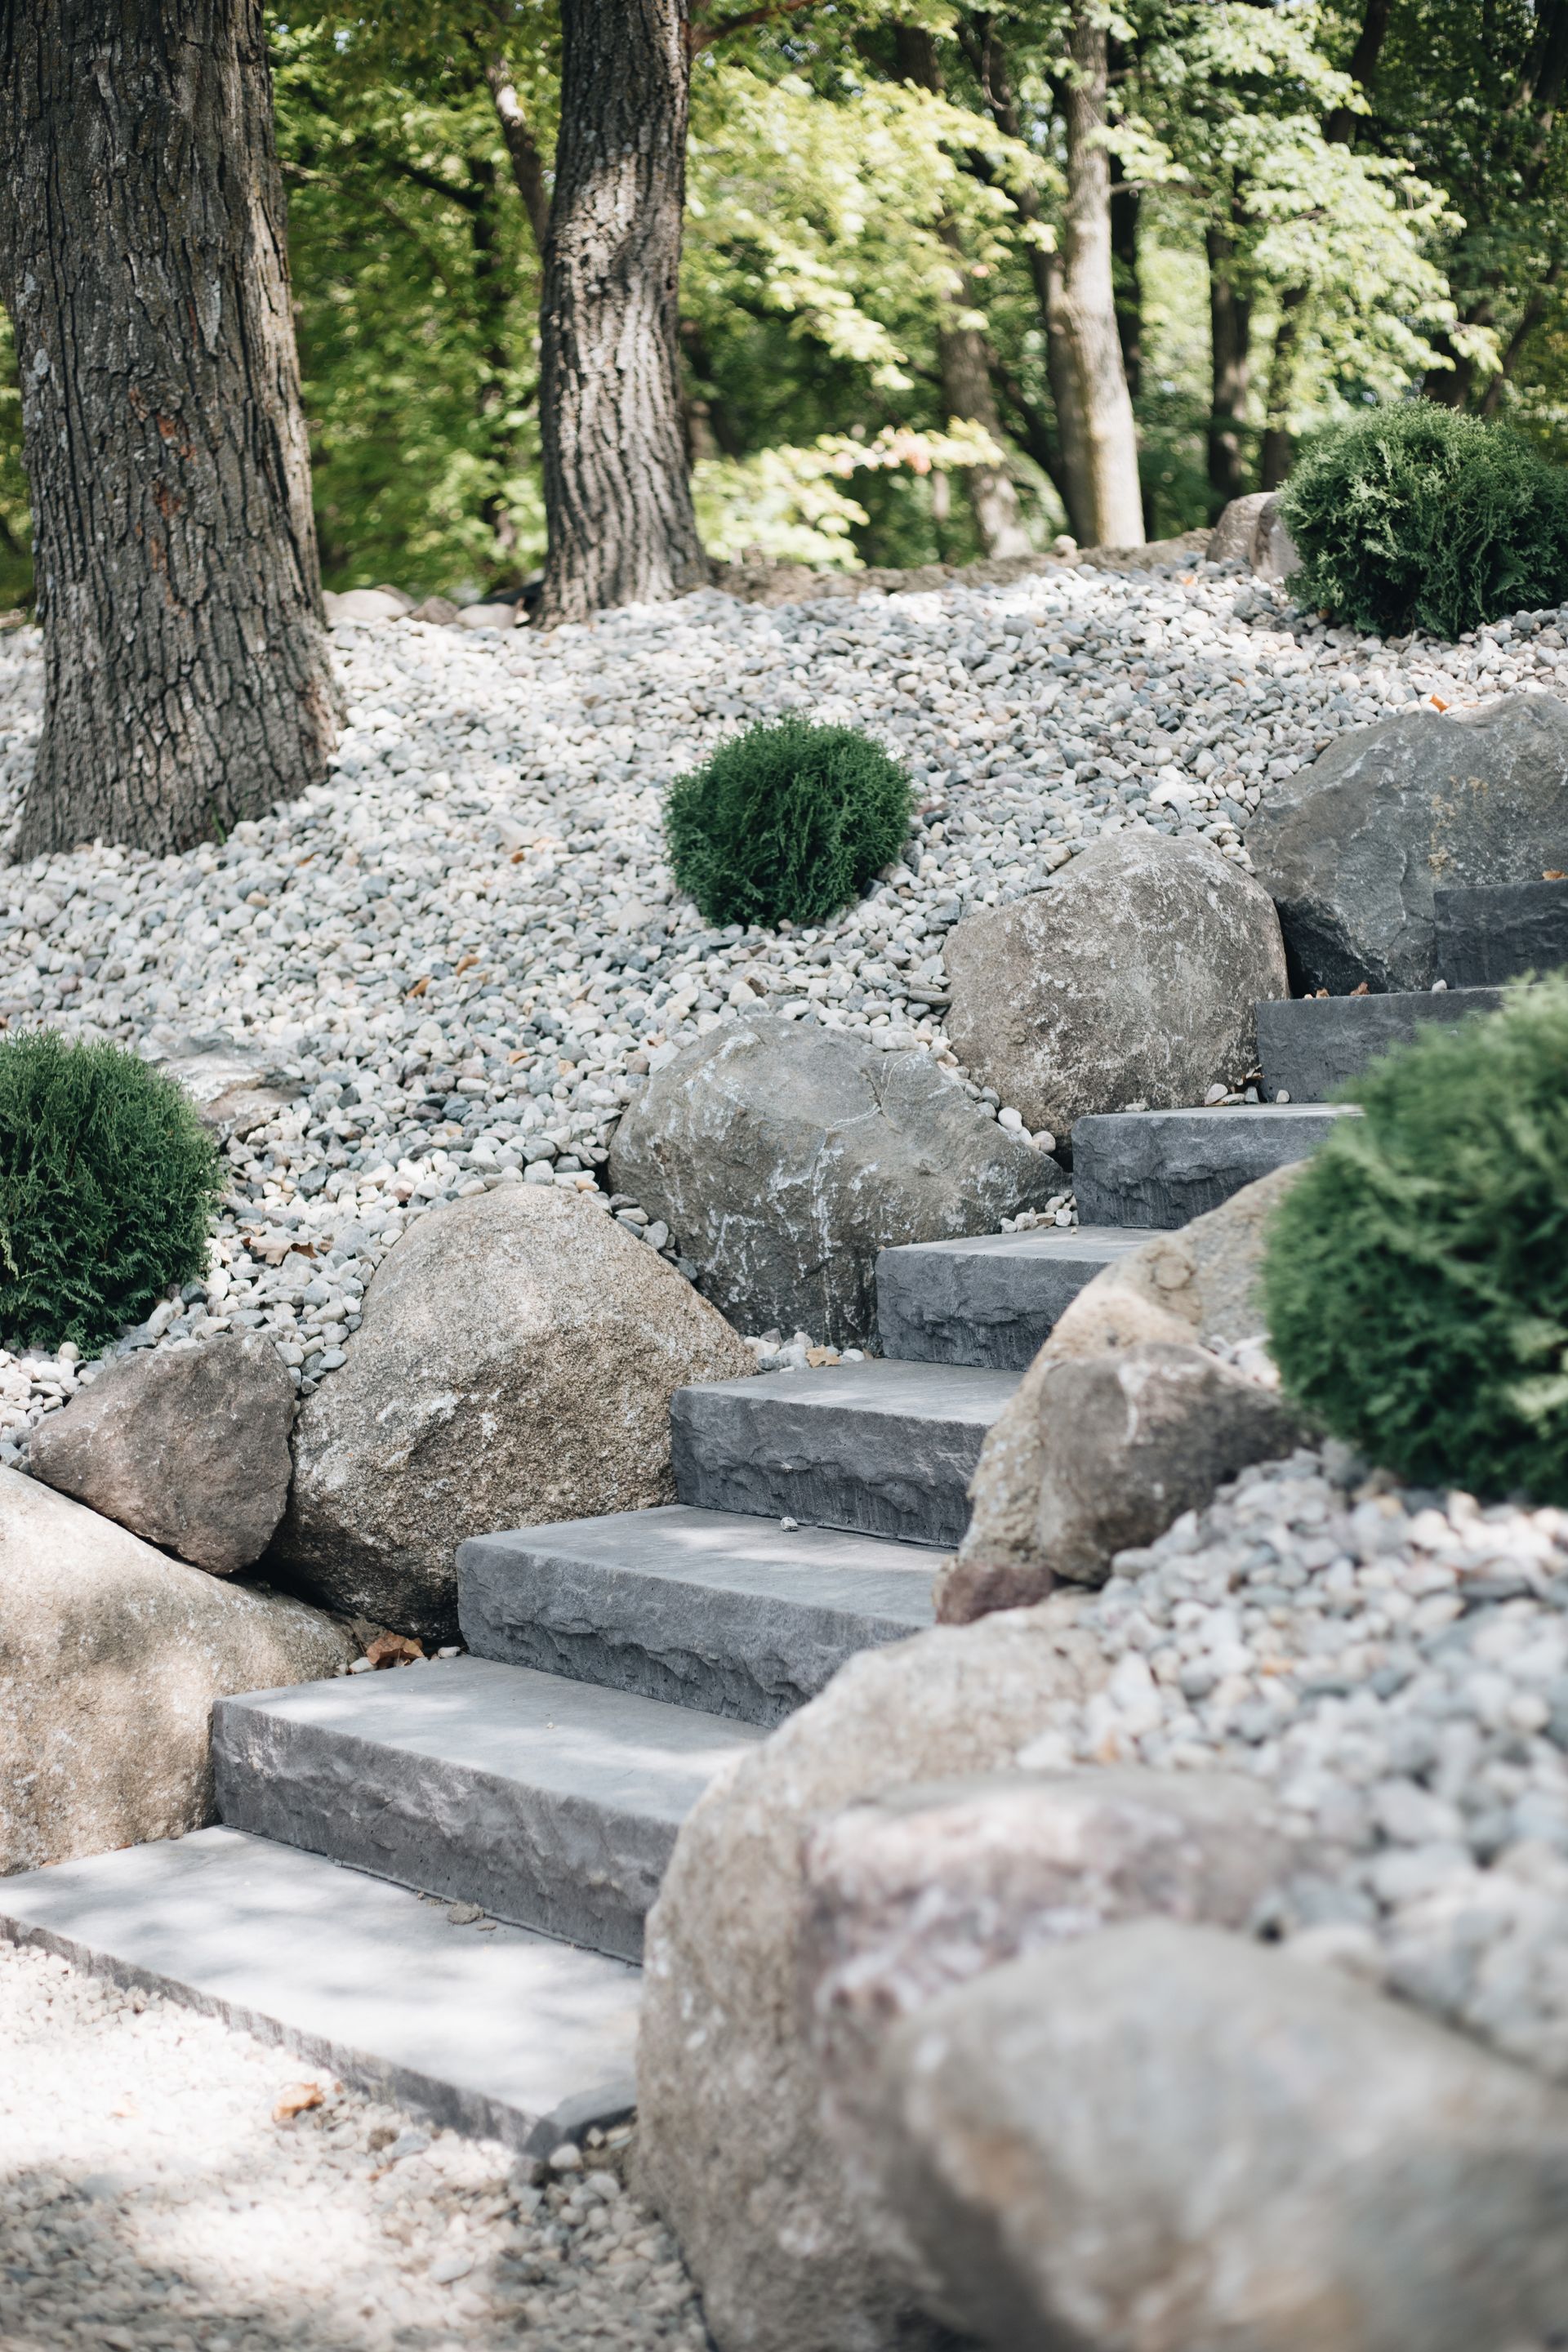
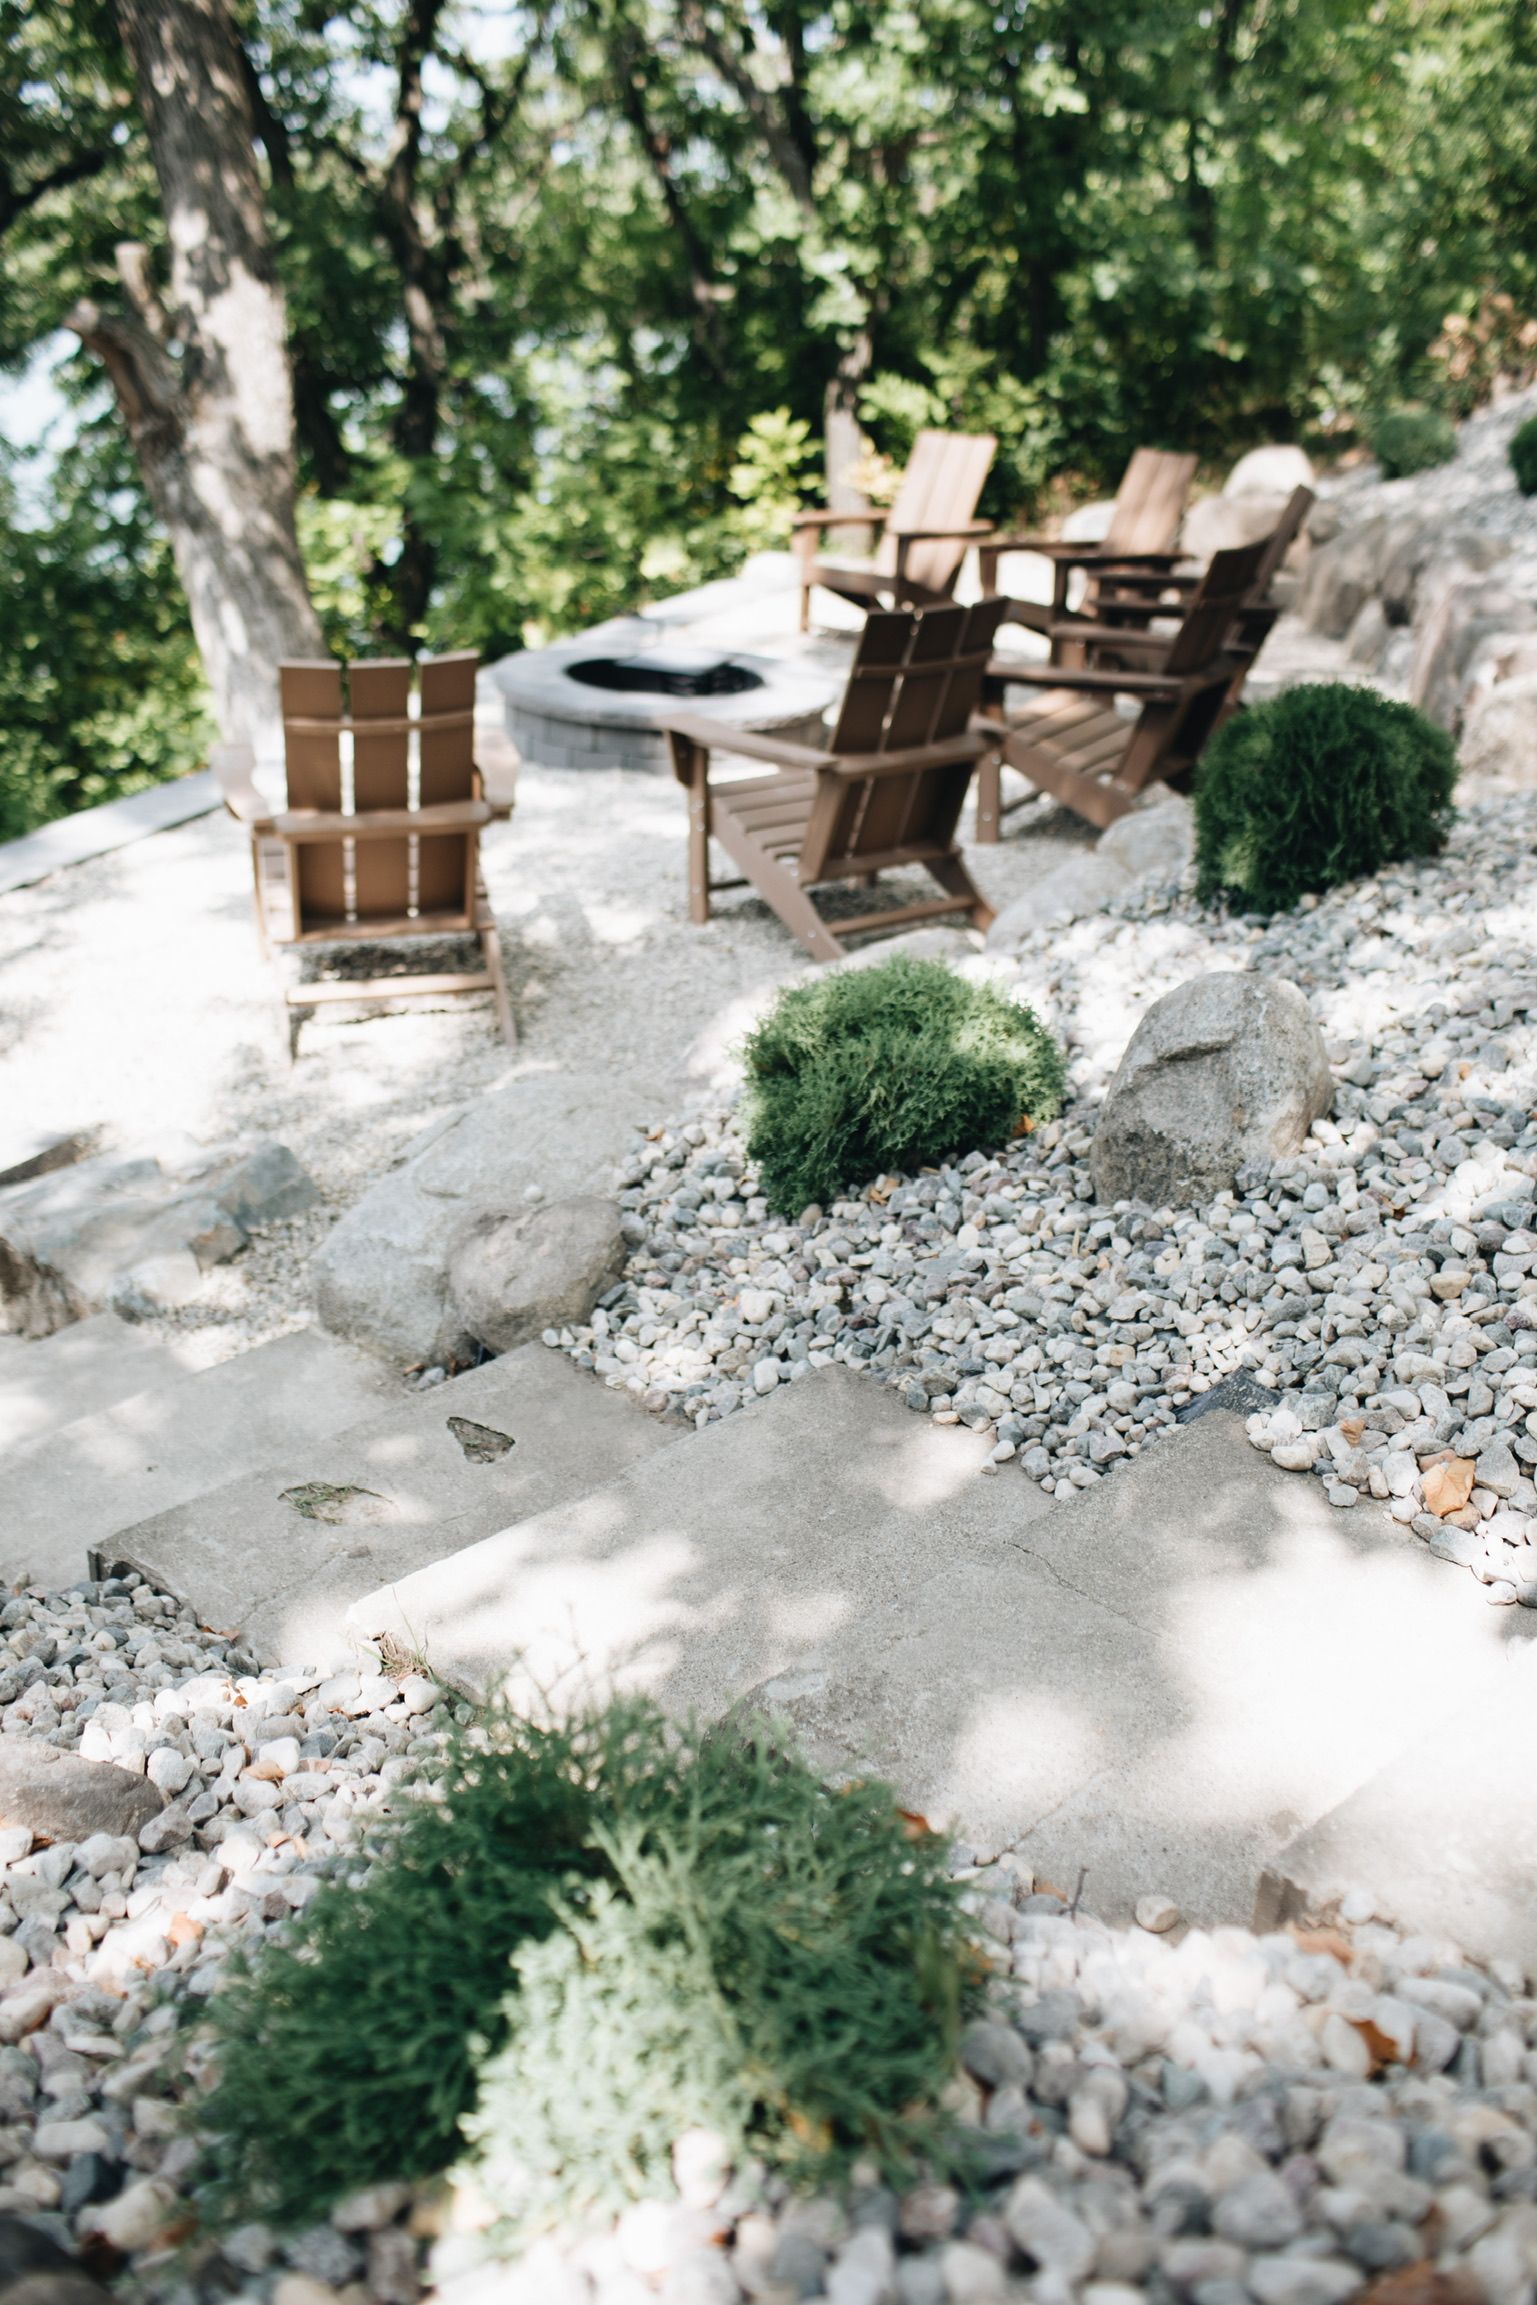
Next to the old steps I planted these adorable scrubs! They are called Mr. Bowling Ball Arborvitae. The best part is they just get to 2 or 3 feet tall, are soft to the touch and will keep their green all year long! Thankfully we had just gotten a lot of rain, so the ground was soft and easy to dig these in.
I placed larger rocks in between the shrubs to help hold the smaller river rock that we used to cover the plastic.

We decided to let the pro (Nagel Landscaping) take over this part of the landscaping. Brandon is Ryan's buddy who helped us out a couple days! He has all of the machinery to be able to lift these extremely heavy rocks and steps. Speaking of steps, that is what they are putting in above!!
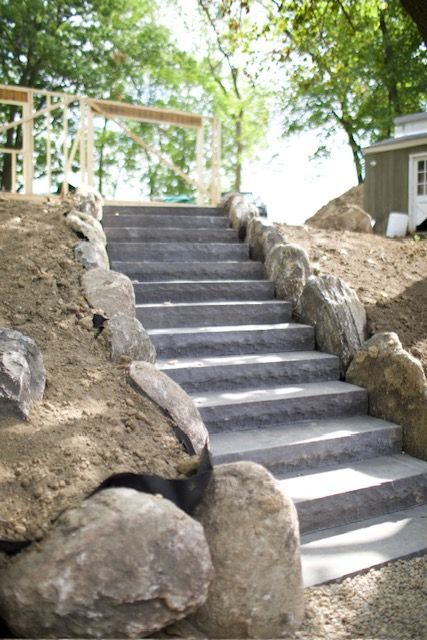
Ahhh! Man I love when a project comes to life better than you pictured it to be. Ryan found these steps at Willow Creek, the same local landscaping place for a steal of a deal, they have a fine dust finish on them, so they got marked down. I personally can't even tell though. I think he got them for $60 a piece originally $150!

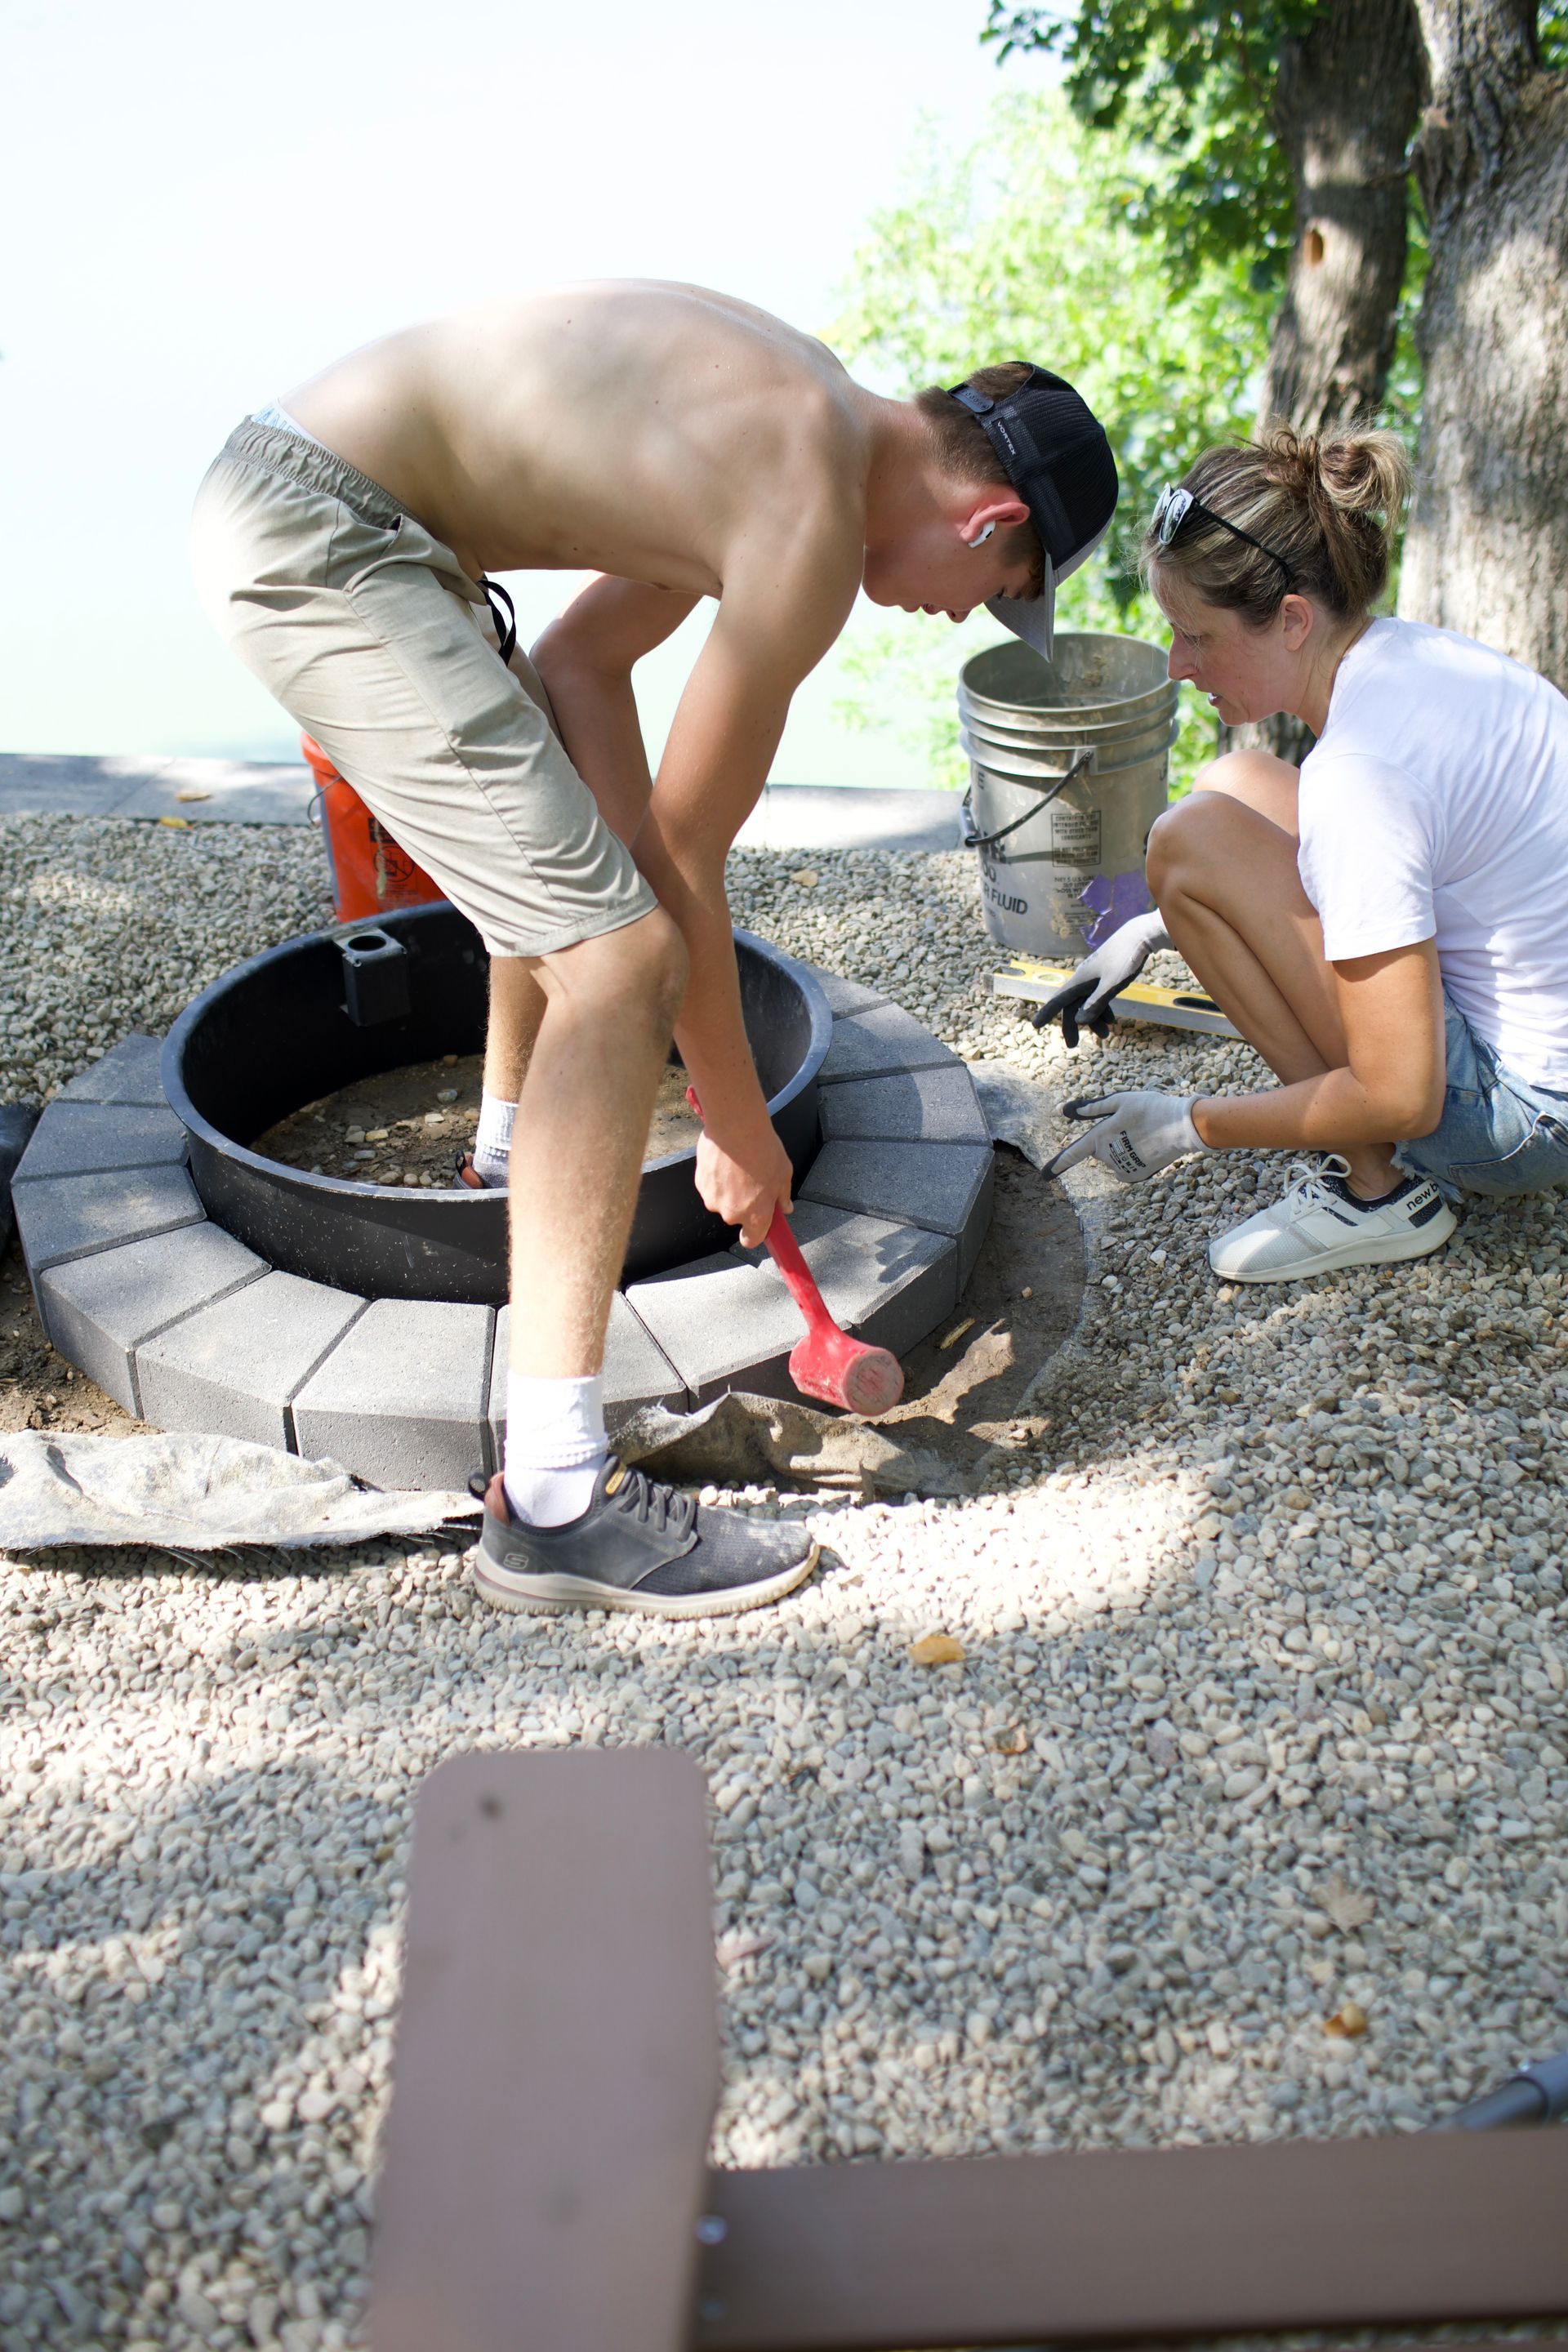
The final step, adding a firepit! I had the best and biggest stud helper on building the fire pit. We decided to tackle this project on the hottest day of the year, yikes probably not the smartest idea, but we did it anyways LOL. This part can take some time, with making sure it is exactly level on the bottom row so entire pit doesn't wobble. After a lot of smoothing dirt and moving away rock we got it level!!
We got our Stone Fire Pit Kit from Willow Creek, but I found an identical kit from Home Depot. The kit comes with full instructions on how-to!
We ended up deciding to get River Rock for the hill to be filled in where there isn't plants or rocks. It made for a perfect finished look!
By the first pit the greenery I went with is called Hetz midget arborvitaes. I liked the darker green color to these guys.
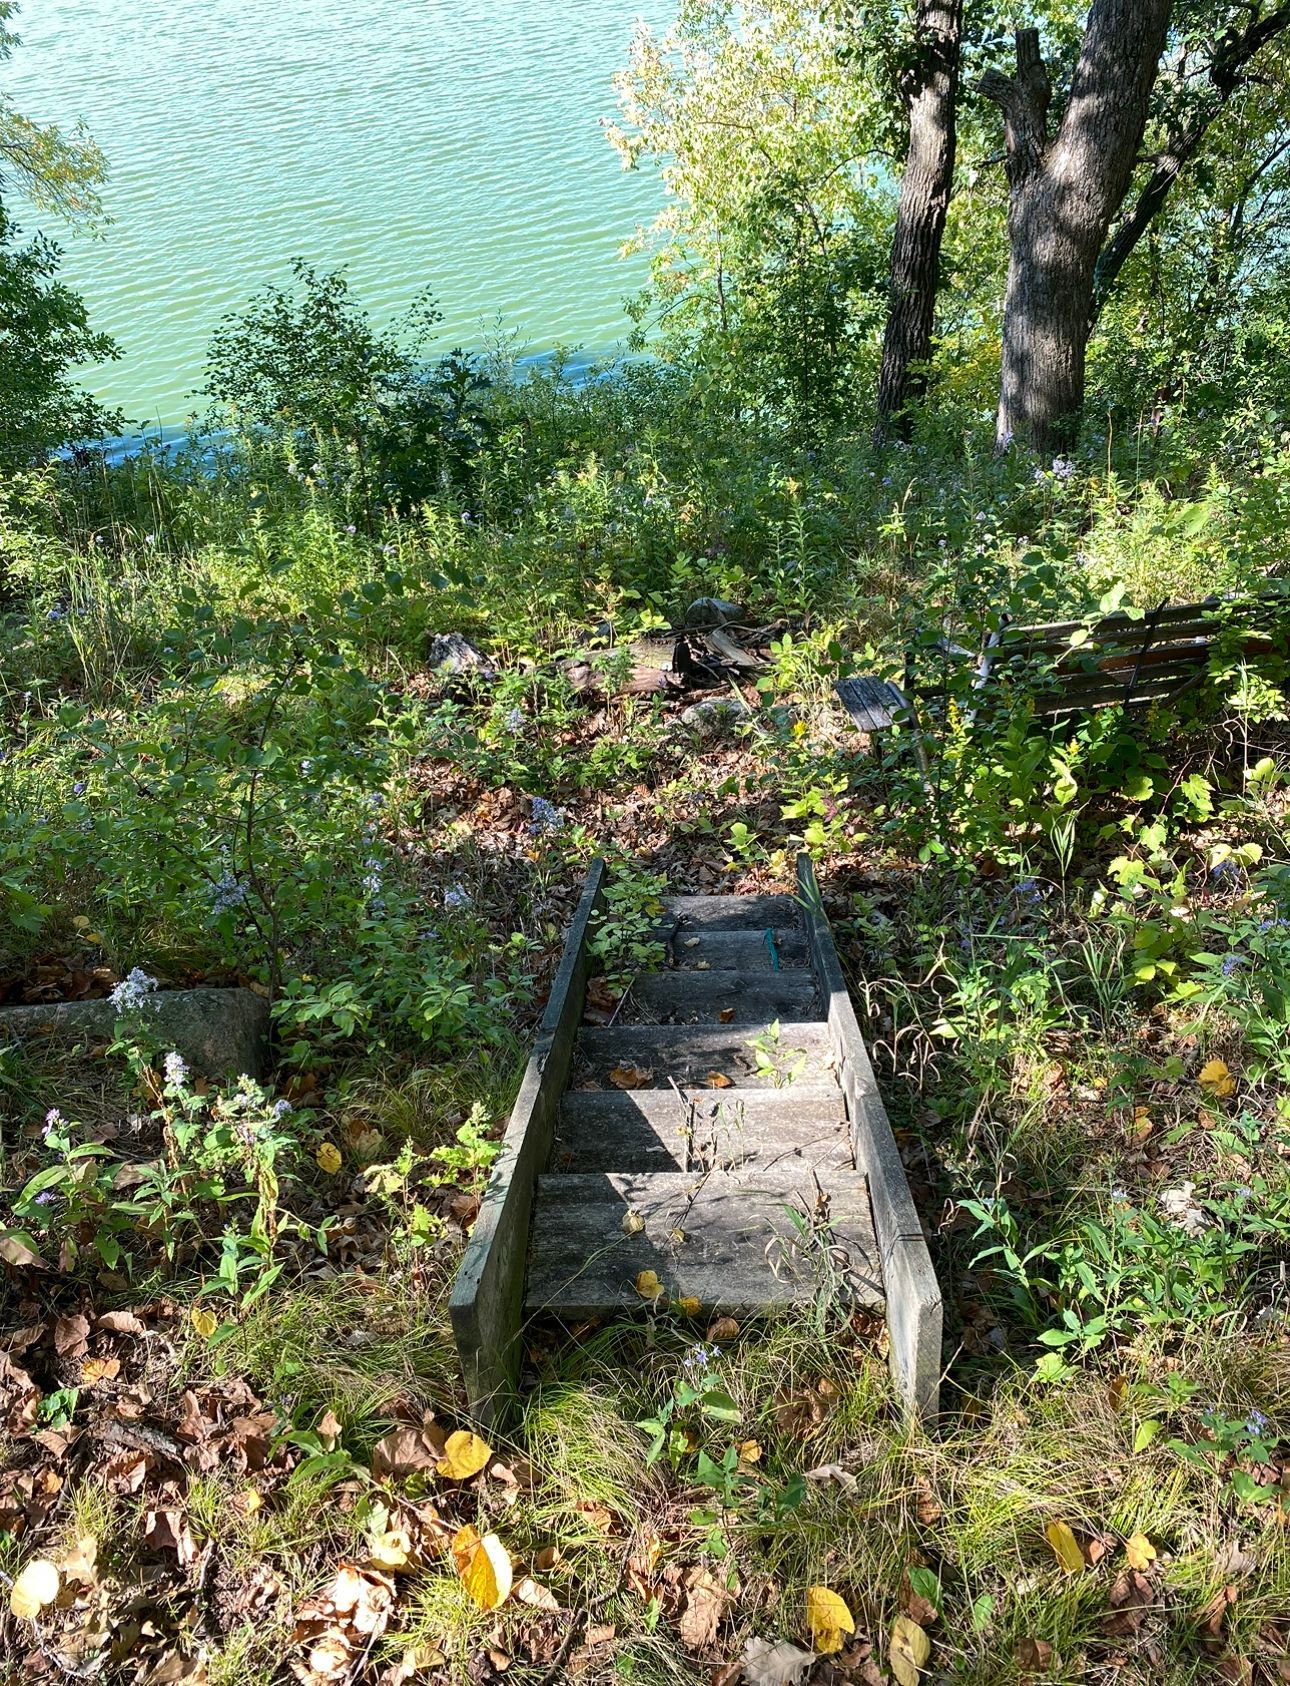
BEFORE
After
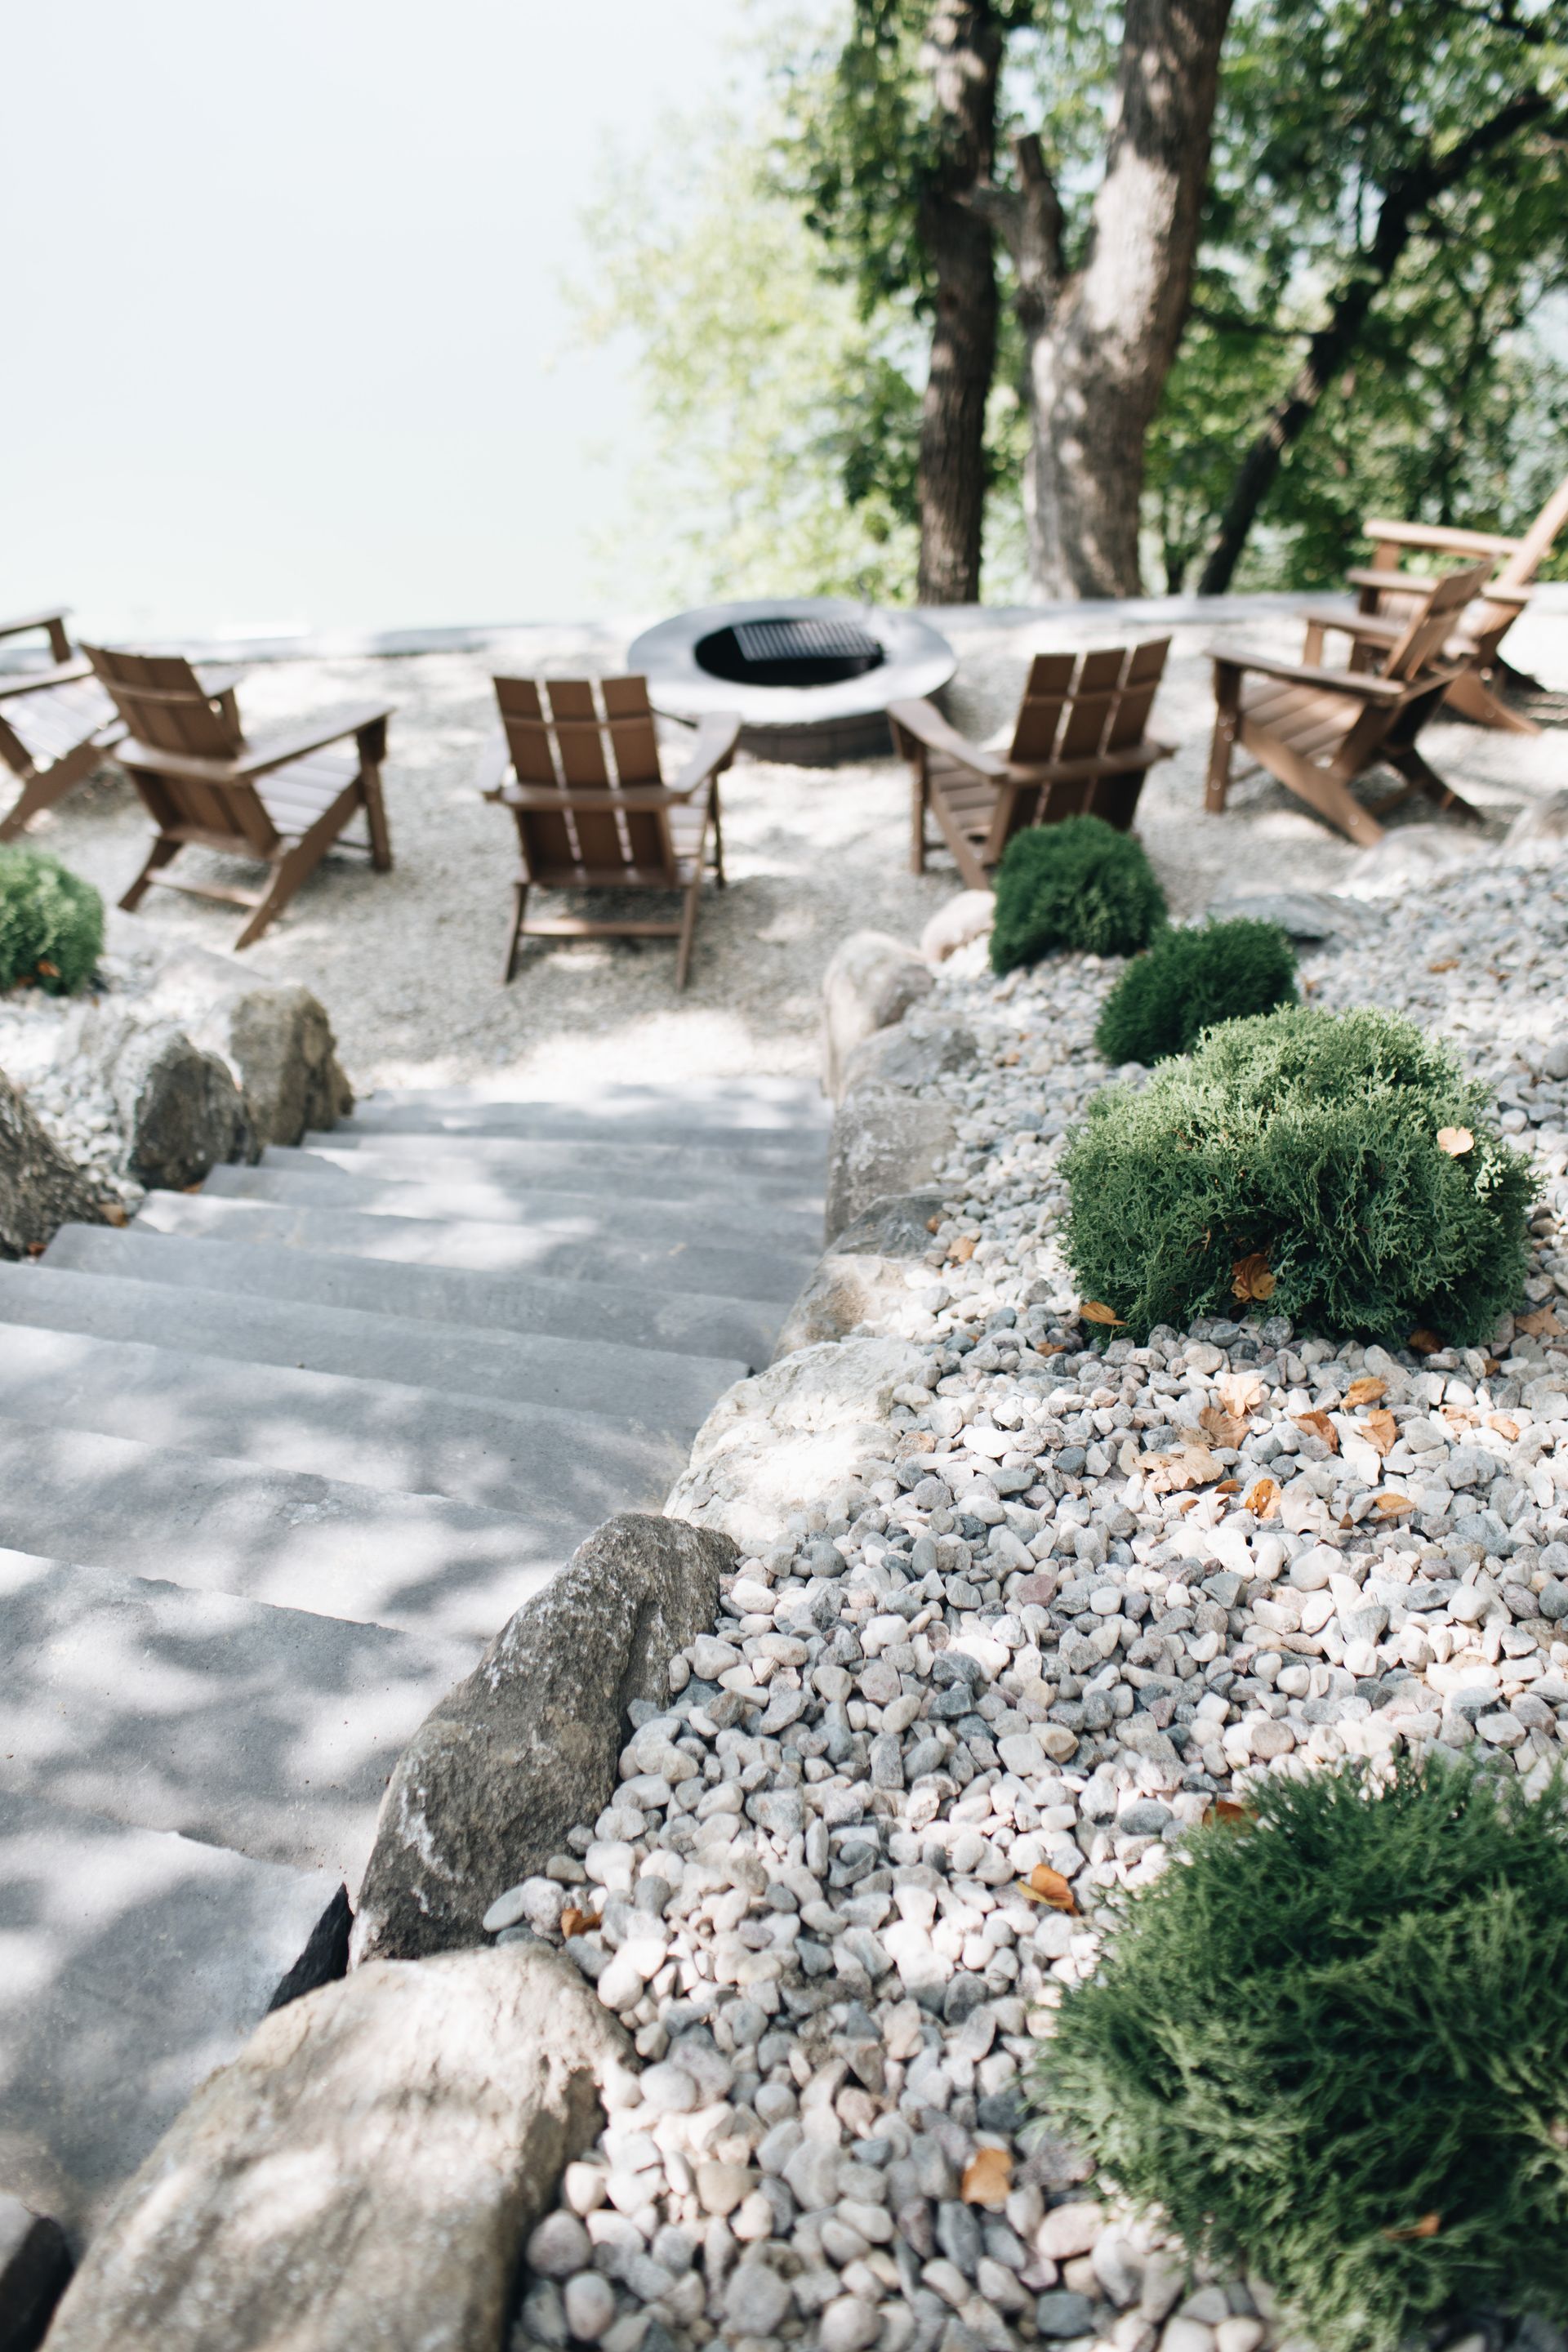
Can you believe that is the exact same view?!? Crazy how much property we gained from this project!
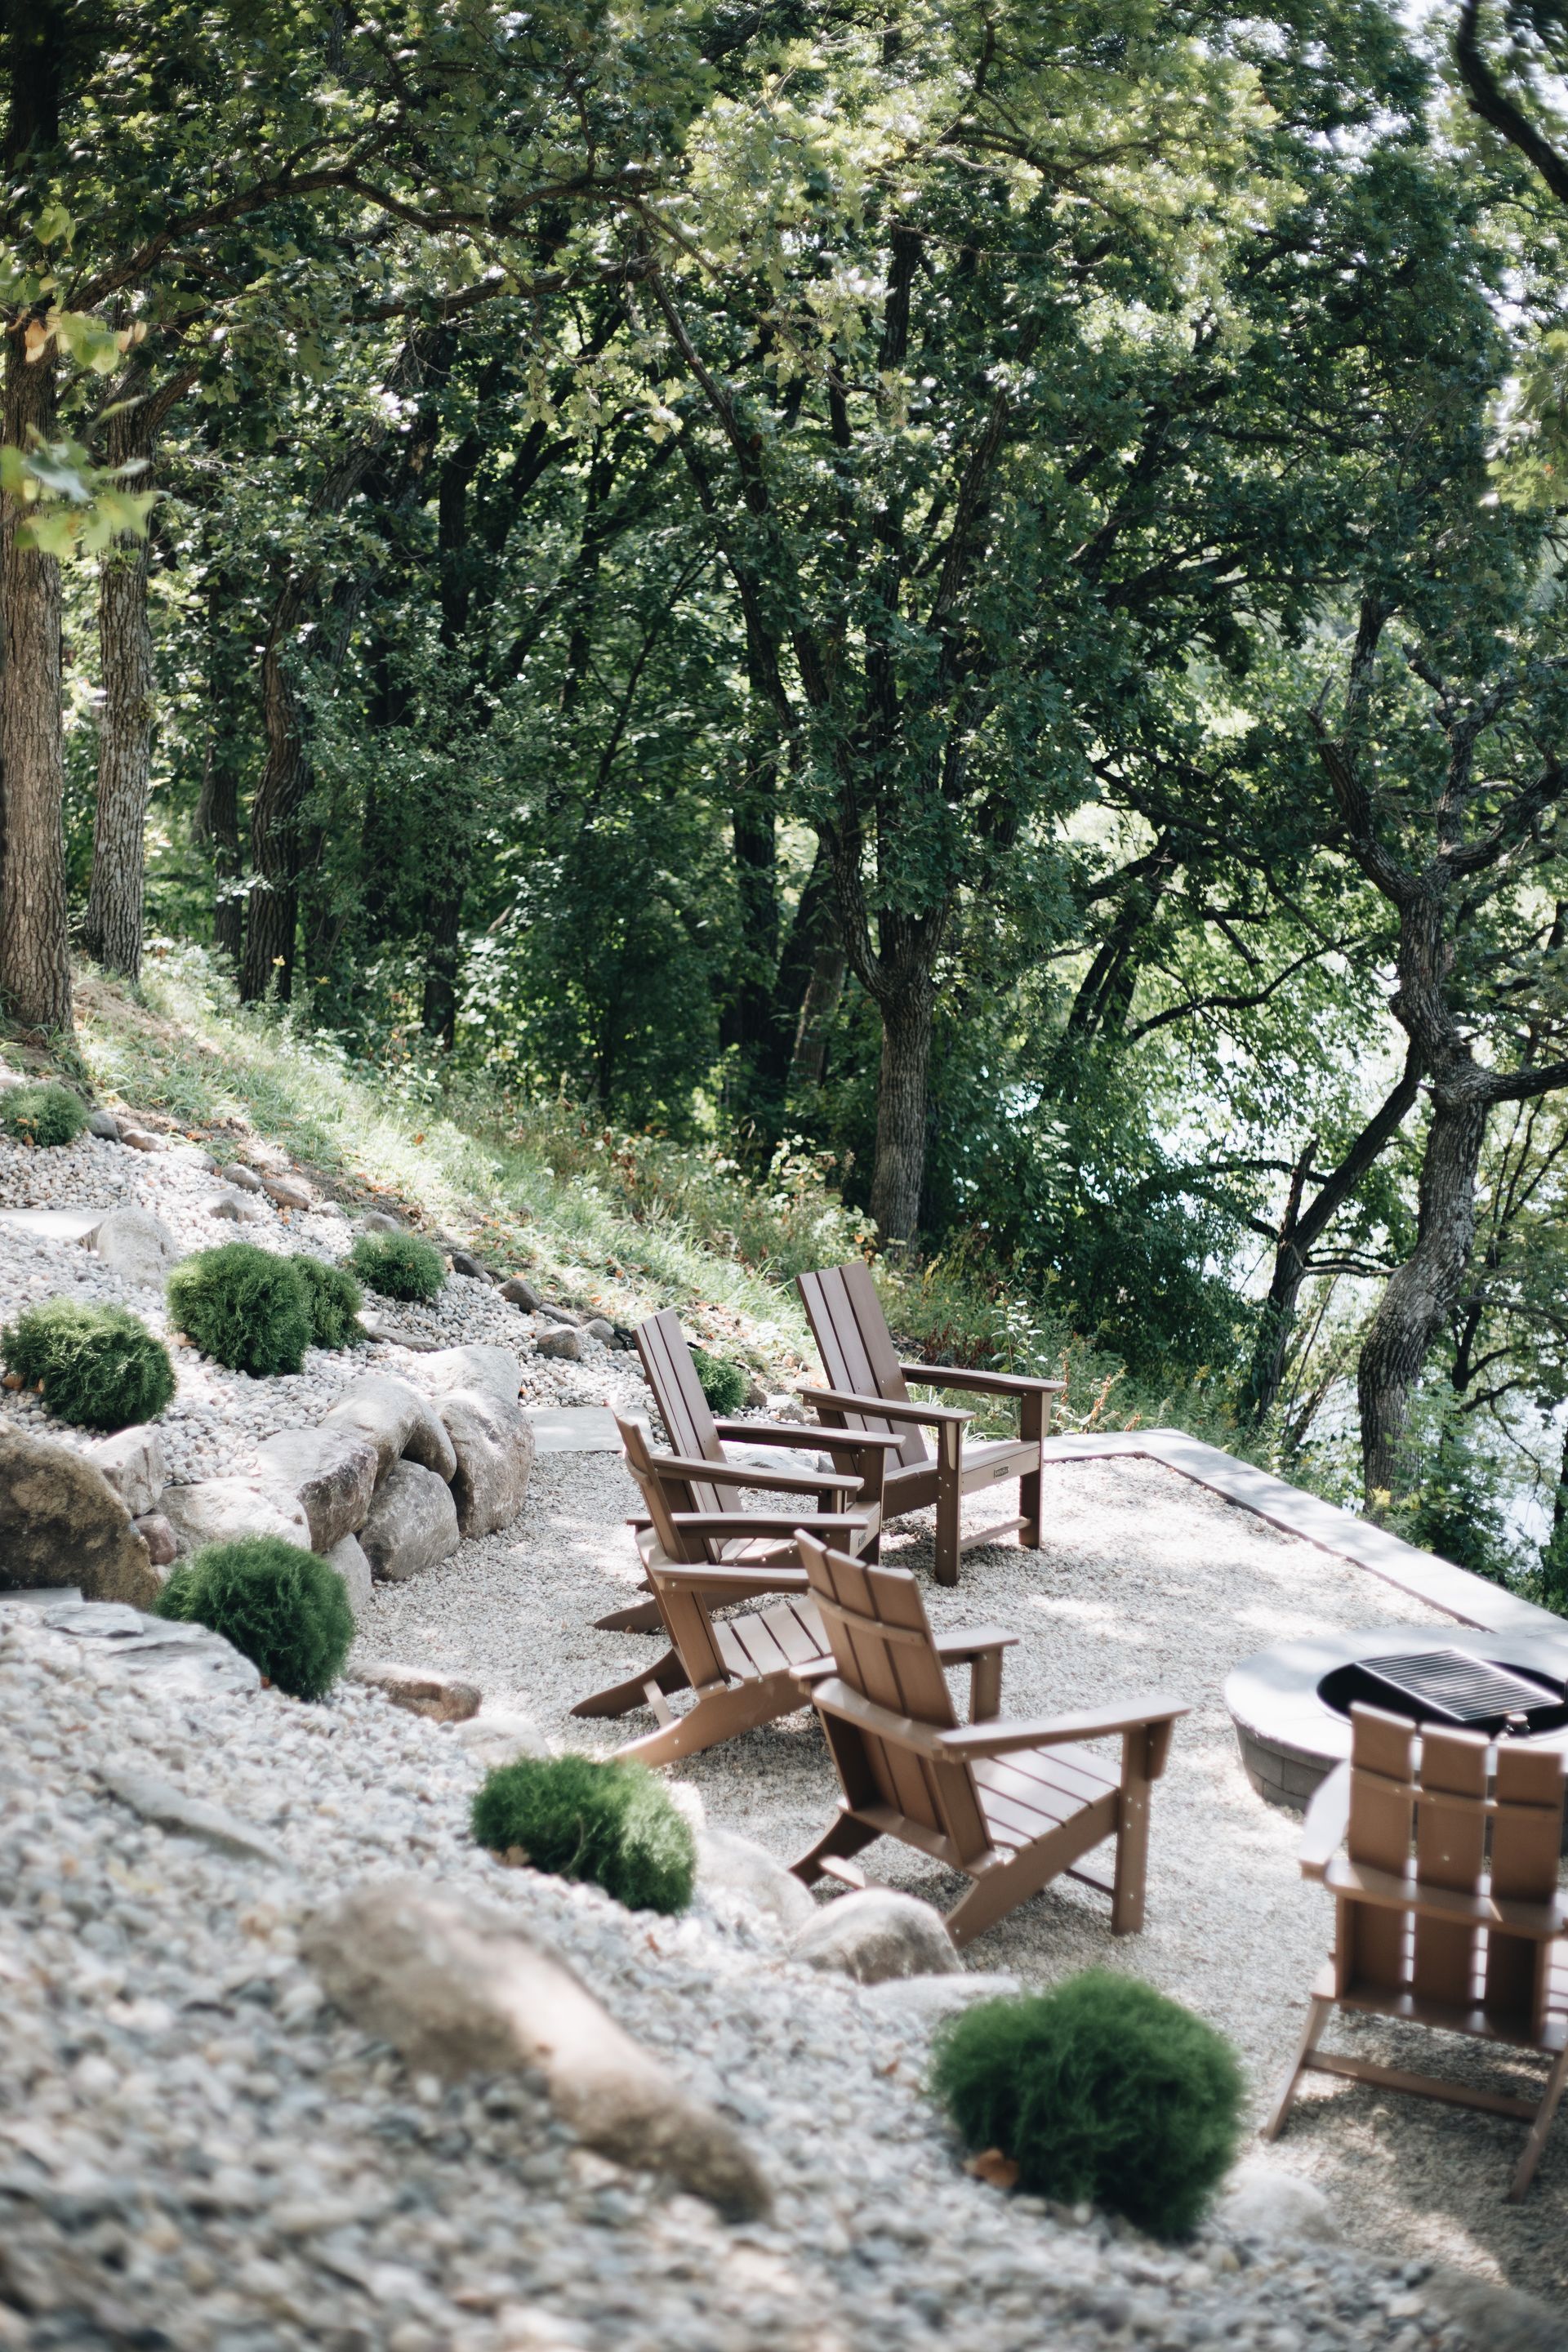
Oh my goodness!! This project was some major sweat equity! We knew that coming into this that we wanted to do as much of the work as we could ourselves. And wow does doing the work make the finished project even more exciting!! My vision for this area came to life and to life even better than I had pictured in my head!
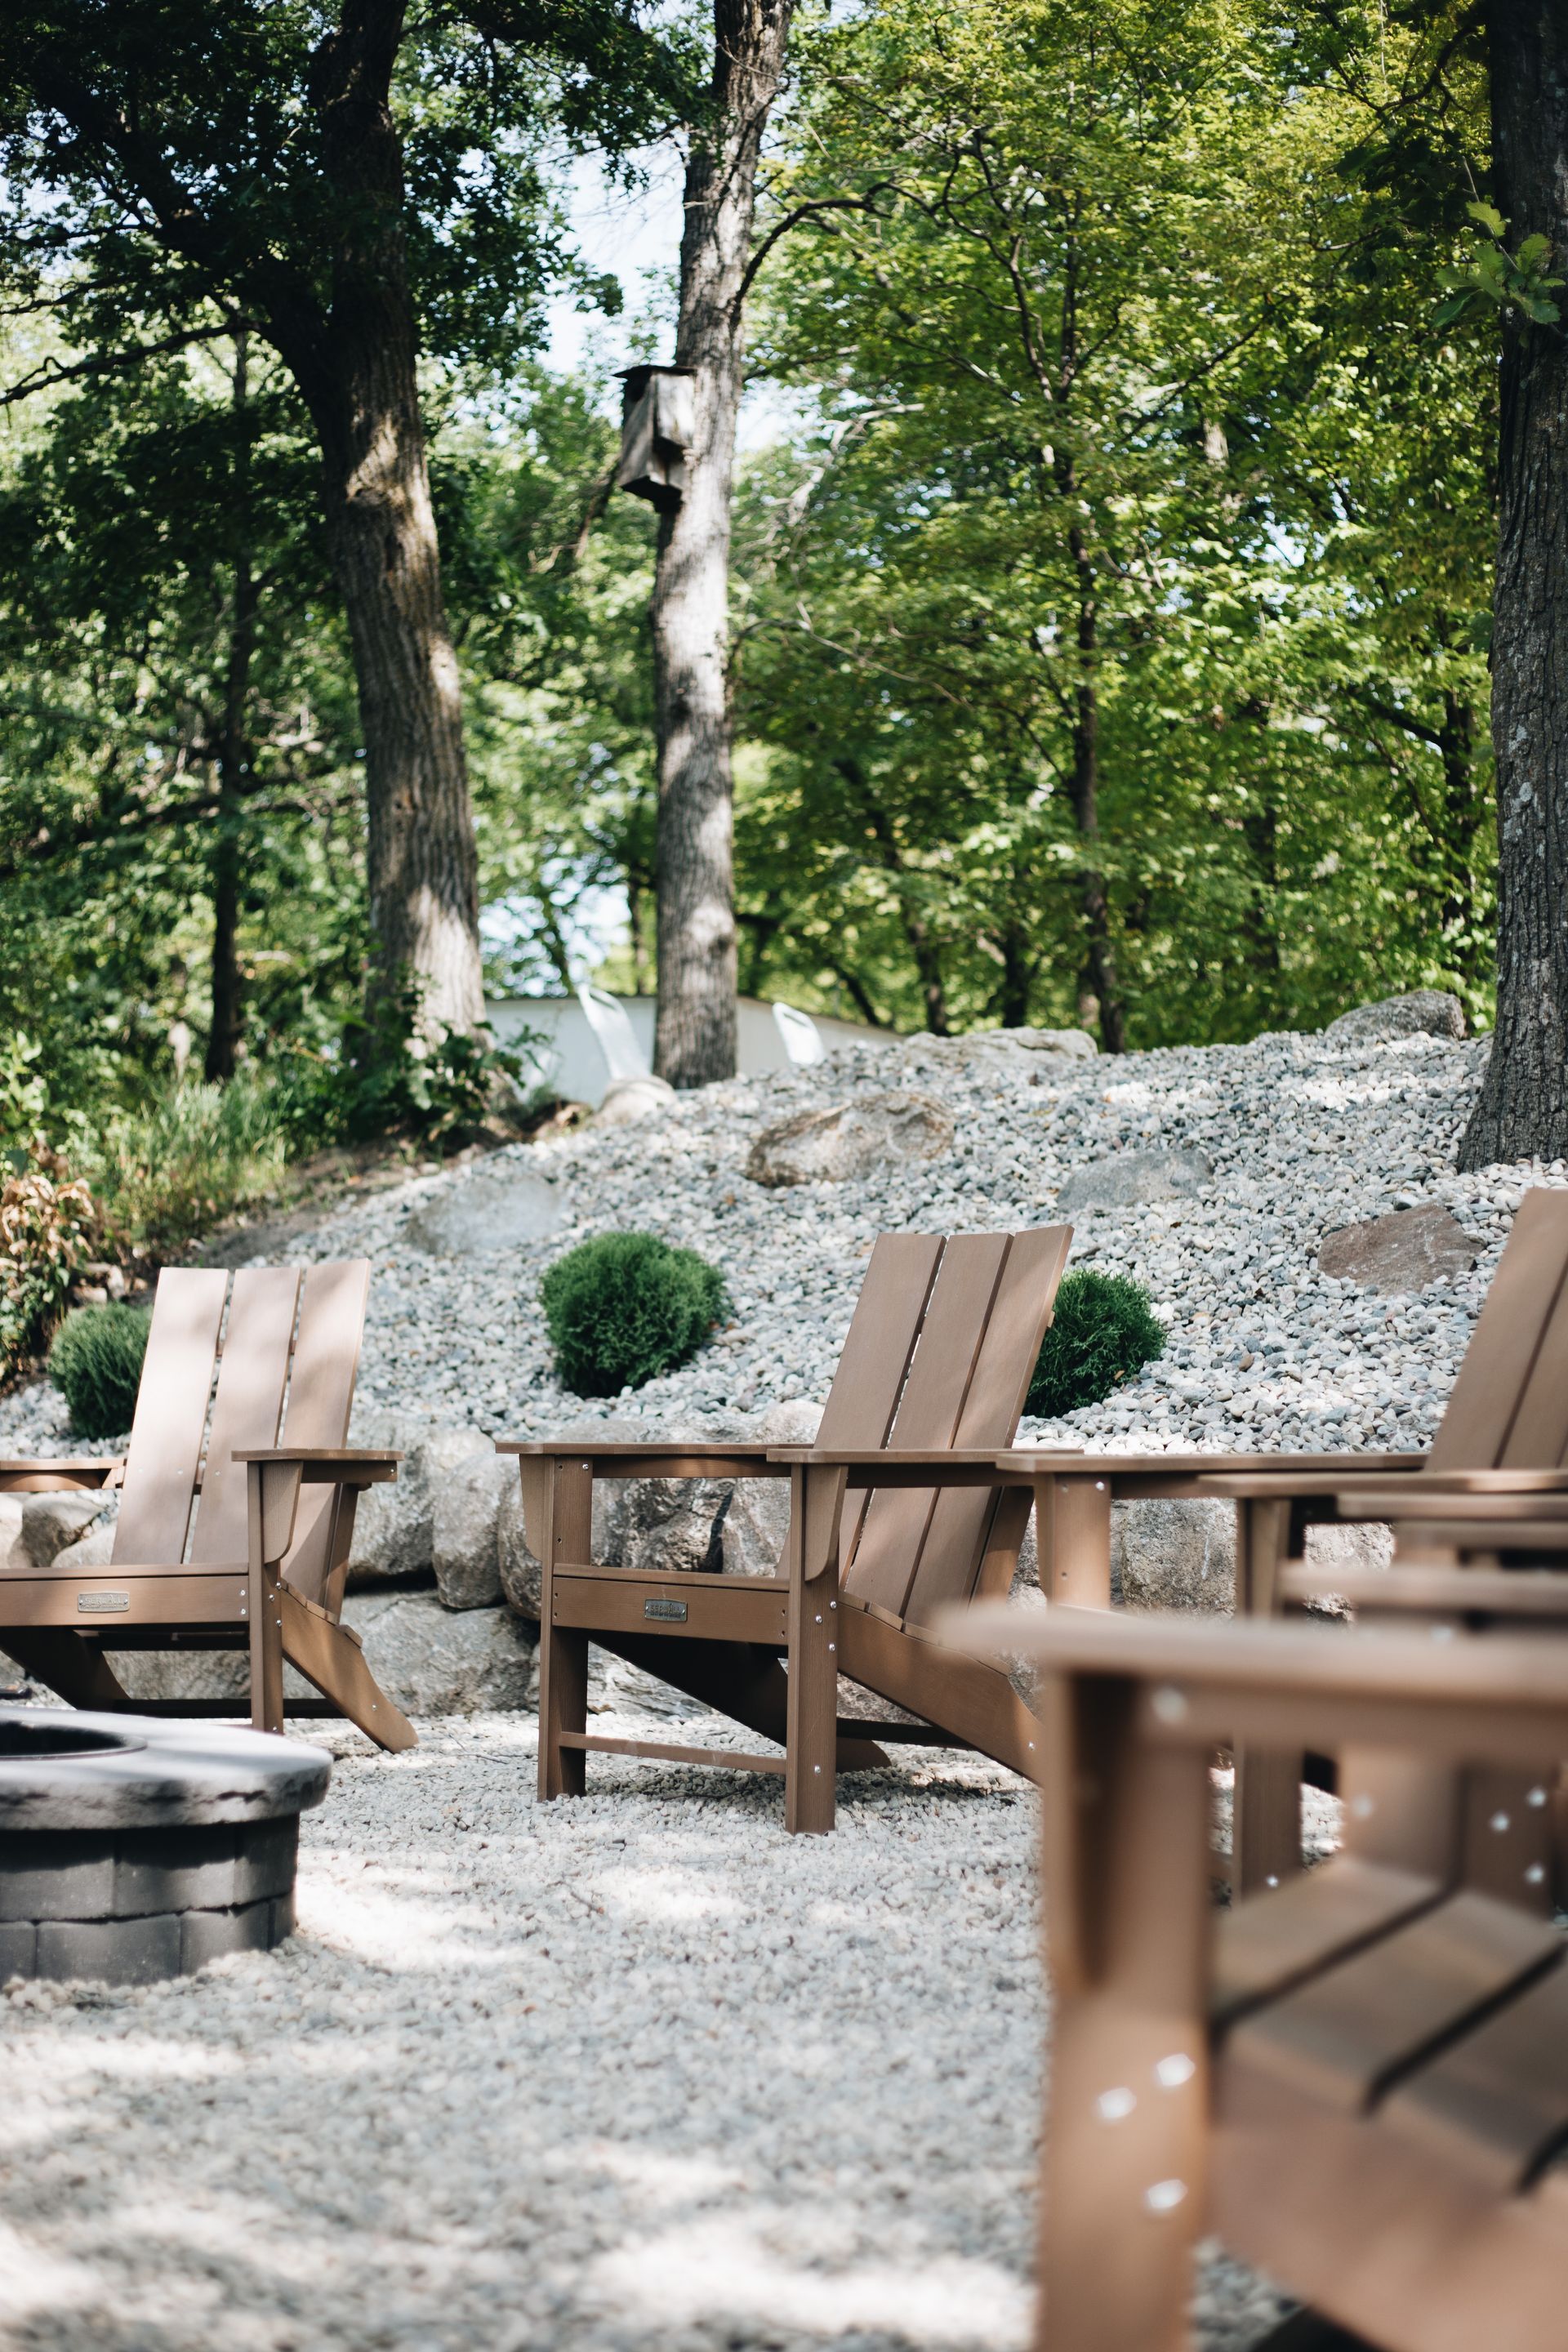
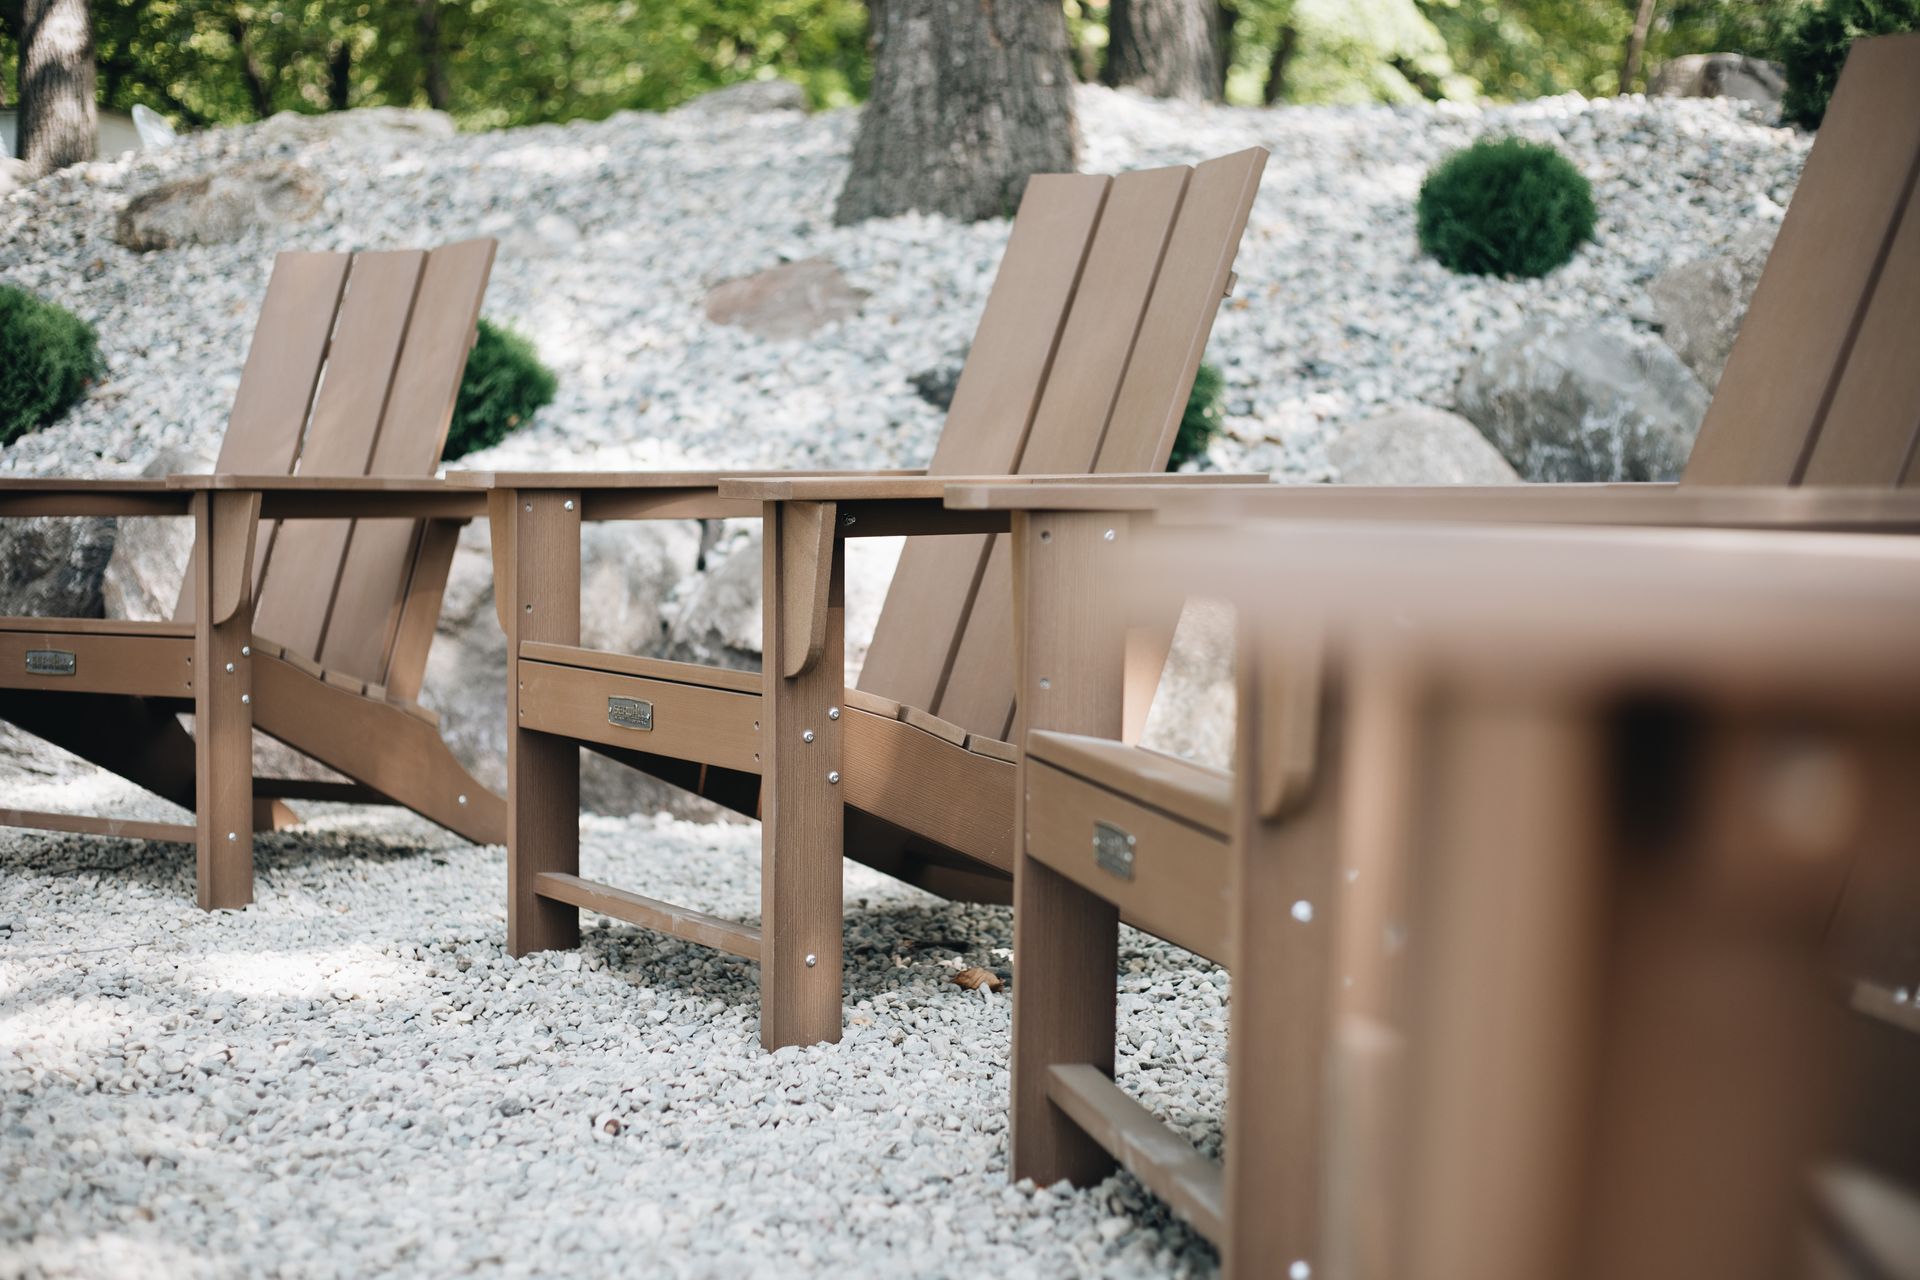
You may already know my love for Adirondack Chair! They are a structured design that is durable, usually quite comfortable and they are pretty to look out at! They also seem to be an iconic cabin chair. I found this chair online one day and loved the more modern build of them with the warm brown coloring. Plus, a huge bonus to these Adirondack chairs is that they are the weatherproof material, so they hold their fresh look over time and hold up in all of the elements. We have had our other ones out year-round for 3 years and they still look brand new.
The last step of this project was spreading the river rock on the hills so we don't get any wash out. Wow does that make it look complete!!
We decided that if we were going to do this we were going to go an extra mile and a little more of a bigger penny to ensure we wouldn't ever have to touch this area again. Knowing that makes it even more worth our while!
BEFORE
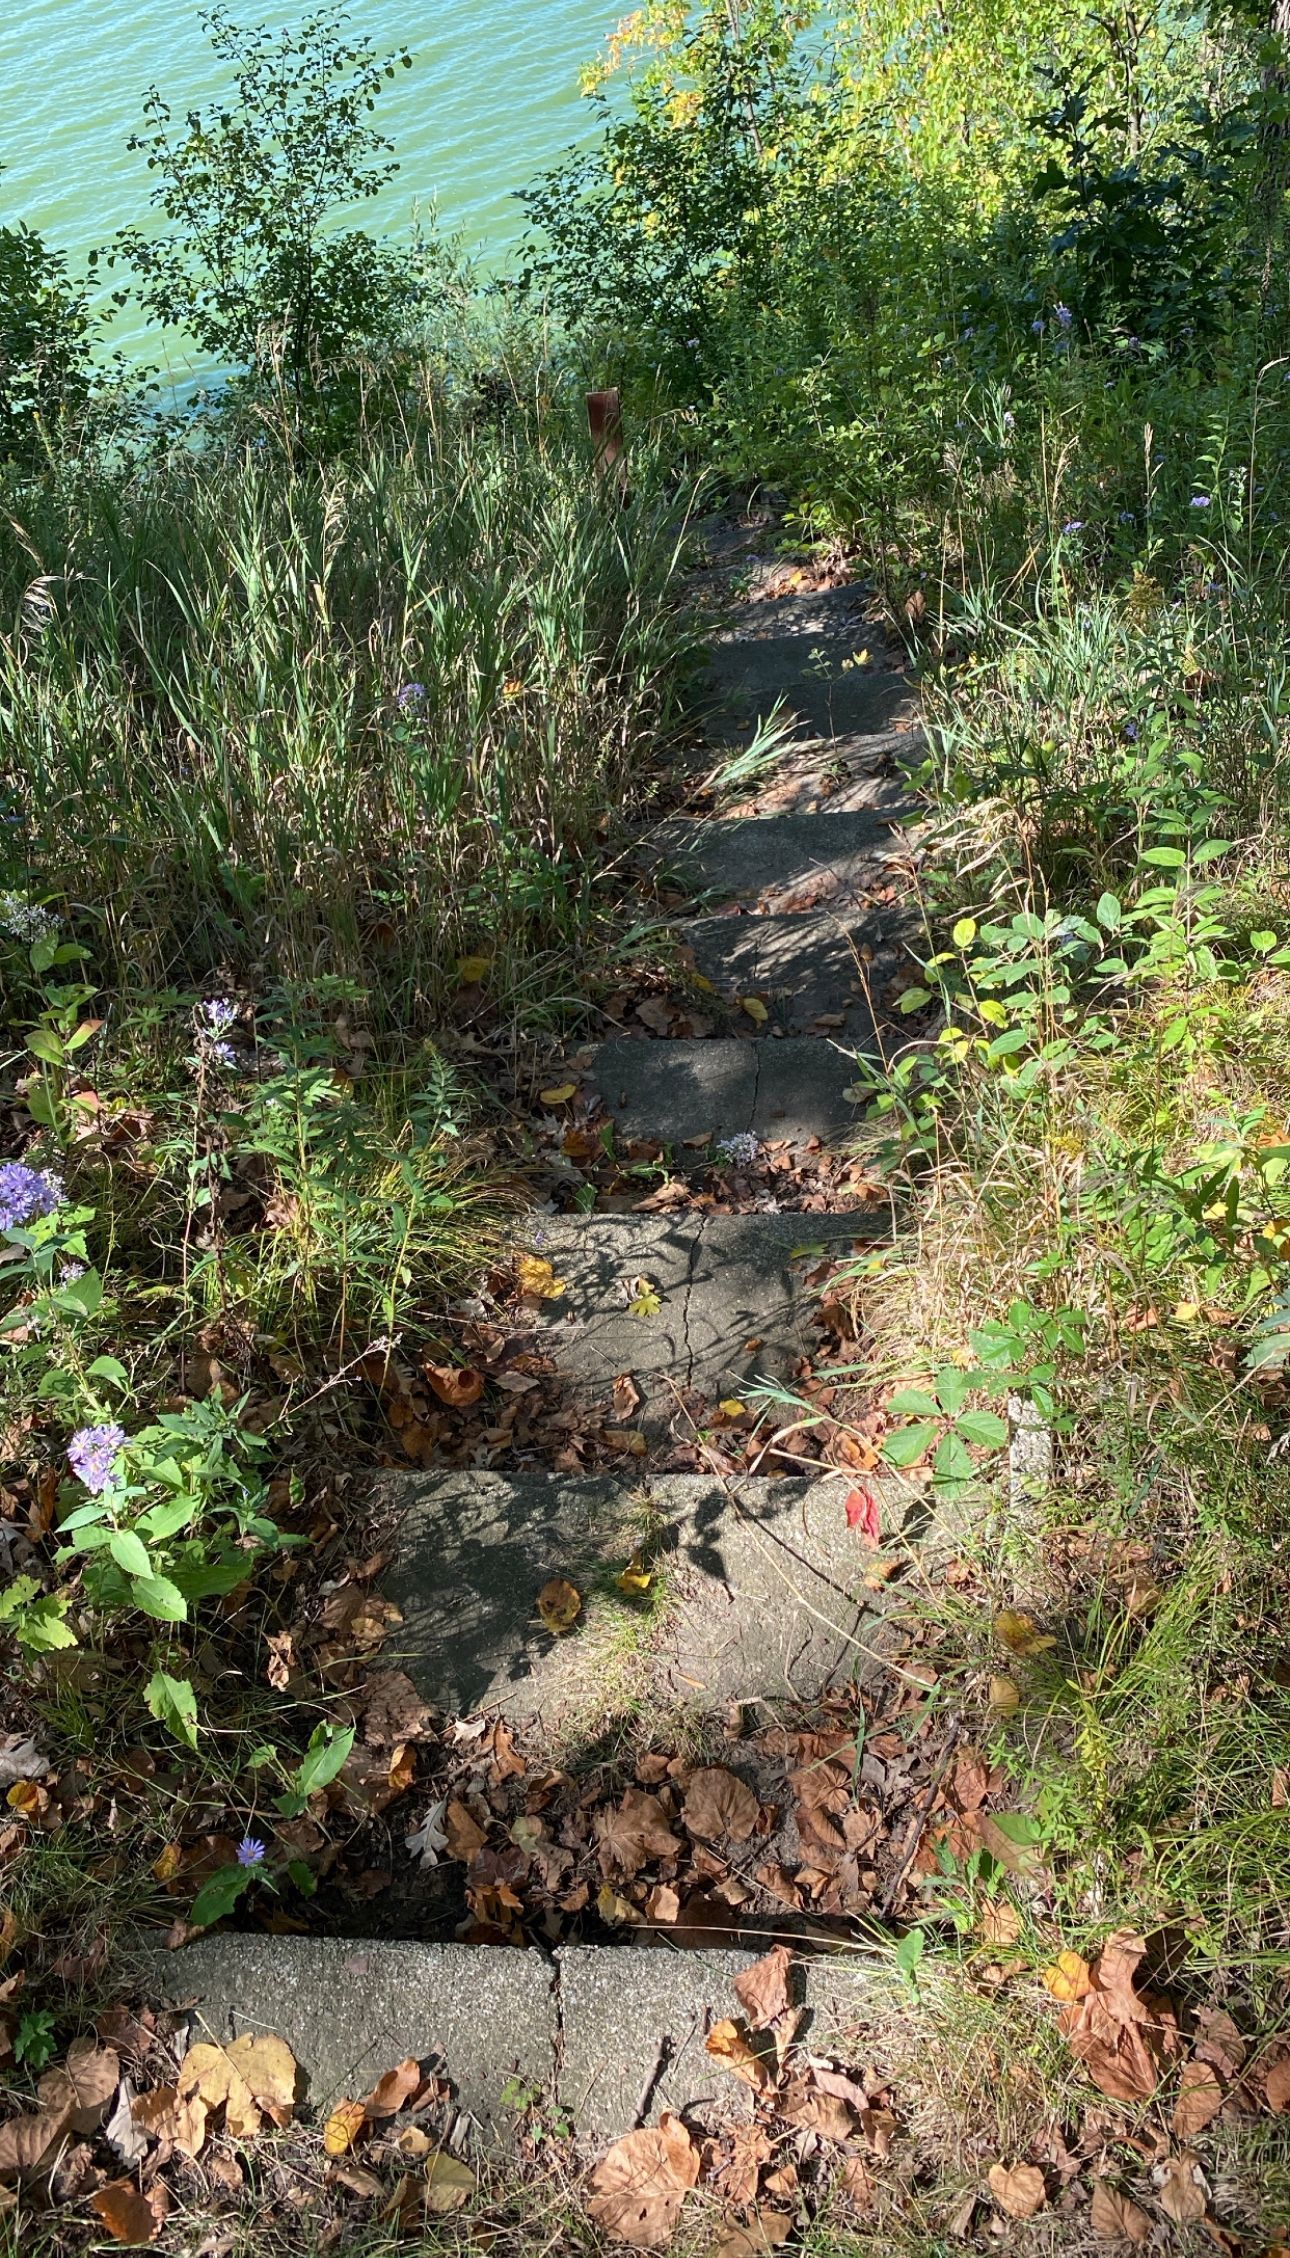
AFTER
I can't believe that those steps are the same! Wow! We were so grateful to not have to redo all the steps to the lake as that would have been a huge investment. Even though they aren't perfect, I actually love how they organically fit in now amidst all of the rocks and stone!
Budget Breakdown
RETAINING WALL, BLOCKS & CAP $2100
FLAGSTONE 1/2 PALLET $350
SMALL ROCKS (PEA GRAVEL AND RIVER ROCK) $460
LARGE ROCKS $675
STEPS $840
16 SHRUBS $865
6 ADIRONDACK CHAIRS $900
LANDSCAPE FABRIC - FREE, WEHAD IT
FIRE PIT W/ GRILL $600
LABOR - TBD, still waiting on the bill for 2 days of landscapers help:)
TOTAL: $6790
Just for fun, after we finished our retaining wall we asked our landscaper buddy how much it would have cost to build. He said for JUST the retaining wall it would be an $8-$10k bill. And I totally understand why, the labor is crazy ridiculous and hard, but WOW! We just created this whole space for about what it would have cost to have a wall made. I'd say that's a good return on our sweat equity!