THE BEGINNING OF CHRISTMAS ALONG WITH SOME UPDATES
Whimsy is done for the year, and as much as I love it, I’m always so glad to be able to take a deep breath, snuggle in, and enjoy a few months off. Usually that first month or so also is spent doing a few projects around the house that I’ve been eyeing up for awhile. I’m happy to report that most of those projects have been wrapped up already, and I can’t wait to show you what I’ve been working on:)
My first project was in the kitchenette area. Previously I had added a board and batten treatment to the walls. The area looked like this..
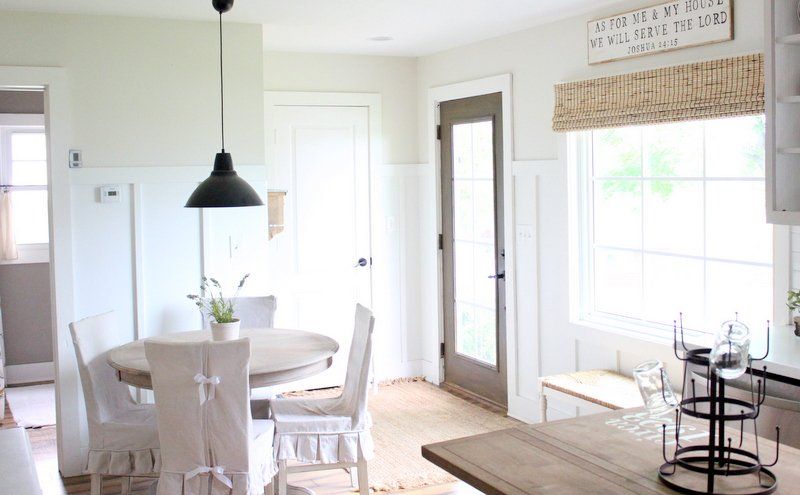
And I really enjoyed breaking up the walls with it. But one day I had seen a picture in a Pottery Barn magazine where there was a little ledge that sat on top of the upper piece, and then they continued to run the board and batten to the ceiling. I tried to find the picture, but of course I just spent 20 minutes and came up with nada. You’ll have to trust me on this one:) But ever since I saw it I loved it. It was a full wall treatment, but yet different from what I had already had in the house. I also loved that a 1×6 board was used at the ceiling to mimic crown molding. If you have any sort of carpentry skills you know that crown is one of the hardest things to line up, but also makes a big statement. This treatment would work perfectly, because the 1×6 mdf would act as the crown, and that I could do:) So here’s a peek at what it looks like now, and my Christmas decor:)

This room has so much natural light it is near impossible to get a good picture. So sorry for all of the shadows and brightness.

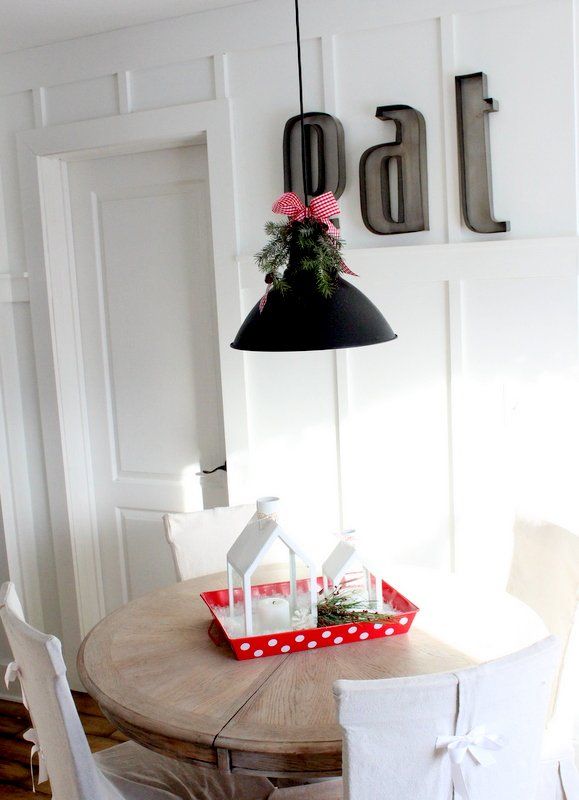
This gives you a little better idea. I used 1×2 mdf to attach to the top of my 1×4, and that’s what created a little ledge. Then I used the 1×6 to frame out the top of the ceiling and ran my 1×2 up to it. Caulking is your best friend in these projects. Even if your cuts aren’t perfect, no one will know once you pull out the caulk:) After the caulk is dry everything got a fresh coat of Simply White by Benjamin Moore.
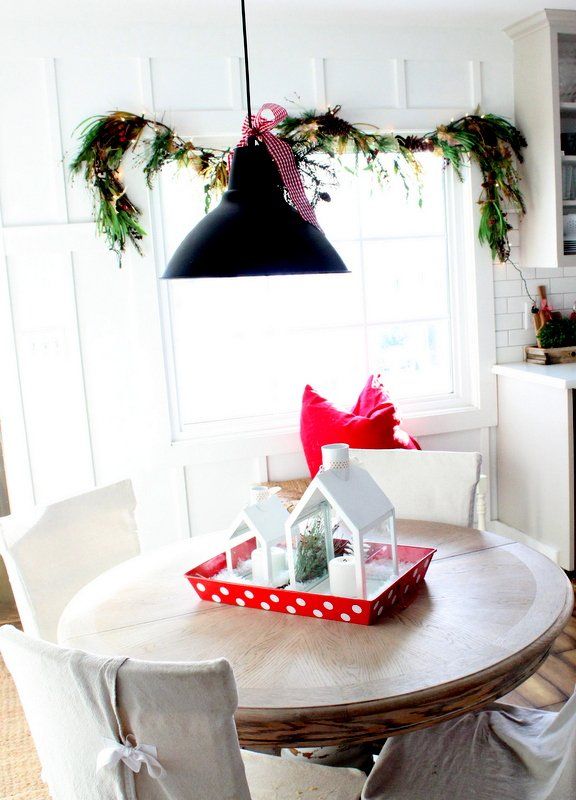
The reds also look off in these pictures. I added some greenery above the big window, along with twinkle lights..because lets be real, twinkle lights make everything magical:)
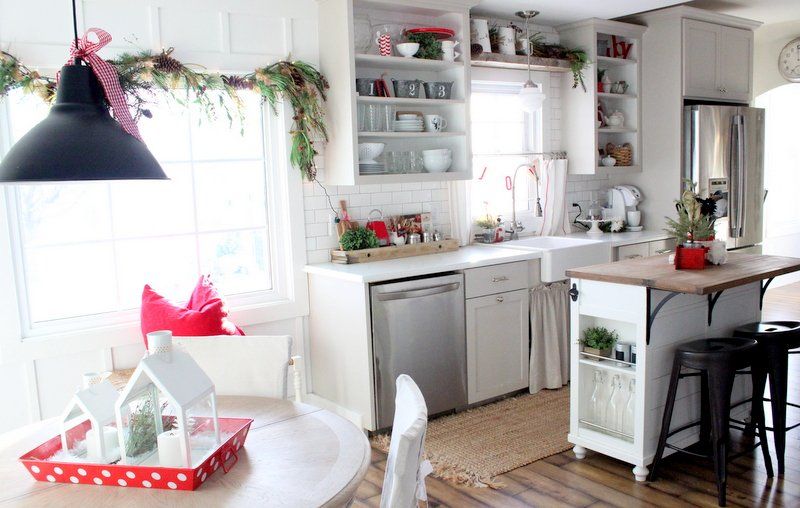
and here’s a shot of it transitioning into the kitchen. I’m loving the pops of red this year, as I did last year as well:) I can’t wait to show you the rest of the house and the other little projects I’ve completed.
Oh, P.S. This project cost me about $25 for materials, and took a night to do, which consists of the 3 hours after Beckett goes to bed:) Super simply and inexpensive!! That’s why I love doing things in shifts. You spread out the money, and you continue to improve your space!:)