Aged Distressing…and Sleepless Nights
Well, I can honestly say this is a first. For those of you who know me this girl is not a morning person. The great hour of 8 or later is much appreciated in the morning, so for me to be sitting here writing this at 5:30 a.m. seems terribly alarming to me :) A few things have created this scenario I’m in…
1.) I have a little girl who can’t quite get rid of a bad case of the hives, even on steroids, and we can’t figure out what’s causing it=a stressed mom+a daughter sleeping on a sleeping bag on the floor next to me. I know, a bit extreme, but I’m having this problem of being a little too attached to my kiddos right now…trying to give that one to Jesus.
2.) A little boy who can’t quite “make it” through the night all the time and ends up waking me up at 3:42 saying my bed is soaking. Get up, tear the bed apart, put on new blankets and get him back to bed.
3.) Thoughts of Jules soon arriving and once my brain starts on that it just doesn’t stop. Will I go into labor, will my water break, will she stop moving, will she survive labor, what will she look like, what will the after labor look like, (not the messy part, the part of will I get to hold a live baby:) how will I react, how will ryan react, how will the kids react, will we get to bring her home..and the list goes on…..therefore, I have been up since 3:42.
4.) lastly, I have my little and not so little hunter out this morning goose hunting at 4:30, so I sent them off as well.
So….seeing as though I couldn’t sleep I turned on a pot of coffee, played a couple games of spider solitaire, ate one (maybe two) special k bars, and decided to blog on what I did yesterday. That now brings me to 6:06 after uploading, editing, eating, playing and drinking:)
after all that randomness, I’m going to show you a technique I tried and kinda liked and is now all over my house:) I am also using it in quite a few pieces for the next Whimsy sale because I think it looks very fallish. I call it aged distressing. I would say antique, but I’m not an antique-y kind of gal, so we’ll go with aged.
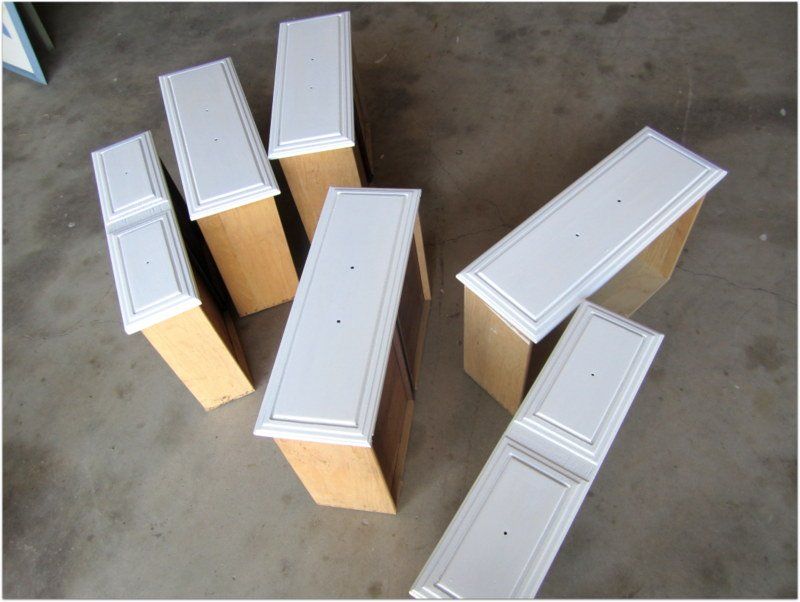
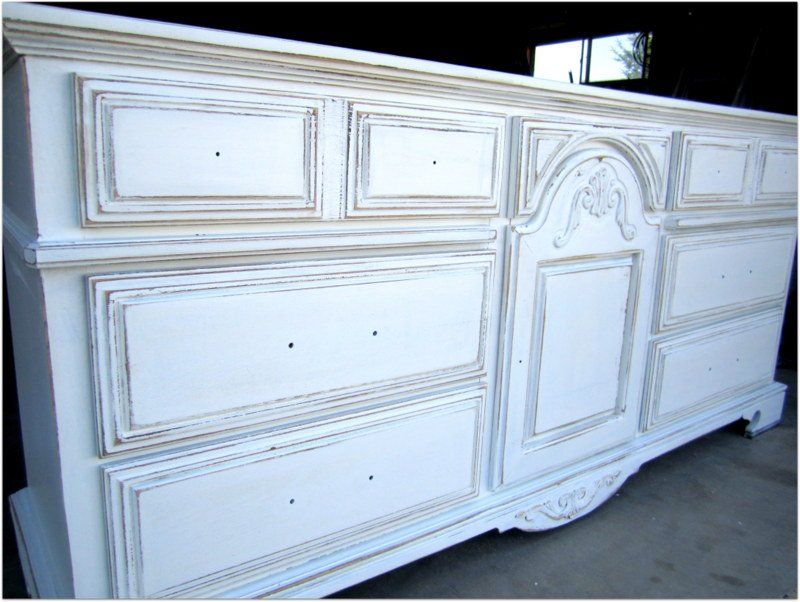
I started out with this piece that was actually headed for the burn pile until my great father-in-law spotted it, loves his daughter-in-law…and rescued it for me:) I think of the few of the drawers were even in the pit and he dug them out. Thanks Tim! It’s a beautiful piece, solid wood and tons of storage…and character. It may look like a bit of a beast on the outside, but she cleans up nice…
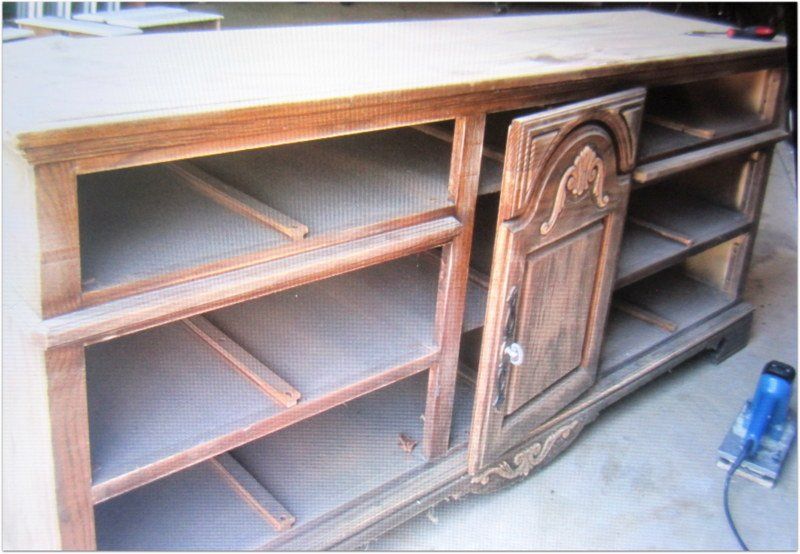
Wow sorry for the picture. I took it on my phone ( a new one since I just shattered my old one, and then took a picture of the picture because I can’t get the new phone to sync yet on my computer) So that’s that story:)
I also had all the drawers out already by the time I thought of taking a picture and was too lazy to put them back in, pathetic I know. This was a part of a bedroom set, and had the huge mirror with built in shelves on the side that sat on top if you know what I mean. A little 80’s. But I saw other potential. It’s super long, and has some awesome pullout drawers behind that door. I’m thinking what a great buffet it would make. So that’s what I’ll sell it as.
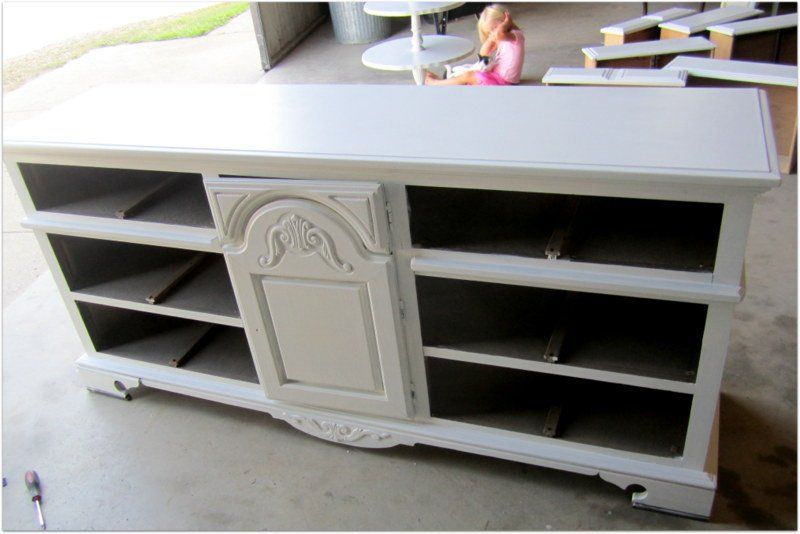
To start with I sanded it and gave it 2 coats of Benjamin Moore Moonlight White satin paint.
once that was done I got out my handy dandy power sander to start distressing.
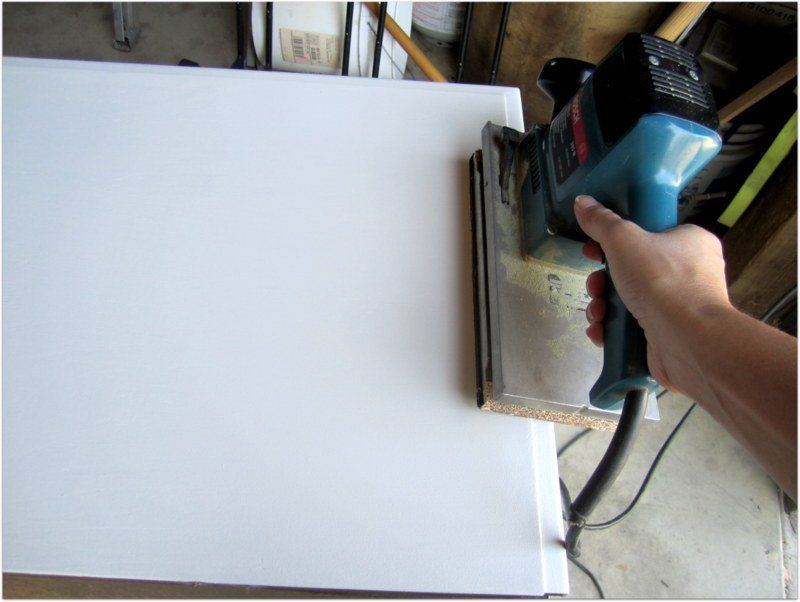
This sander is a little big, nice for sanding down the project before painting, but a bit big for distressing. My little palm sander crapped out on me and I found this guy at a garage sale for $5 so until I replace it, it does the trick. This is where you just have to be ballsy and go to town on your piece. If you are a perfectionist, this will be hard. If you are not (uh-hum) then it will be fun:)
You honestly can’t mess this part up. Chippy=aged so don’t worry! Take the palm sander over all the edges and raised areas. If you can’t get to some of the areas then use a block sander or piece of sand paper to get it.

okay, so distressing is done. I vacuumed off the dust and then wiped it down. Here’s where the Aged part comes into play. Although some of you may want to stop here, put on your new hardware and call it a day.
I went one step further…and pulled out these…

One of my favorite, minwax Dark Walnut 2716. No red tones, love it. I also used a foam brush and an old sock..or t-shirt, or rag, or anything you can find that won’t leave behind fuzzies. Note to self: if you don’t want brown hands for the next week, with a little stickyness to them, also where rubber or latex gloves.
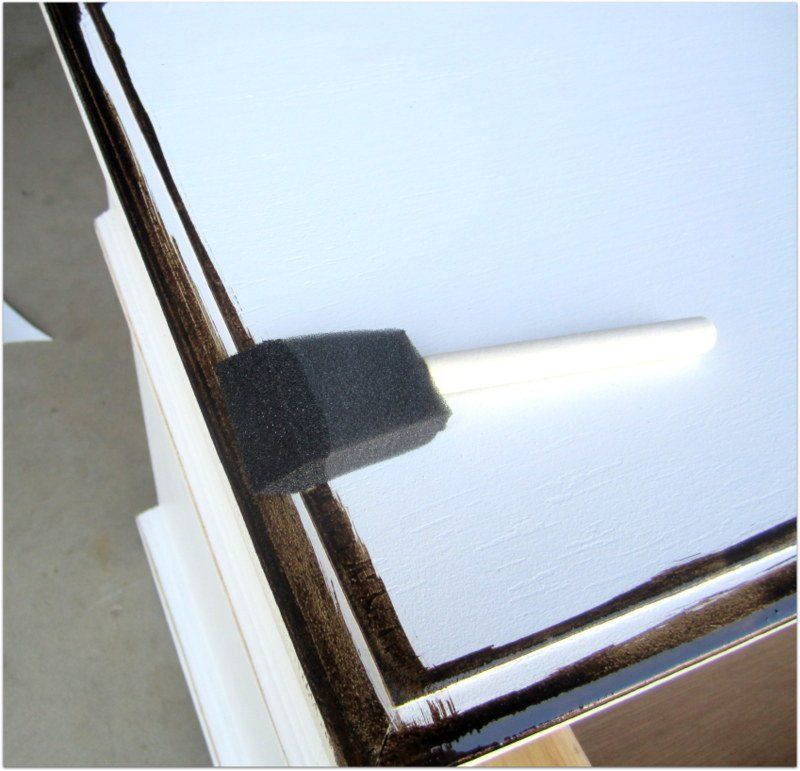
I just put a little on my brush and brushed the edges to start with. I do about half of a top at a time so it doesn’t sit on too long.

Then take your rag and start wiping it in and towards the center. Continue until the top is done. I sometimes add a few brush strokes of stain to the top and then wipe it all in. If you want you can cover the whole thing, it will just get a little darker and be a little messier.
Then continue with the rest. You really can’t mess this up either. If you want it darker, add more stain. If it’s too dark, use your elbow grease and wipe it off.
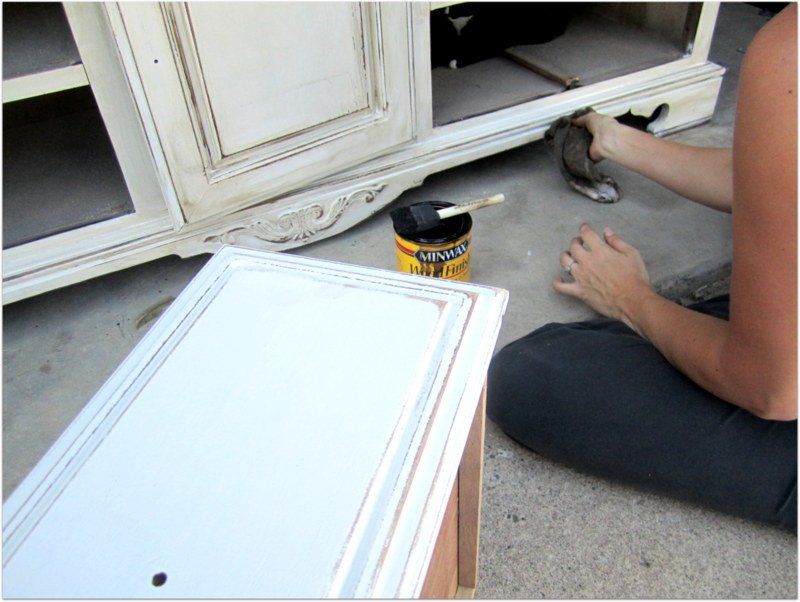
Kynlee actually took this picture for me:) Got to love free labor!
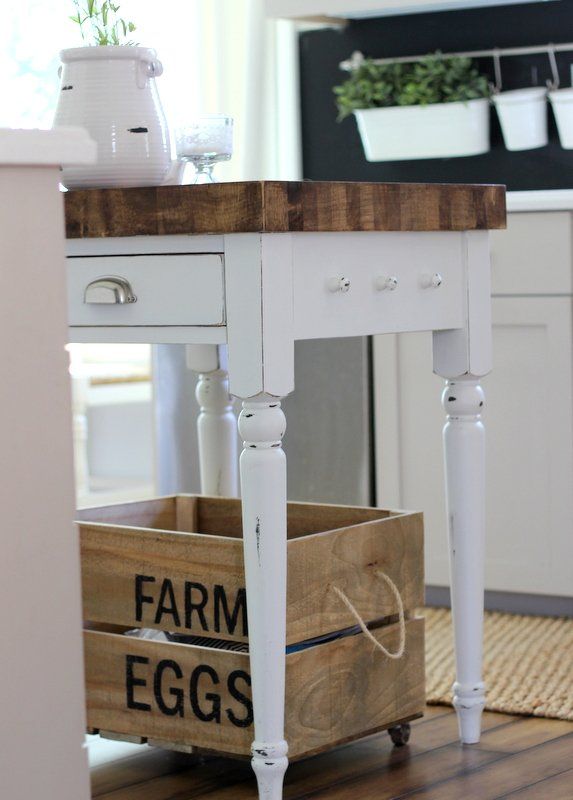
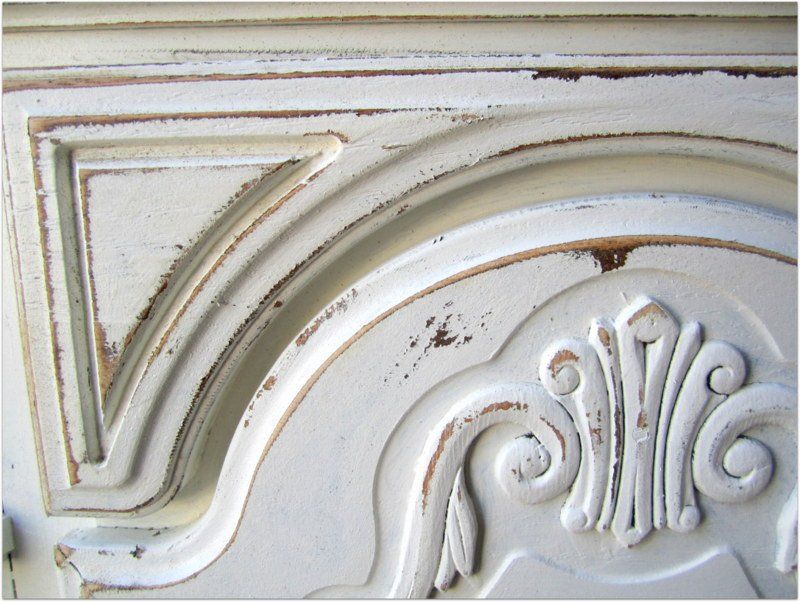
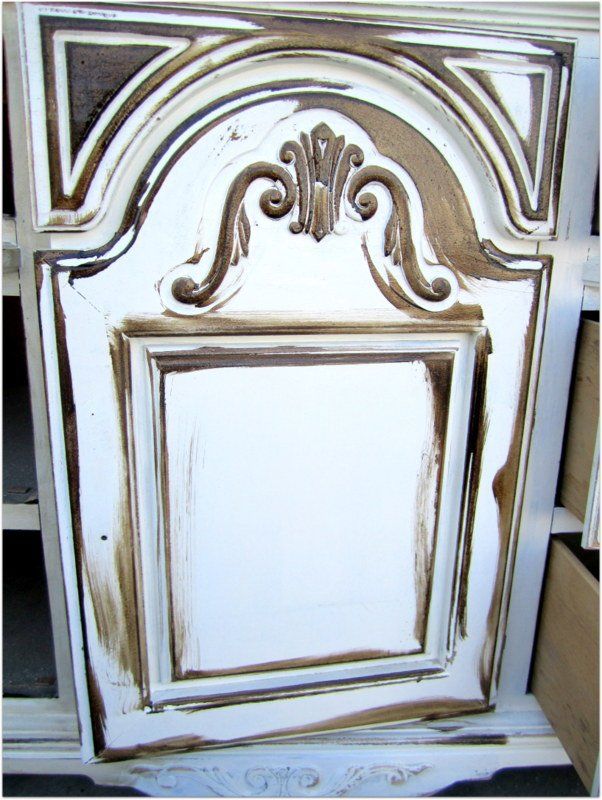
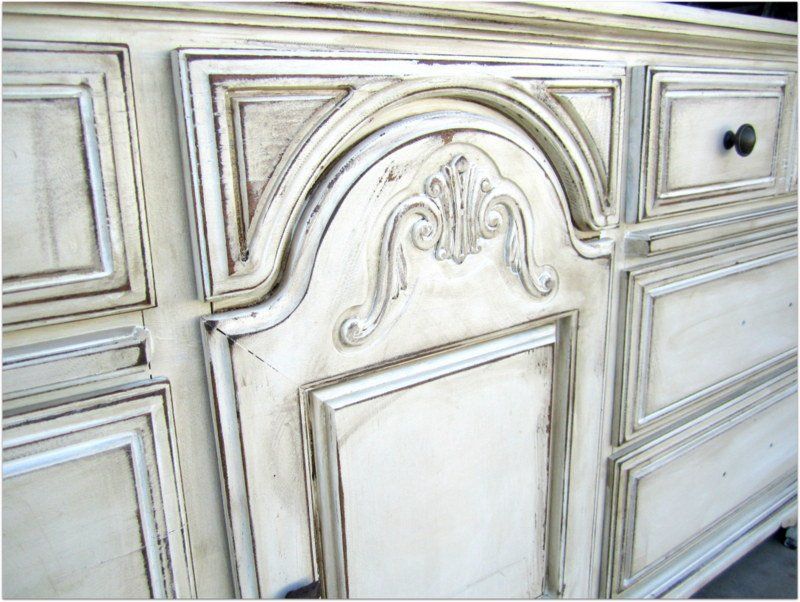
And when you are done you will get something that looks like this..

Aged distressing. I still have to buy some pulls for the drawers and a shorter screw for my cute little bird pull:)
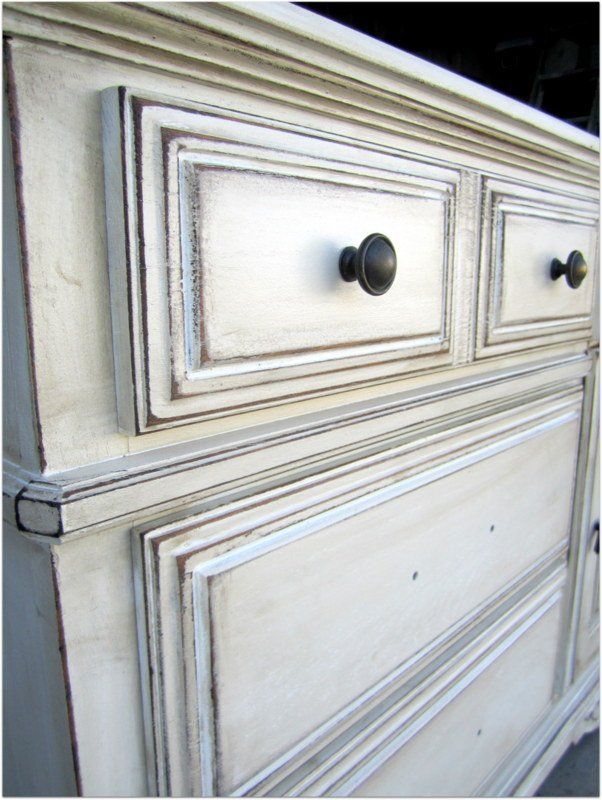
and some close-ups..
I must warn you, when you use stain you are gonna want to let your piece sit outside or cure for at least a couple of days. 1.) The stain stays a little tacky and 2.) It smells. You may even want to polyurethane or polycrylic the top to help harden it.
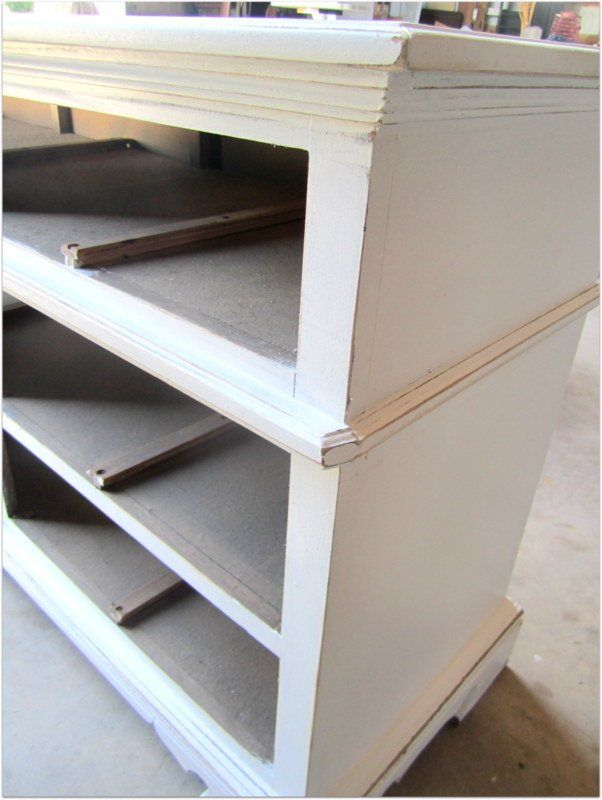
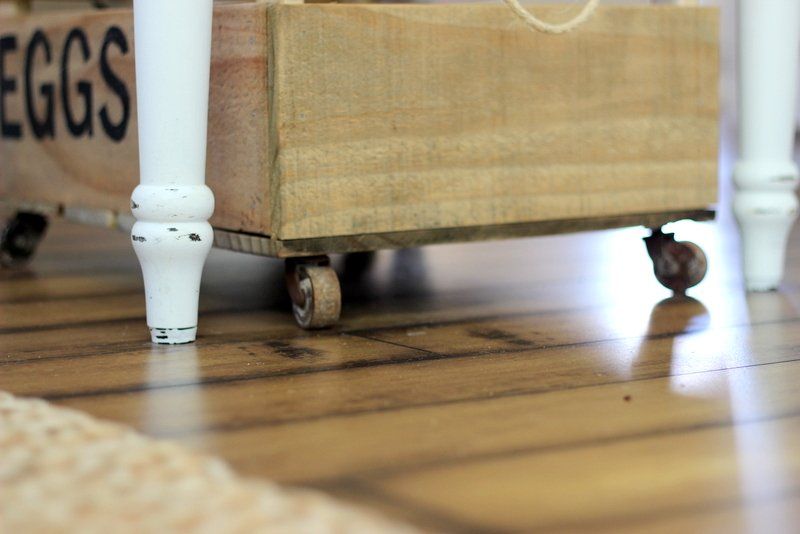
I also managed to do this piece at the same time..another one heading to the barn.
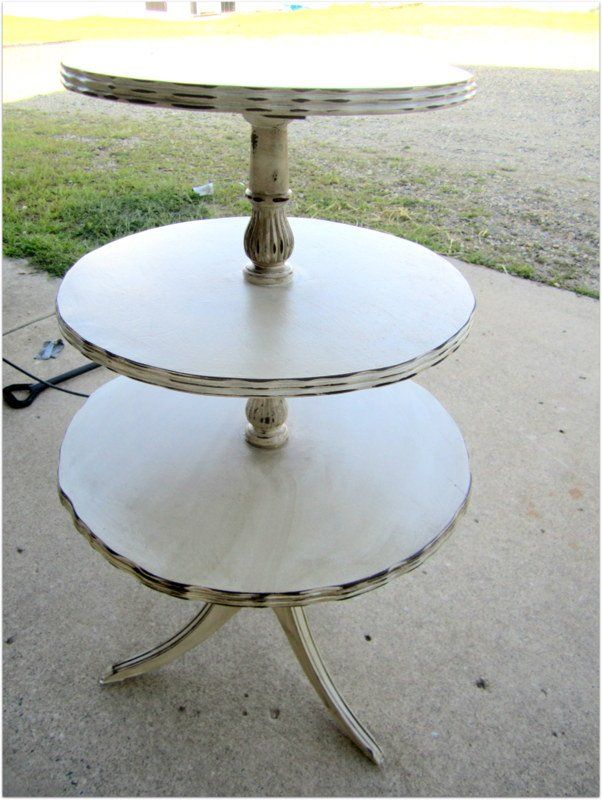
Unfortunately no before picture, but you can imagine:) I still have to put the metal claw feet on the bottom.
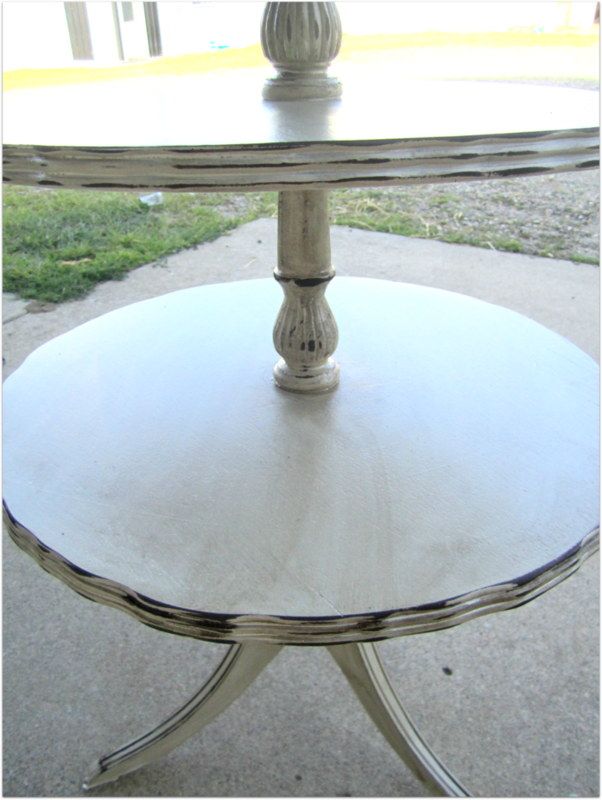
It’s got some fun character.
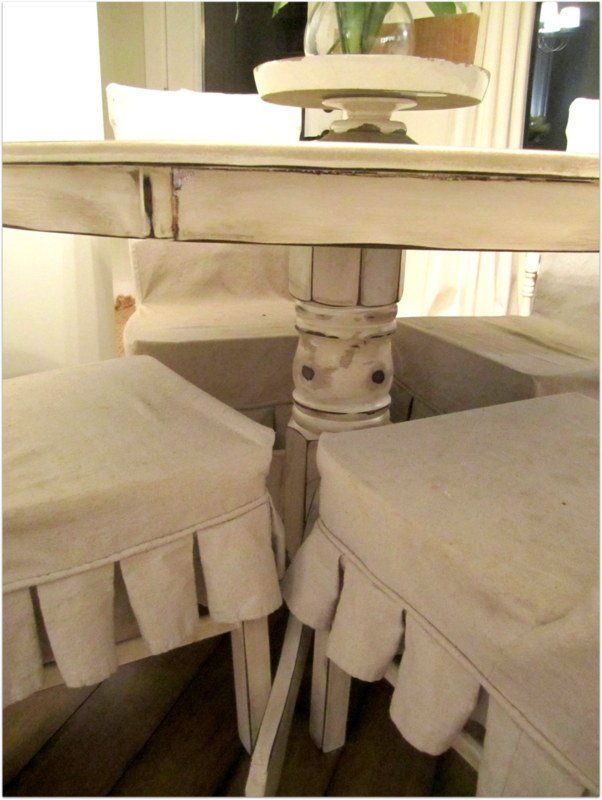
If you want to take it one step further in the aged process, you can do what I did to my kitchen table. I distressed the top even more to give it aged spots. You can do that by just holding the sander down in one spot til it wears through the paint. This is a little riskier, and I’m still deciding if I want to keep it or repaint it and have no aged spots. The jurys out.
before…
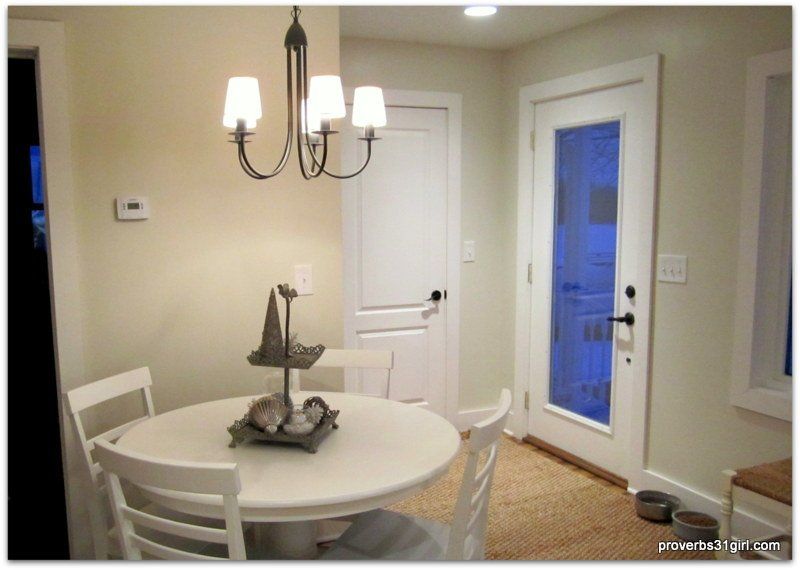
after…
Dont’ mind the dirty slips…WOW! the kids eat lunch here everyday:)
Also the lighting isn’t the greatest since I took this picture at 5:30:)
I do love how it warmed it up a bit though, and didn’t cost a dime.
So, if you have a piece of furniture that needs some tlc you may want to try this. Or…you may just want to come to Whimsy and buy one:)
Lastly I couldn’t leave this out. My little hunters heading out yesterday afternoon with their amazing daddy. How cute:)