Board and Batten and Tiling
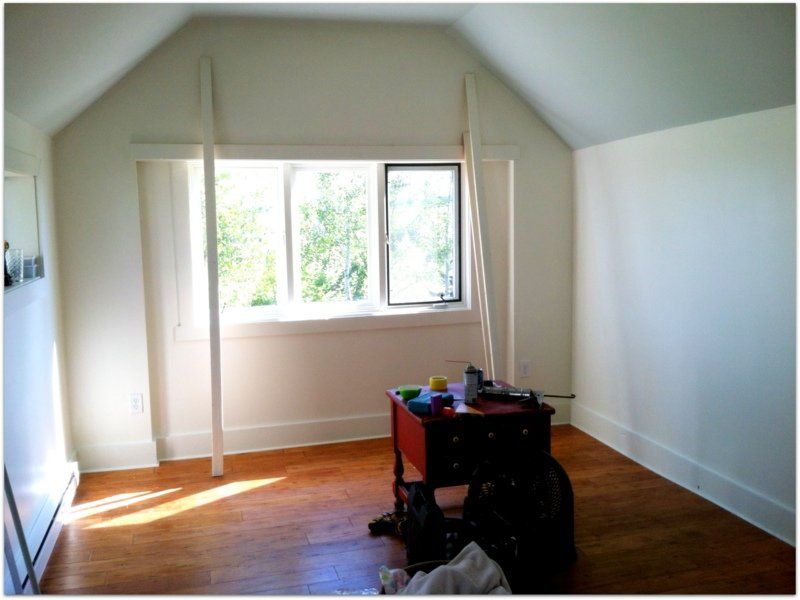
Ryan had to work all last Saturday, so I got the gumption up to try my hand at our chop saw and table saw. I decided to bite the bullet and start working on the board and batten for the guest house. Part of me wanted to be lazy and just start moving furniture in and scrap the idea, but I knew I’d be disappointed in the long run that I hadn’t tried it. So, if you remember I was using this room as my inspiration room over at TLC.
I loved how the board and batten went all the way up to the ceiling, and since we have a vaulted ceiling in the guest house I thought it would look perfect for the spot. I got to cutting and had almost all of them cut by the time Ryan got home from work. From there he helped me glue them on the wall with PL100 Drywall glue and then we air nailed them each a few times. Of course we used a level to make sure they were nice and straight, but Ry wasn’t too keen on my measuring system. I don’t think it so necessary to be 100% exact in measurements, so some boards are 18 inches apart, some 17 1/2, some 18 1/2…you get the picture. Like I told Ryan, it’s okay…no one will ever notice:)
Here’s a picture before the boards went up…
and after..
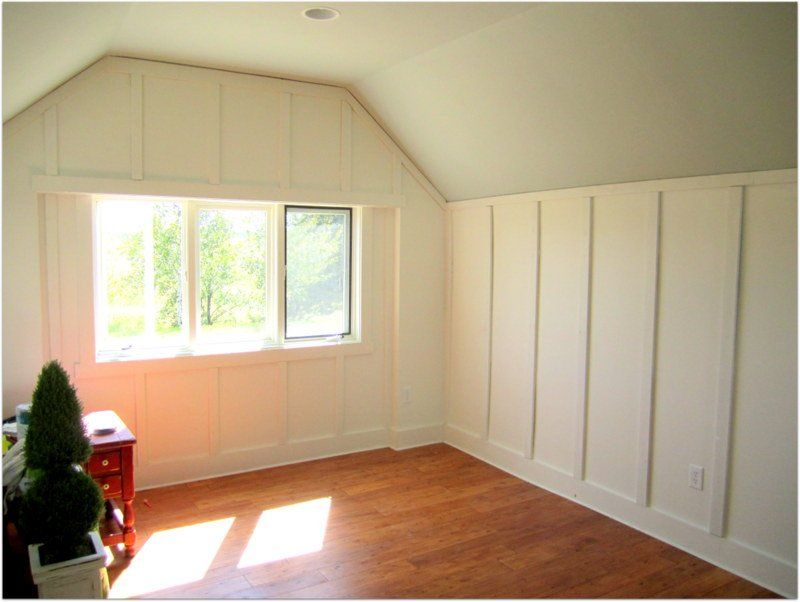
before..
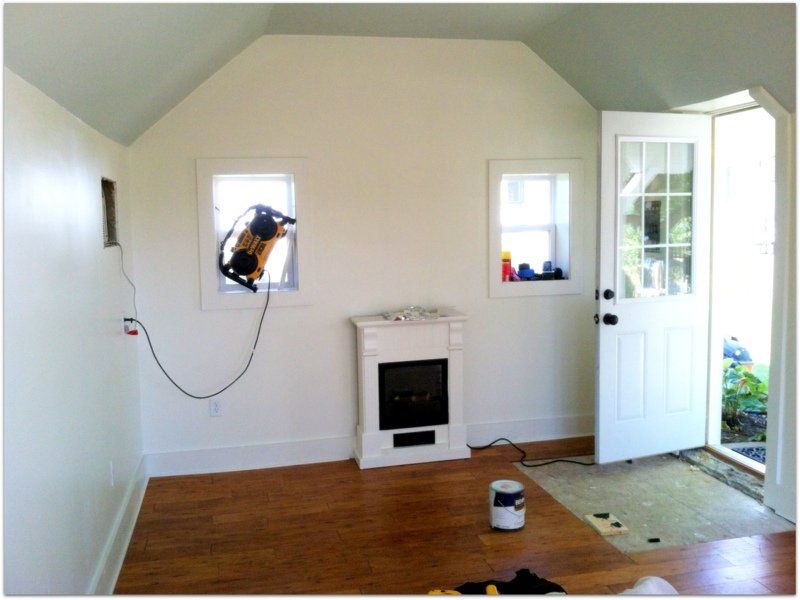
and after...
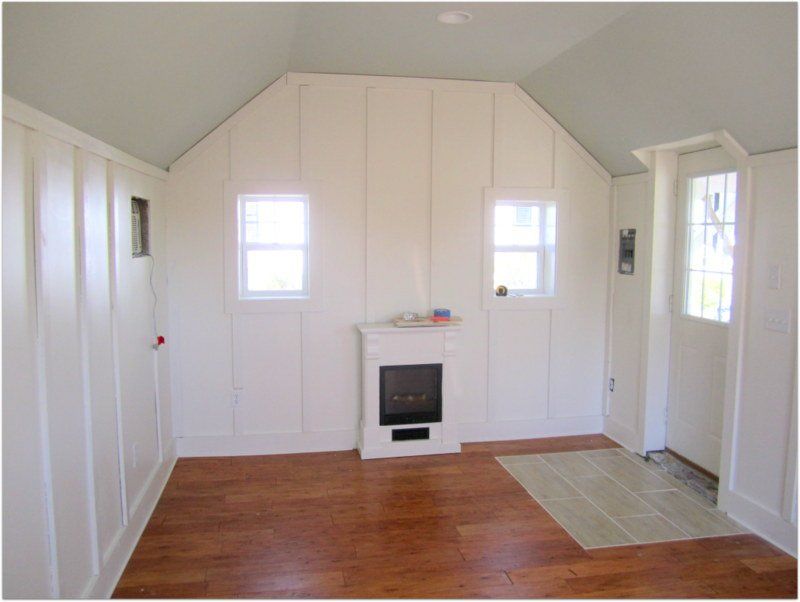
last one, before…
and after..
If you can’t tell, I’m a little in love with it:) It only cost us about another $50 in wood and I think it added so much character.
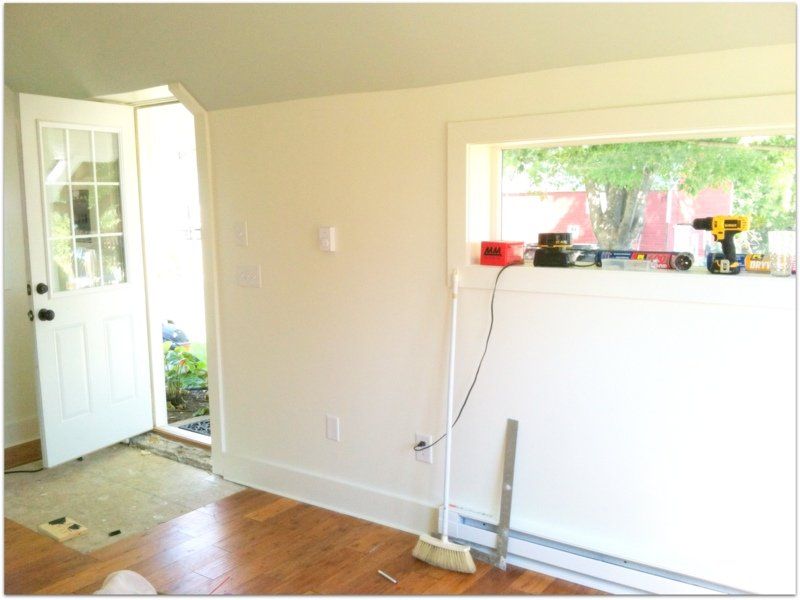
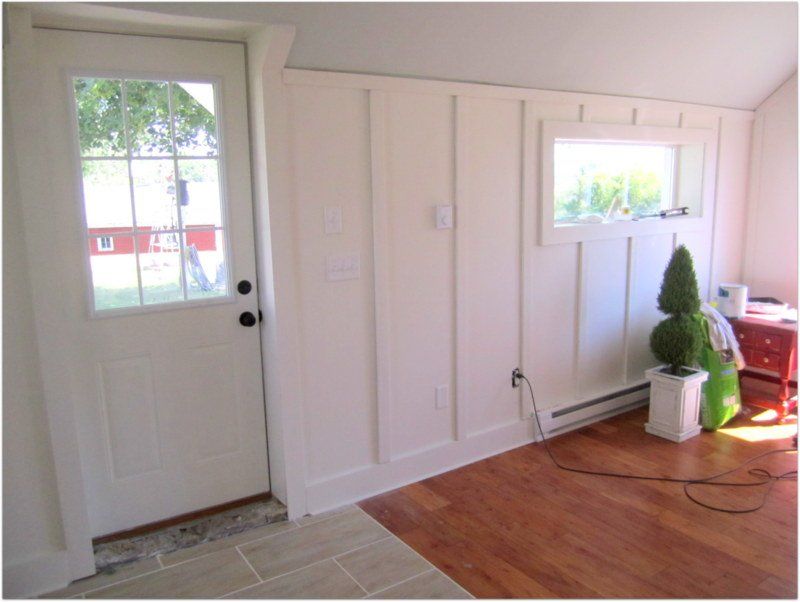
You may have also noticed the tile in the entry. I found the rectangular tiles on clearance at Menards, half off. We were able to do it with one box which only set us back $17 and we had white grout left from our bathroom. We ended up gluing the tiles down to the subfloor. Pretty sure no one recommends that, but PL400 is amazing stuff:) And…we didn’t want the tile to be raised above the wood like it would have if we put cement backer board down first. And…we really didn’t want to go through the extra work of doing it either. I figure for $17 if it last us a few years we are doing good. Here’s another shot of the tile.
p.s. we still have to level and re-cement the transition piece under the door, and then Ryan will put some wood over it so it looks nice and smooth.
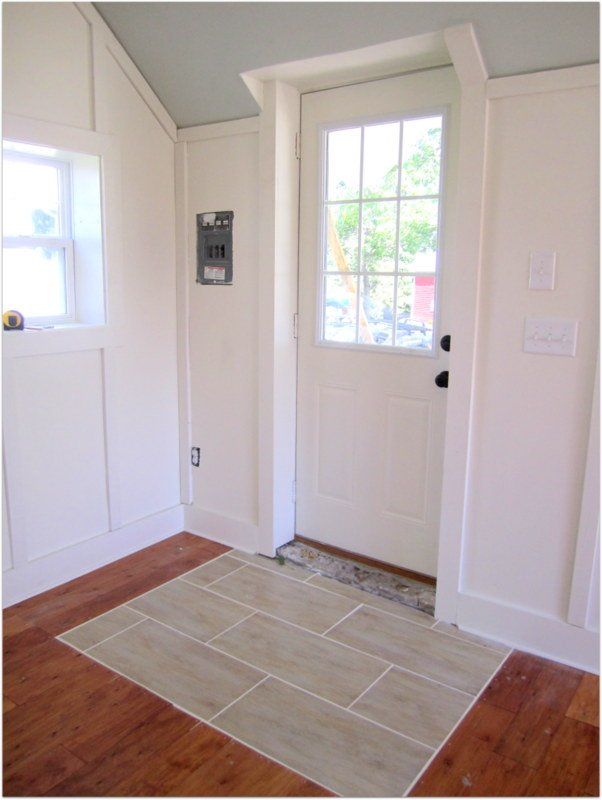
I’m kinda in love with that as well. Ryan insisted that it looks like it came out of an old school hallway. He wasn’t impressed with my choice. I proceeded to tell him, trust me honey, they didn’t have rectangular tiles in schools in the 80’s, at least not at my school. It’s called modern. He wasn’t convinced. Oh well, they are glued down now:)
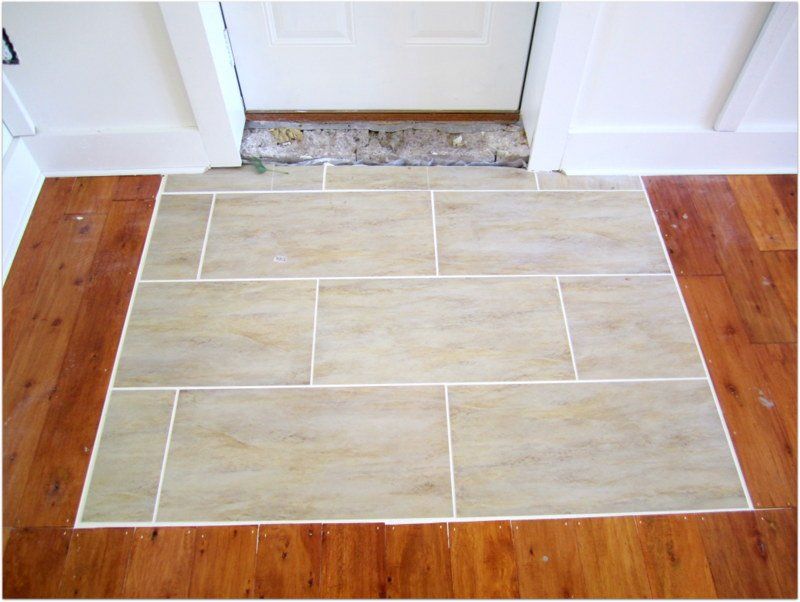
Also you may have noticed we didn’t use a transition piece from the tile to the wood, we just grouted it. Again, money saving/time saving. I do wish I would have made that one cut of wood a little straighter, but oh well. There was supposed to be a rug going over it, but with as much as I’m enjoying it now, the rug may stay at bay for awhile.
So, that’s it for now. The guest house may or may not be completely decorated already and we may have already had a family sleepover night in it, but I can’t give away too much at one time:) And great grandpa is coming tomorrow to be our first guest! The kids are so excited:)
And Jules is kicking like crazy. Her favorite time of the night:) God is good!