OUR DECK MAKEOVER WITH VIEWRAIL
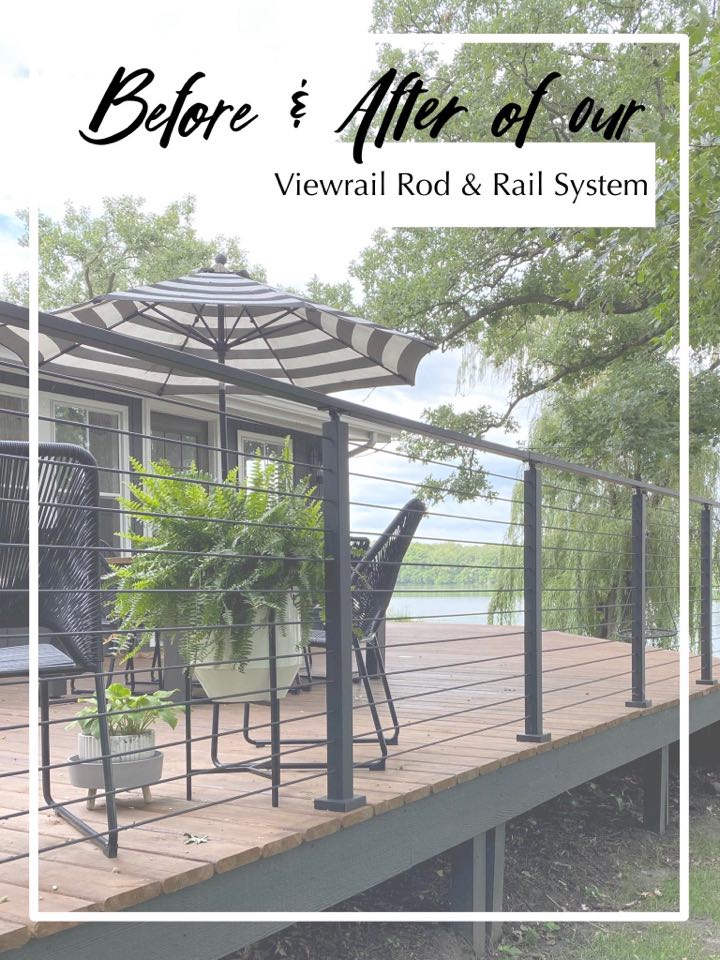
Our deck at the cabin got a major makeover this summer and we were so excited to partner with Viewrail to give it a modern twist! We used their rod railing system to keep it sleek and I loved the all black look to it! Ryan was sold on the stainless steel component so it will be maintenance free and last forever! So before we chat railings, lets take a look back at where the deck started.
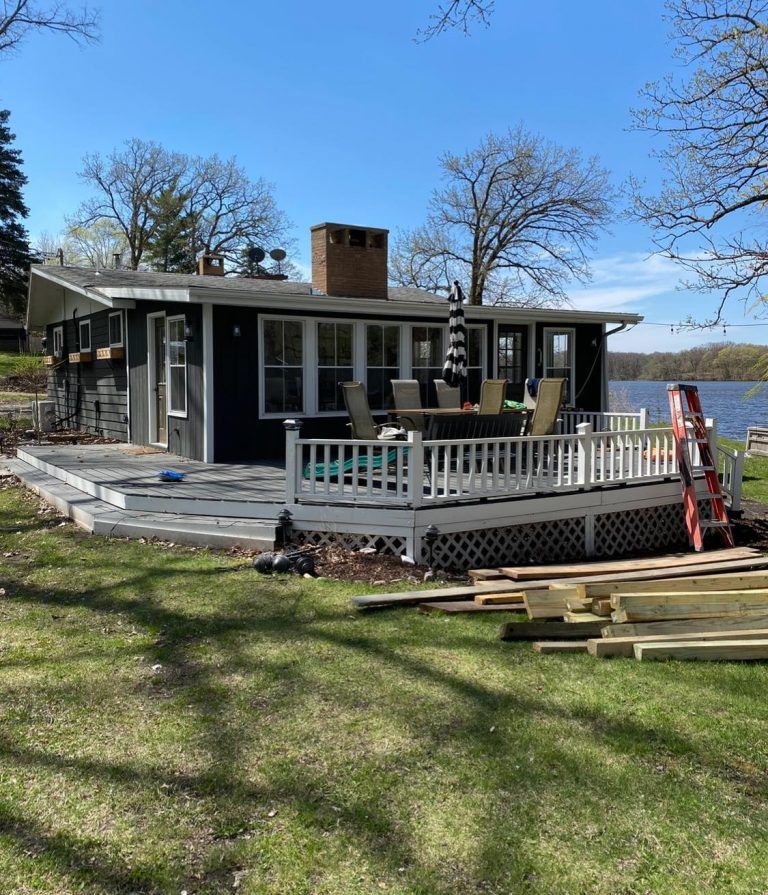
The only thing we did to the deck when we bought this cabin three years ago was paint it. We painted the deck the color of the cabin and gave the quaint little railing a fresh coat of white.
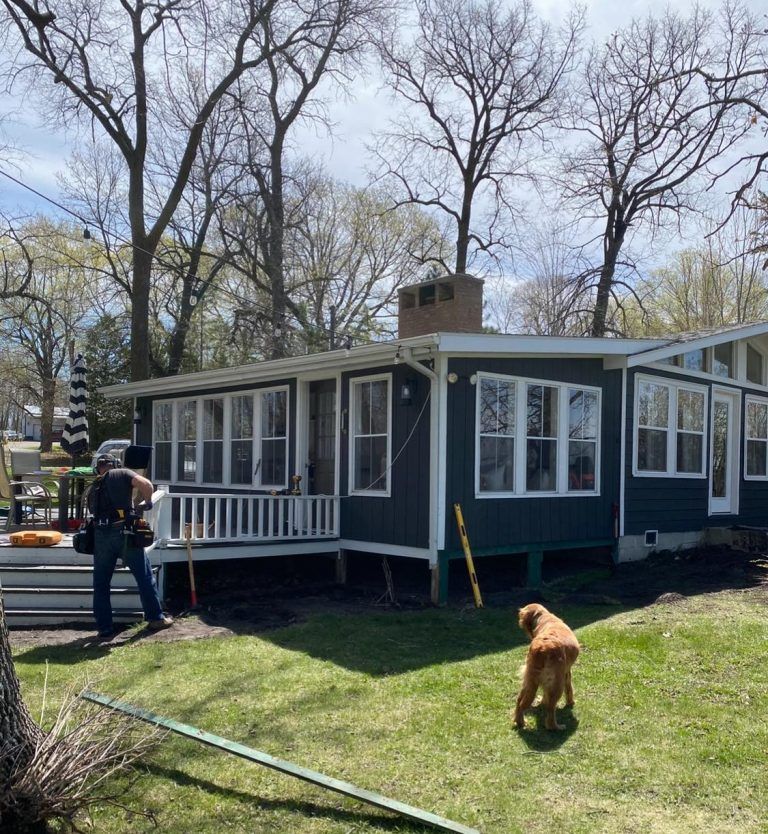
And although the deck still worked, we wanted to wrap it around to the front door to make the most of the lake views! This is when we decided that a railing can really transform the look of not only the deck, but ultimately the whole cabin since its a huge focal point! We are so grateful Viewrail reached out to help make our deck design come to life!
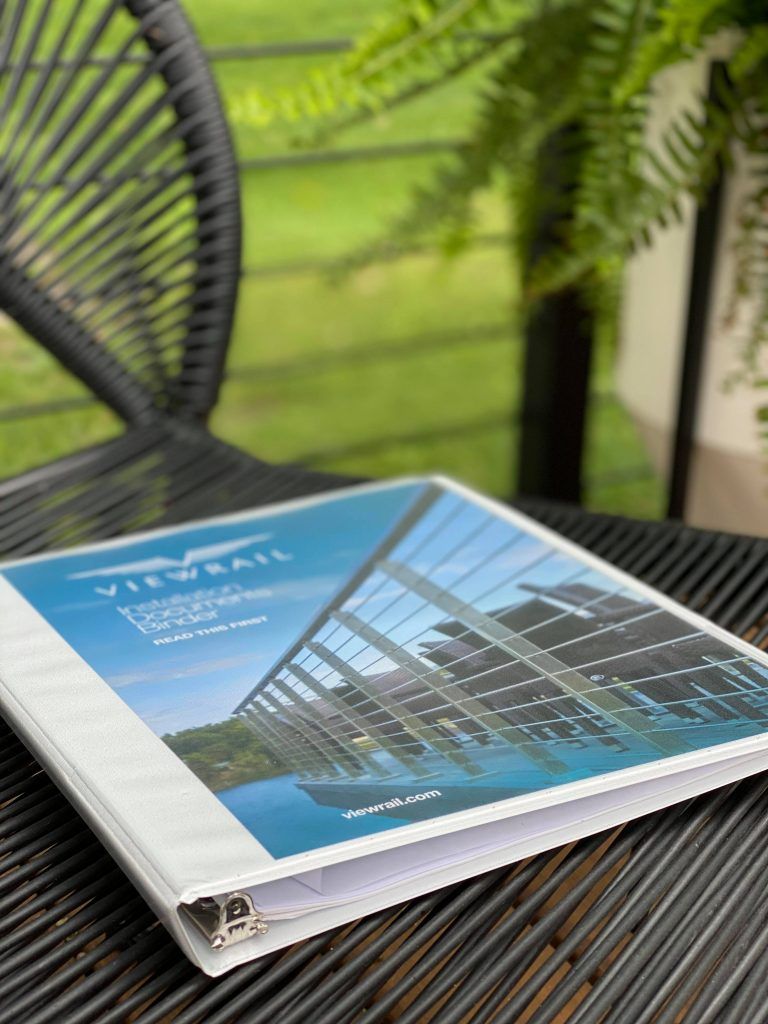
The first thing you need to know when ordering your viewrail system is that it’s a do-it-yourself kit. Which seemed like the perfect fit for us! It’s also great because it helps to keep costs down when you do the labor yourself! Since every deck is custom, they work with you and your design to come up with a one of a kind plan. You receive this binder with your railing which has the layout of your specific rail design inside.
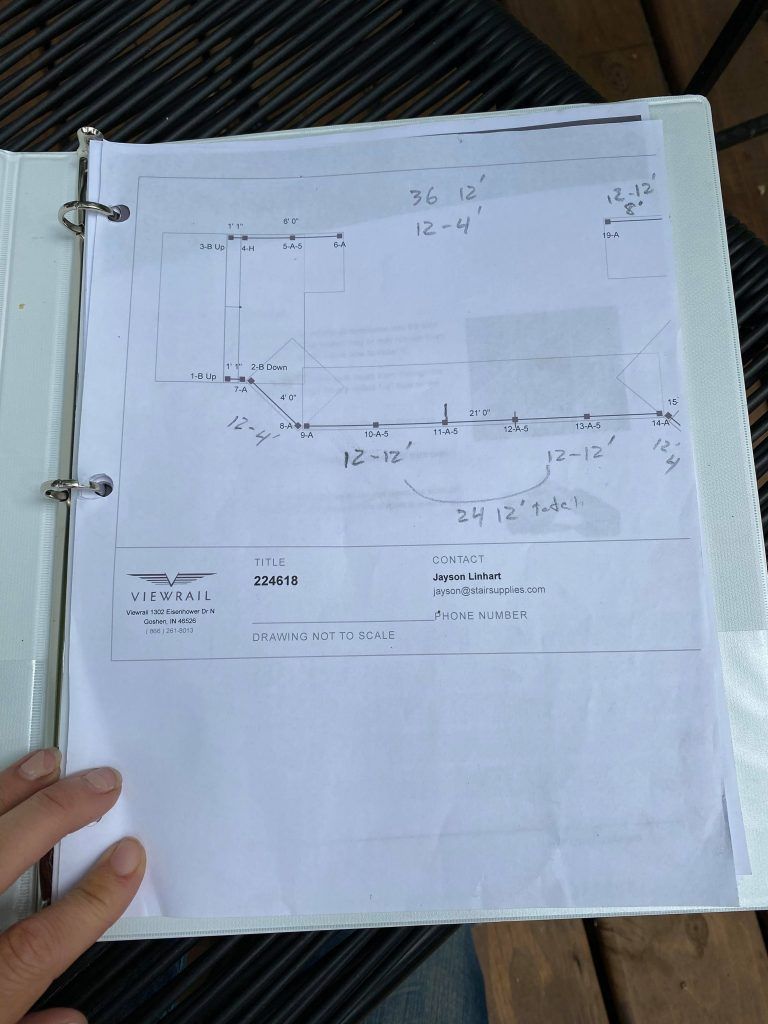
This is the picture of our deck design. Each post is shipped in a seperate box that is labeled, and those labels coordinate with the numbers on this design, so you know where to place the posts.
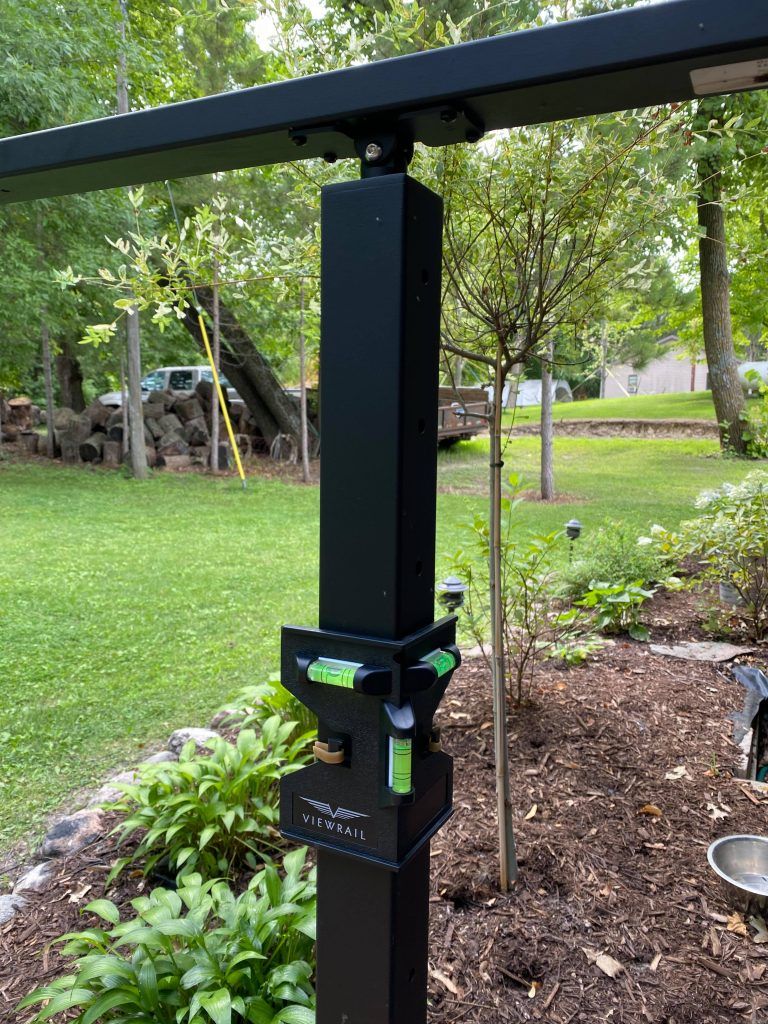
The other great thing about these viewrail systems is that they send all of the tools needed to get the job done. This post leveler came in handy to make sure everything was square, and they also send a crimper tool so all you really need are some basics!
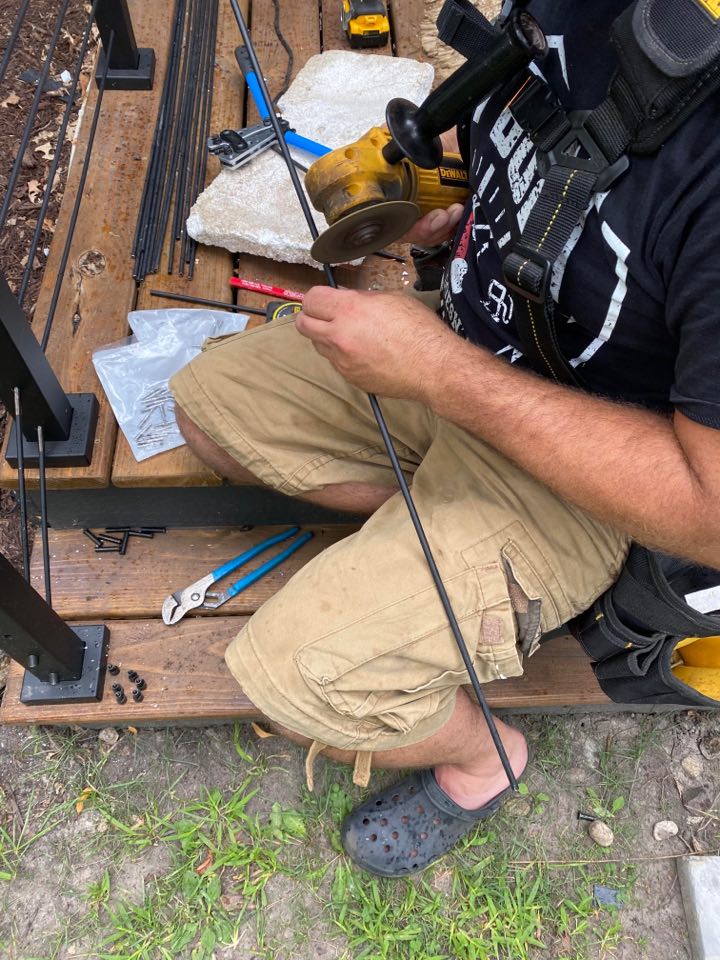
Some of the tools you do need are an angle grinder to cut the rods, and a chop saw to cut the handrails. They send all of the handrails about a foot longer so make room for error, so once you know the exact length you can cut it easily on a chop saw. We bought a diamond blade for ours and actually had better luck cutting it with our normal wood blade!
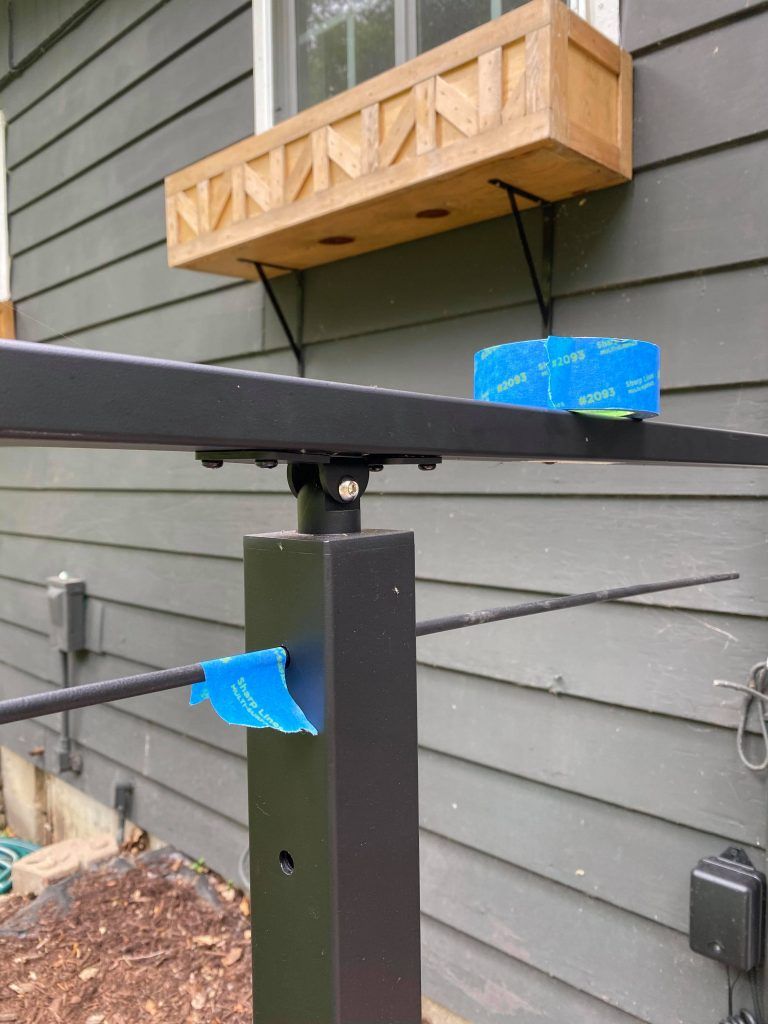
When installing the railing you first want to lay out the posts, and then secure them making sure they are level and square. Next you attach the top rail and screw it on. The last thing you do is to add the rod system. Since each deck is so different and each way to attach them can be different depending on how they connect ,it was a HUGE help to have viewrail tutorial videos available for every situation on youtube! We referenced them often!
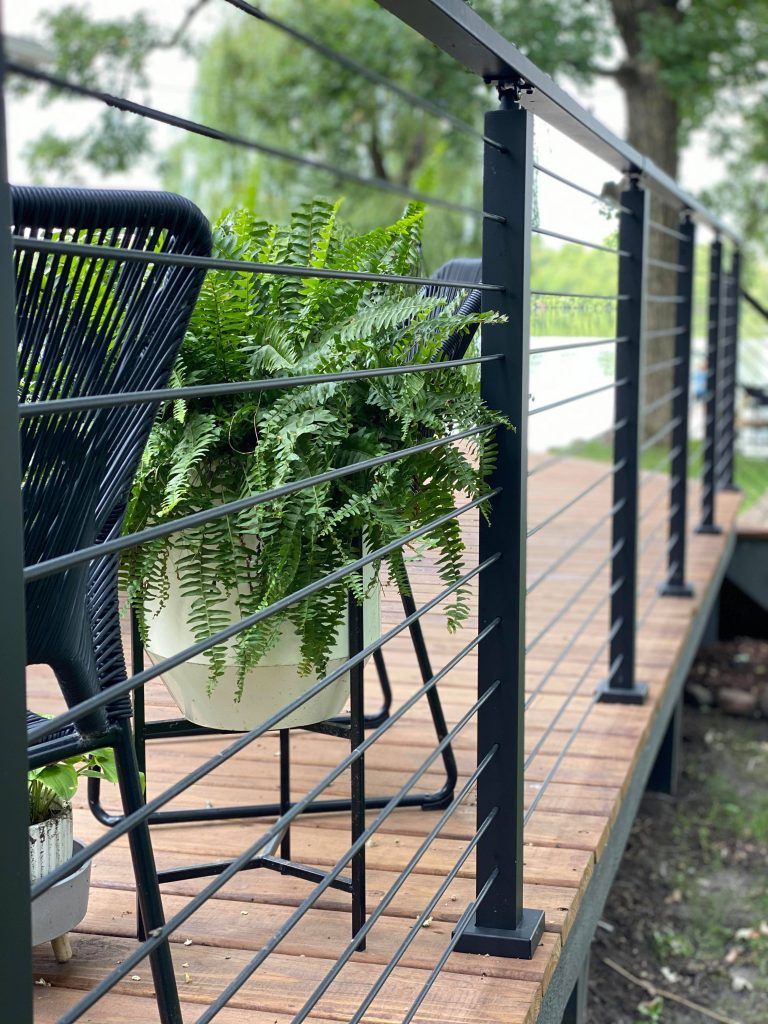
Viewrail even sends matching black paint to touch up areas that got scraped during installation! They truly thought of everything! Our favorite part about this railing system, besides how awesome it looks:) Is the fact that it doesn’t interfere with our view to the lake!
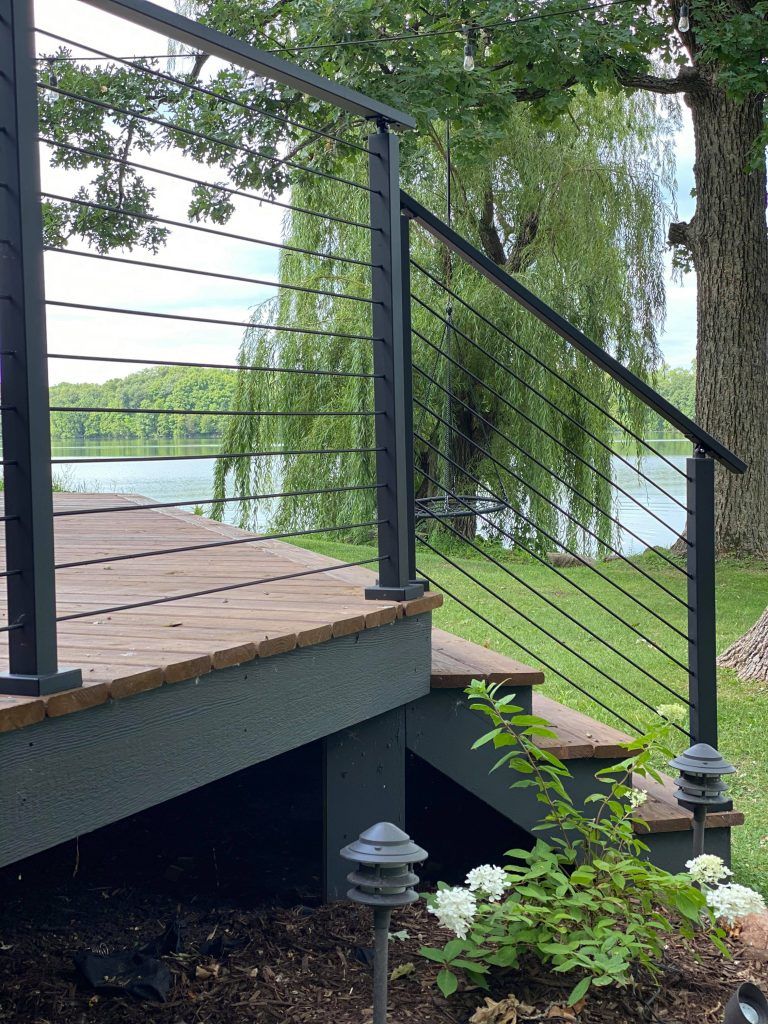
And now everytime I walk up to the cabin I feel like I’m at some higher end resort or hotel:) I pinch myself that this is our deck!
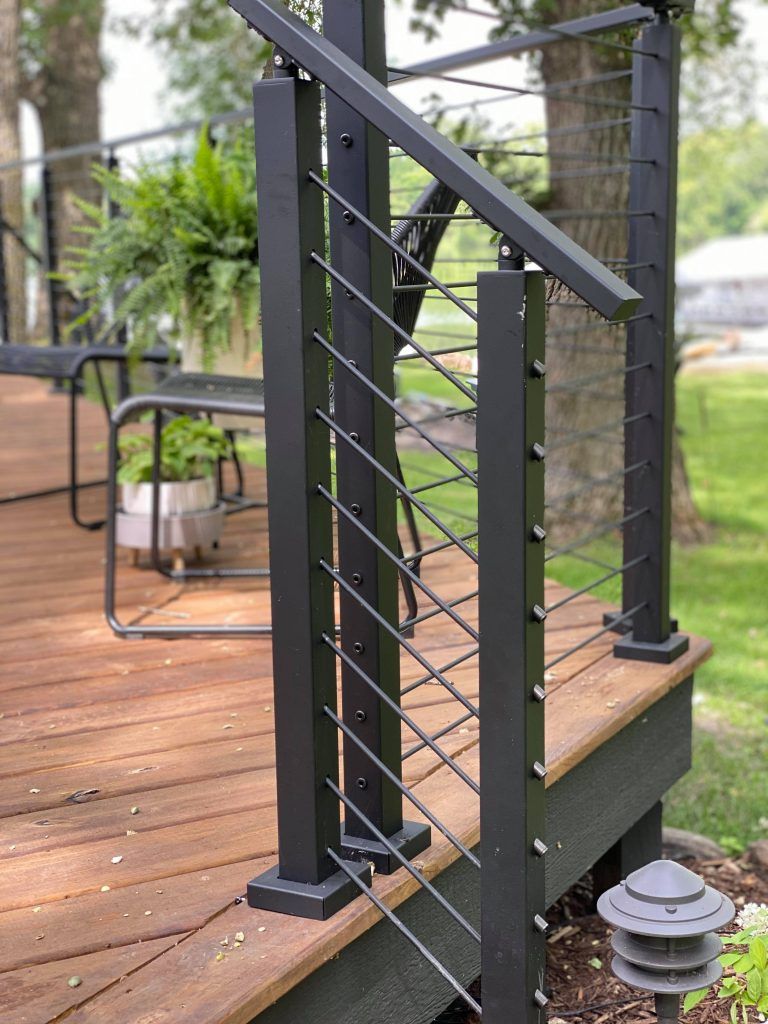
The clean lines give it the perfect modern touch to this little cabin on the lake! So lets take a look at the before one more time before you get to see the after:)
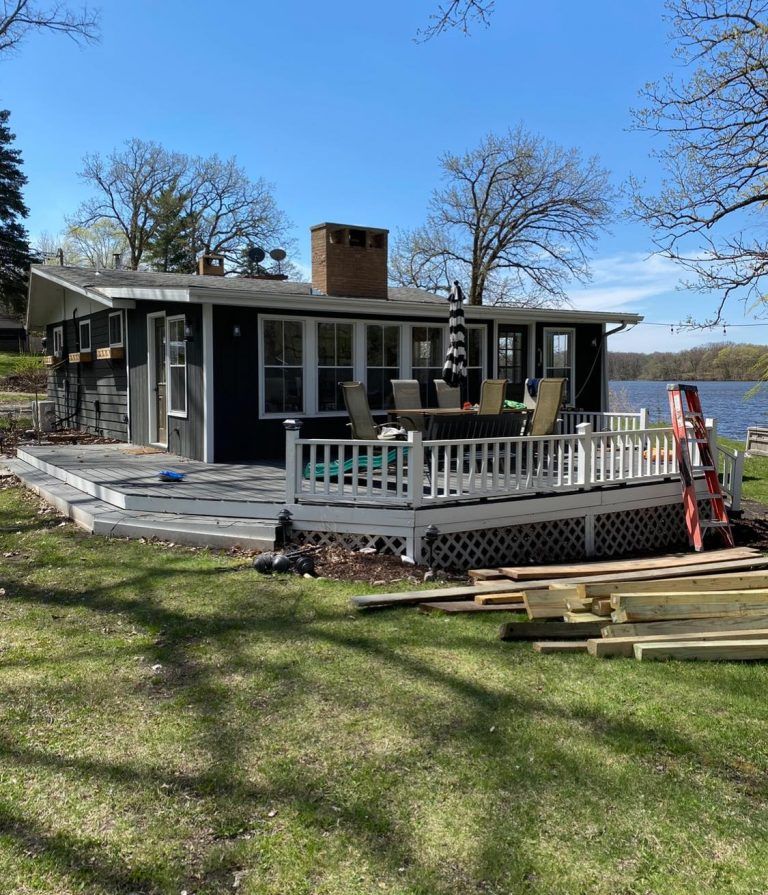
The short white railing along with the lattice kept this cabin feeling a little cottage-y and not updated and modern.
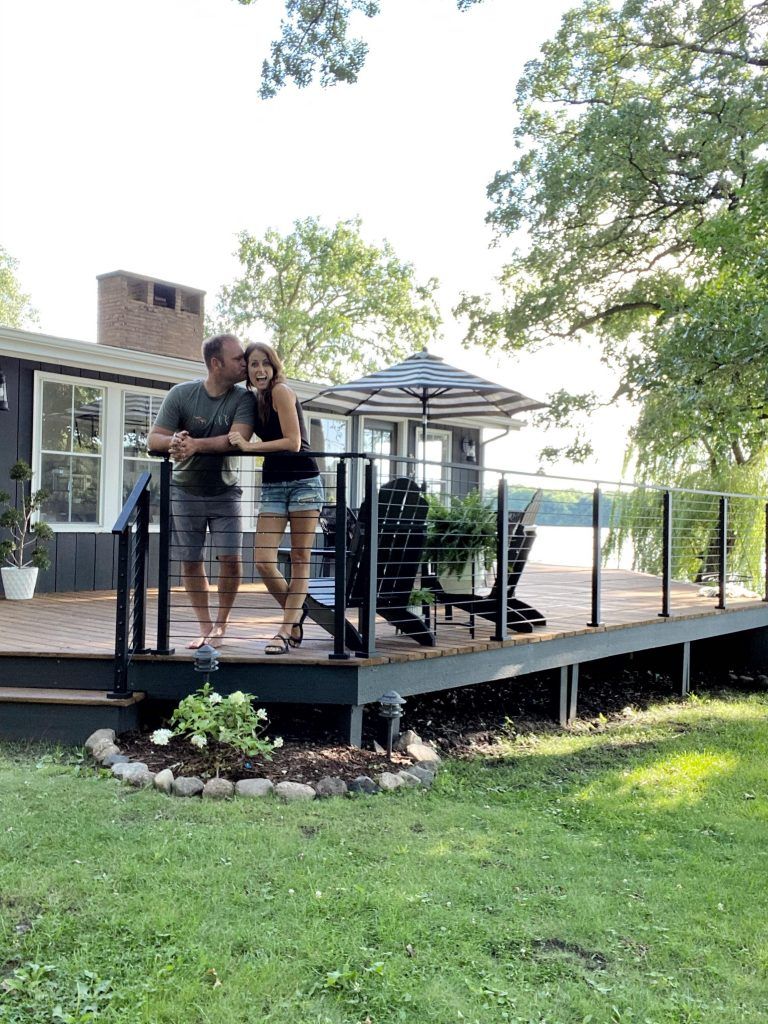
And the after. This side really transformed! The deck wrapping around the front gave us a whole other seating area for viewing the lake!
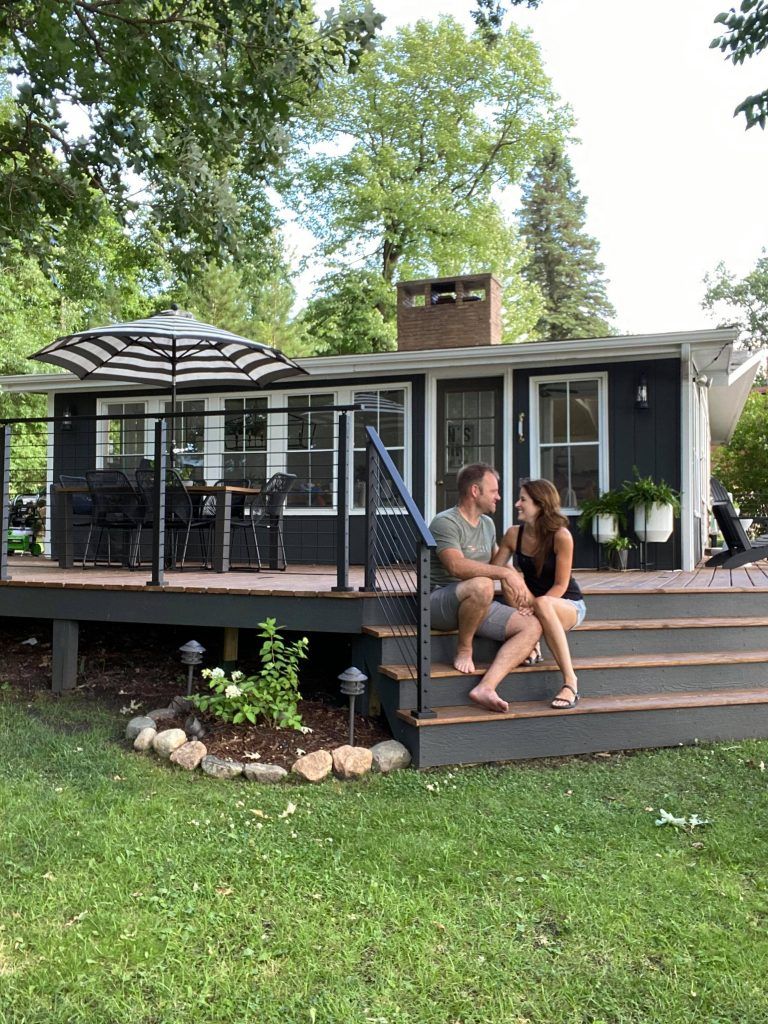
And that’s a wrap! This was one of the last big projects we wanted to tackle at the lake, so now its time to play! A huge thanks to Viewrail for sponsoring this project!

