A Couple Of Stumps
I’m sure you may have spied them in some of my previous posts, and if you’ve hung with me long enough you have heard me rant and rave over wanting them…so I thought I’d share how I FINALLY got them:)
STUMPS!
So, here’s the picture that I originally saw that put the idea in my noggen….
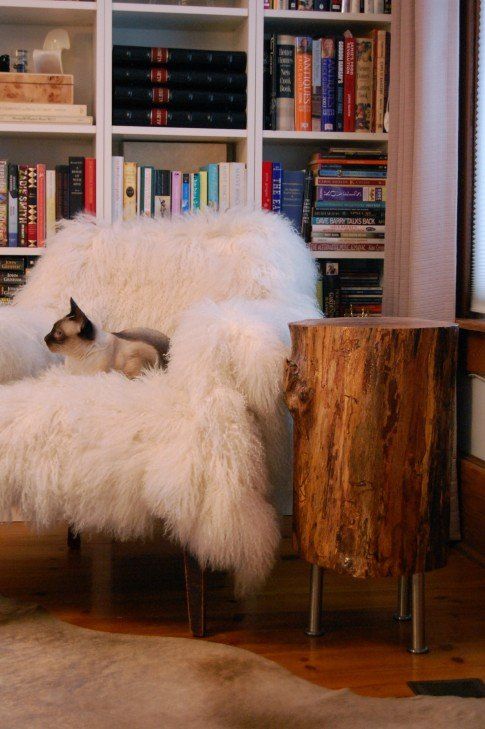
and her site actually had a really good tutorial on how to make them.
As I was looking around a little more I found a few more fun ideas…
love the au natural….you’d just have to find one huge tree So, now that I knew what I wanted, I had to figure out how to come across some stumps! If you remember correctly my hubby surprised me one night by bringing home a couple of stumps he found at his friends house. I”m sure his friend raised his eyebrows at the request and said sure…. Although it was a good attempt, they were just too small:( So imagine my giddyness when my dear friend Leah said, “I think I saw the heavens open up and angels sing when I saw these stumps for you.” and then she sent me this text…
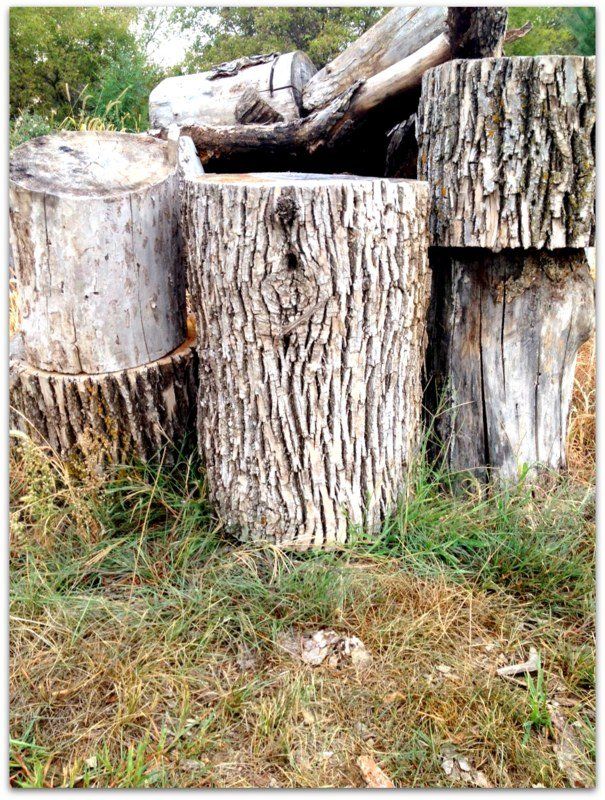
That one in the middle, and his match was just a bit away. They were perfect in size!! I was so excited!! Let the work begin… These stumps had been sitting in her fathers burn pile (shocking I know!) for over a year. So they were nice and dry. If you want to attempt this, I have heard you should let them dry for a month and then bring them inside somewhere to dry for at least another month. I myself just started getting straight to work on it:) I brought in the troops!

Tate was in love. I used a wedge and a hammer to chip off the bark, and it seriously came off in about 30 minu tes for both stumps.
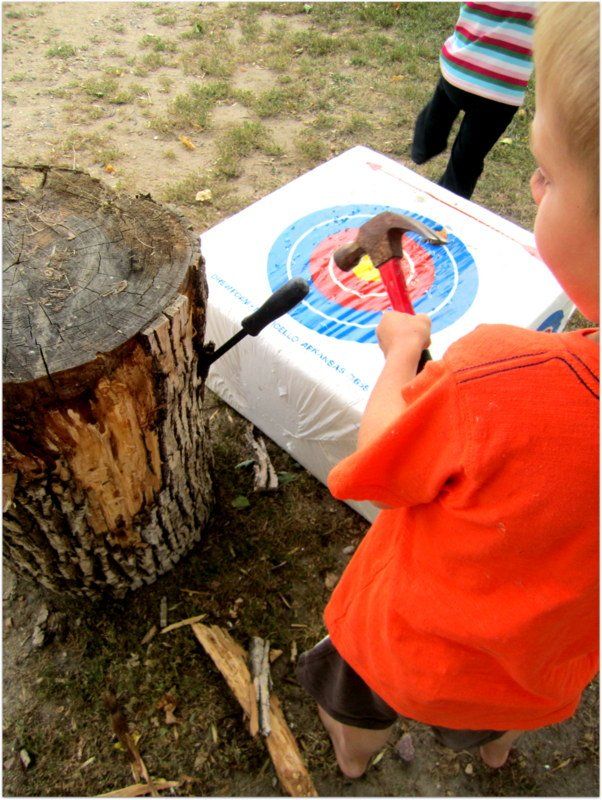
Since the logs were so dry it definitely helped, if you use fresh logs you may need to use a bit more elbow grease. Here’s how the stump looked after we got all of the bark off.
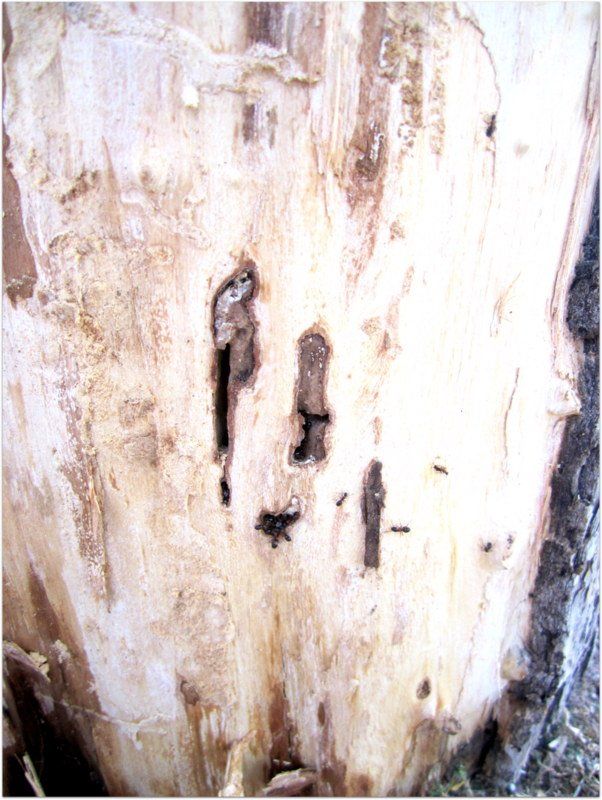
And look what we found…some little critters living inside. Ahhh!! So, I googled how to get ants out and most information said to use sprays and things I didn’t have. I did find out that if you could get the stump away from the ground and away from water that was better, because ants need water to live. So, I set these stumps in our shed for a week before I started attacking them. I think most of the ants came out before, but as soon as I pulled out the power sander and smoothed out the wood, I think I scared the rest of them out. After I finished sanding it down, I applied my stain. I chose dark walnut, which went on super dark since a lot of the wood was soft from sitting so long. Having known that I may have went a little bit lighter, or tried it in a little spot before I started gobbing it on…but I didn’t. Cause that’s how I do stuff:) When the stain was dry I applied 3 coat of polyuerthane on the sides and about 6 on the top and bottom to seal them good. So, here’s how they turned out….
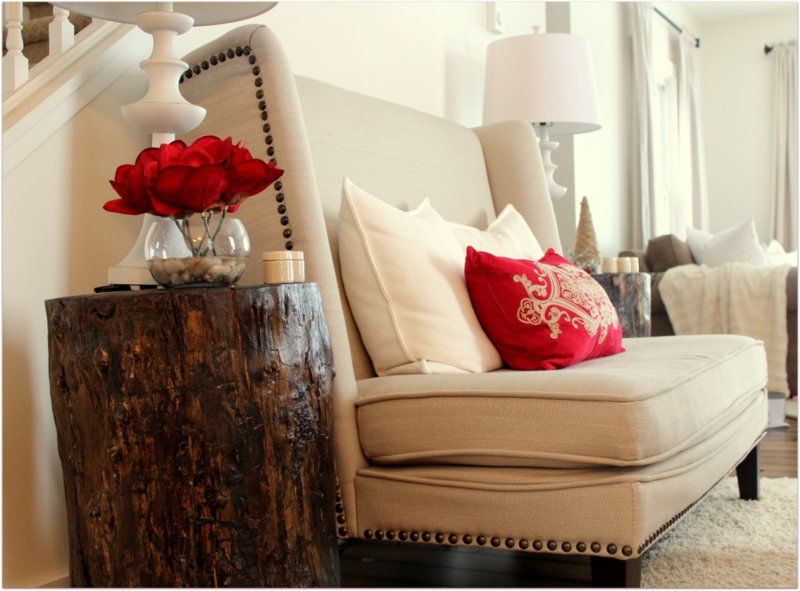
I like that they are both a little unique

and I must warn you, you may have to use felt pads to make sure everything stand straight… unless you have serious talent with the chain saw. .

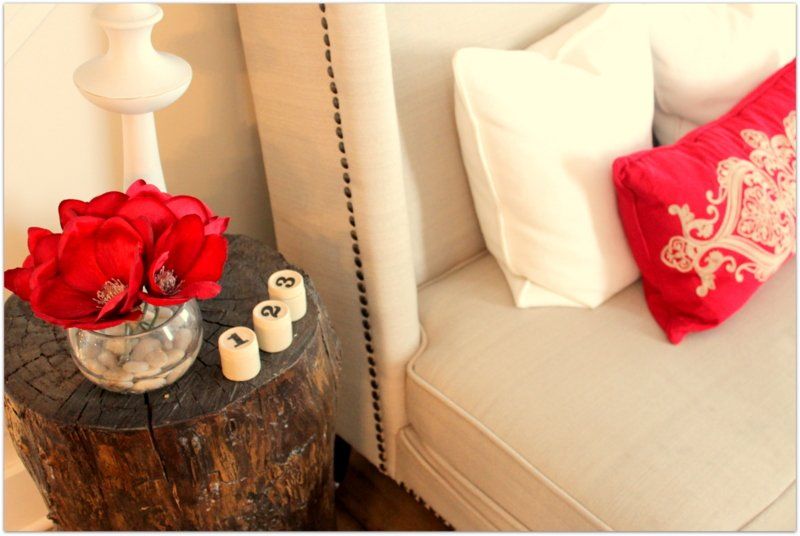
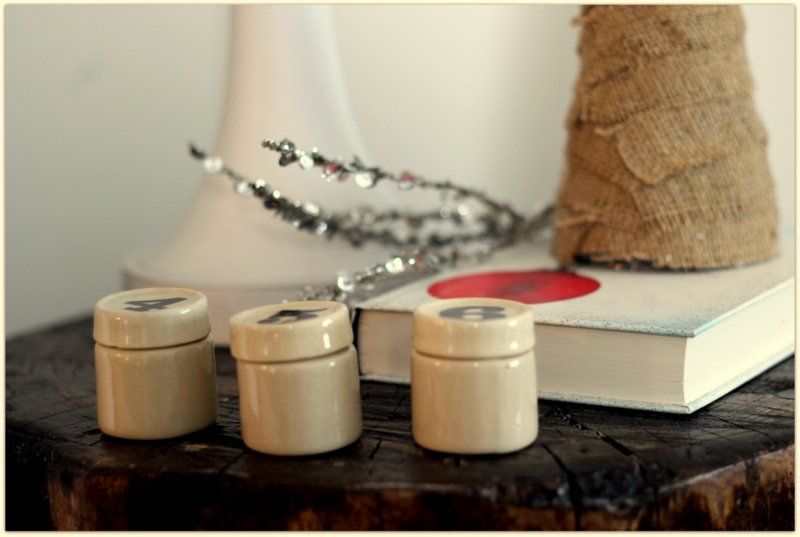
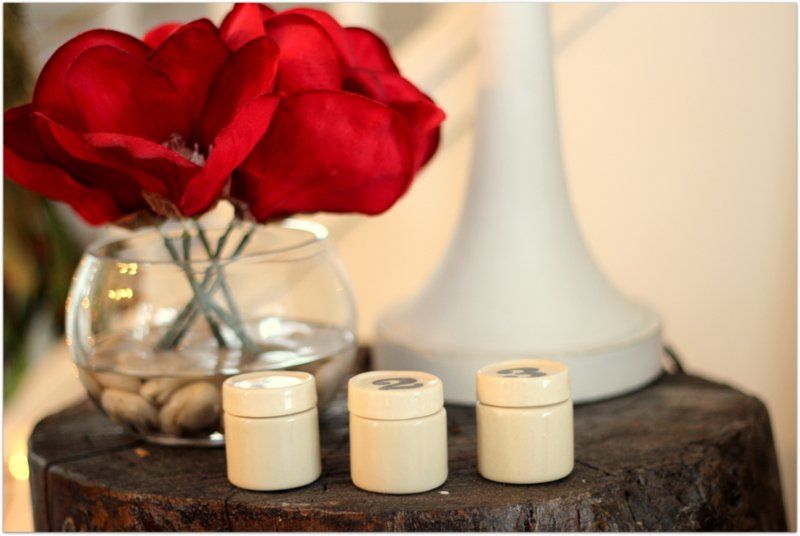
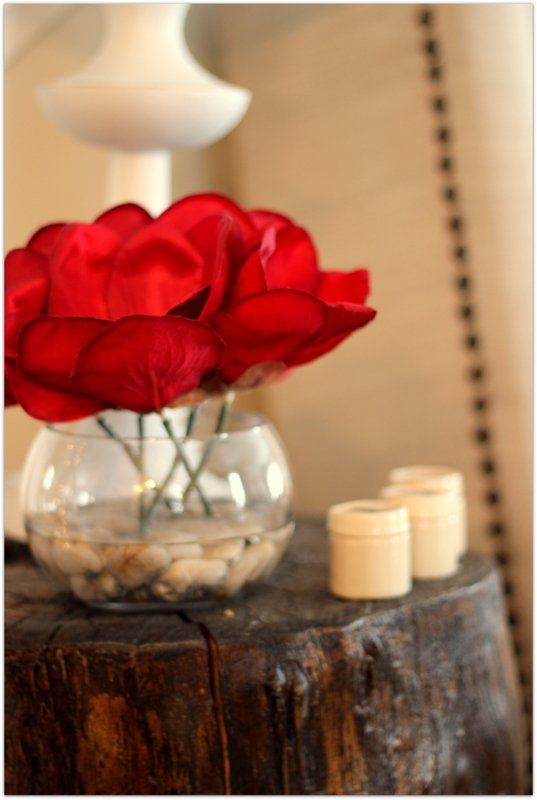
a couple of close-ups (and me loving my new lens:)

I like a bit of the dark contrast…
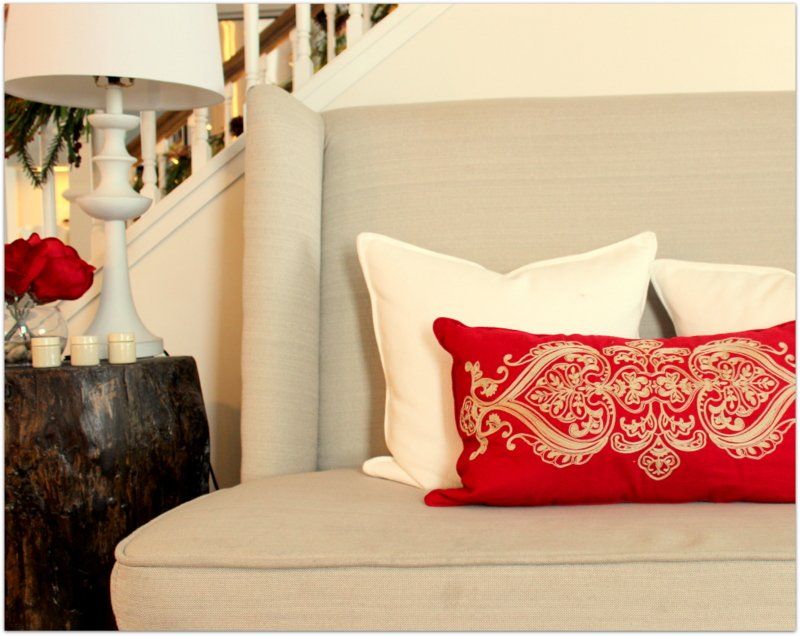
and I’m still considering putting casters on the bottom of them to raise them up a bit.
but for now they’ll stay….
and we haven’t even found one ant yet:)

fingers crossed!
So, two stumps table cost me about $15 worth of stain and poly, not too bad huh?