Board and Batten
Ryan took off a couple of weekends ago to go fishing up north with a couple of the nephews. When he’s away I always think it’s a great time to do a project:) The house can be a mess and it’s no big deal:) So the project I decide to tackle?? Board and batten in the entry way. I have read a thousand posts of people that DIY's their own board and batten, and it looked manageable. I took my measurements and figured out how much wood I’d need and headed to Menards. I was planning on buying pine 1×4′s for the top and 1×2′s for the vertical boards like we did in the guest house, but when I got there I realized that the primed MDF, which most people use, was actually cheaper. These boards aren’t solid wood, it’s a composite. But that makes them perfectly smooth and nice and straight, much easier to work with! Plus, they were already primed white. Score! They only had the ones I wanted in 12 foot pieces……and I couldnt’ quite see myself driving the mini van home with 5 feet of MDF sticking out the back. I found a guy that worked there and asked if there was any way he could cut them in half for me, which would be the perfect size. He said he’s supposed to charge for it (which was fine by me…even though lowes and home depot offer it complimentary) but he said I'll do it for you for free:):) Gotta love that!
So, I spent $35 on my MDF and figured this would do it.
Where was I going to put board and batten you may ask??
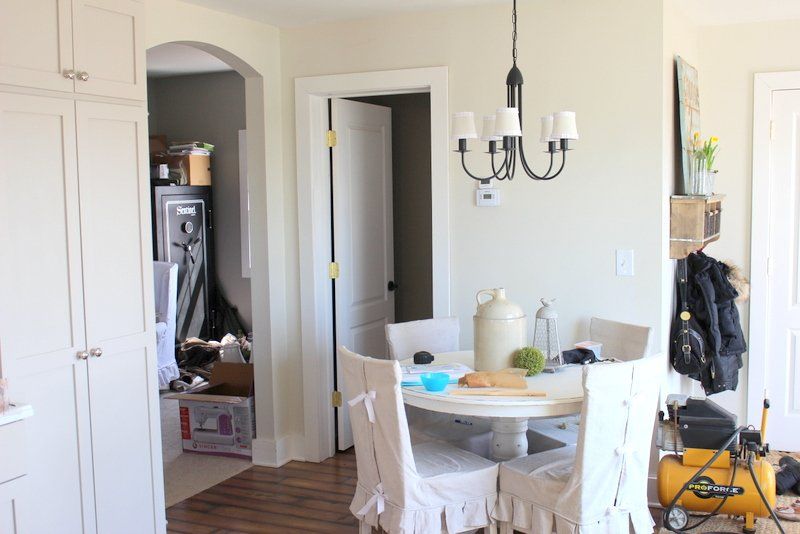
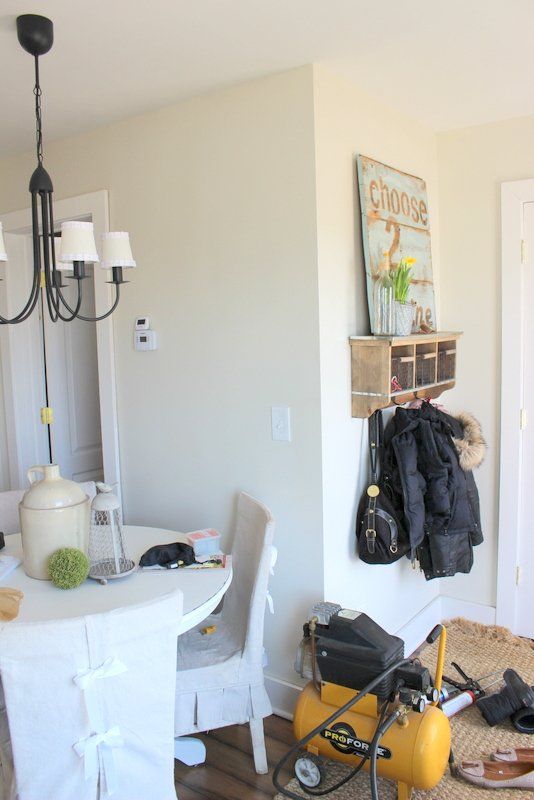
I’ve been eyeing it up for my entryway. I thought this would be a great place to start since it seemed a quite manageable area. Here’s what it looked like before…
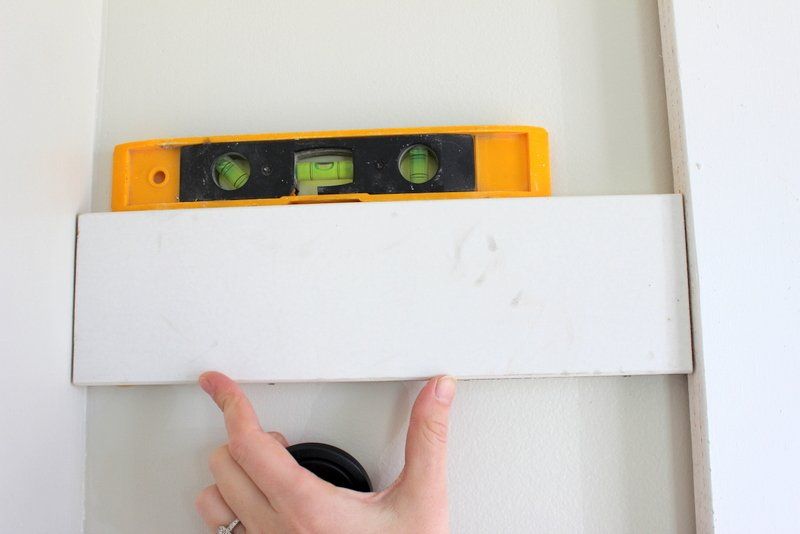
The first thing I decided was how high I wanted my board and batten to go. I decided to go up 5 feet from my baseboard, which would make it 5’4″. Since I had bought 1×4′s, that means the top of the board would be at 5’8″. I then measured and drew a line at that height the whole way around the area I was going to do…
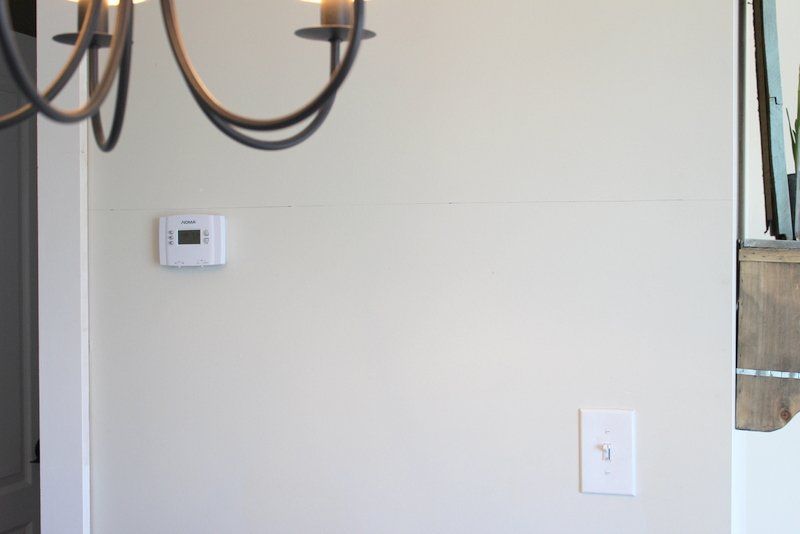
Our thermostat was right there, which helped decide the height for me:) I did’t want Ry to have to remount it.
Here are the things you will need to do this job:
Drywall glue
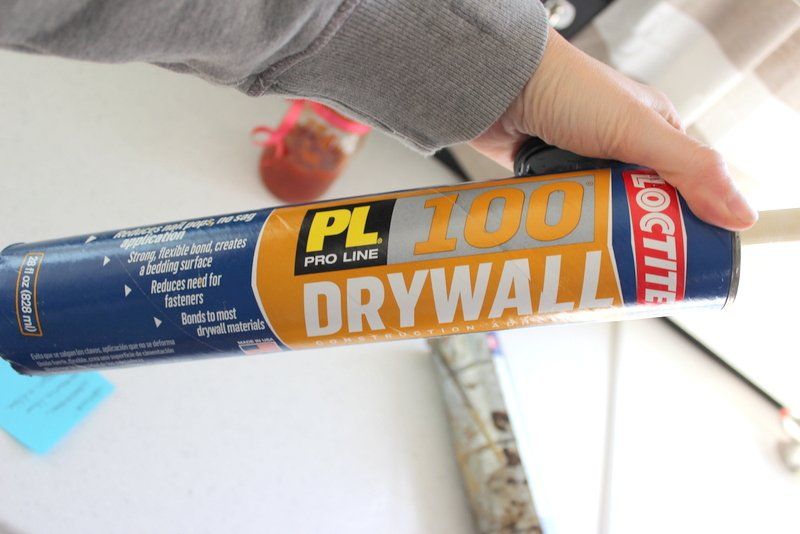
I bought it in the big tube, and used 1 for this project. You also need the caulk gun to use it with:)
Nails and a nail gun:

I used 2″ nails in Ry’s finishing nailer. He showed me how to load it. Watch out, now I’m trouble:):)
MDF
Level
Compressor
A chop saw, circular saw, or table saw.
I think that about does it.
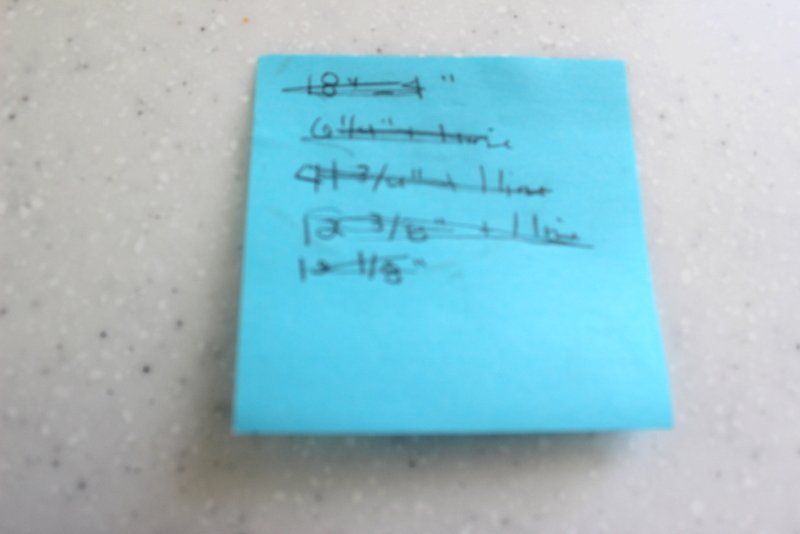
So, after I got my line up I took my measurements.
I used 2″ nails in Ry’s finishing nailer. He showed me how to load it. Watch out, now I’m trouble:):)
MDF
Level
Compressor
A chop saw, circular saw, or table saw.
I think that about does it.
So, after I got my line up I took my measurements.
This is seriously how I measure…gotta work on that. Ha. I’m not good with all the little unlabeled lines, hence the +1 line comment:):)
Once I had my pieces cut I glued them up…
I shot 4 nails into this little piece, on the edges. The more nails you put in the more holes you need to fill:)
So here’s how the progress went….
Top board is up!
vertical boards went up next. I butted my corners up instead of trying to do 45 degree cuts. That was just going to be a disaster:) The only one that really shows, is this one on the corner, but after it’s all painted and patched, it really isn’t that noticeable. If you have some mad carpentry skills, I would have 45′d that one:)
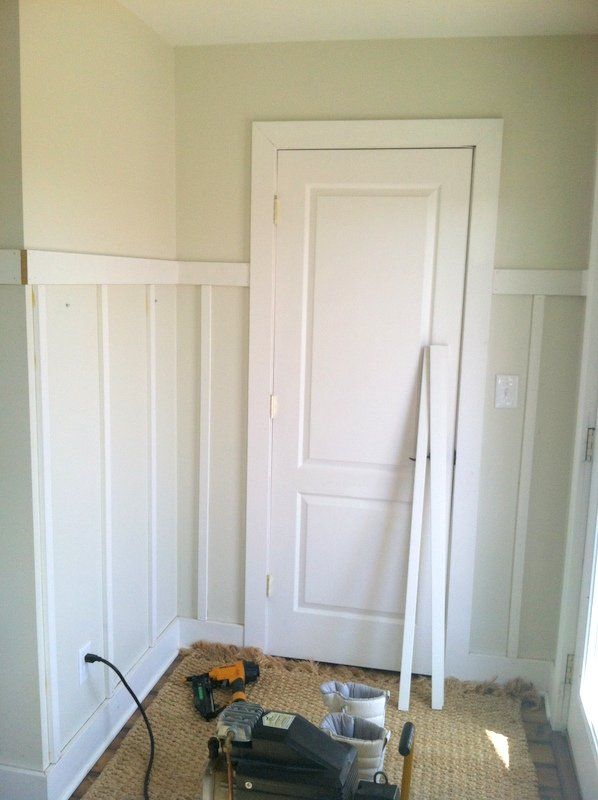
I ended up putting my boards 14″ apart. I have so many breaks in this area though, that I could play around it a bit. I marked them before I started putting them up so that I didn’t have to deal with any outlets or light switches. Don’t bring your tape measure over…I guarantee they will not measure out perfectly:)
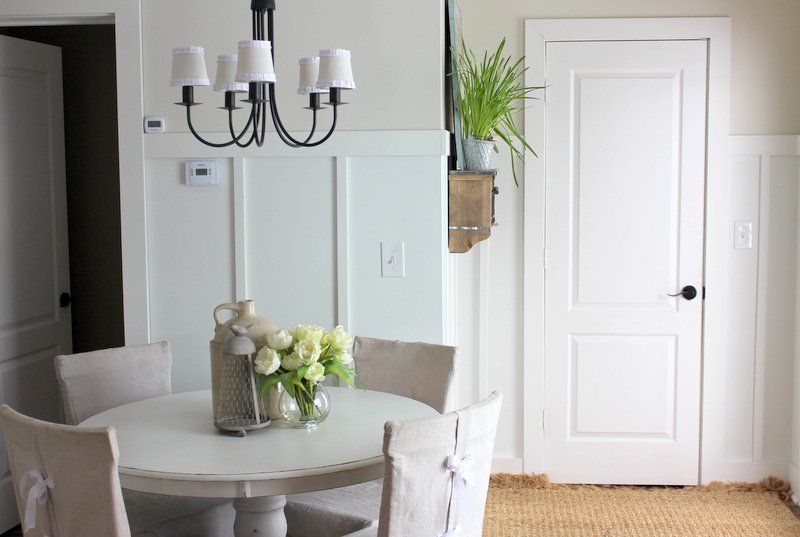
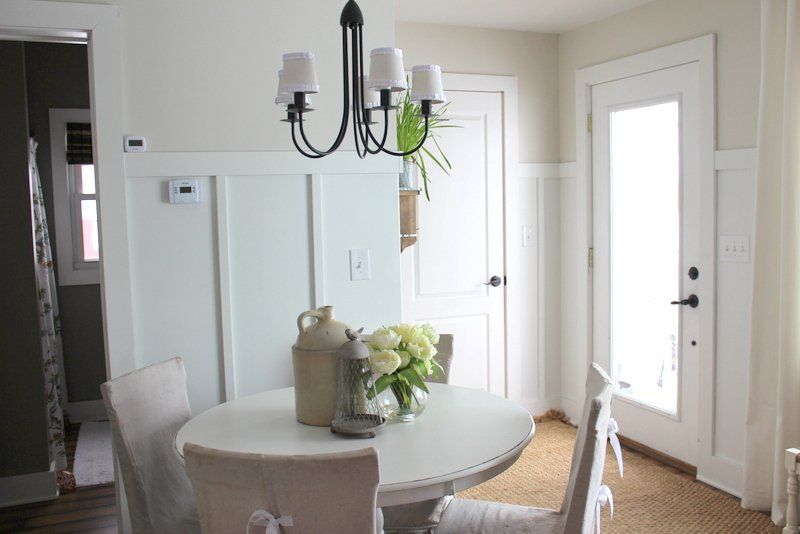
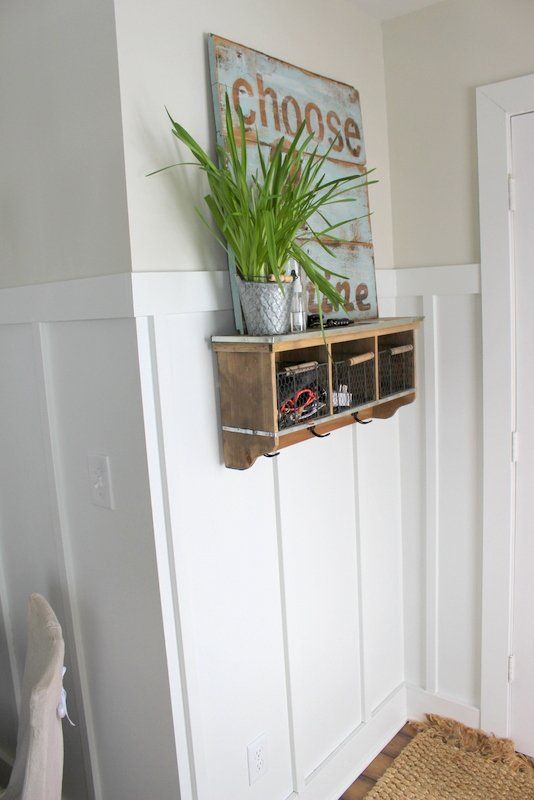
After all the pieces are up, I filled in the nail holes with some wood putty, and then I painted it in the Decorators White that the rest of my trim is painted in.
Okay, now for some before and afters…
before..
after…
before..

after..
before..
after….
and a few more for fun…

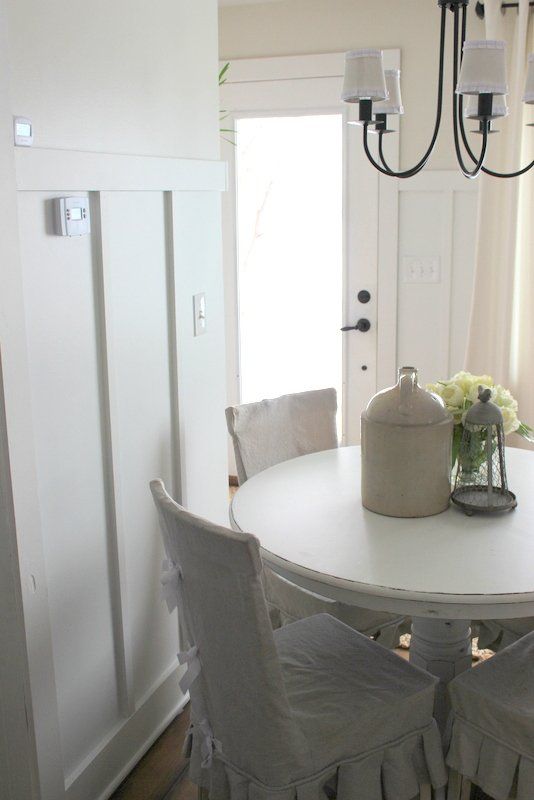
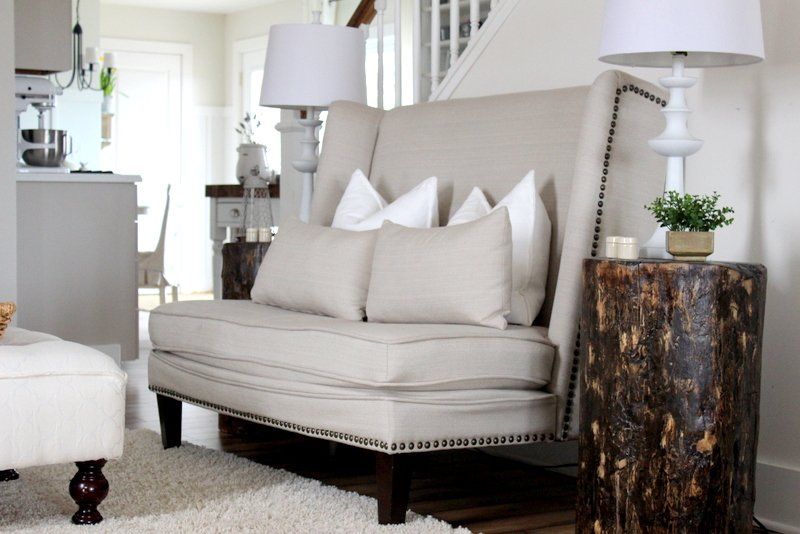
I love how the decor on the table pops more now with the white behind it..
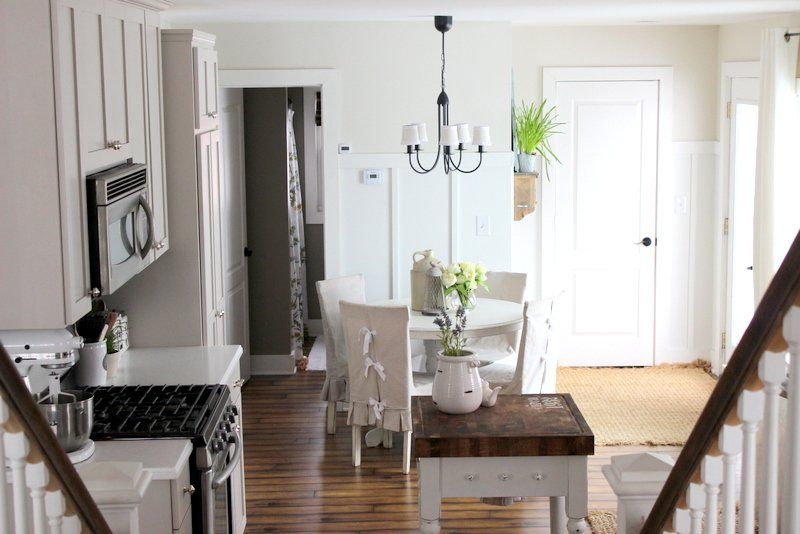
Here’s the view from the stairs..
And I even like it that you can see it peeking through from the sitting room..
Last ones, looking into the office..

And…if you think my house is always put together and clean, I decided to show you these pics..all for you Abbey:)
This is what my office looks like during Whimsy time:)
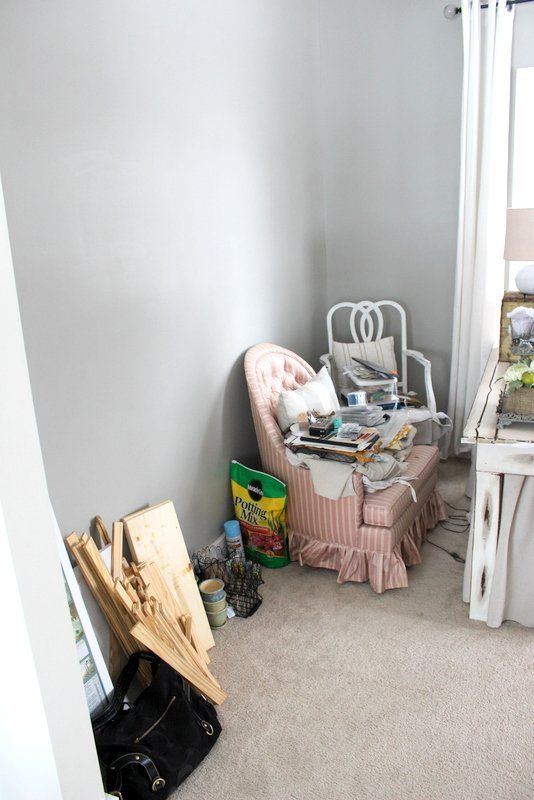
haha, it’s amazing what you can hide in pictures:)

secrets out!
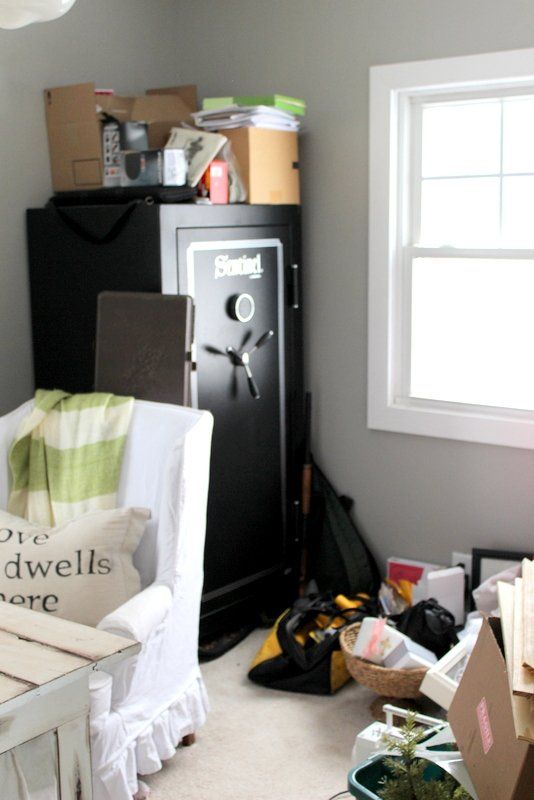
We want to do built in storage on that whole back wall for all of my crafting supplies. But until then?? This is what you get:)
So, for $35 and about 4 hours of cutting, gluing, measuring and painting this is what you get. I think it added a lot more than the price tag:)