DIY SHIPLAP
Let me show you how to shiplap on a budget!
On a budget but still wanting to create a look that you love in your house with shiplap! Don't worry I got you covered;)
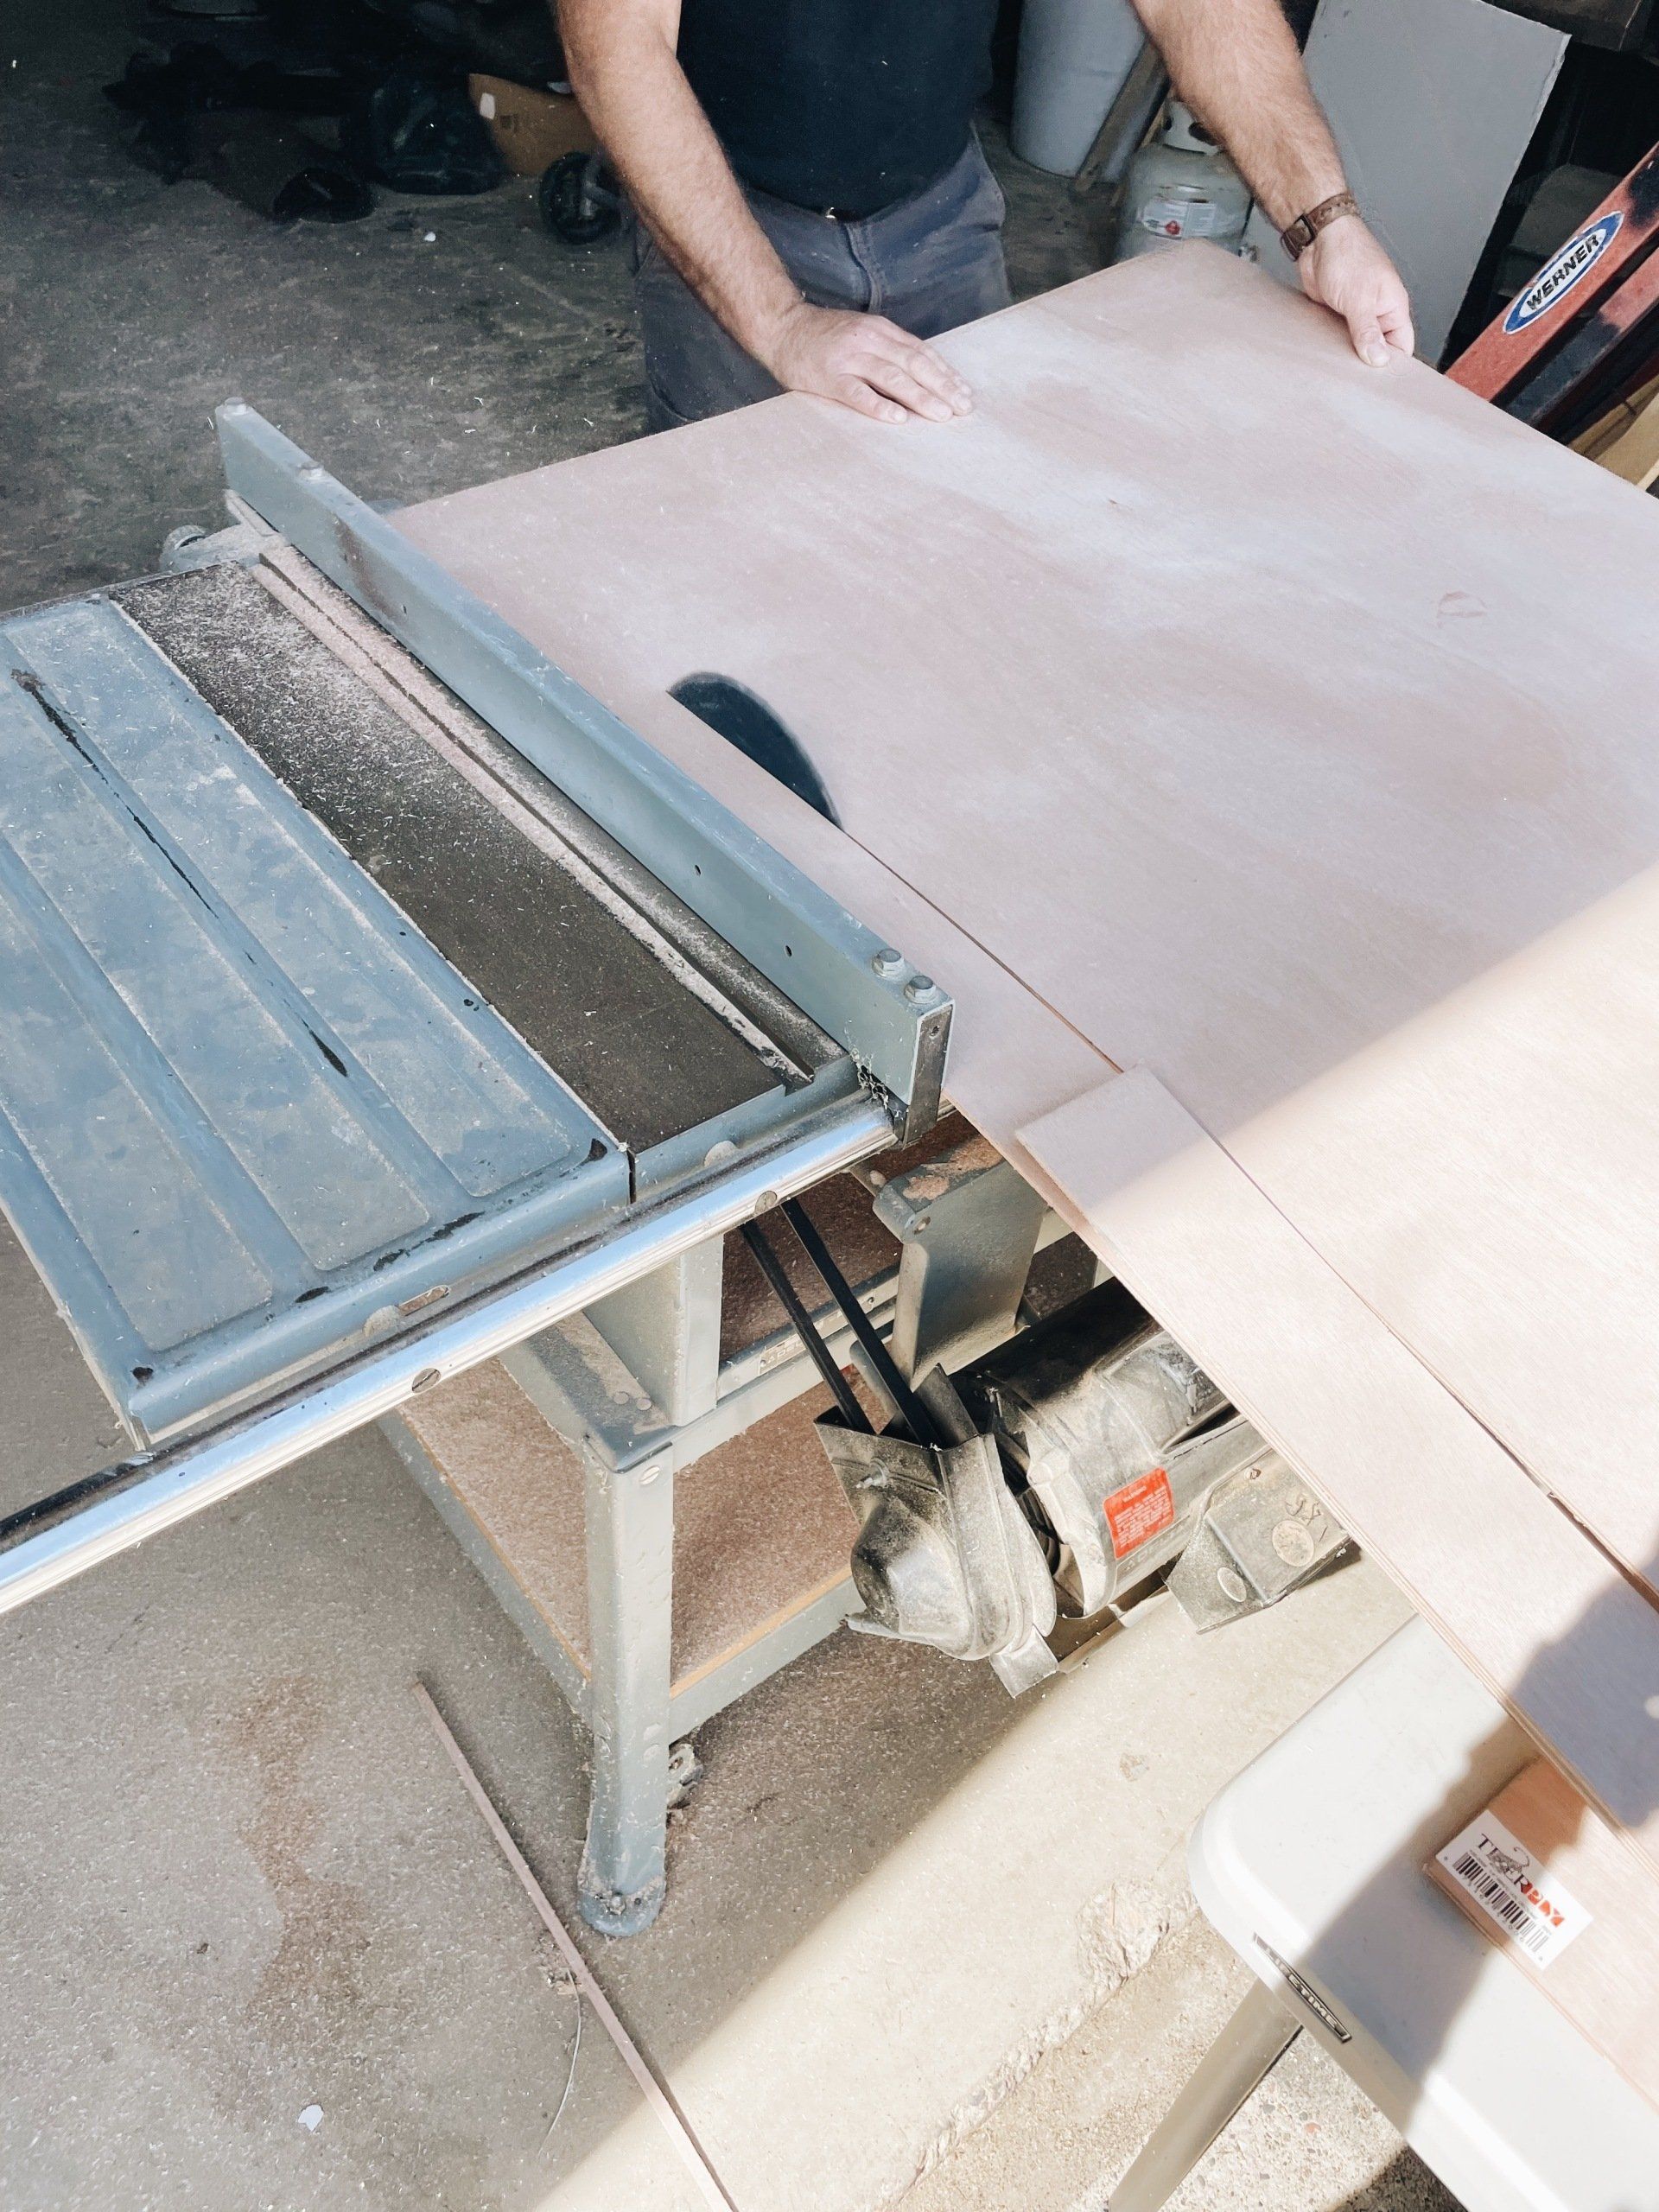
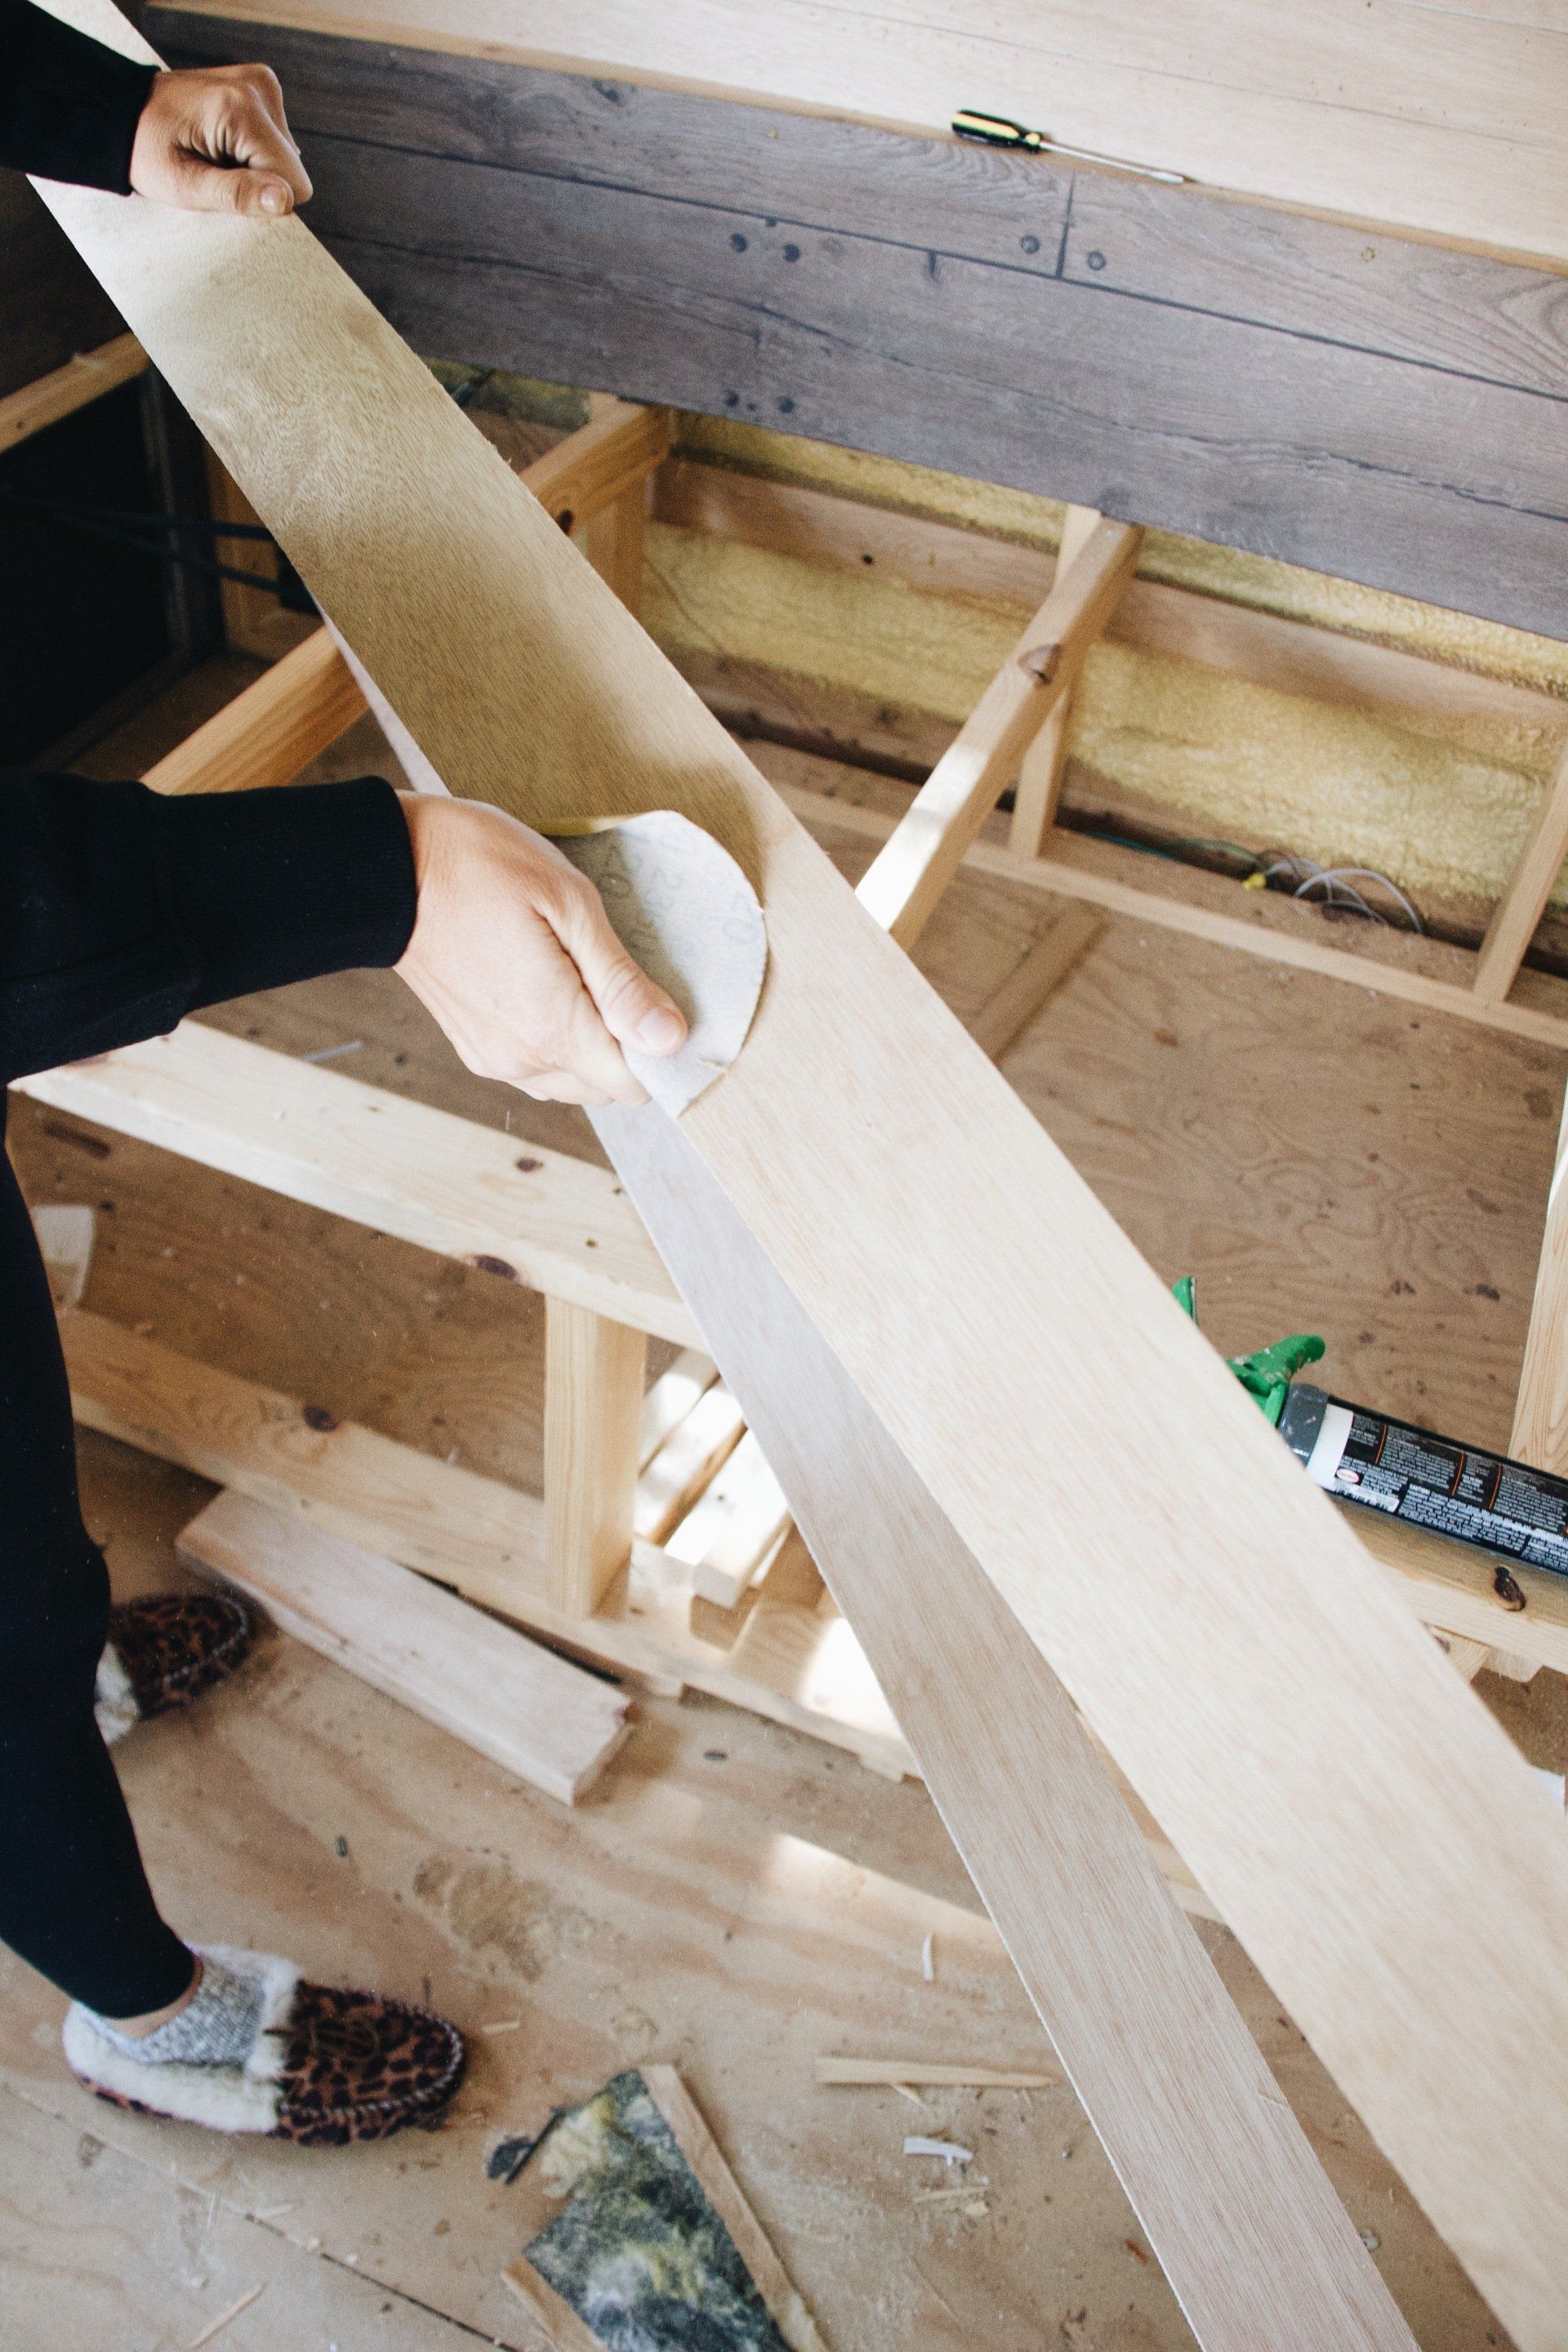
What I use for the shiplap, you may be very surprised actually, it is 1/4" Plywood! yes it really is.
I get as many as the project needs 4X8 foot sheets of 1/4" plywood. Sometimes its called utility panels or underlayment, but it runs about $22 a board. If you want no waste and get an even 8 stirps from each board you can cut them at 5 7/8" wide.
The amazing thing is that you can play around with what you size you cut them down to. I've done countless different sizing to create different looks. So it really is up to your preference in the vision you are wanting to create.
Okay let me show you how I do it!
1.) Cut plywood with Table Saw too desired width.
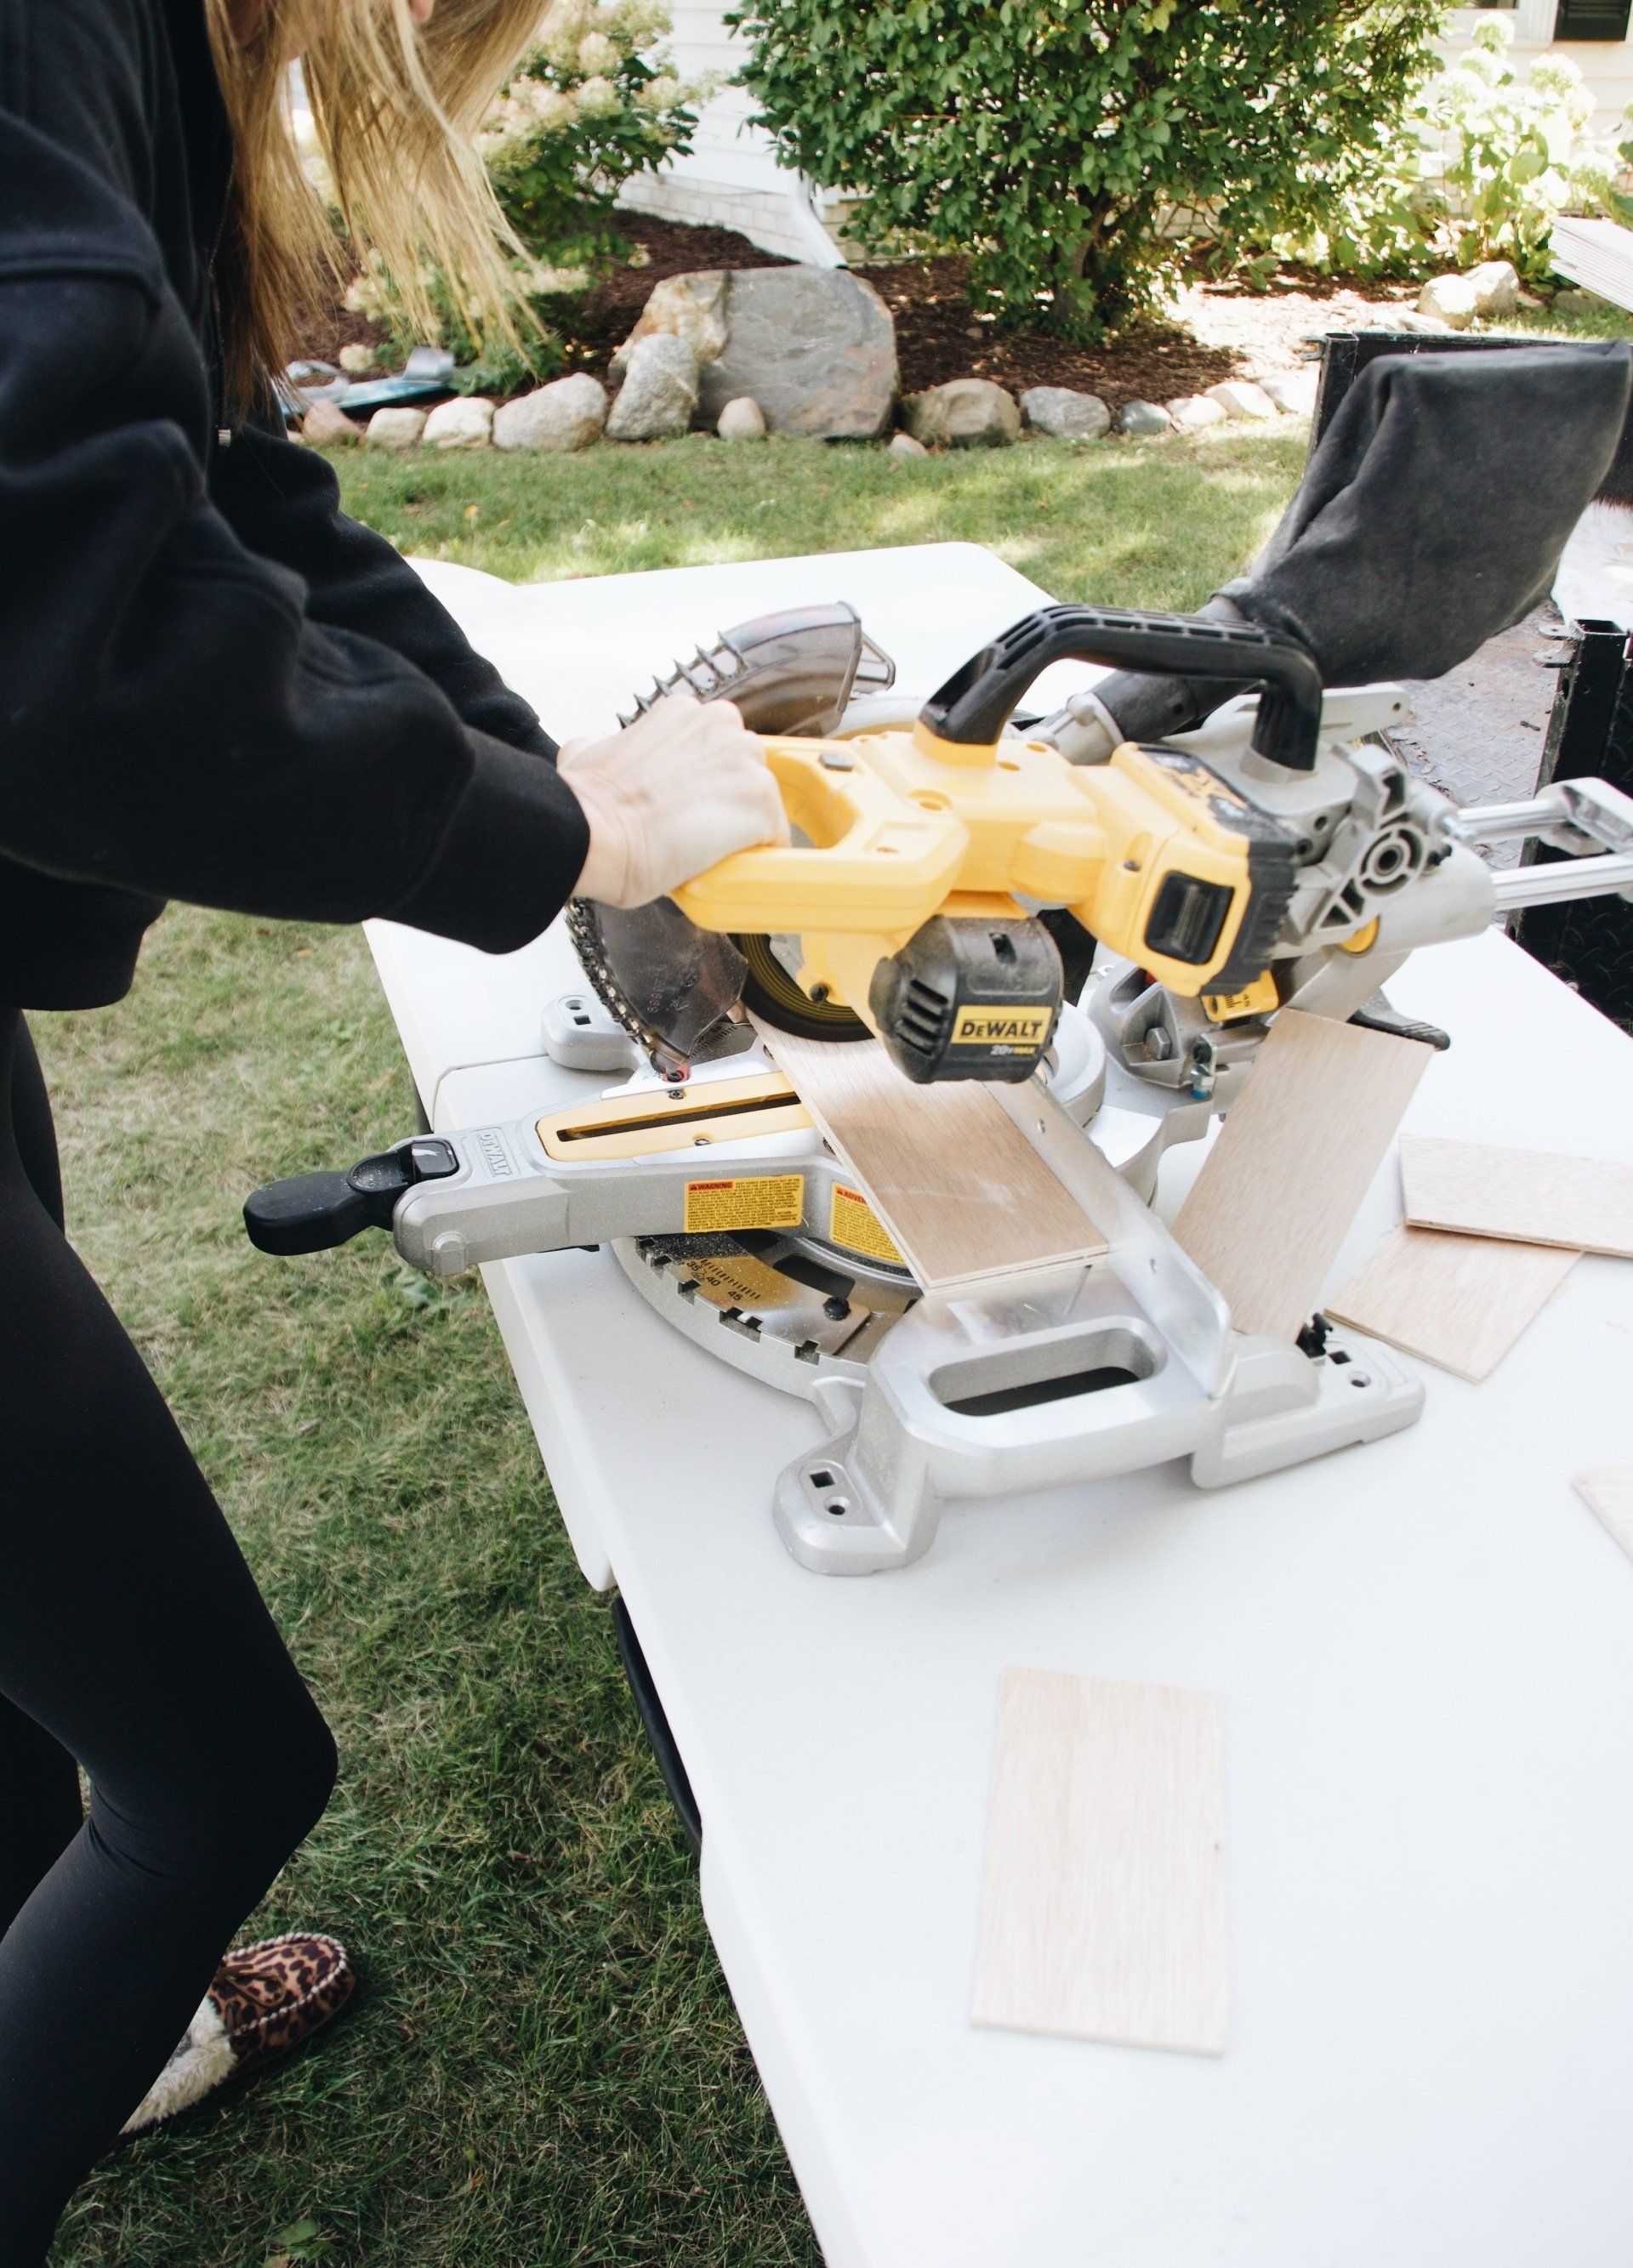
2.) Chop Saw. Seriously this thing is my best friend. I haul it all around so love the battery one, but you can use a corded one as well or If you don't have this you can use a circular saw as well.
3.) Sand Paper. I like to sand down the edges and end just a tad so they aren't as rough and smooth out any fringe.
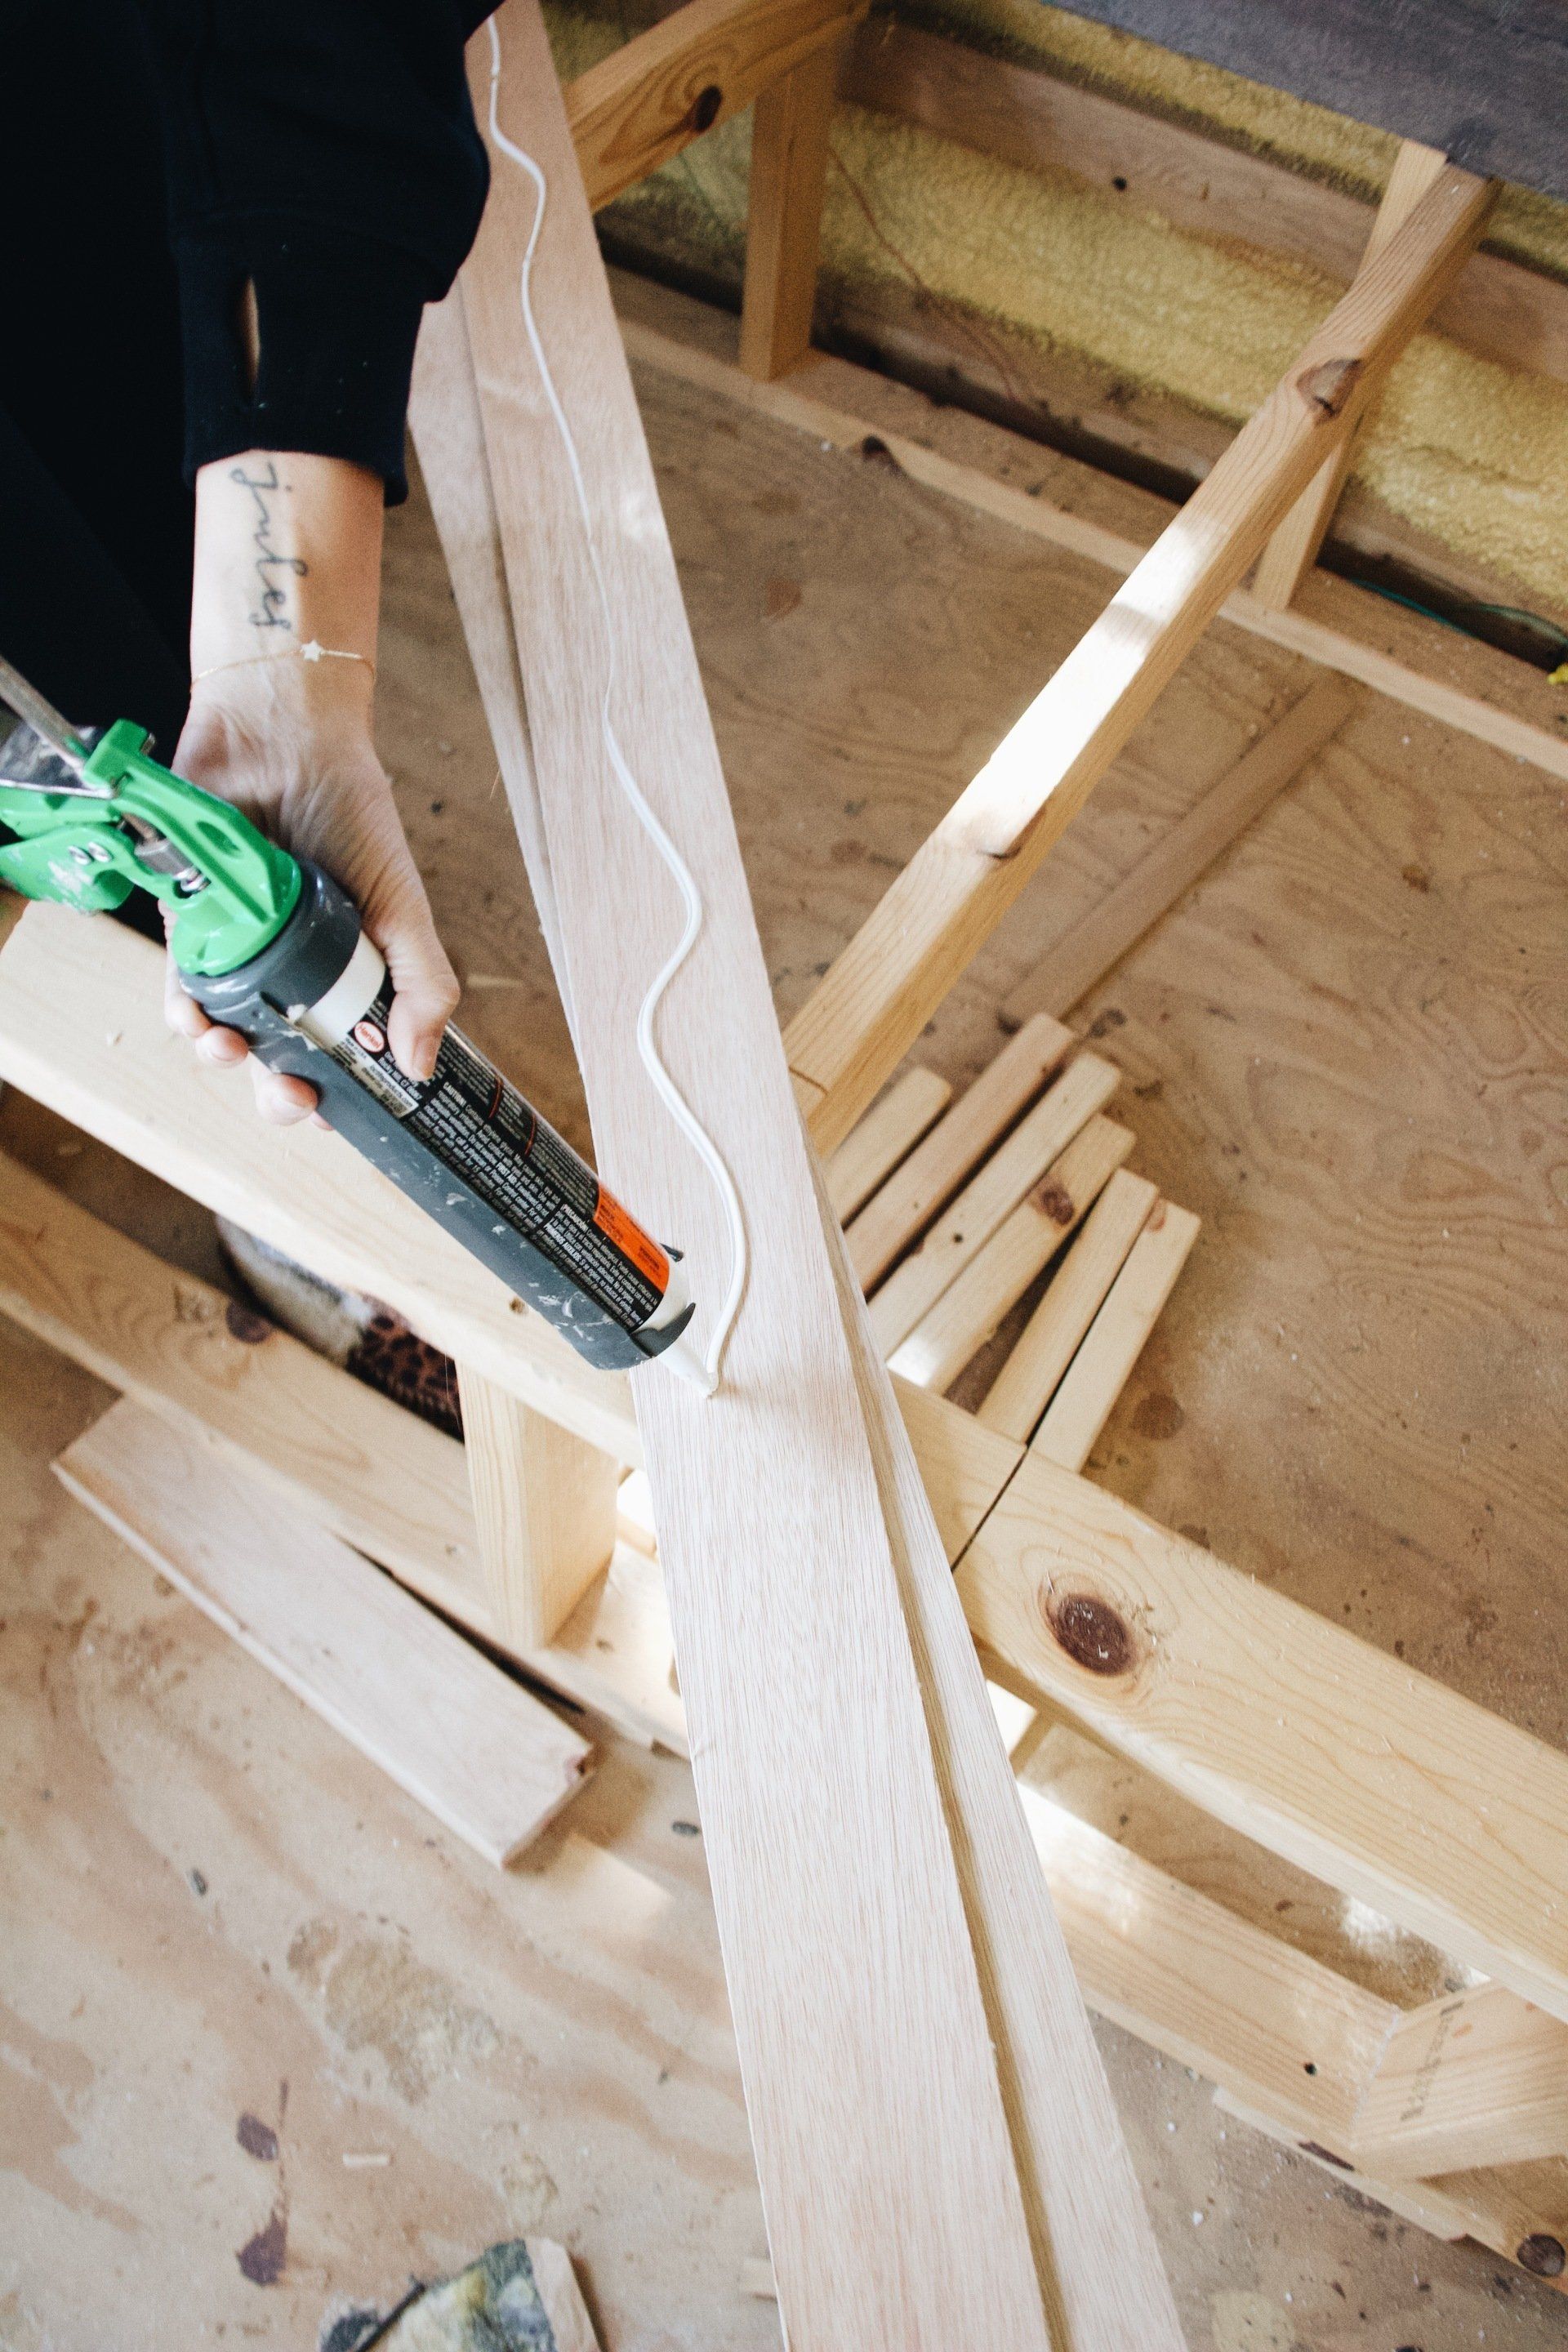
4.) Glue and Caulk Gun This is optional. I used to always glue until I had a few projects I decided to take down and it makes a real headache to fix the drywall. Once I realized that it sticks great especially after you paint it, I stopped gluing. I will still glue in a camper because of the movement. It's up to you if you want to do this step or not.
5.) My little trick, use a nickel for placement so they are all spot even before nailing in.
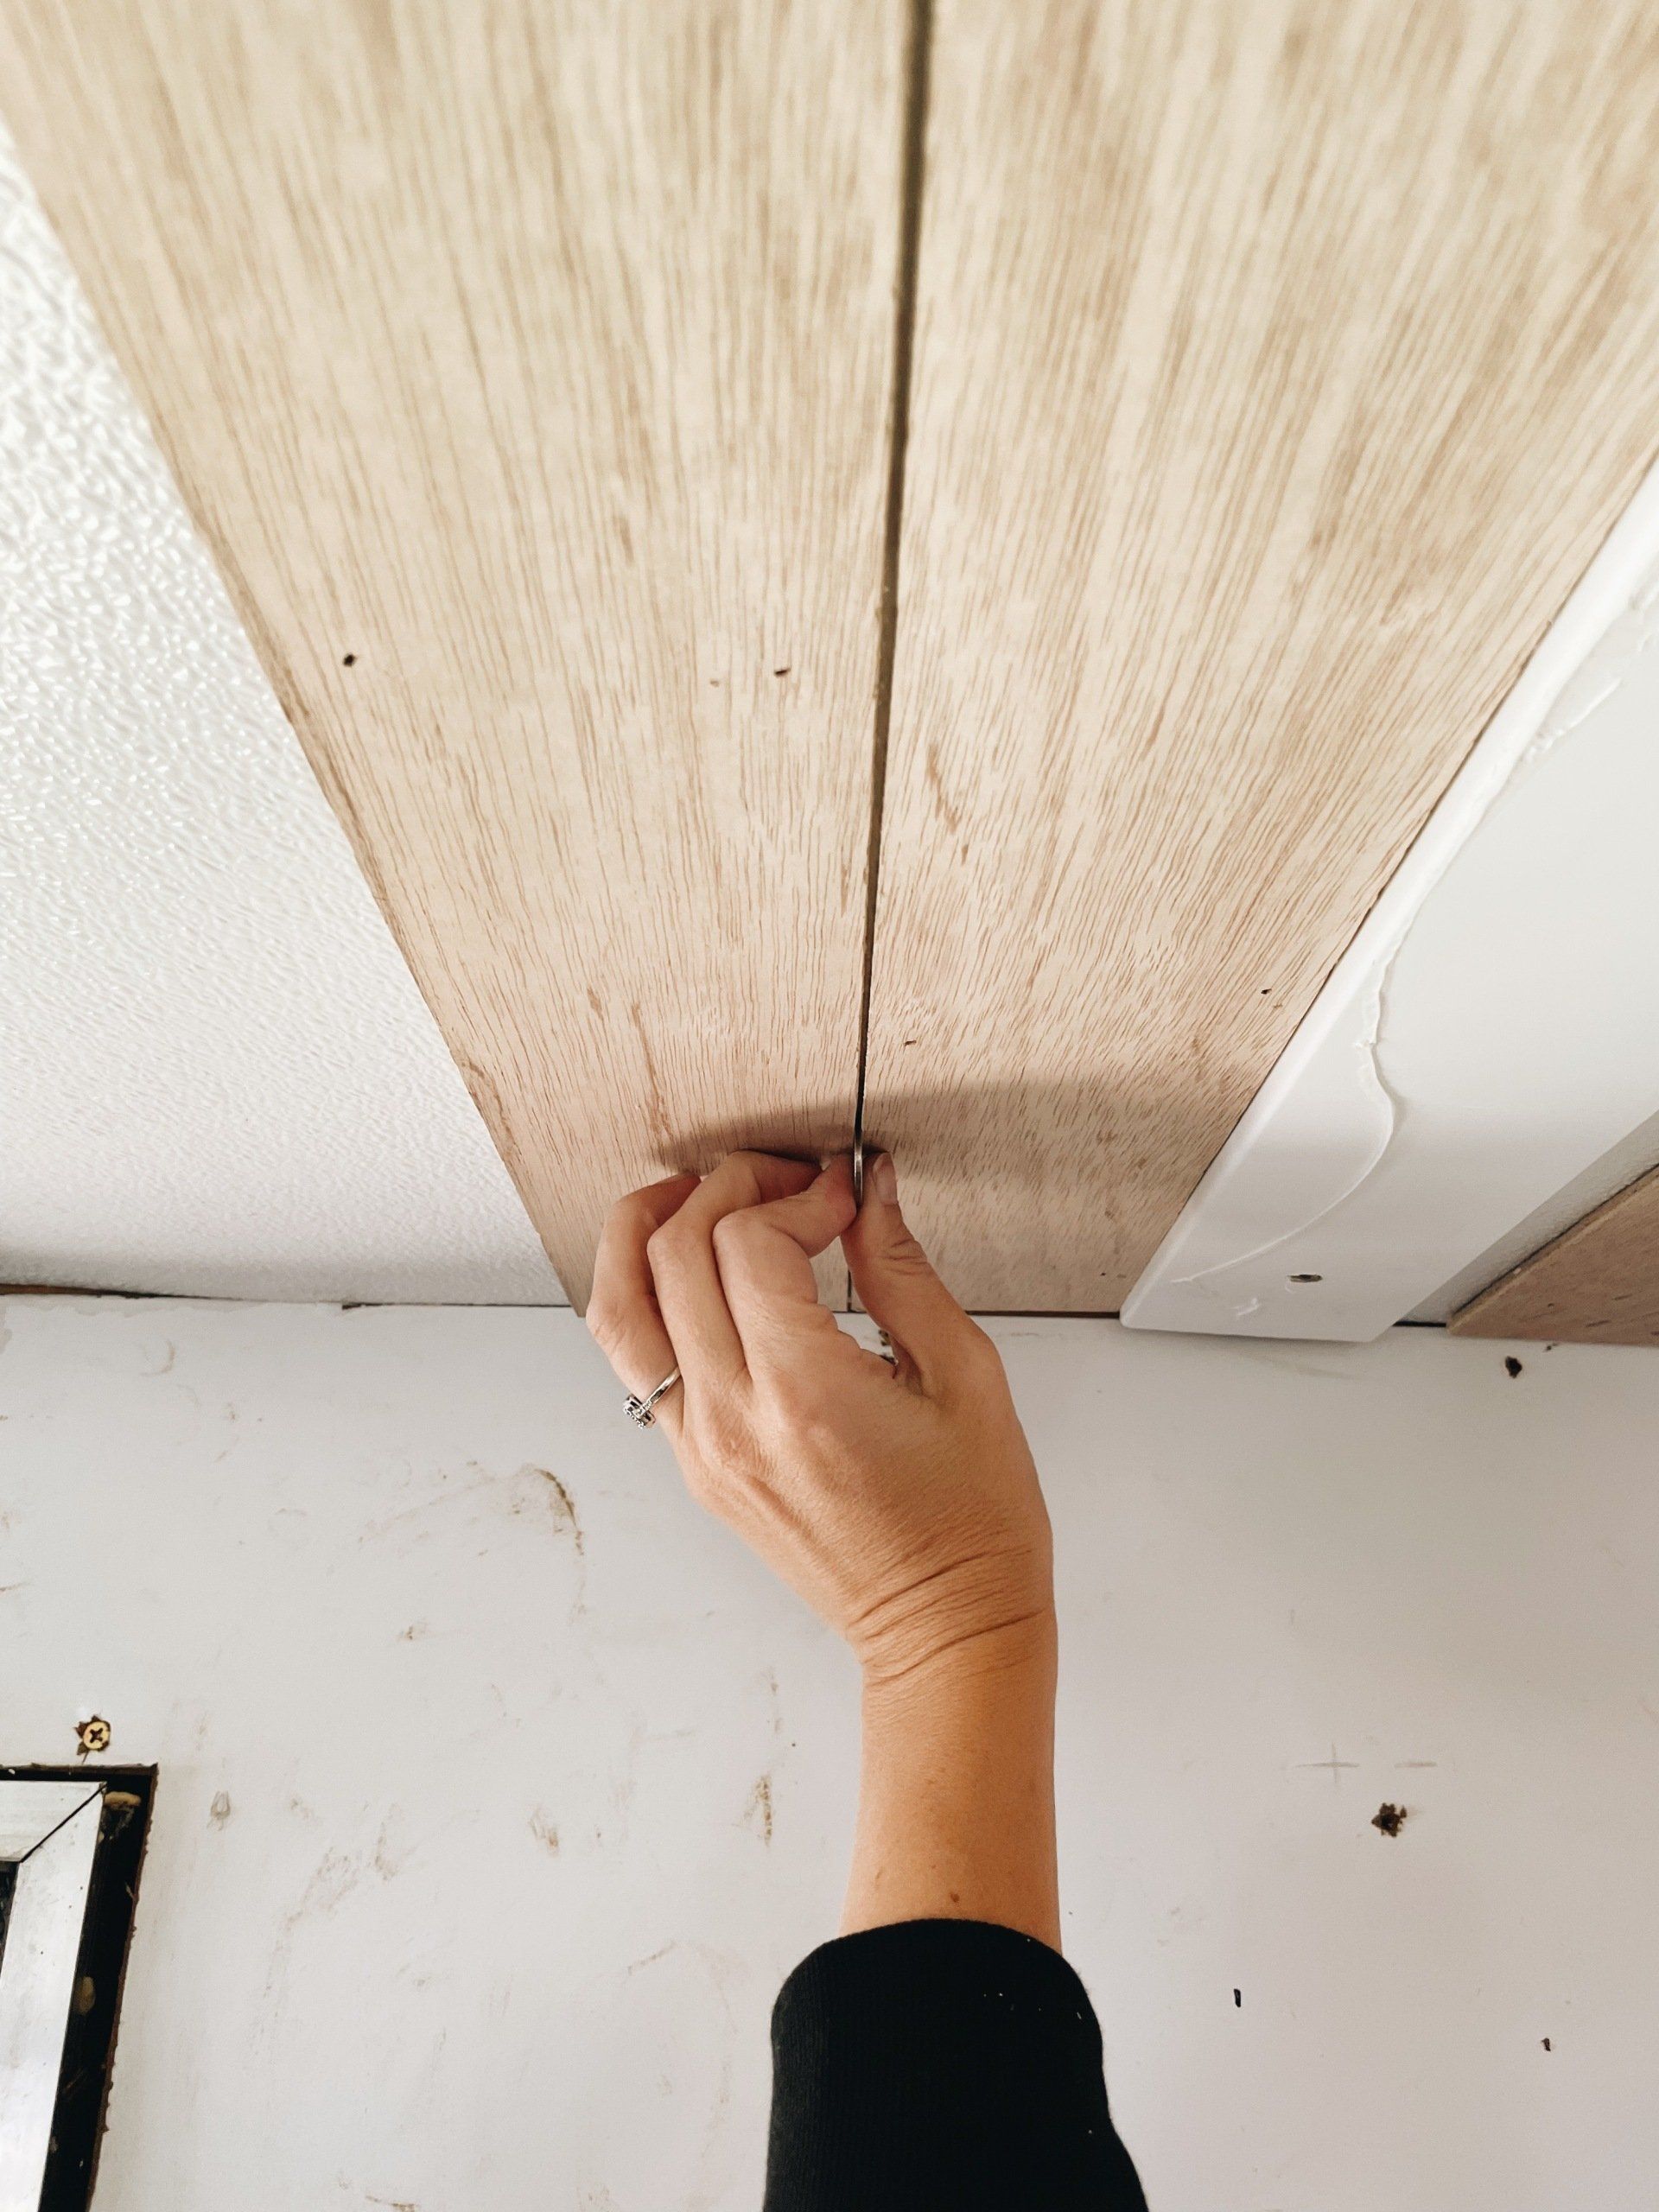
6.) Cordless Air Nailer. It doesn't have to be anything fancy! Cord air nailer works just as well. The cordless just makes it easier to maneuver around. Tip, Make sure you get the correct nails for your nailer. Since I was only nailing 1'4" plywood, I used 3/4" nails in the camper so I don't hit any wires but I will usually use 1" nails in my house.
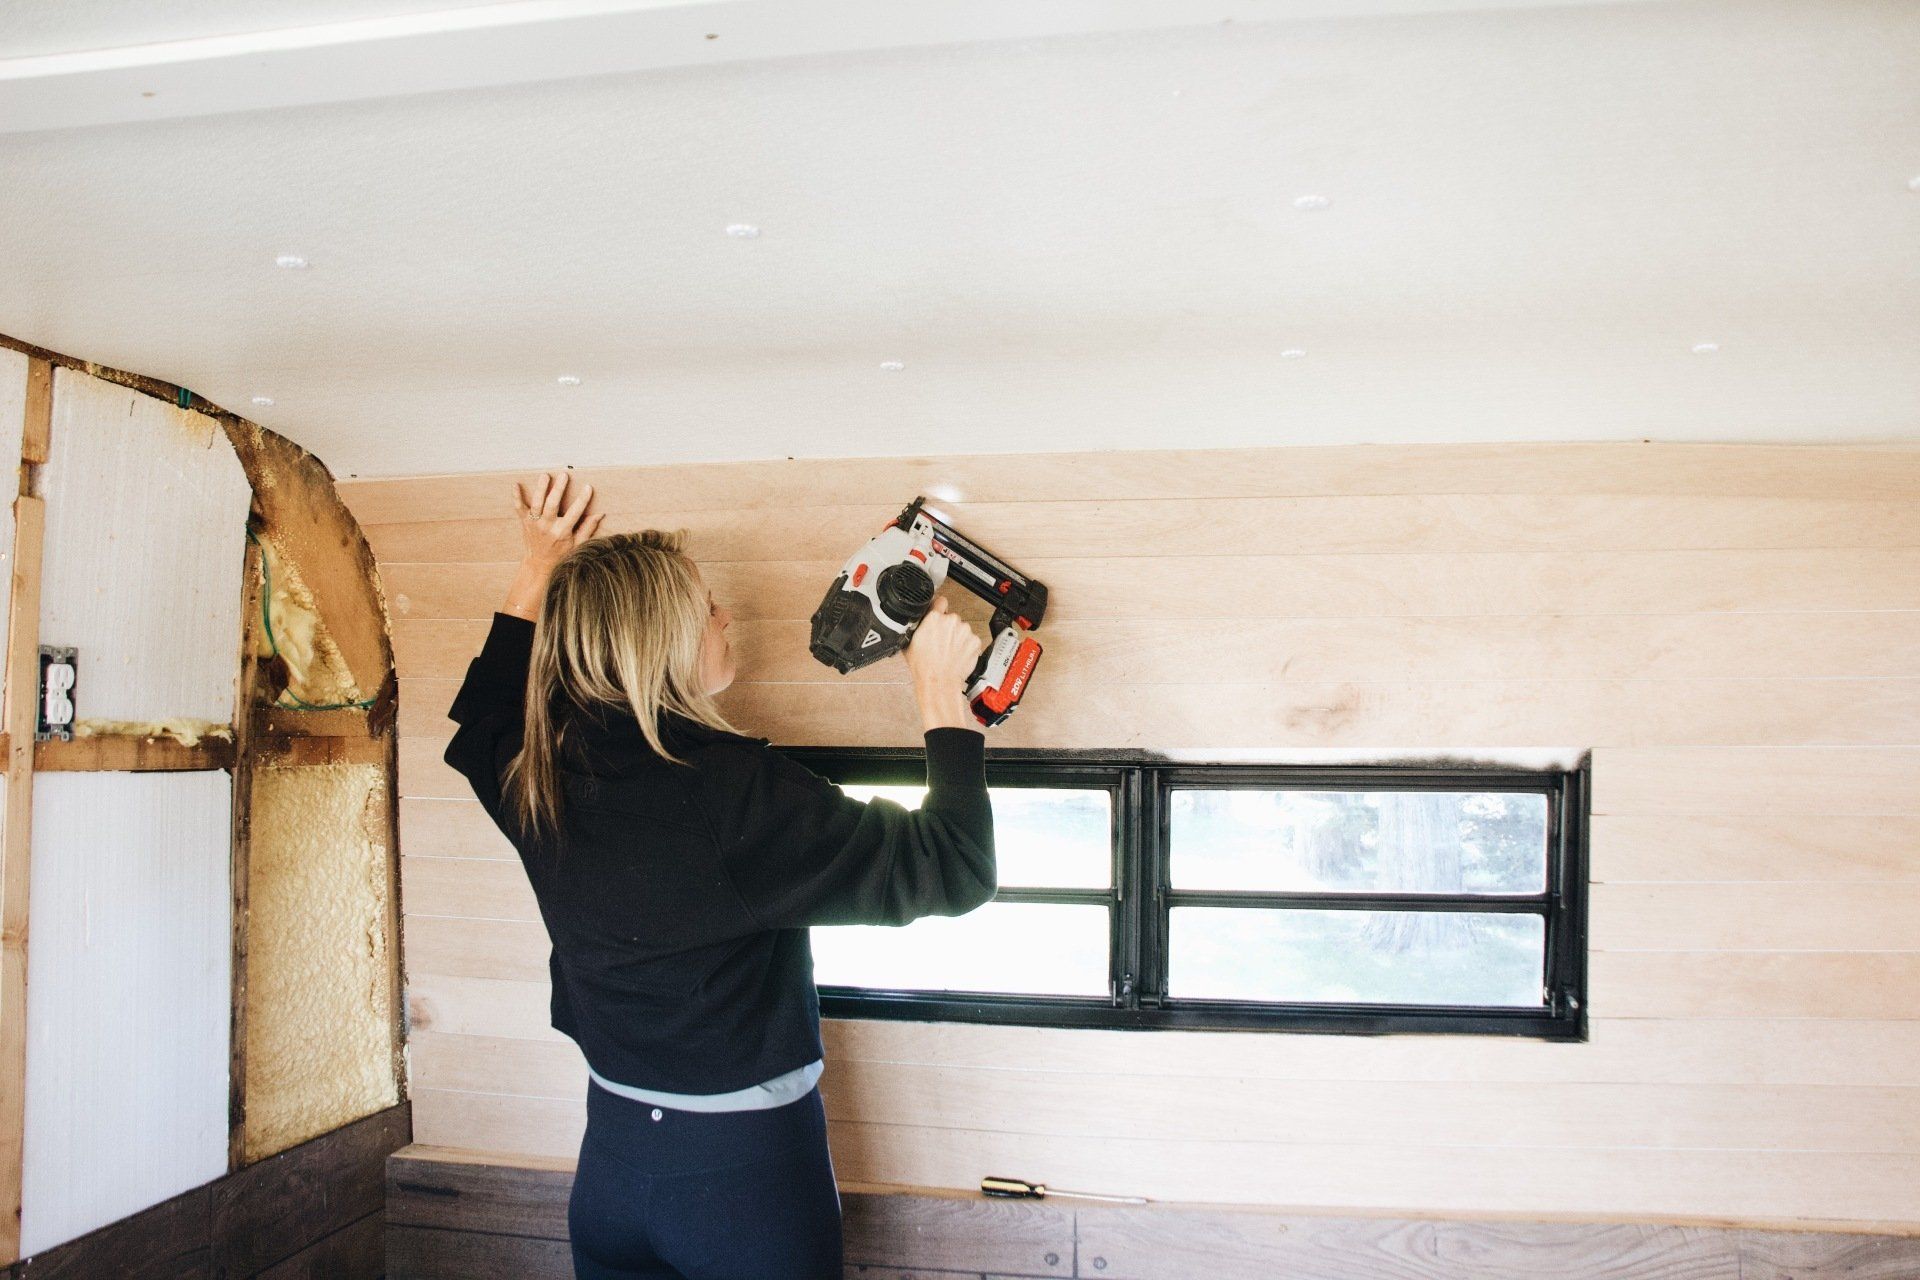
Also, you will need a Jig Saw for outlets and anything else that is already permanent in your wall.
I put a nail about every 10" top and bottom.
7.) Once everything is nailed if I want a nice smooth finish I go in with nail filler to fill in the nail holes. Doesn't have to be perfect just to makes it look a little bit more seamless! But many times I leave the holes, the paint fills in most of them and it gives it a little bit more of a rustic look if you don't.
That's it! And your off to do it many, many more times LOL.

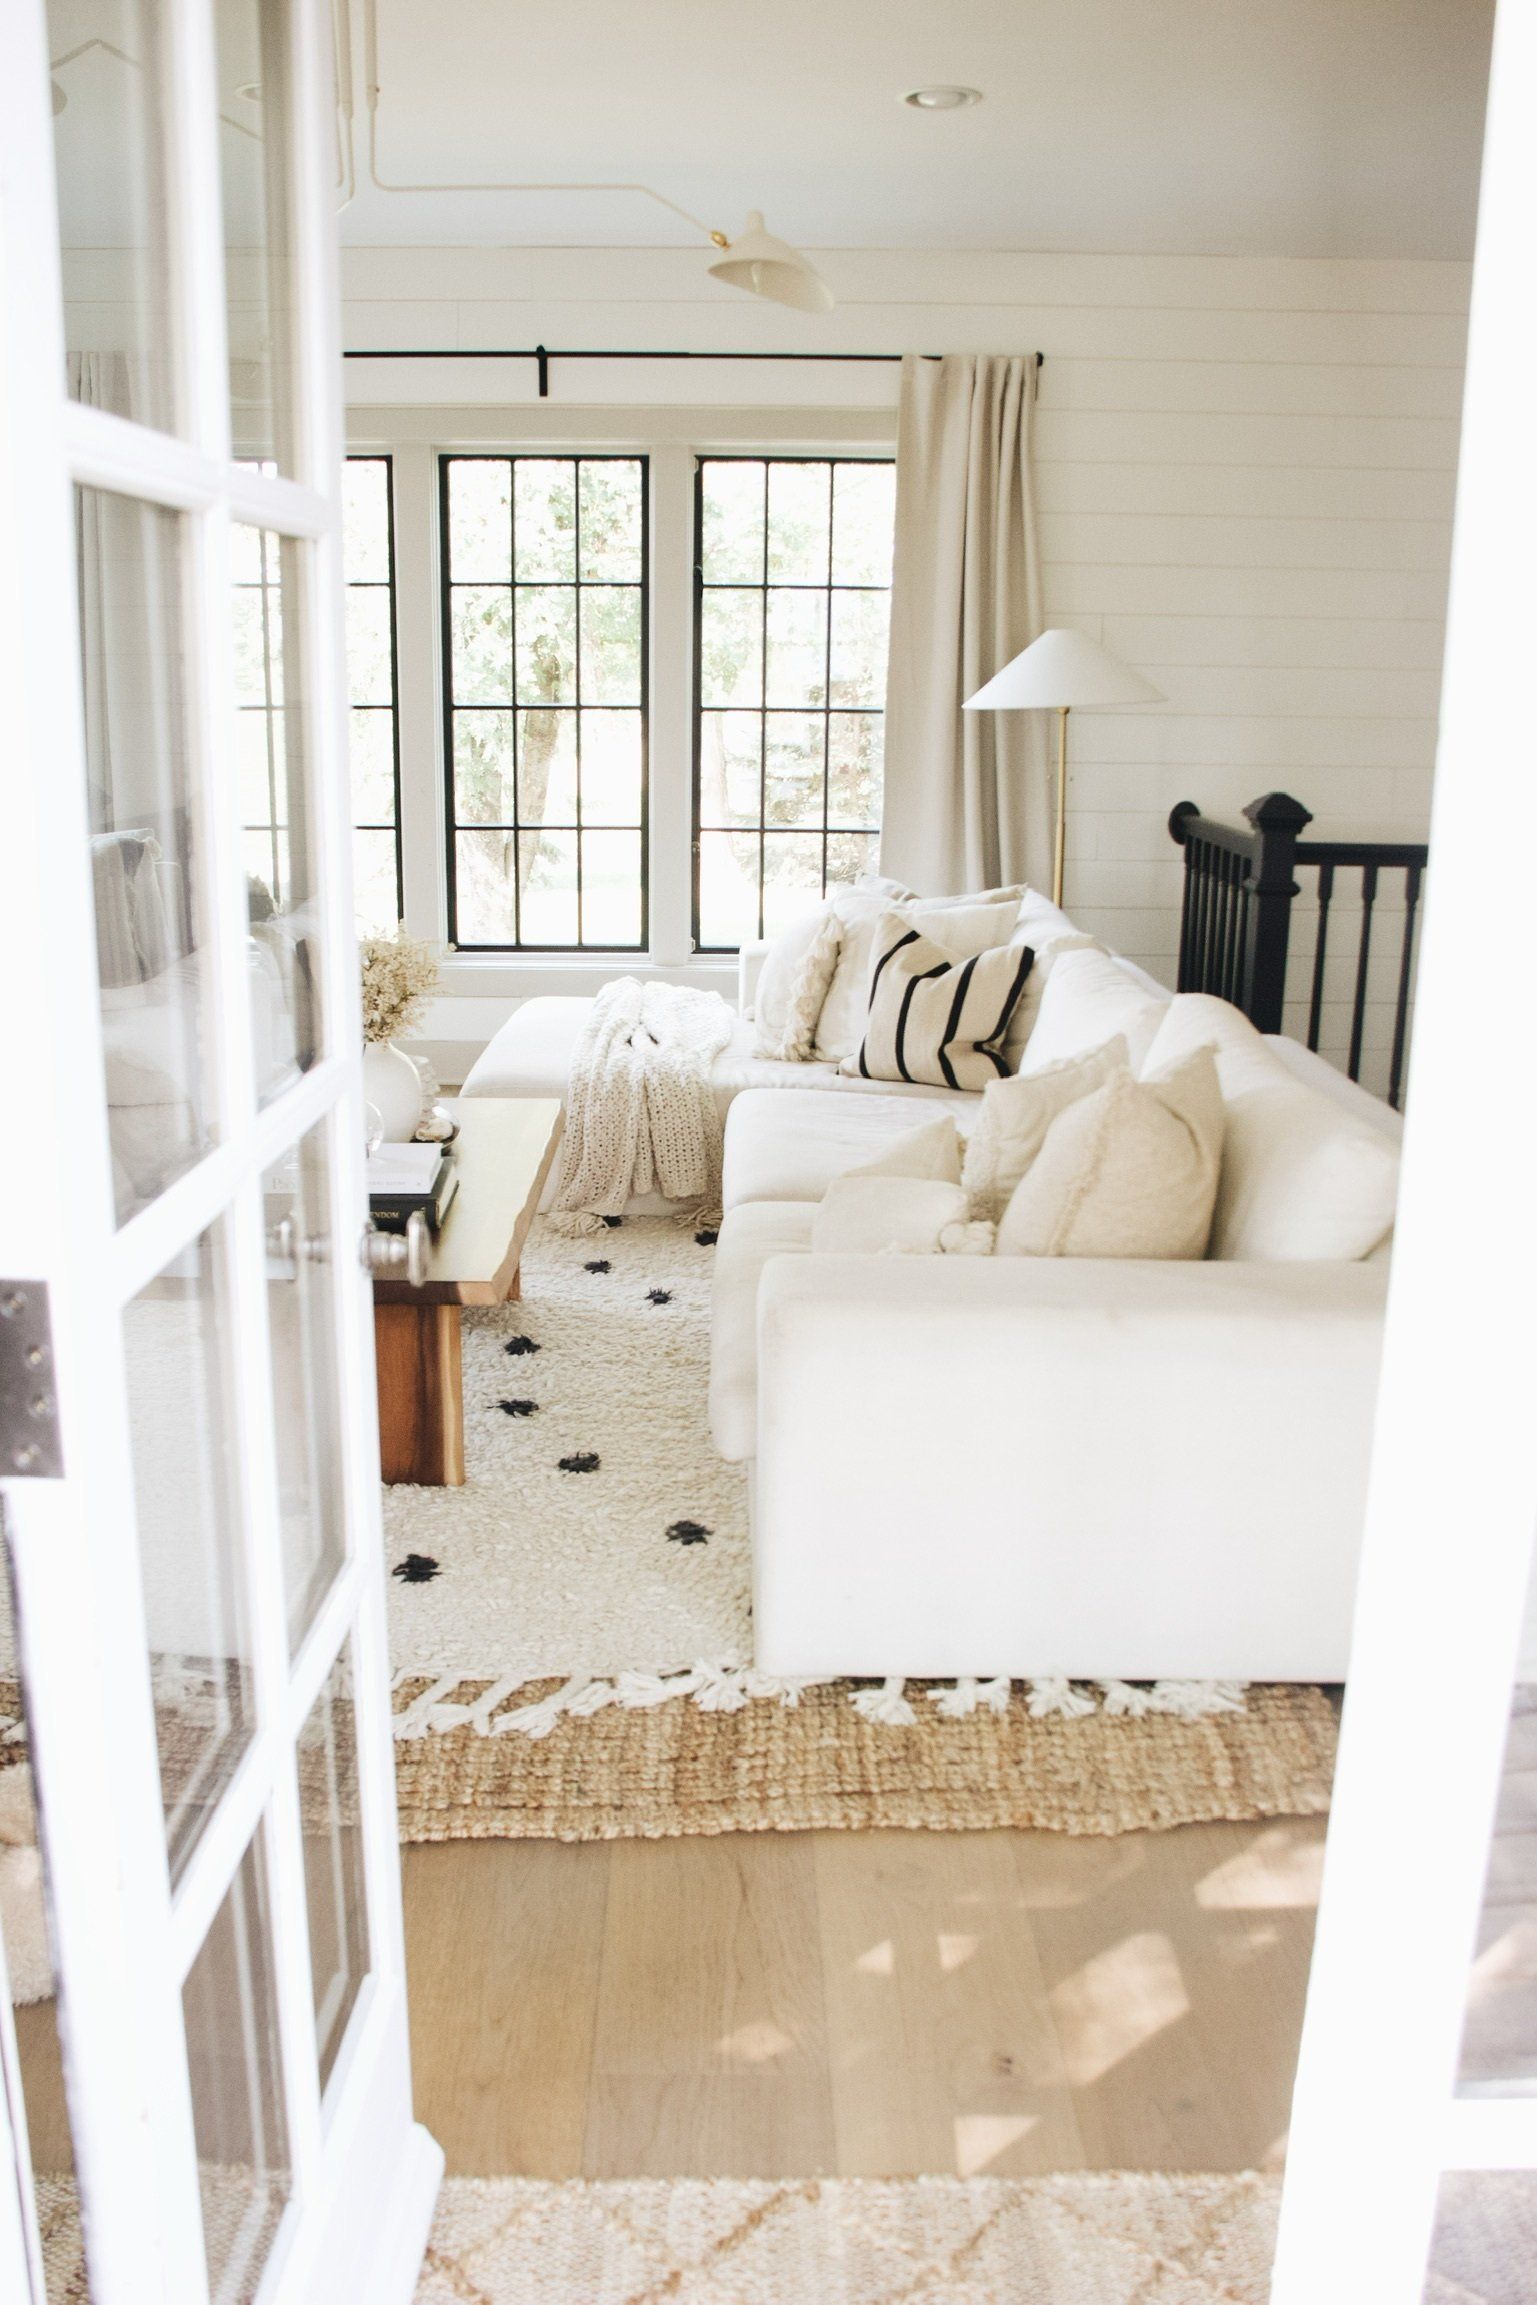
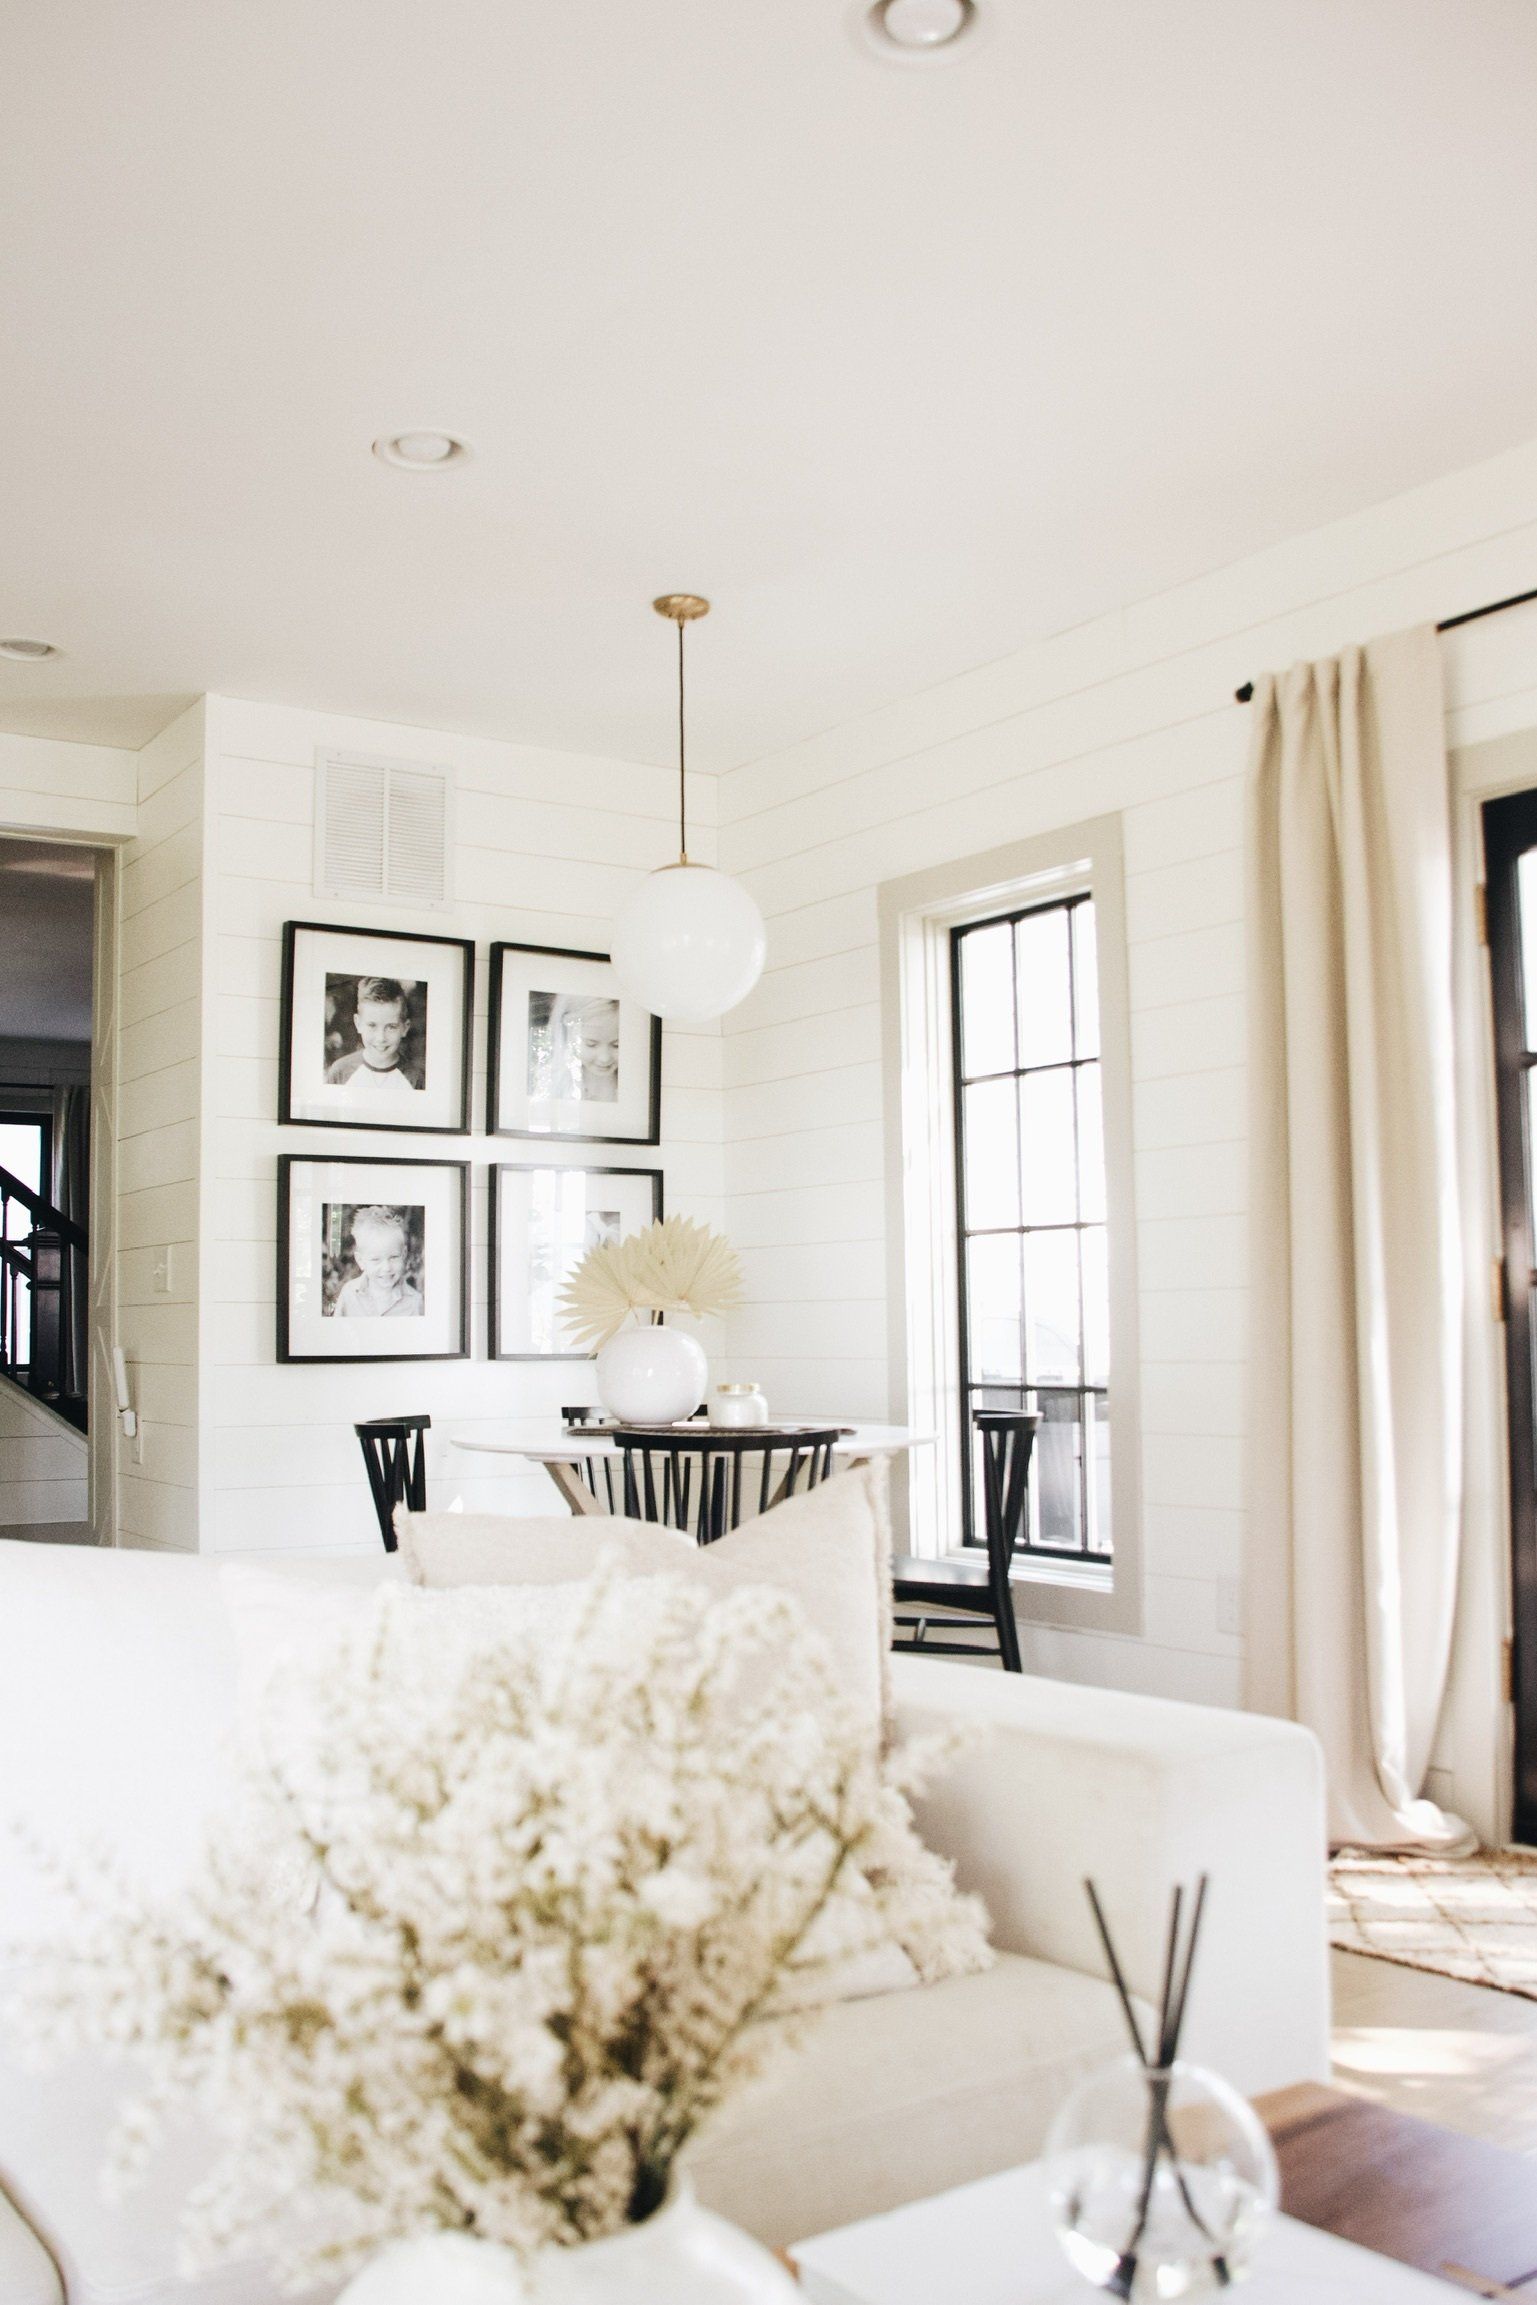
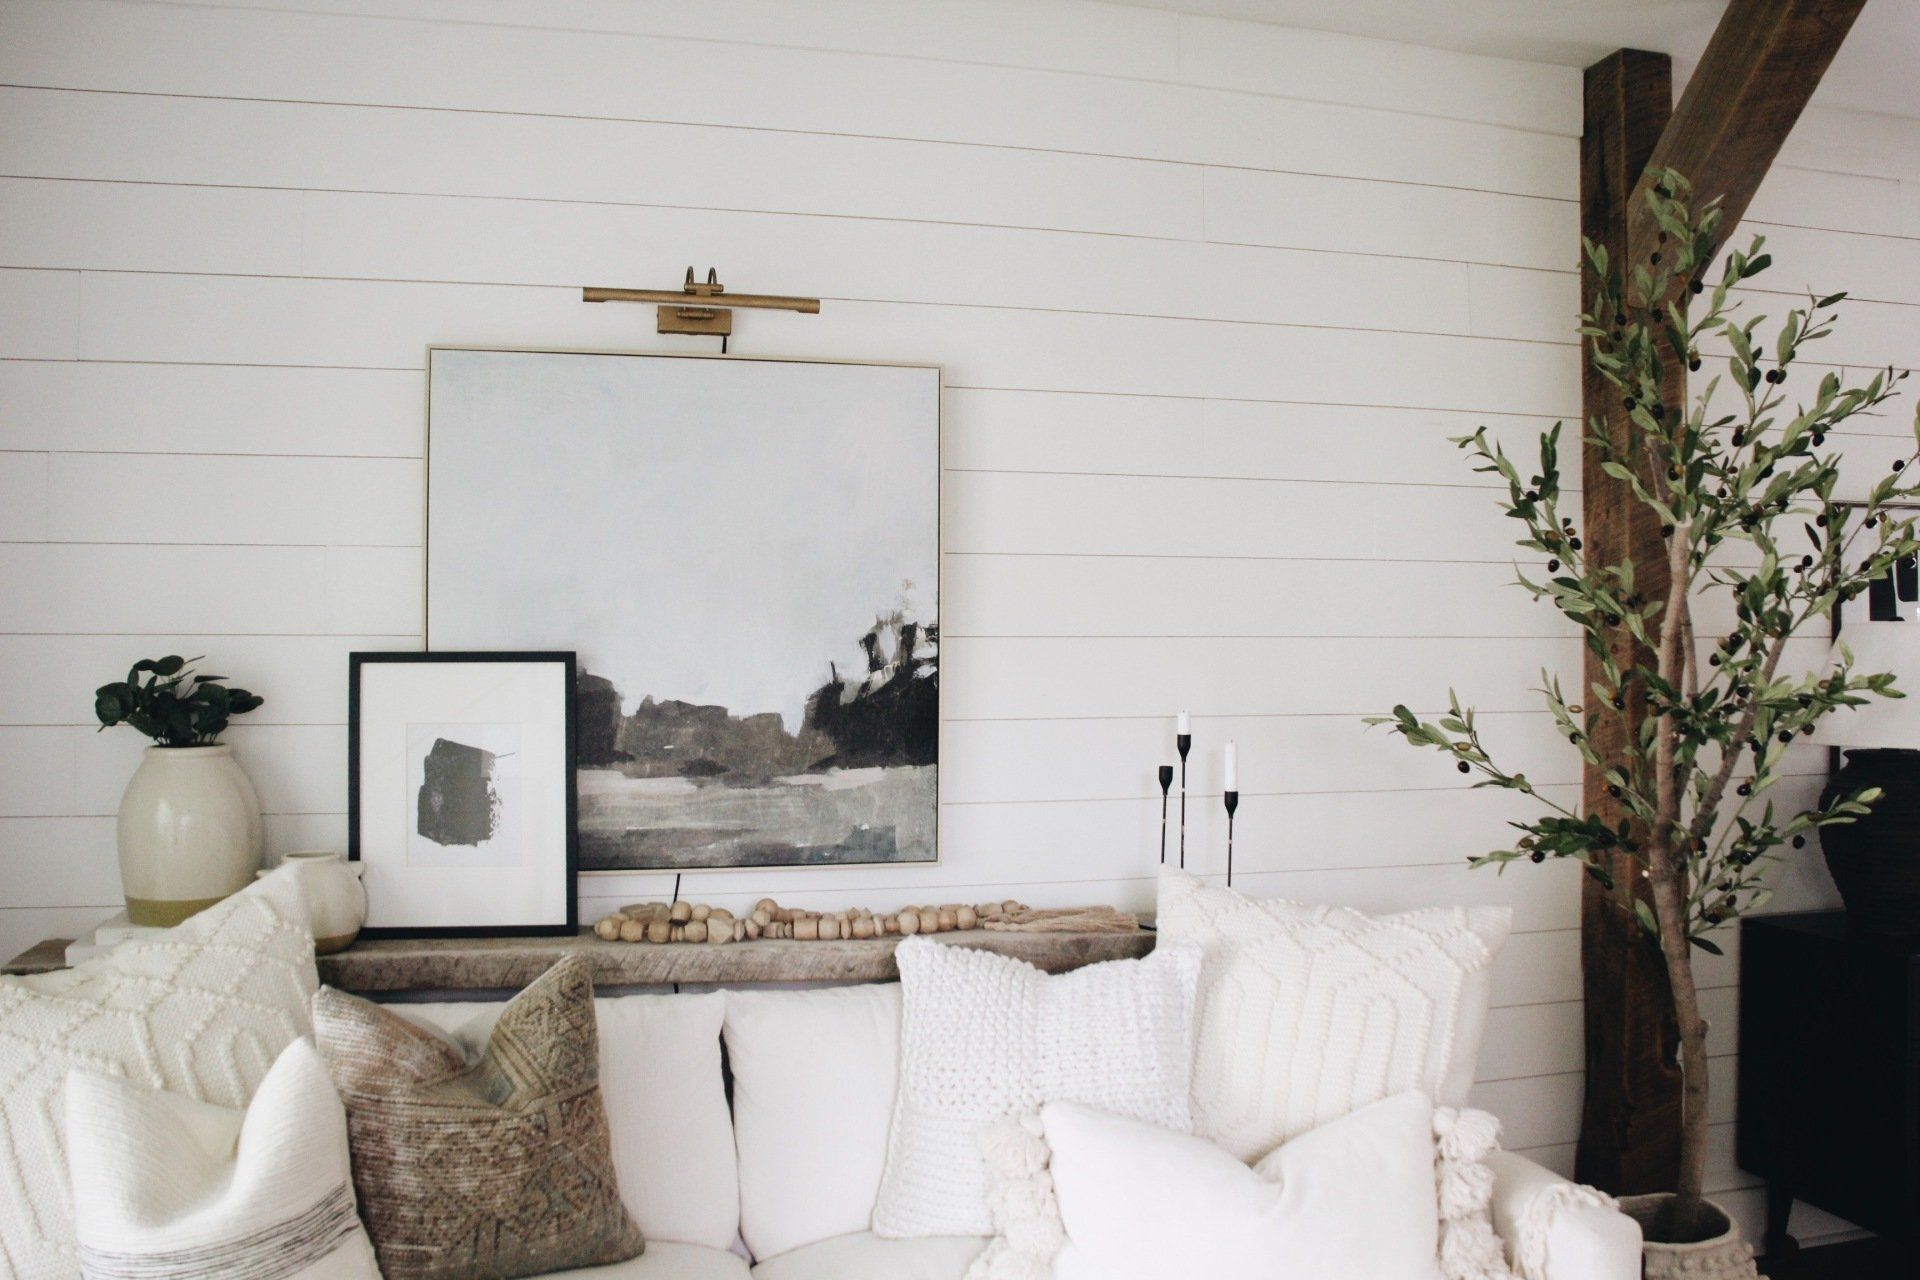
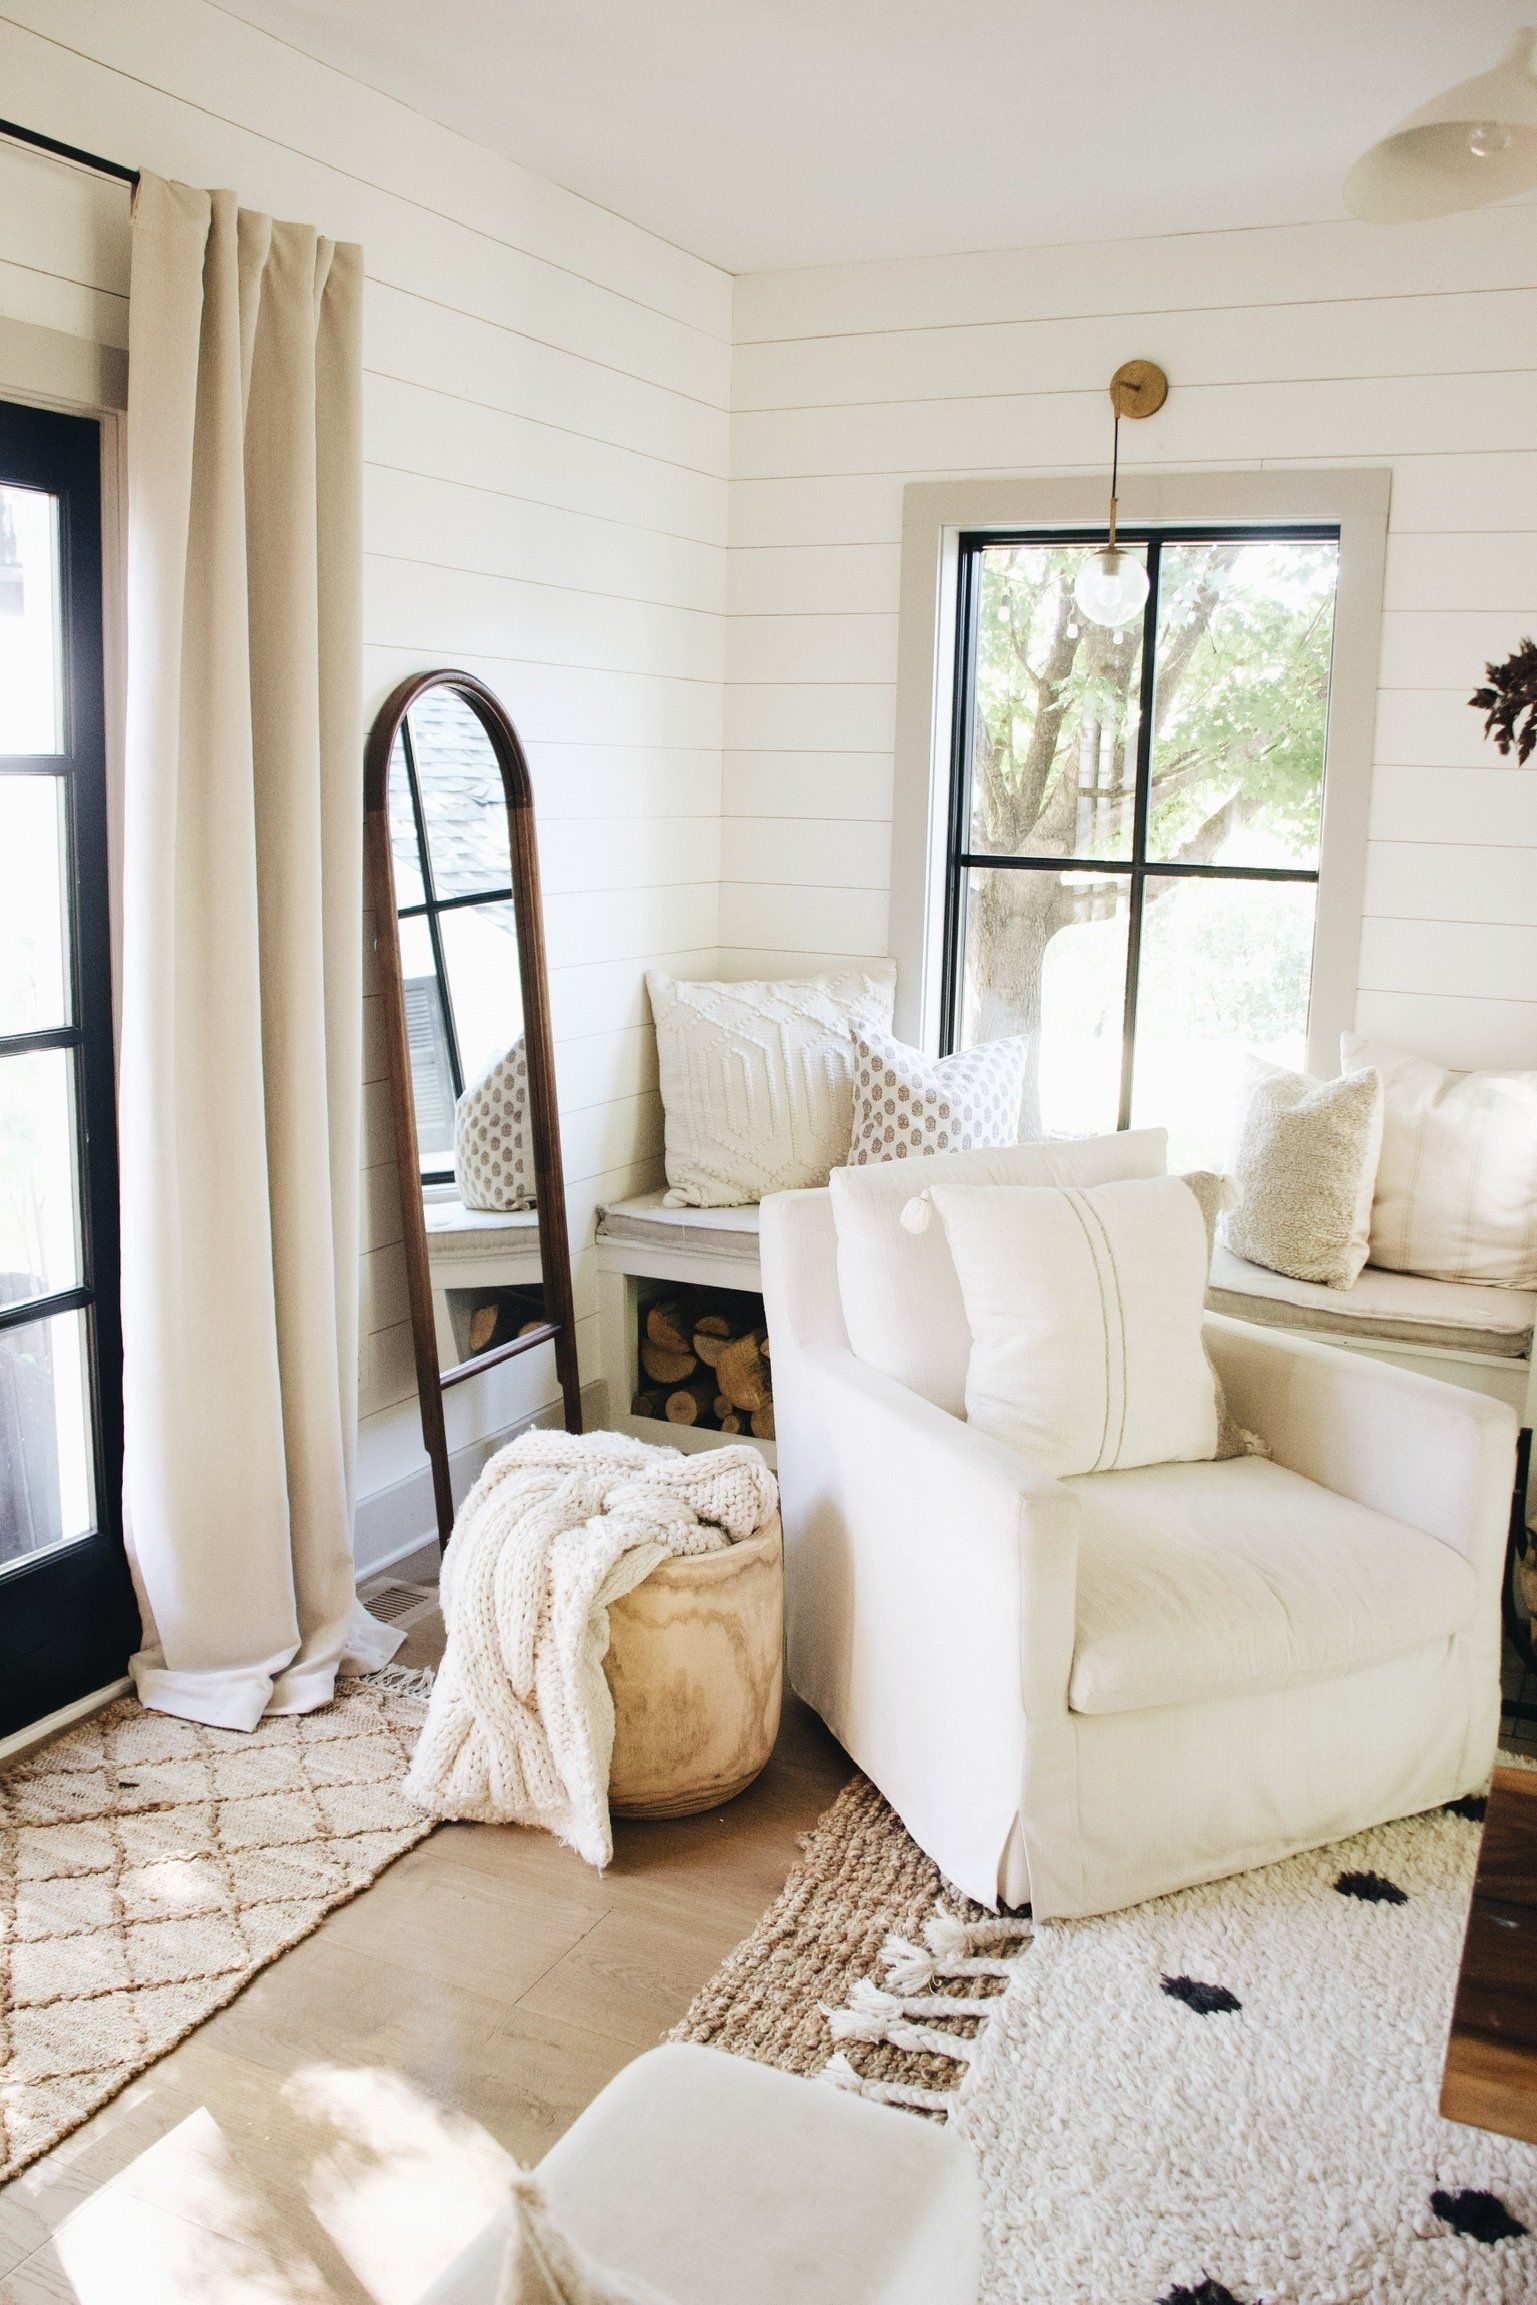
Here are some of the rooms in my house that I used this method!
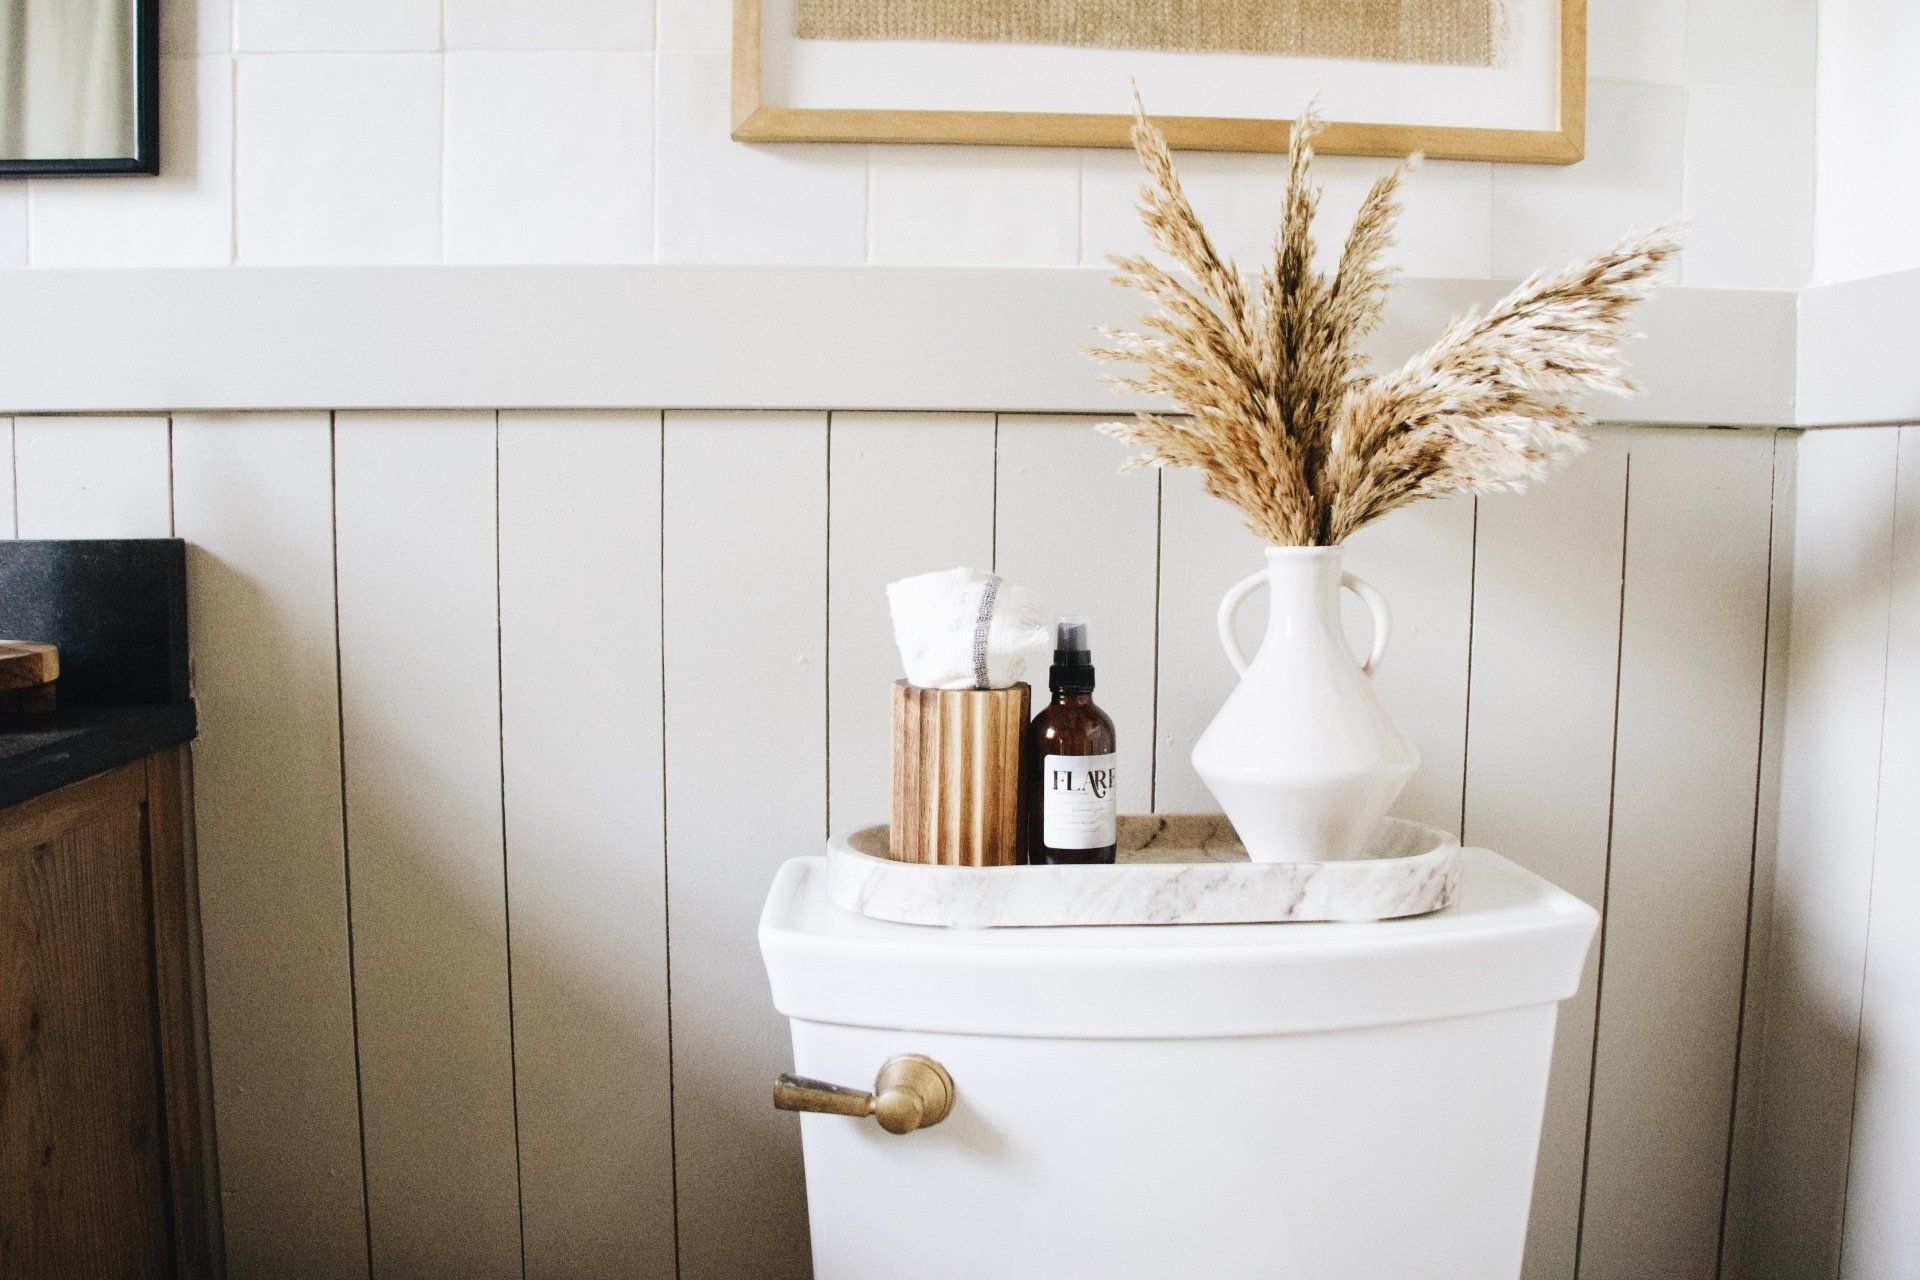
Main floor bathroom I used smaller stripping, 3 1/2". Bathrooms or smaller spaces are fun to take the sizing down a little bit to add more texture.
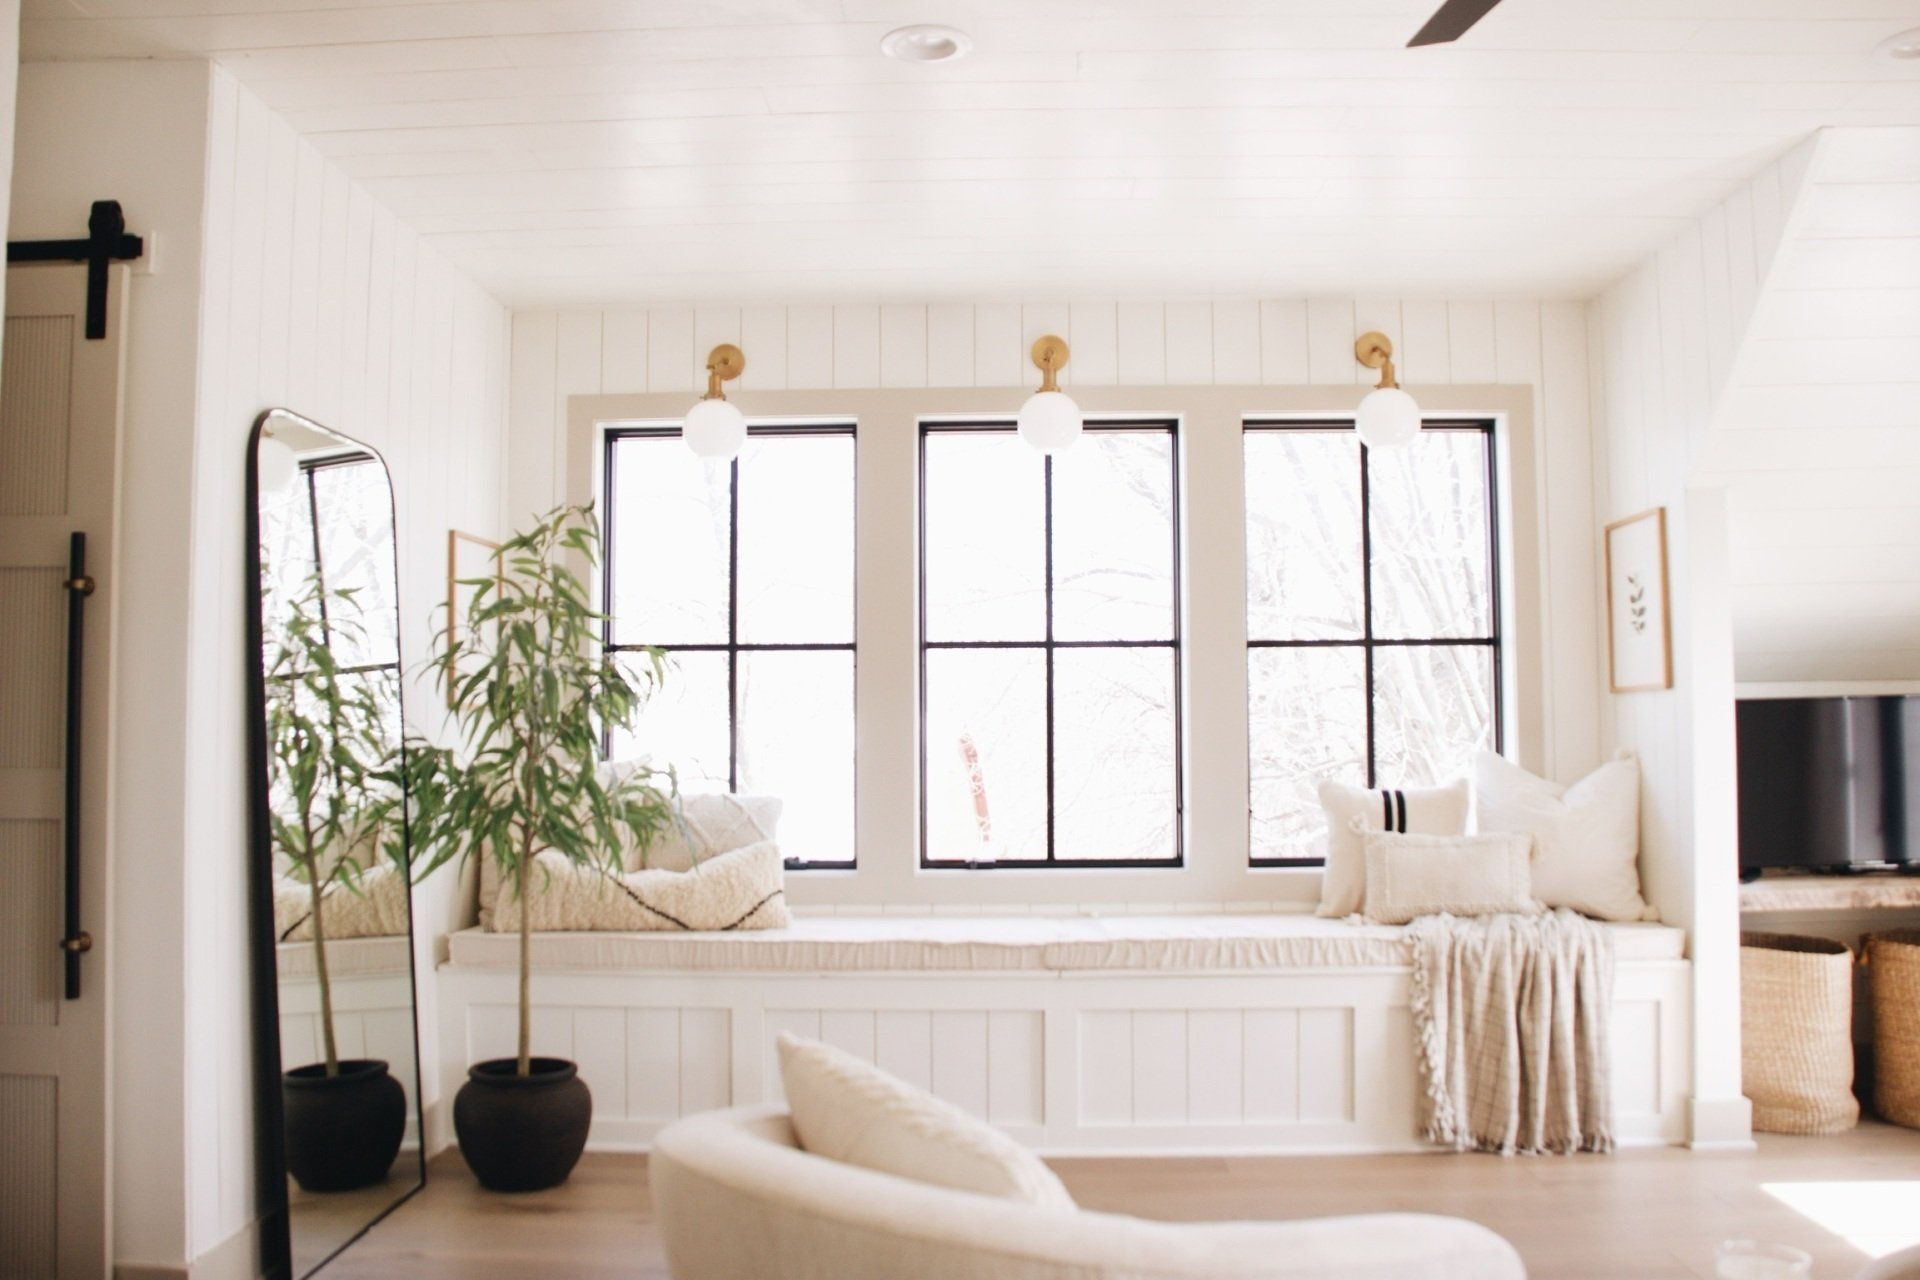
You can see in this photo I even having it on my Master Bedroom ceiling! Yup because why not!
I love switching it up with horizontal and vertical laying.
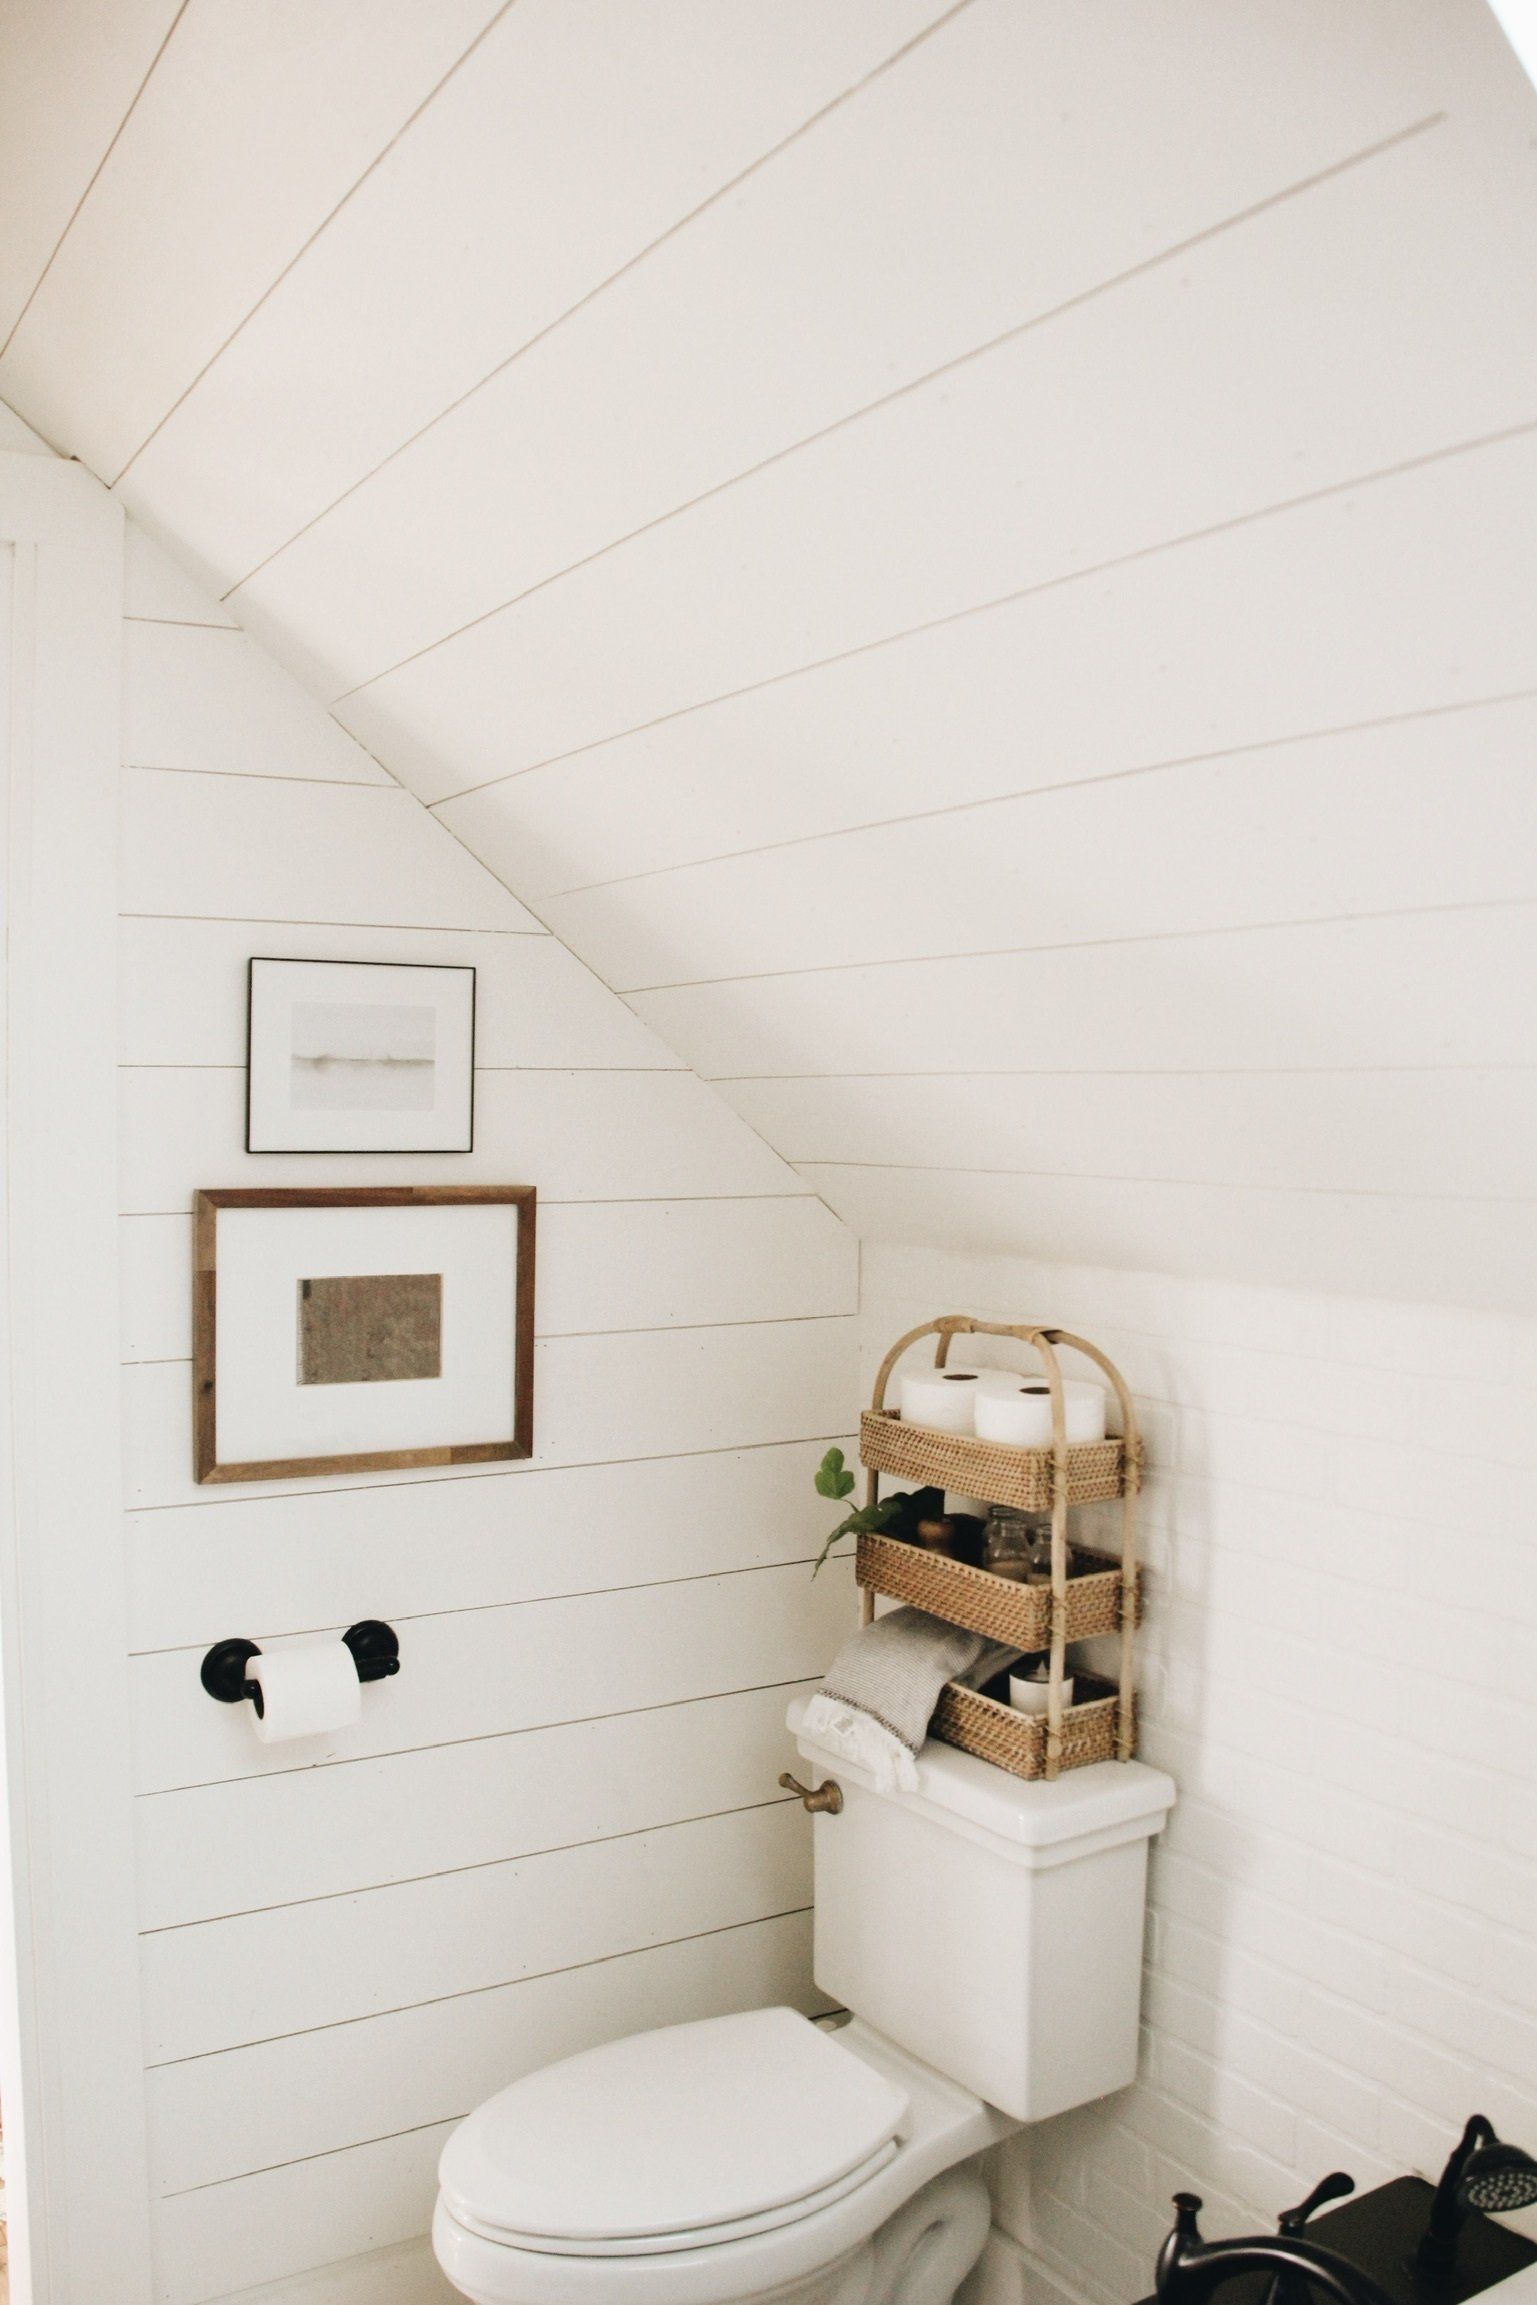
Okay, Yes the master bathroom has it floor to ceiling too
Oh shiplap how my heart just loves you!
Happy shiplapping friends!