Open Shelving
A small disclaimer to start that there will be a lot of pics in this post:) So keep scrolling:)
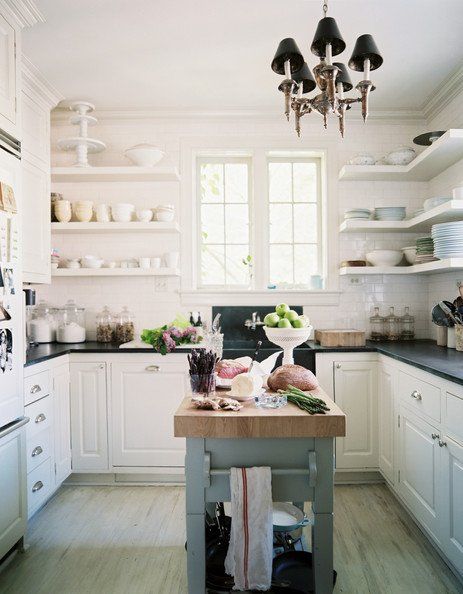
For the last six months I have been drooling over pictures like these…
source
and this..
source
and oh, this..
source
You get the picture:) I was LOVING the open shelves concept. My mother told me I’m crazy, who wants to dust all that? She’s learned
a few things in her years. I’m still young and stupid so I said I didn’t care;)
I tried to “break” it in gently to the hubby that I was thinking about this and he said absolutely not. We are NOT going to be changing everything around here every year. Why not??
Needless to say, I got shot down. So what does one do when they get shot down but are still in love?? Find a solution that is next to free that will satisfy you and keep “somewhat” peace with the hubby:) That’s what I did.
I came across this most amazing product in Menards. Paintable bead board wallpaper. GENIUS! For $12 you get a huge roll of wallpaper that is textured and seriously looks like the real deal. So, allie’s thought process went something like this. I could take the doors off of my cabinets, but I don’t want it to just look like I took the doors off of my cabinets:) If I put bead board inside maybe it would look a bit more intentional. For $12 heck yes I’ll try….if nothing else I’ll have cute insides to my cabinets:)
So, our cabinets started out looking like this…

hmmmm….not too pretty
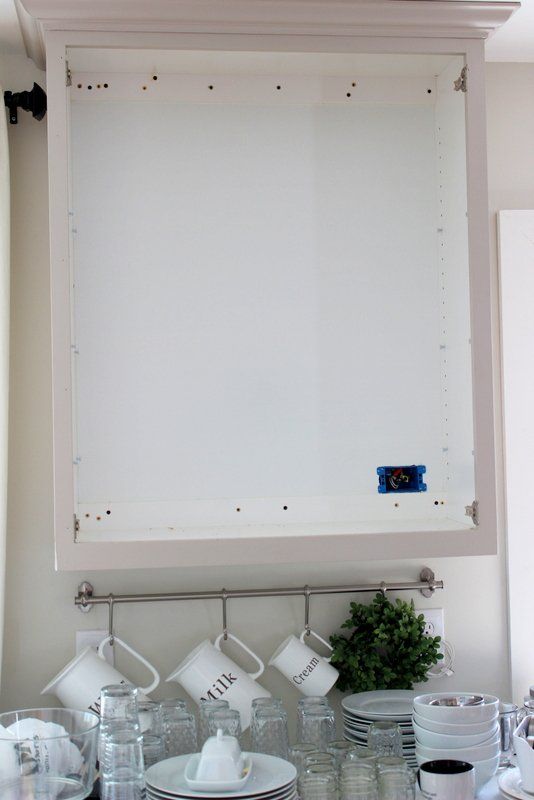
You can see Ry’s 100 attempts to find a stud to screw the cabinet too:) And we also added that little junction box for our under cabinet lights. Oh how I do love those:) So, the bead board wallpaper was going to make this guy look a little cuter!
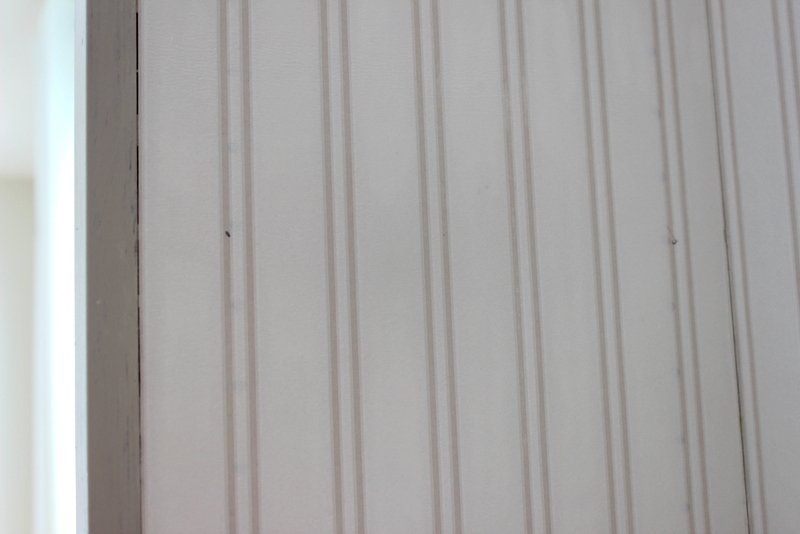
First for wallpaper you want to cut your piece to size. Then you soak it in water for 5 seconds.
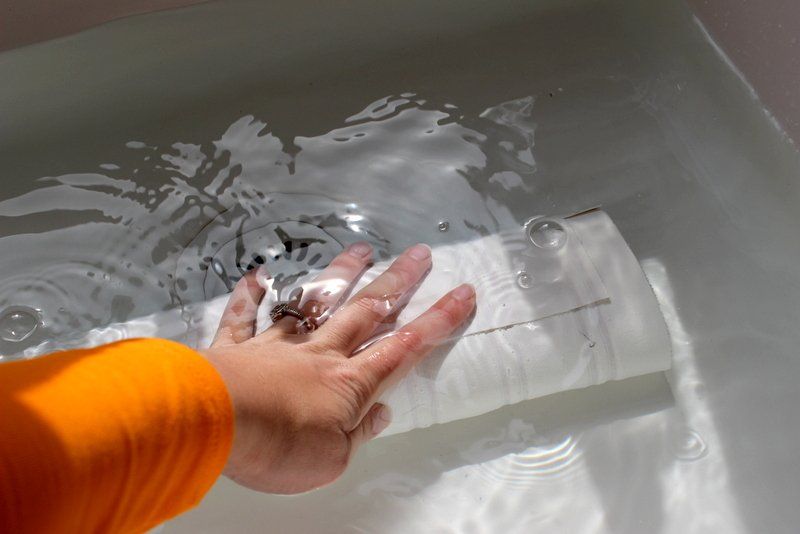
Then you fold it into itself so the adhesive backing doesn’t dry out. You need to let it sit for 10 minutes before you hang it.
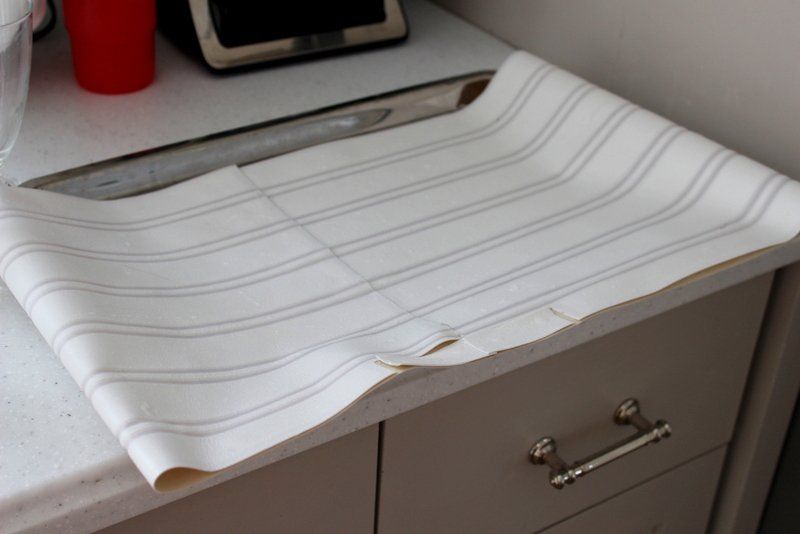
Once the timer goes off it’s ready to hang!
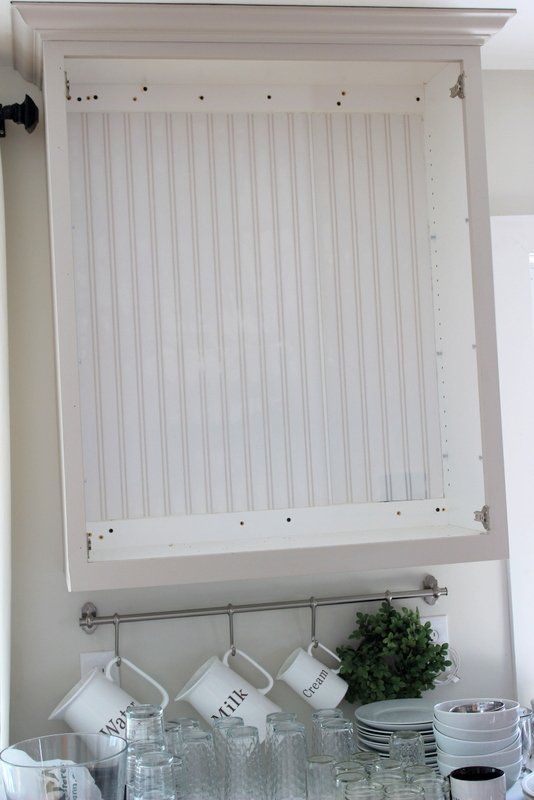
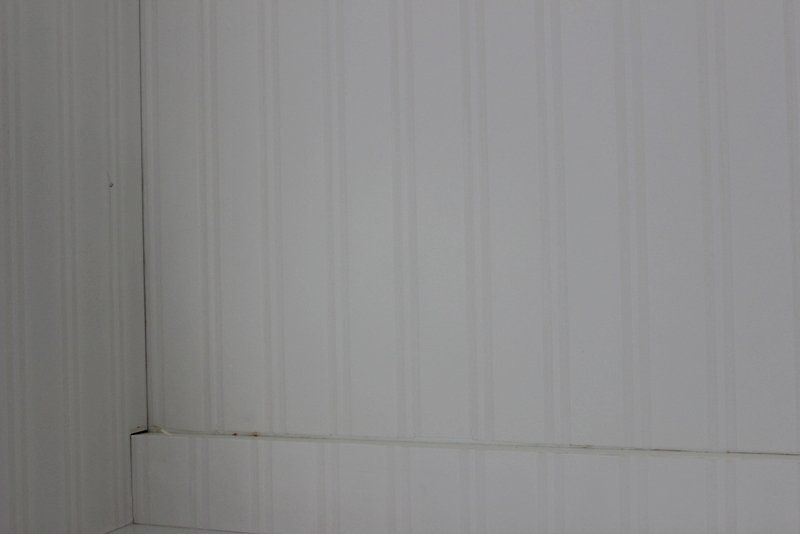
I did the back first, and just covered right over that junction box. Then I did the boards on the top and bottom…
Looks much cleaner already. I must say that although I do like the look of the darker stripes, that’s only because it’s wet. They will disappear when it’s dry. One other thing to note, you are going to want to mark where the holes are for your shelves to go so you can re-insert your shelf holders without making too many marks in the wallpaper.
I just took a drill with the drill bit on to open up the holes once it was dry. It didn’t tear the paper at all.
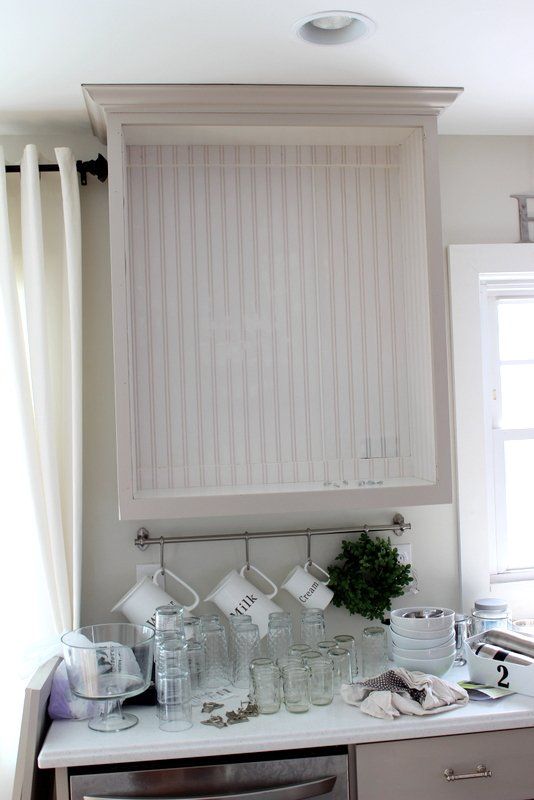
I had to let this dry over night before I could paint it. You will be able to tell it is dry when all the dark lines disapper:)
This is how it looked dry…
Paint will help to fill in all the cracks nicely.
I taped off the bottom of my cabinet and started painting…
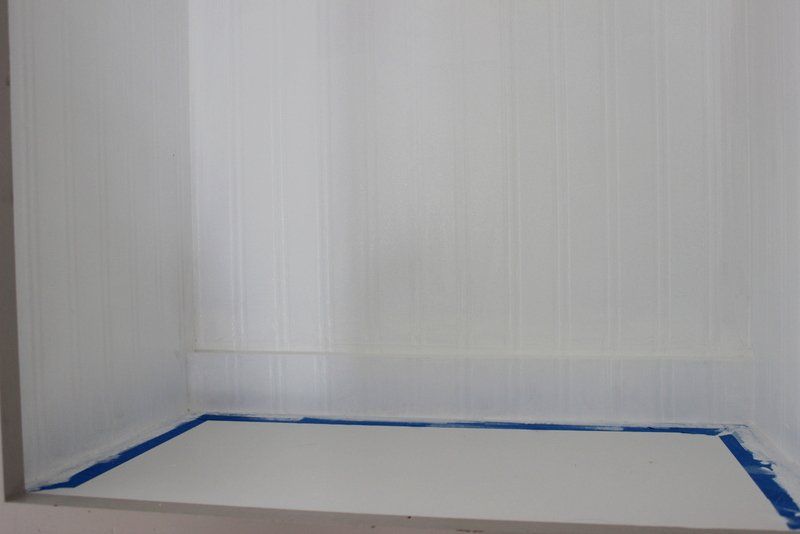
This was after the first coat. It actually took me 3 coats:( Ick. But the wallpaper is almost a little foamy, which gives it the texture, and also soaks in the paint:)
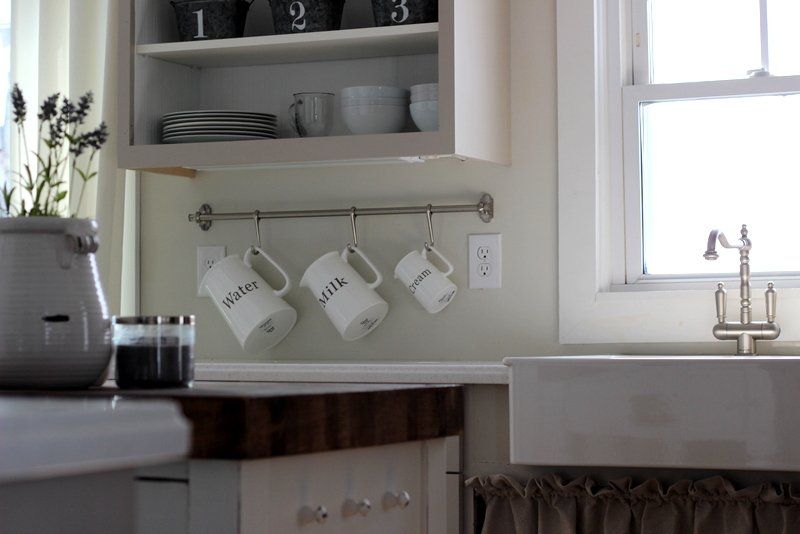
So, after it dried I drill my holes and put my shelves back in place. Here’s the final product.
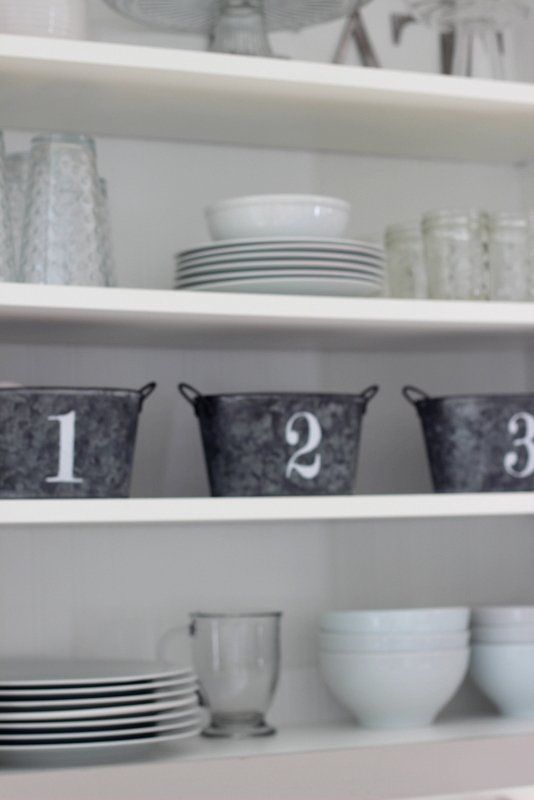
I got those cute little galvanized tubs on Pick Your Plum, as well as the metal EAT sign. I stenciled on the 1,2,3 real quick before I put them in:) Also, I do have more than one coffee cup:) The dishwasher was not emptied yet…SHOCKER!
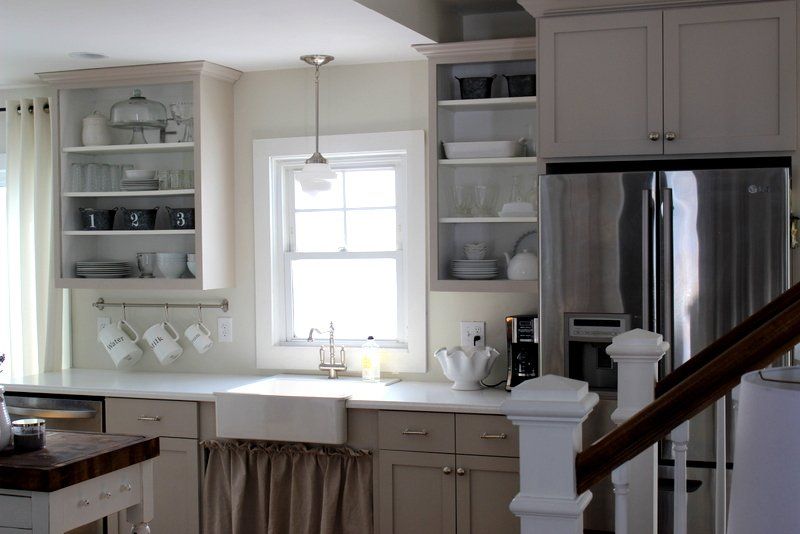
Living room view
I know your wondering…what did the hubs think? Well, he was a little upset he couldn’t find the toaster:) But other than that he was good with it:) I told him how practical it was to not have to open doors to get a cup. One less step babe. I’m just looking out for you here:)
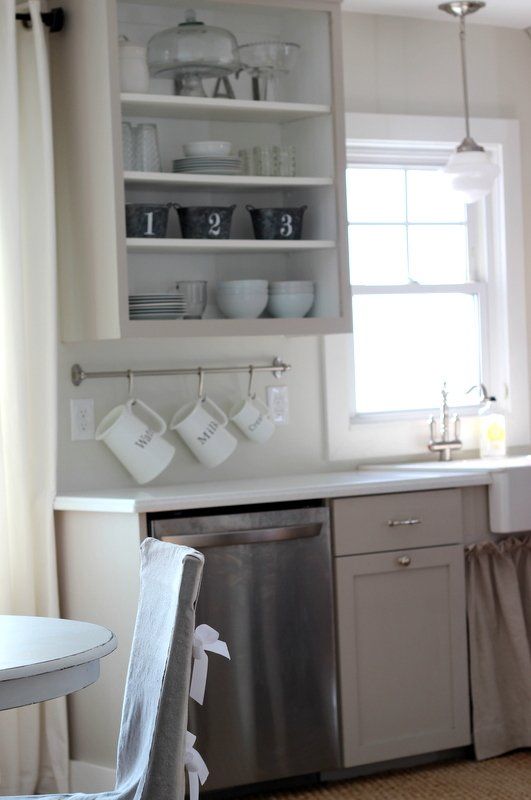
I’m a sucker for white dishes! In reality though, most of these dishes actually were in these cabinets! I only had to find a new home for the toaster, and a couple other things:)
So, here was a picture from the kitchen before…
Since I did this I have painted the front of the shelves gray to make them look a little more intentional as well. I like it a tiche better.
I have gone to close the doors a few times since taking them off, but I’m sure I’ll get used to it. It does make unloading the dishwasher much easier:)
One last thing, if you follow me on instagram you have already seen another project I did in here to change it up even more!
*giddy
I love diy!!
and cheap projects!