Tiling 101
1st Disclaimer: I do not proclaim to be an expert in this field. I will tell you that I was just an ambitious girl that wanted to try tiling instead of resorting to peel and stick tile again. So, if you find yourself in the same boat, you may want to tune in.
These are the things that I learned while DIY-ing.
1.) You are probably going to need a strong man in your life to help with the durarock, which is the cement underlayment for the tile. I could not do this part on my own.
2.) After the underlayment was laid, I you tubed videos to see “how-to” tile. One example is this
3.) I then proceded to Menards to find my supplies. If you are tiling a bathroom floor you will need mortar, grout, tiles, trowel, sponge, sealer, tile spaces, and a squishy padded flat trowel…not sure the technical name for that:) Trowel
Mortar–They do have this and the grout in the pre-mixed option, which is 1.) more expensive, and 2.) I heard it takes a lot longer to set up. I would mix my own. A few words to the wise about this. I just followed the directions on the back of the bag and almost ruined the whole bag and did burn up a drill. Yep, husband was not happy. Here’s what I would do. Add a little mortar in a 5 gallon pail and add water. The consistency should be like peanut butter. I had to add a lot more water than what the bag called for, so go by consistency and not directions. I would have loved to known that!!
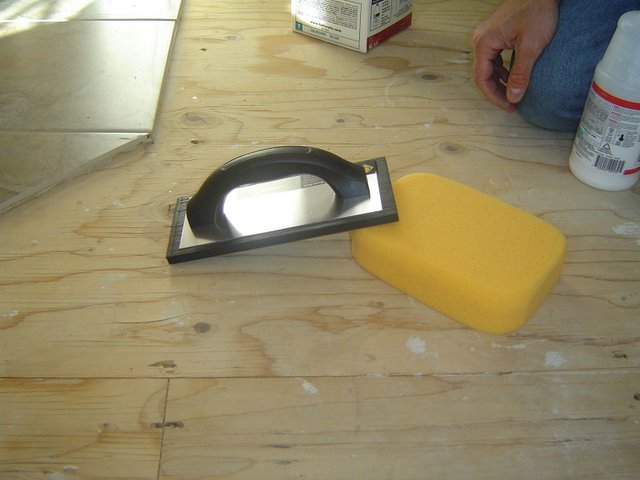
I guess it’s called a grout float. They are only about 5 bucks.
Tiles spacers, read what size you need, it changes on what size tile you use. I needed the 1/8″ ones.
and if you want to save your knees, you’re gonna want some of these! Wish I would have put them on right away!
I wish I would have taken some pics during the process, but it was a bit stressful and I didn’t stop to grab the camera. My last few tips to the ambitious is to keep a toothbrush in your back pocket if you are putting in small tile. If there is too much mortar when you push your tiles down it seeps up in the seams and then you can use the toothbrush to brush it out. If you don’t, like we may have…it hardens and then you can’t fit the grout in….bummer! Also, measure out your space before so you have straight lines to go off of when you are tiling.
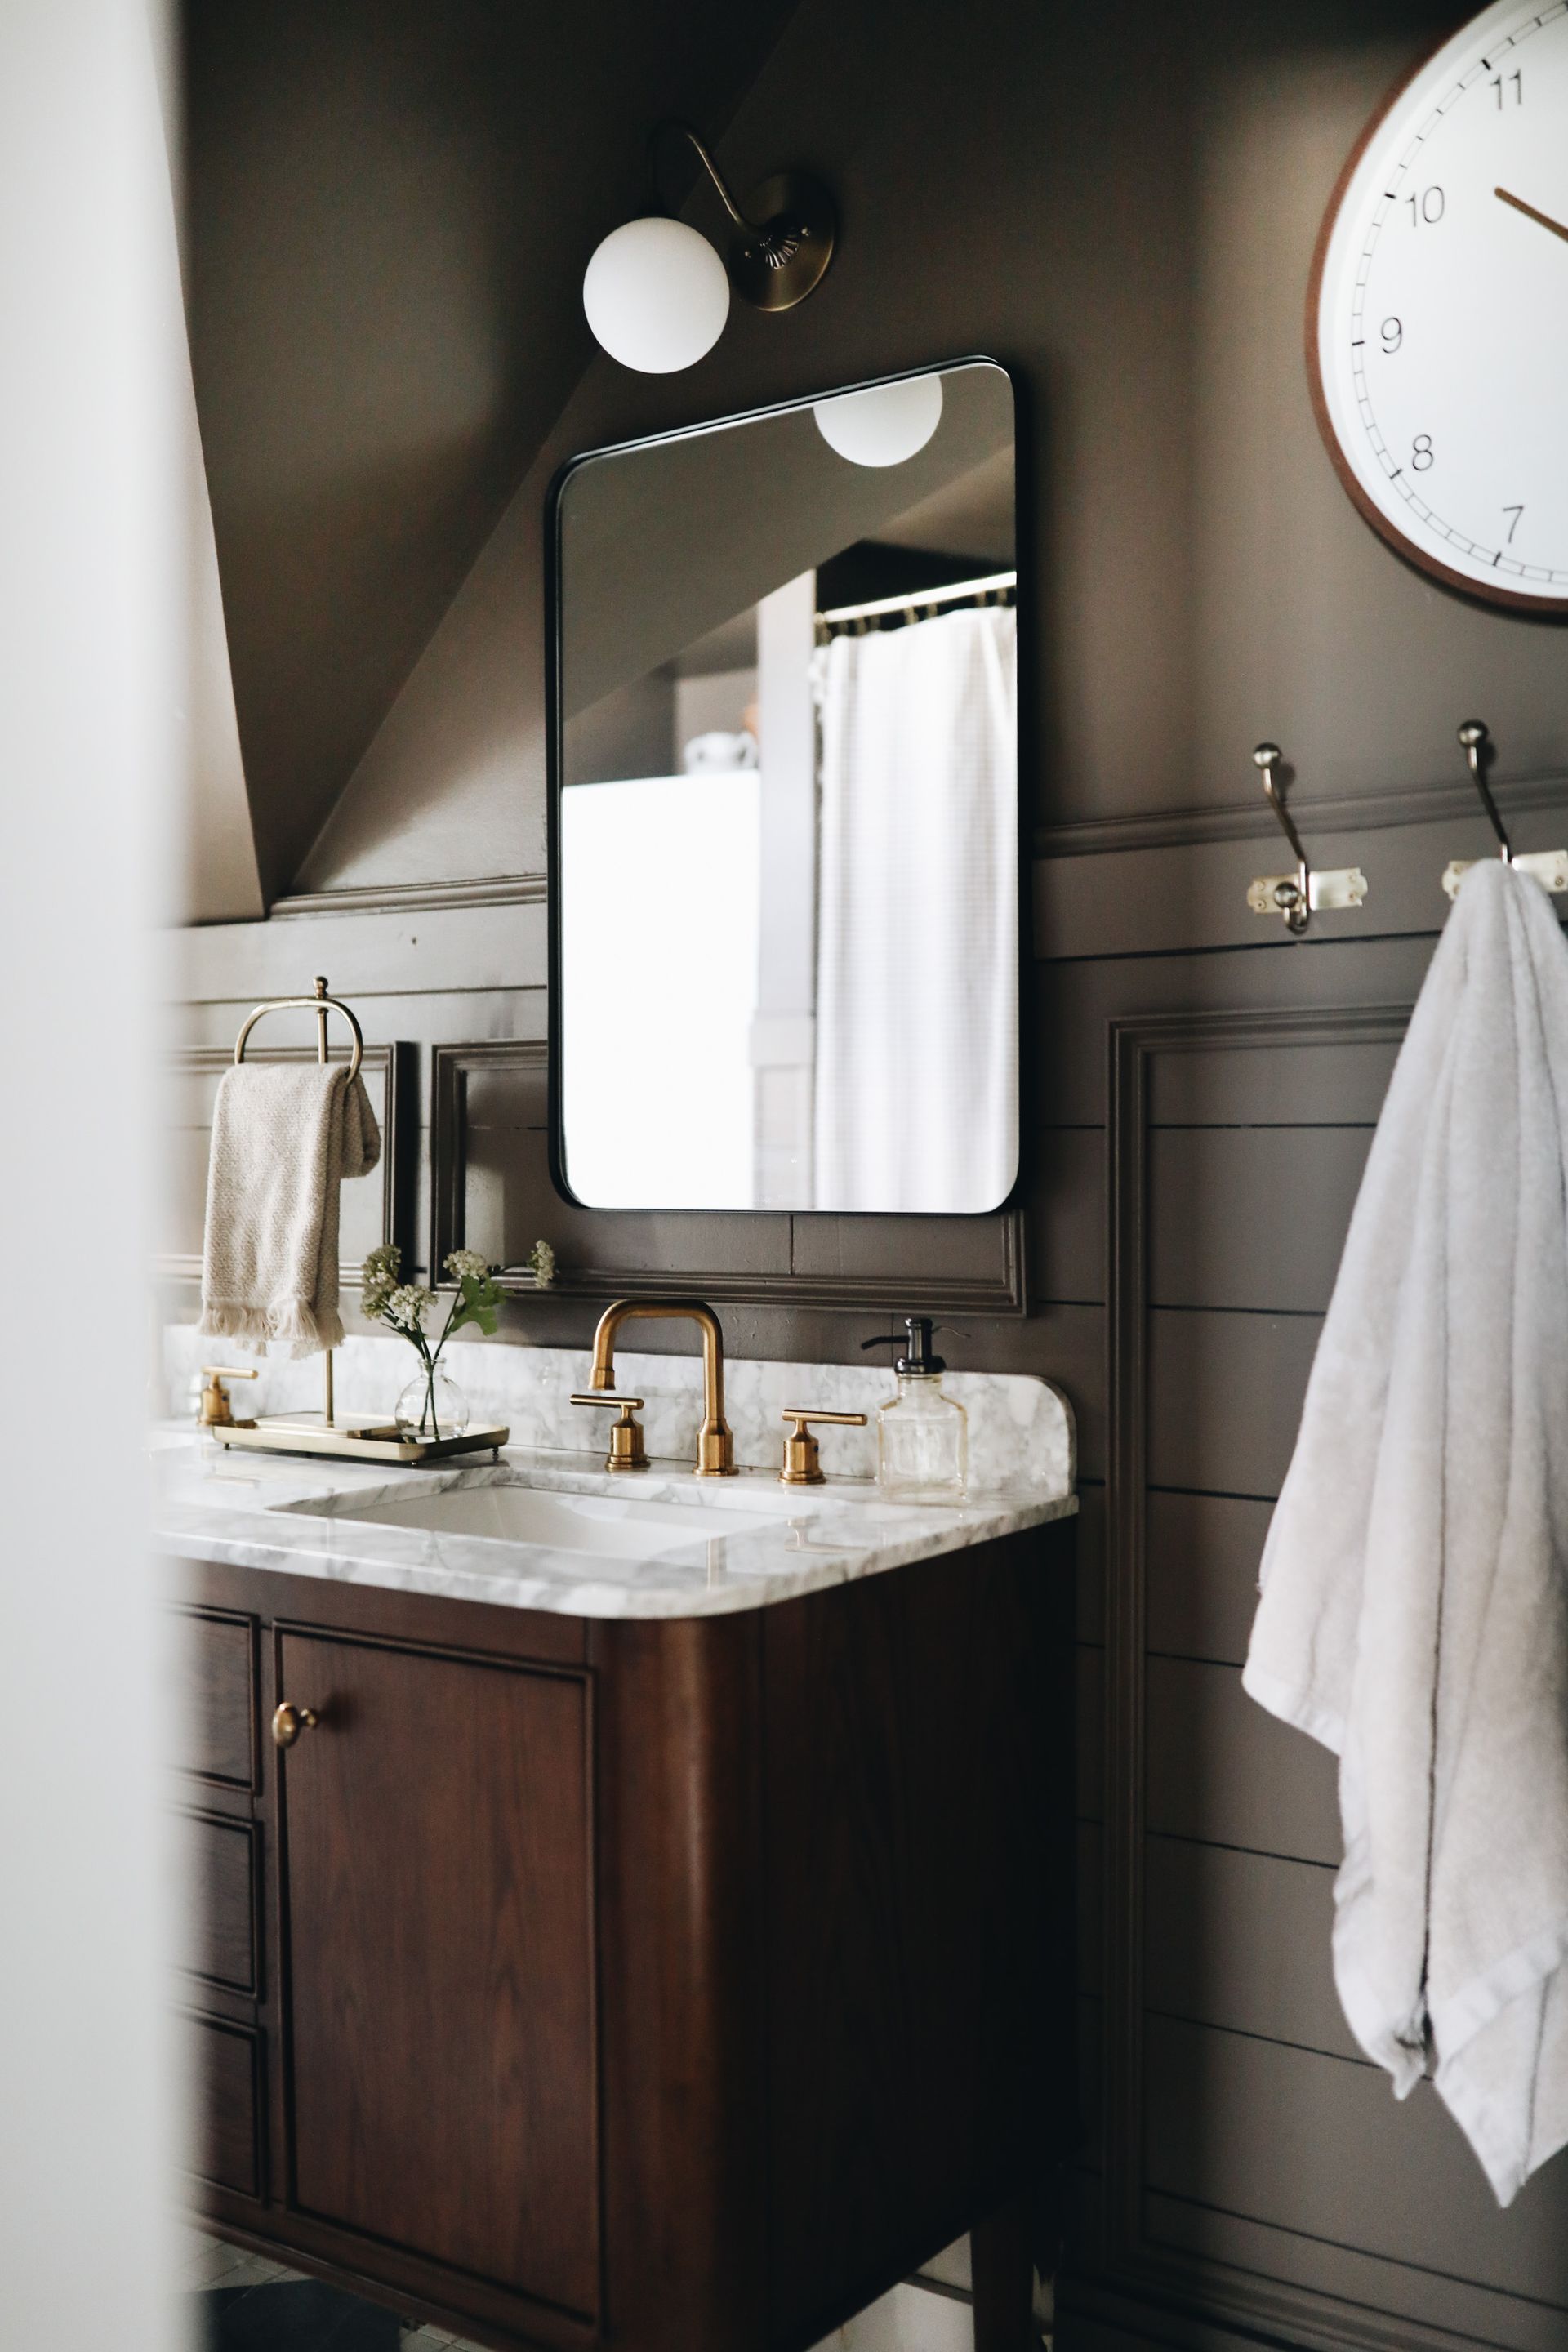
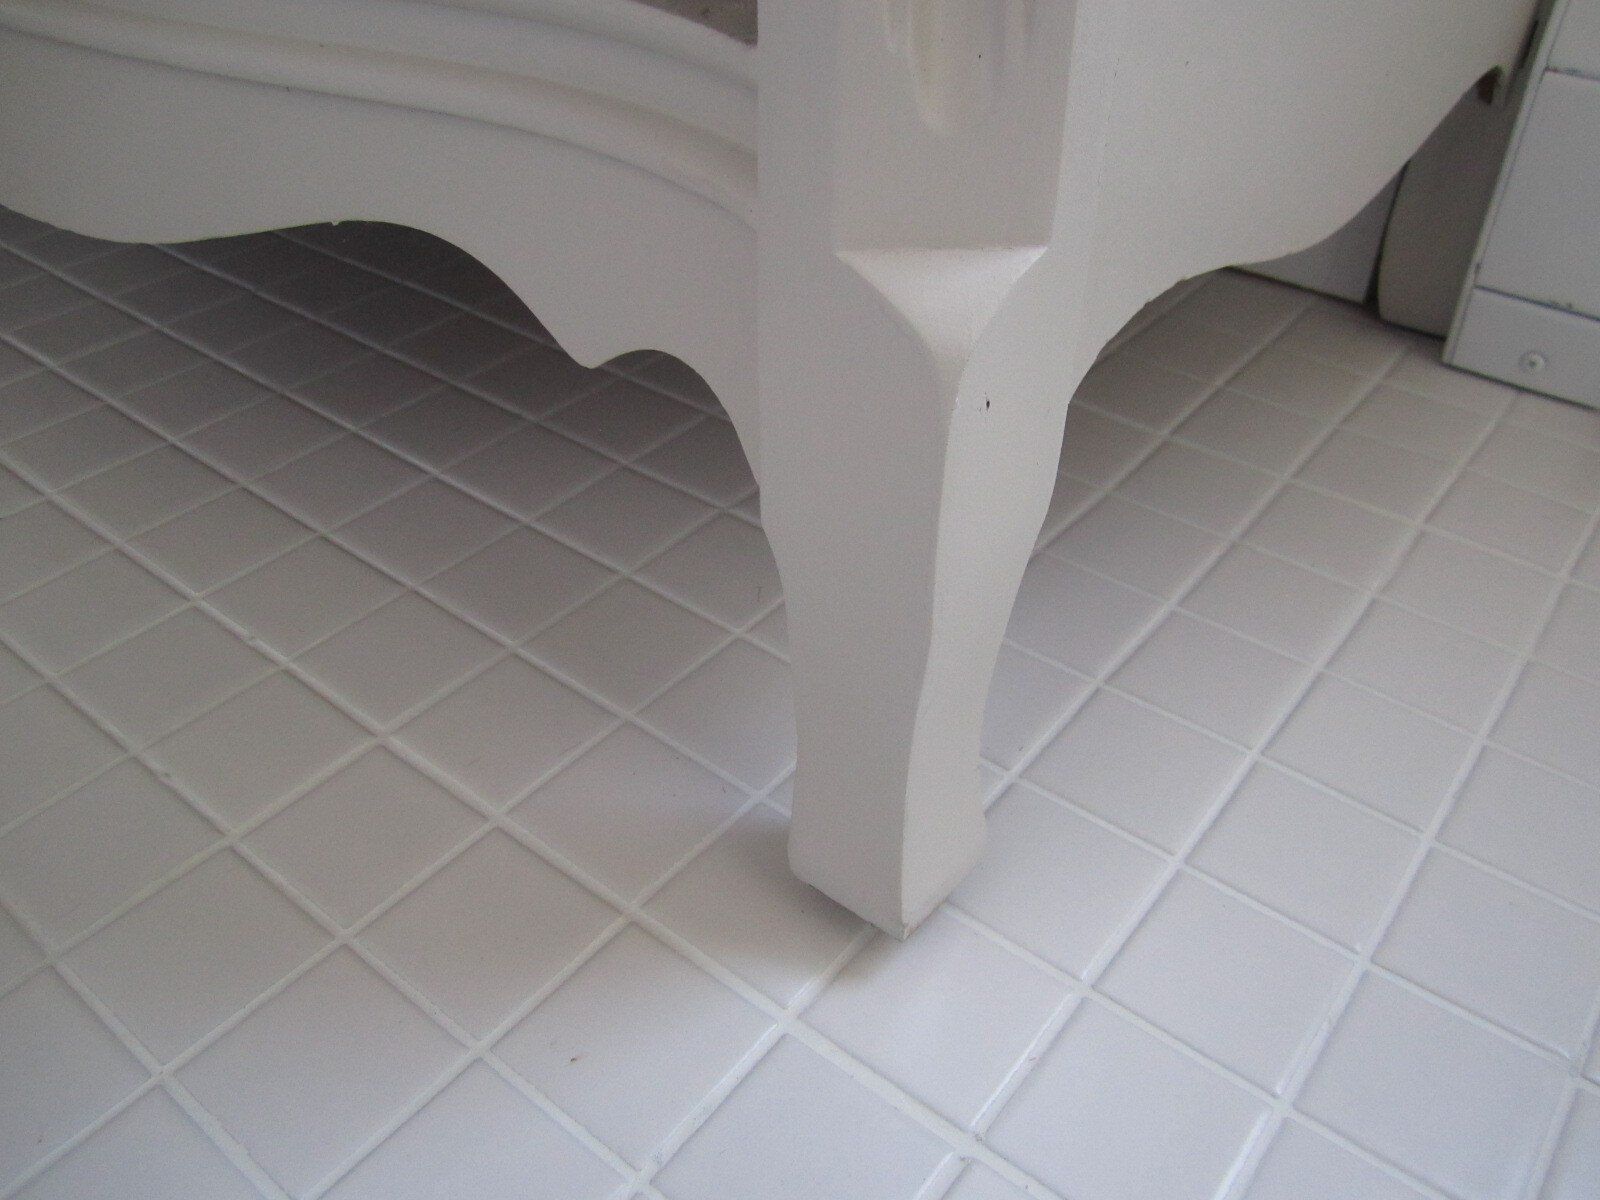
We ended up going with 2×2 inch while tiles with white grout and here is what the finished product looks like!
The Close-Up!
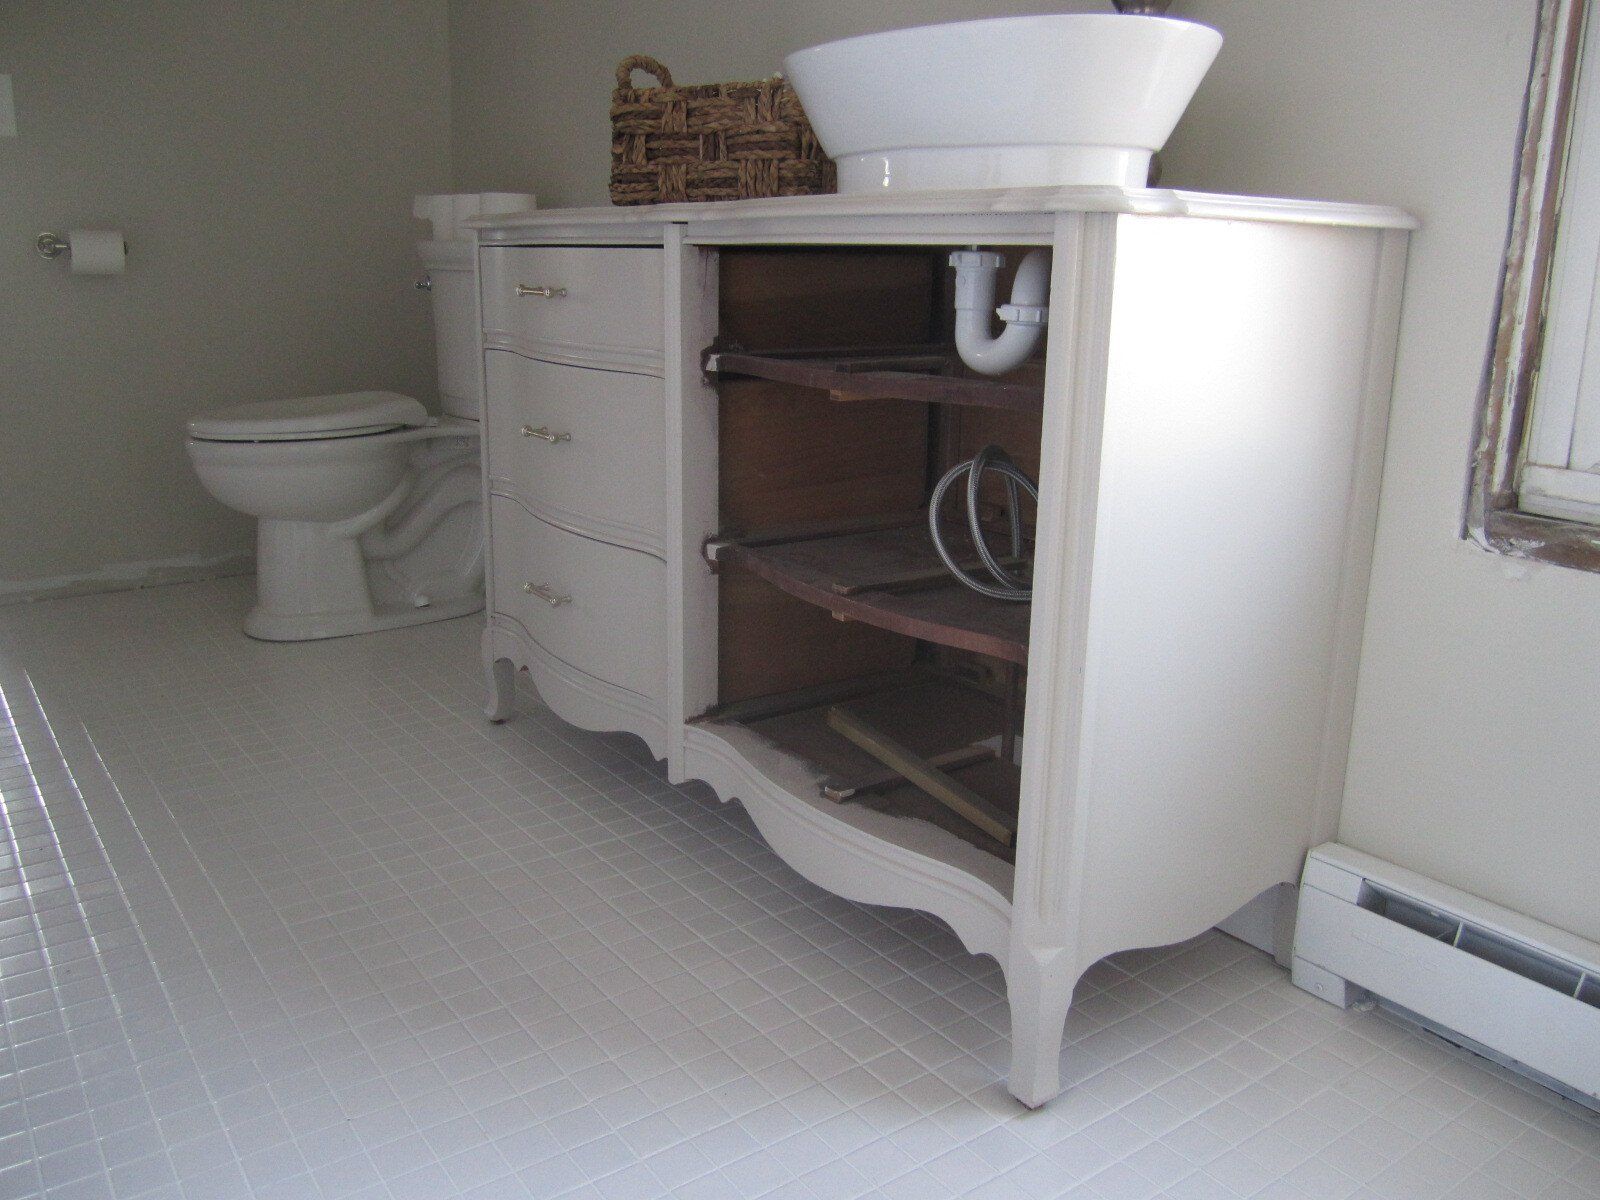
Ryan got my vanity in, just didn’t quite shorten up the one side of drawers since the plumbing runs through it. I have to tell you though, it’s amazing to have a sink again:)
and the view from our bedroom….

So that’s the sneak peek you get for now. Hopefully next time the finishing touches will be in place! It’s starting to get exciting to have a house to live in…thanks for being patient with me:)