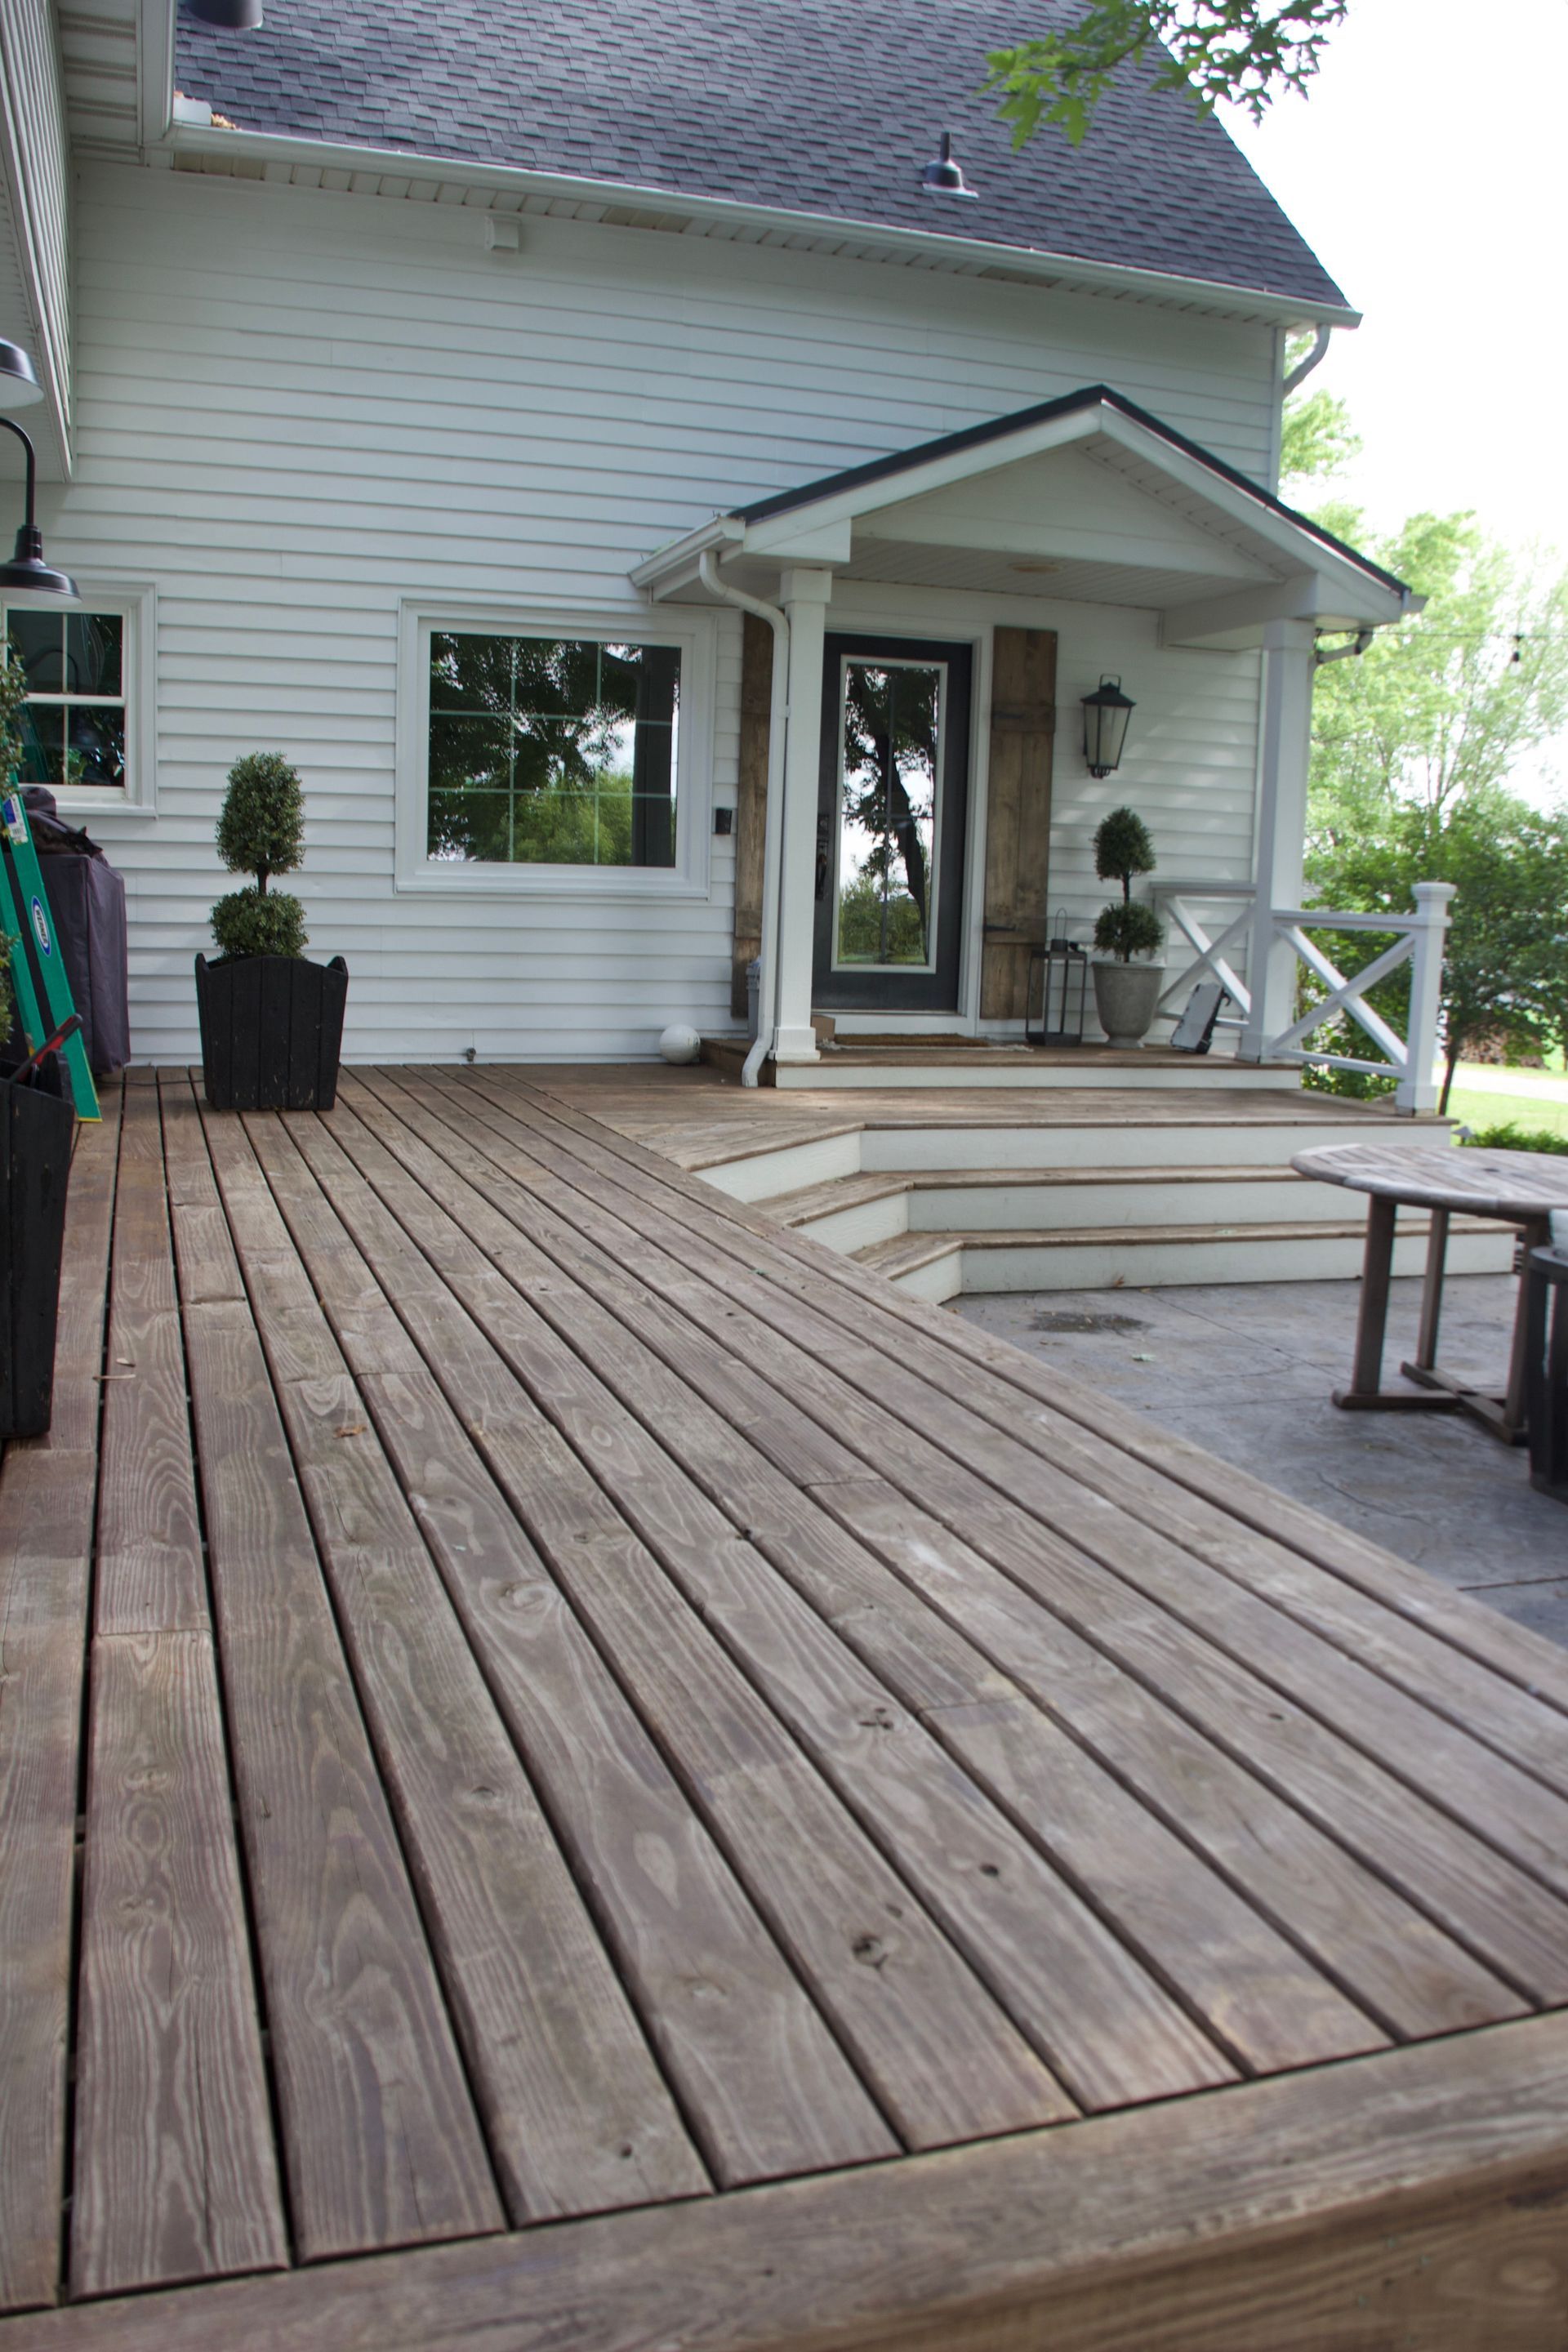
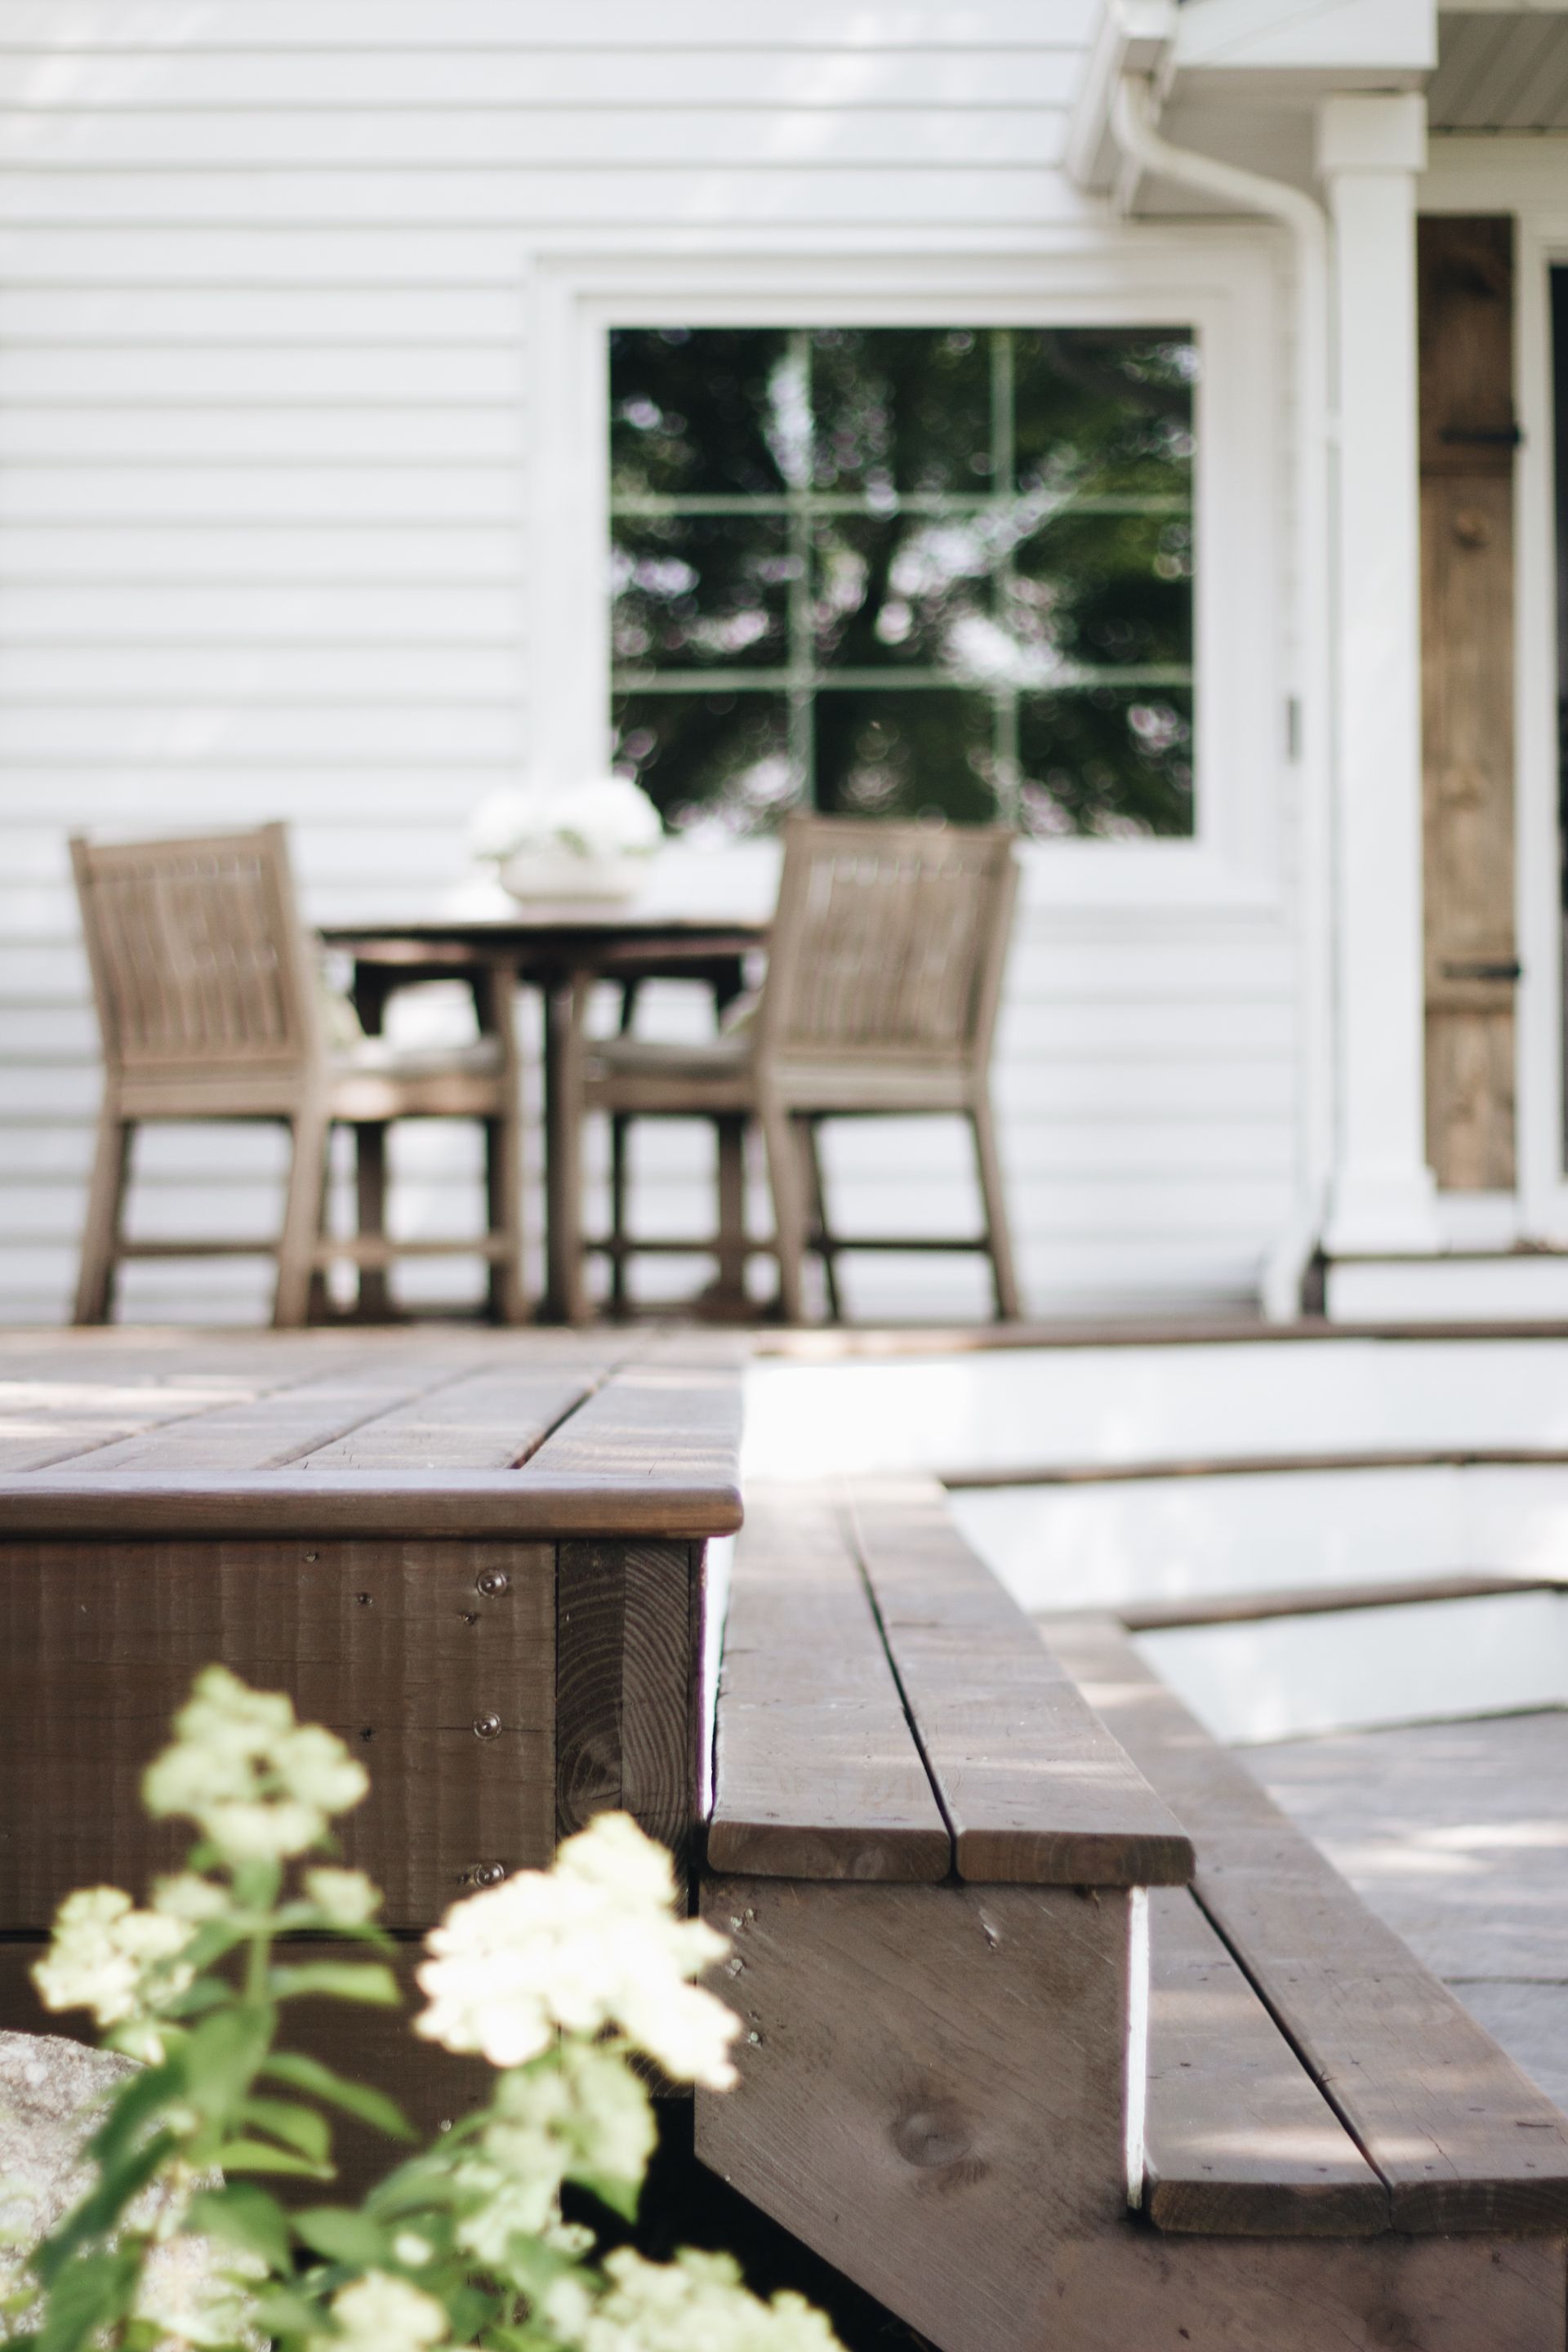
AFTER 6 YEARS ITS TIME TO RE-STAIN OUR DECK
Staining our home deck

We have not stained our deck for close to 7 years, Yup to say the least it is time. So this summer it is!
Last summer I stained and shared the entire process on how I did it over on the little Sauna deck. I will do the same process on this on as well!
*I've put together a highlight on my Instagram on the entire process if you are a visual person and want to watch the video process!
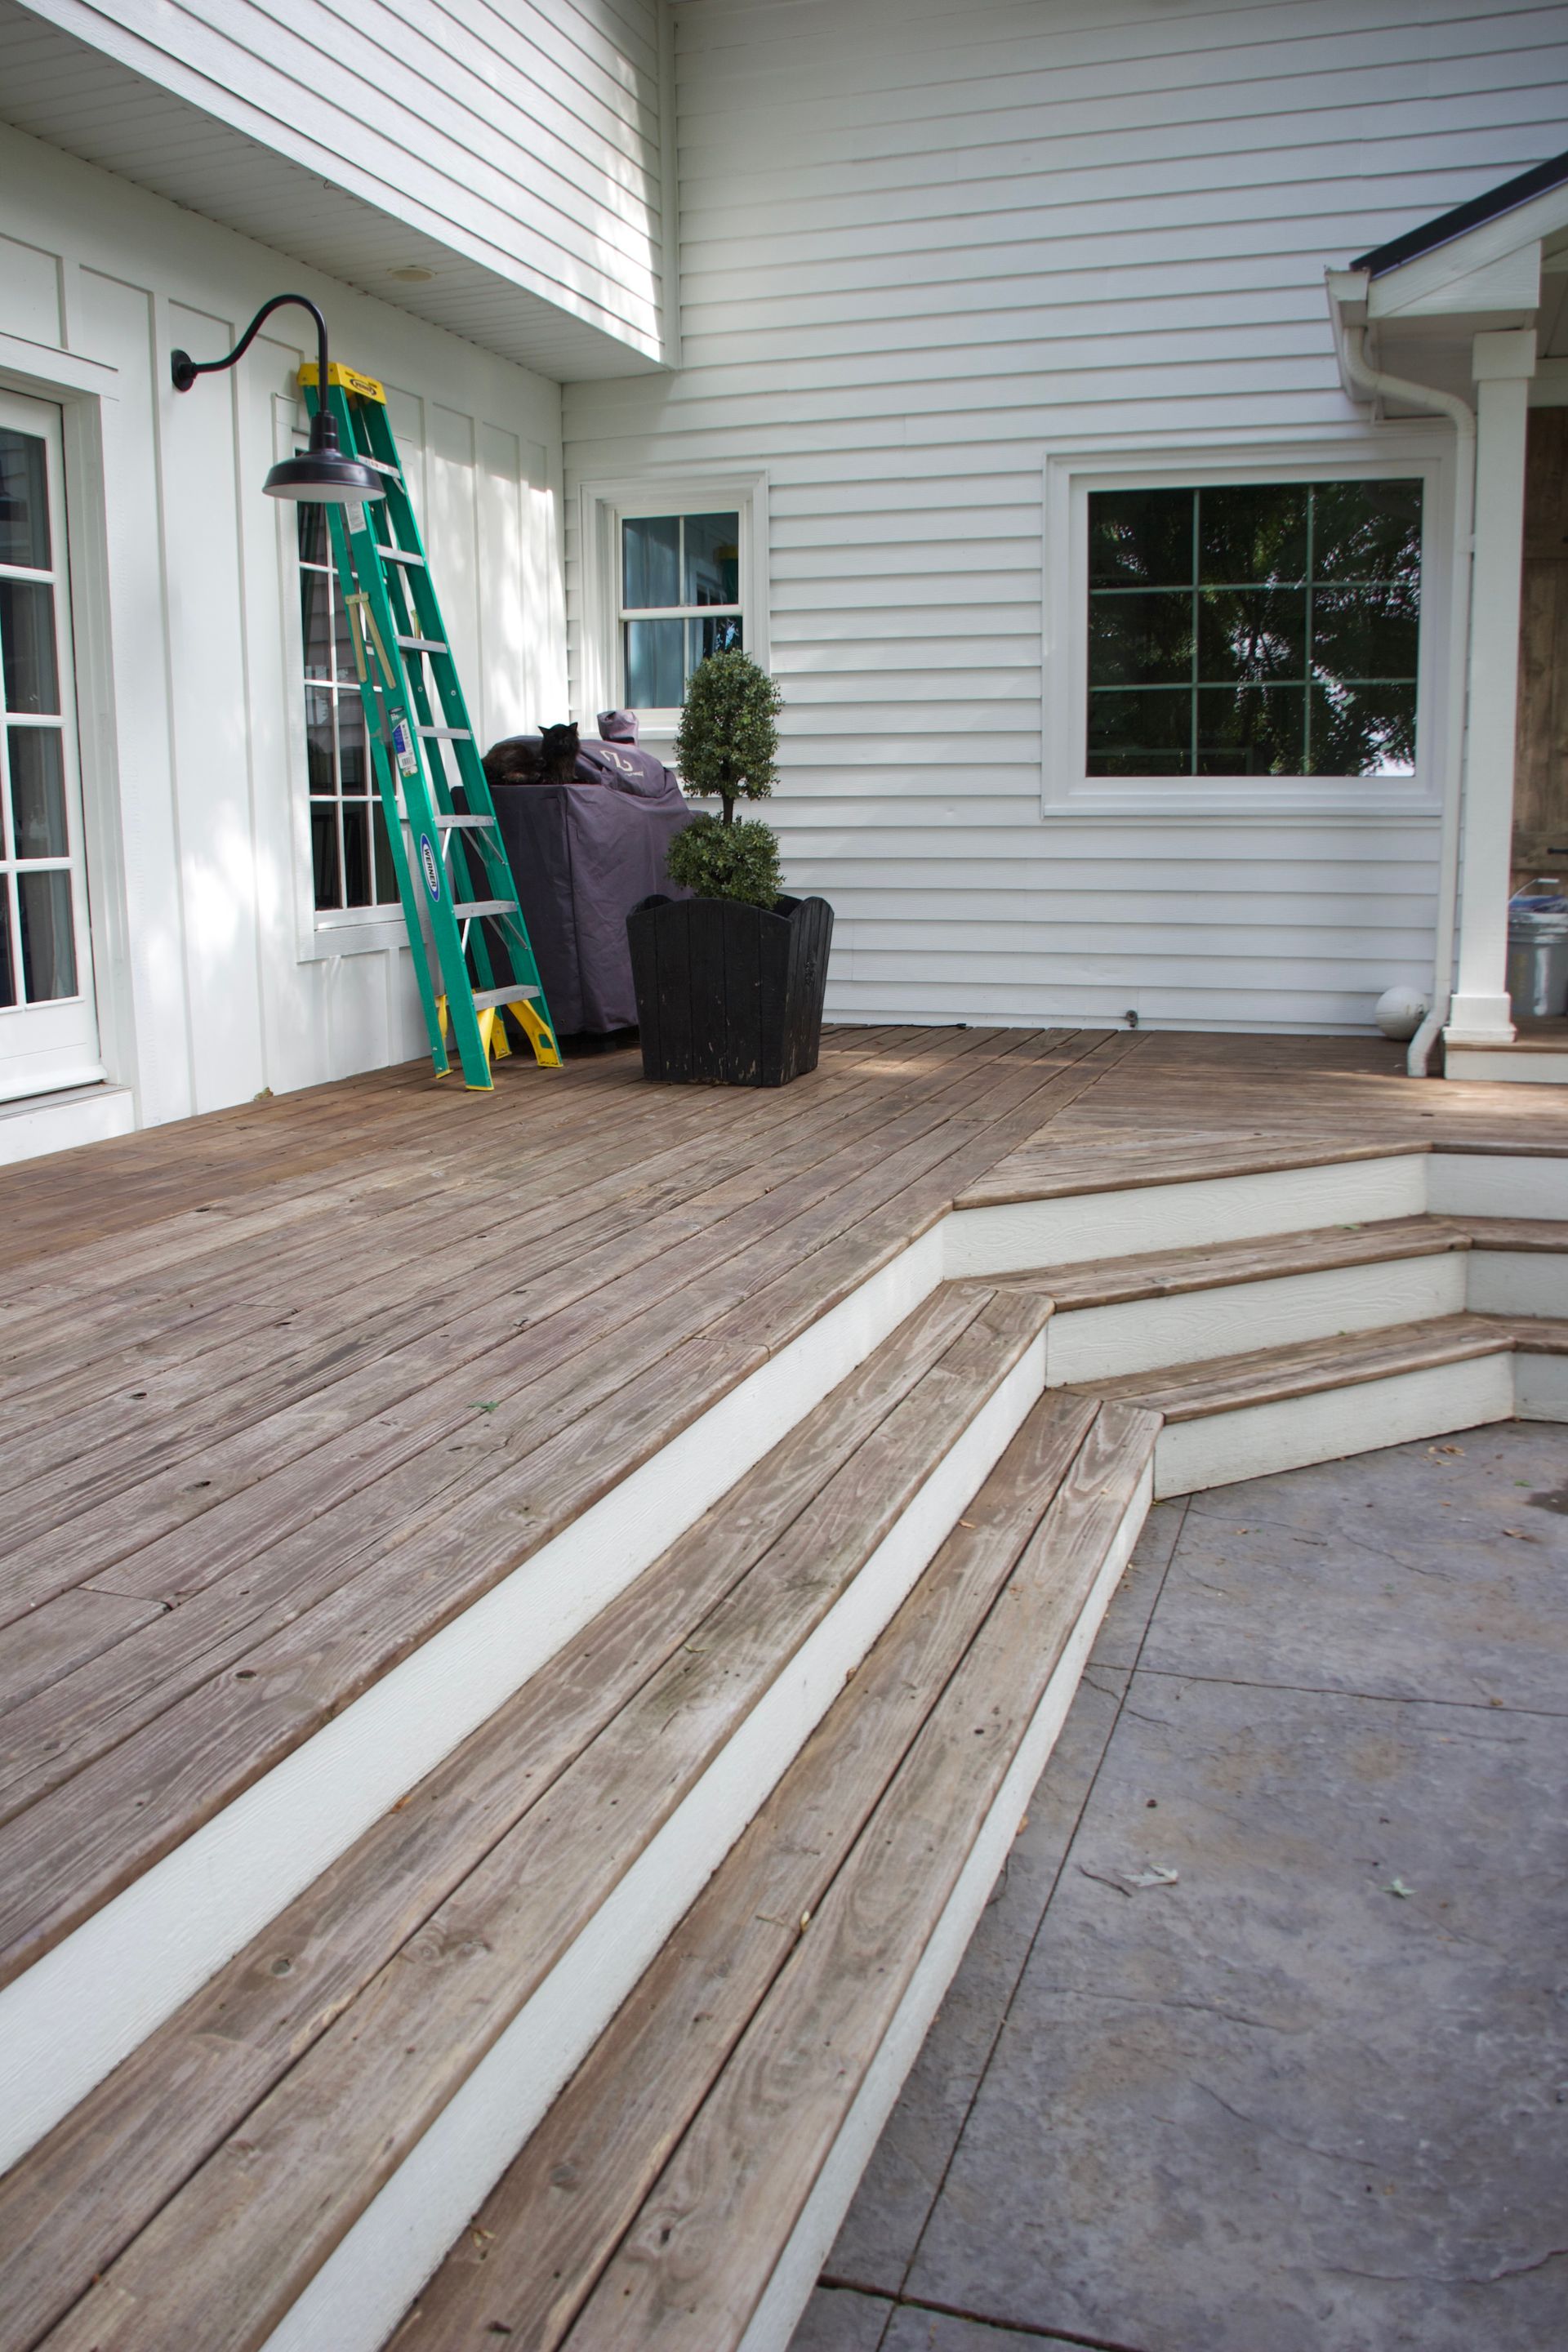
So we removed all/most of the furniture first, it needed a good wash before any staining happened and Ryan pressure washed it all right away. We let it dry a couple of days before putting anything on it. We have an electric pressure washer vs gas and boy is that slick! So much easier to use and is quite a bit quieter too! The exact one we have is no longer available but this one is very similar.
We have found a key trick is if you are building a deck to use this Cedarcide. It preserves your wood; it dries it out and protects it from rot and insects. It has preserved our deck soooooo well!
I used it because you can stain green treated wood after 2 days of applying it, normally they recommend waiting 6 months before staining.
I couldn't wait that long;) So it's definitely worth the investment in my opinion.

We obviously didn't use the paint sprayer for this product but I often get asked what sprayer we use for our projects so I added it to this post.
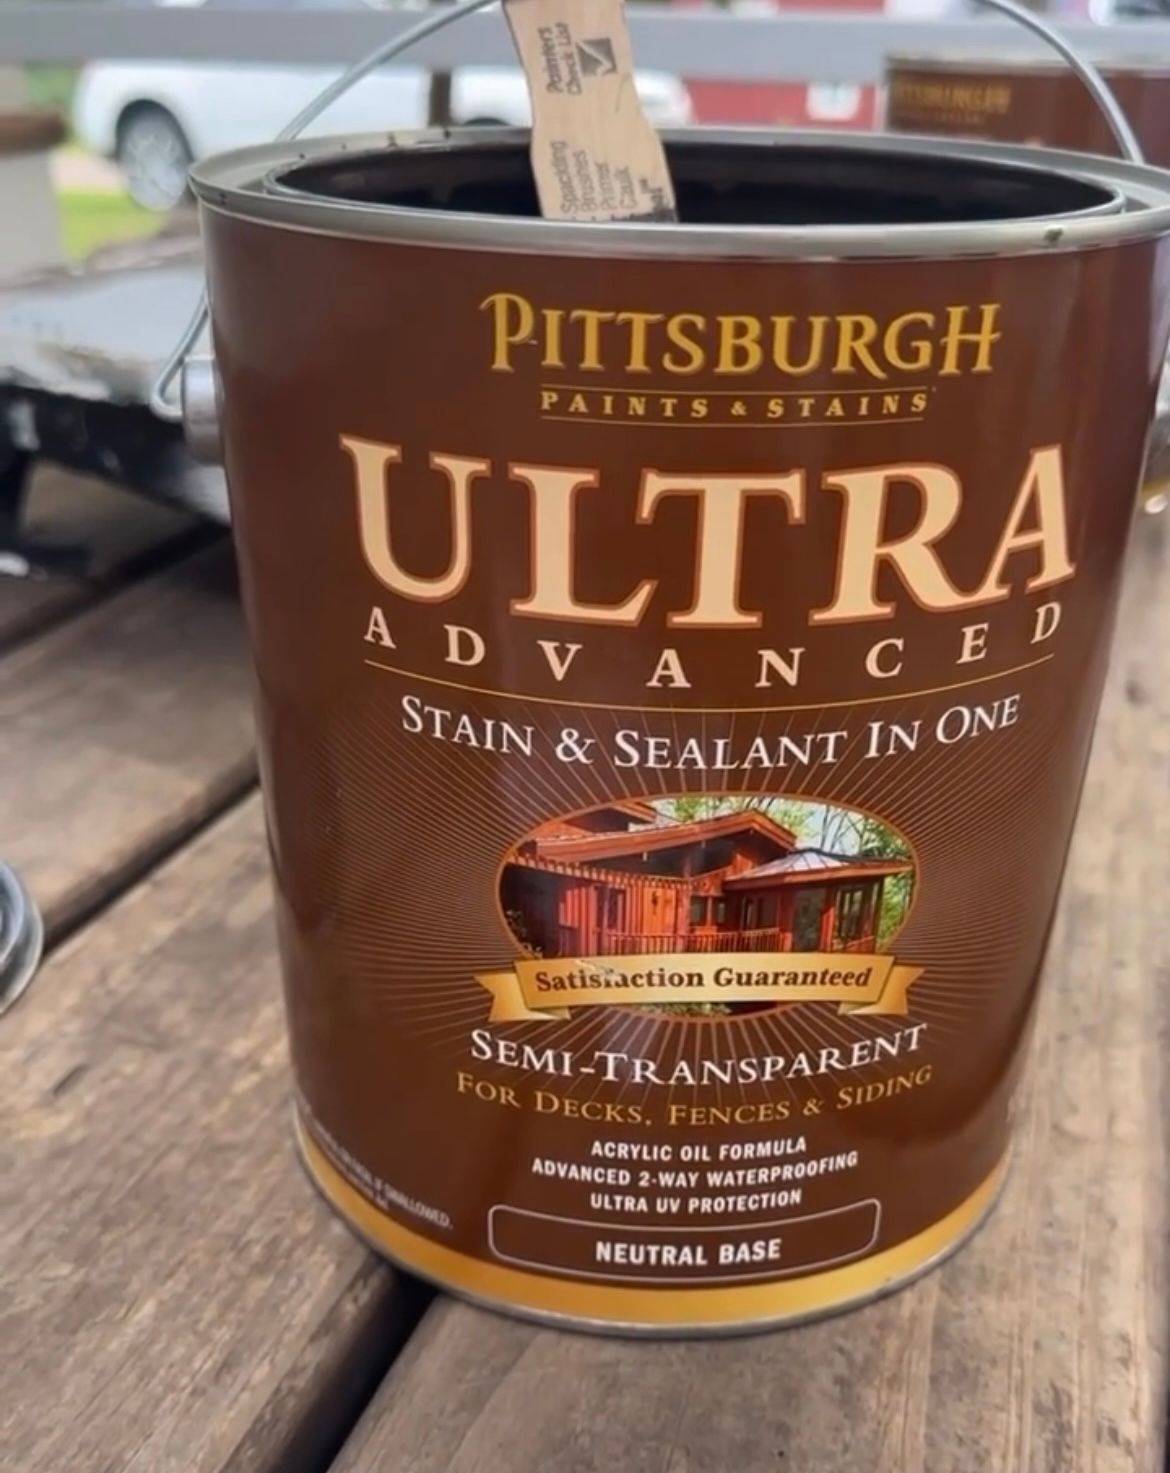
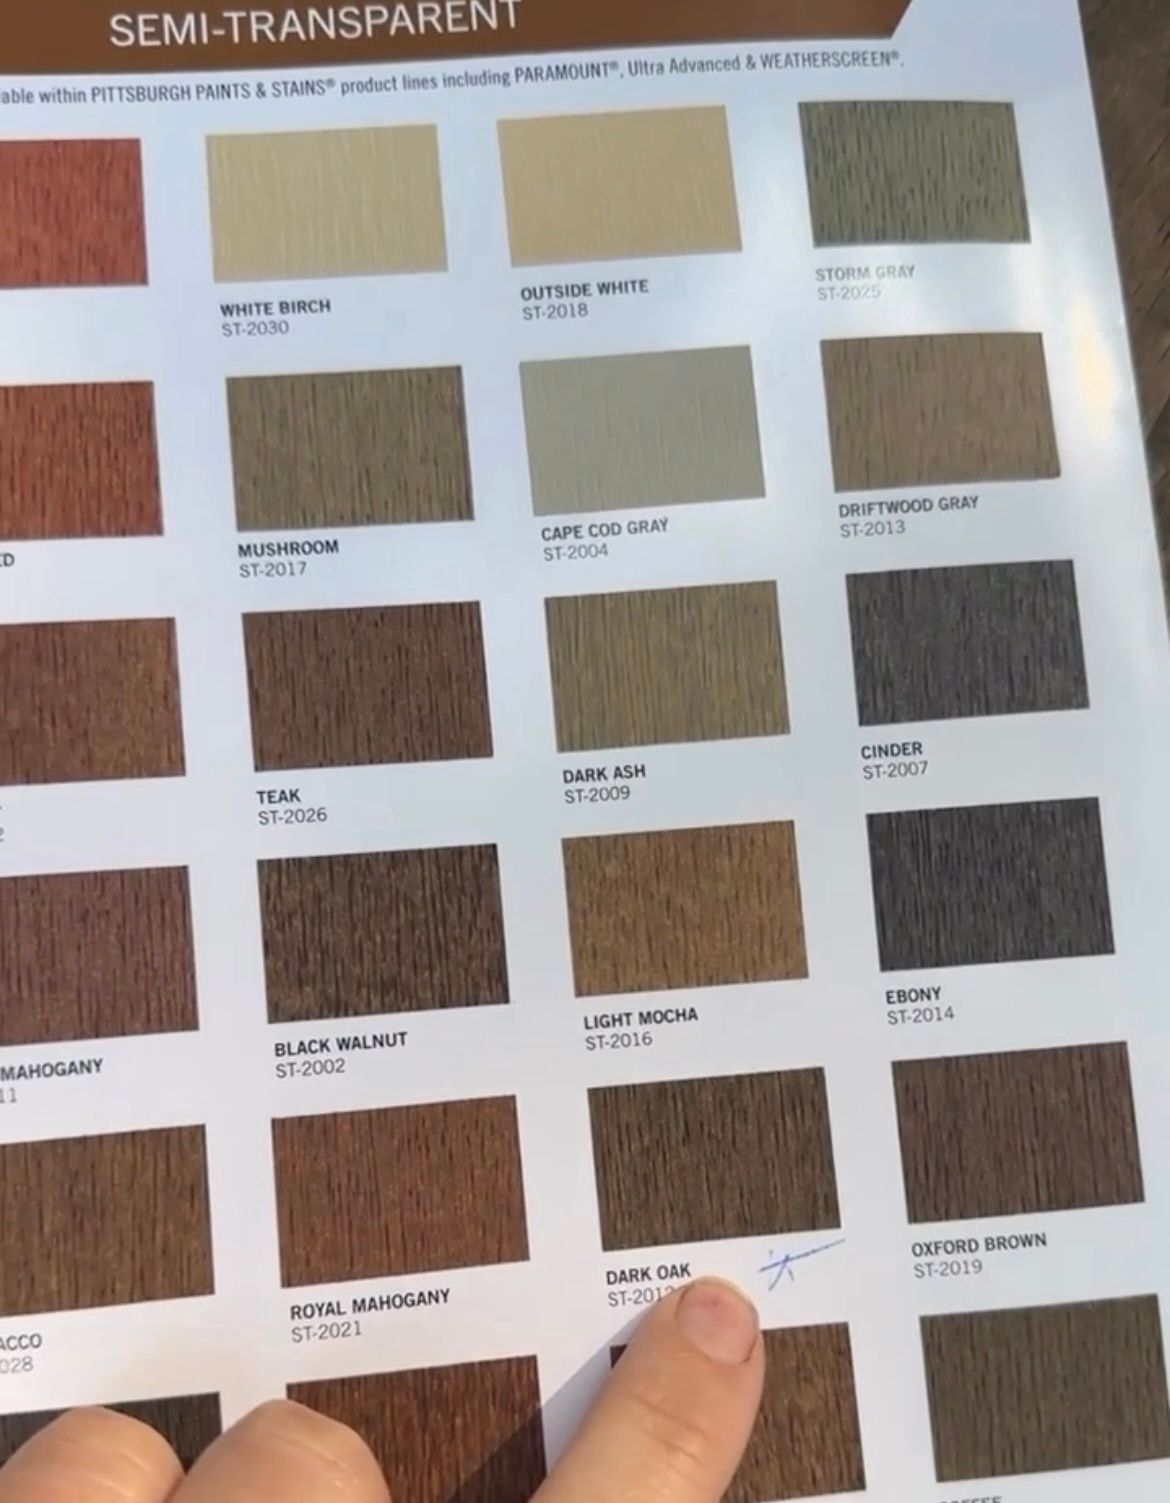
We went with Pittsburg Ultra Stain Semi-Transparent from Menards. I know not everyone has access to Pittsburg, but I become a loyal to Pittsburg with great success in stain and paint. I like some grain to show through, so I went with the Semi-Transparent this time and a new color called "Dark Oak."
The first time around I did the color "Wenge" in semi-solid. The semi solid and semi-transparent look completely different just to take note of.
We used the 9' Woodmates applicator for the face of the boards. You can buy the pole that helps to be able to stand up while staining.
The double ended applicator is amazing for getting in the cracks.
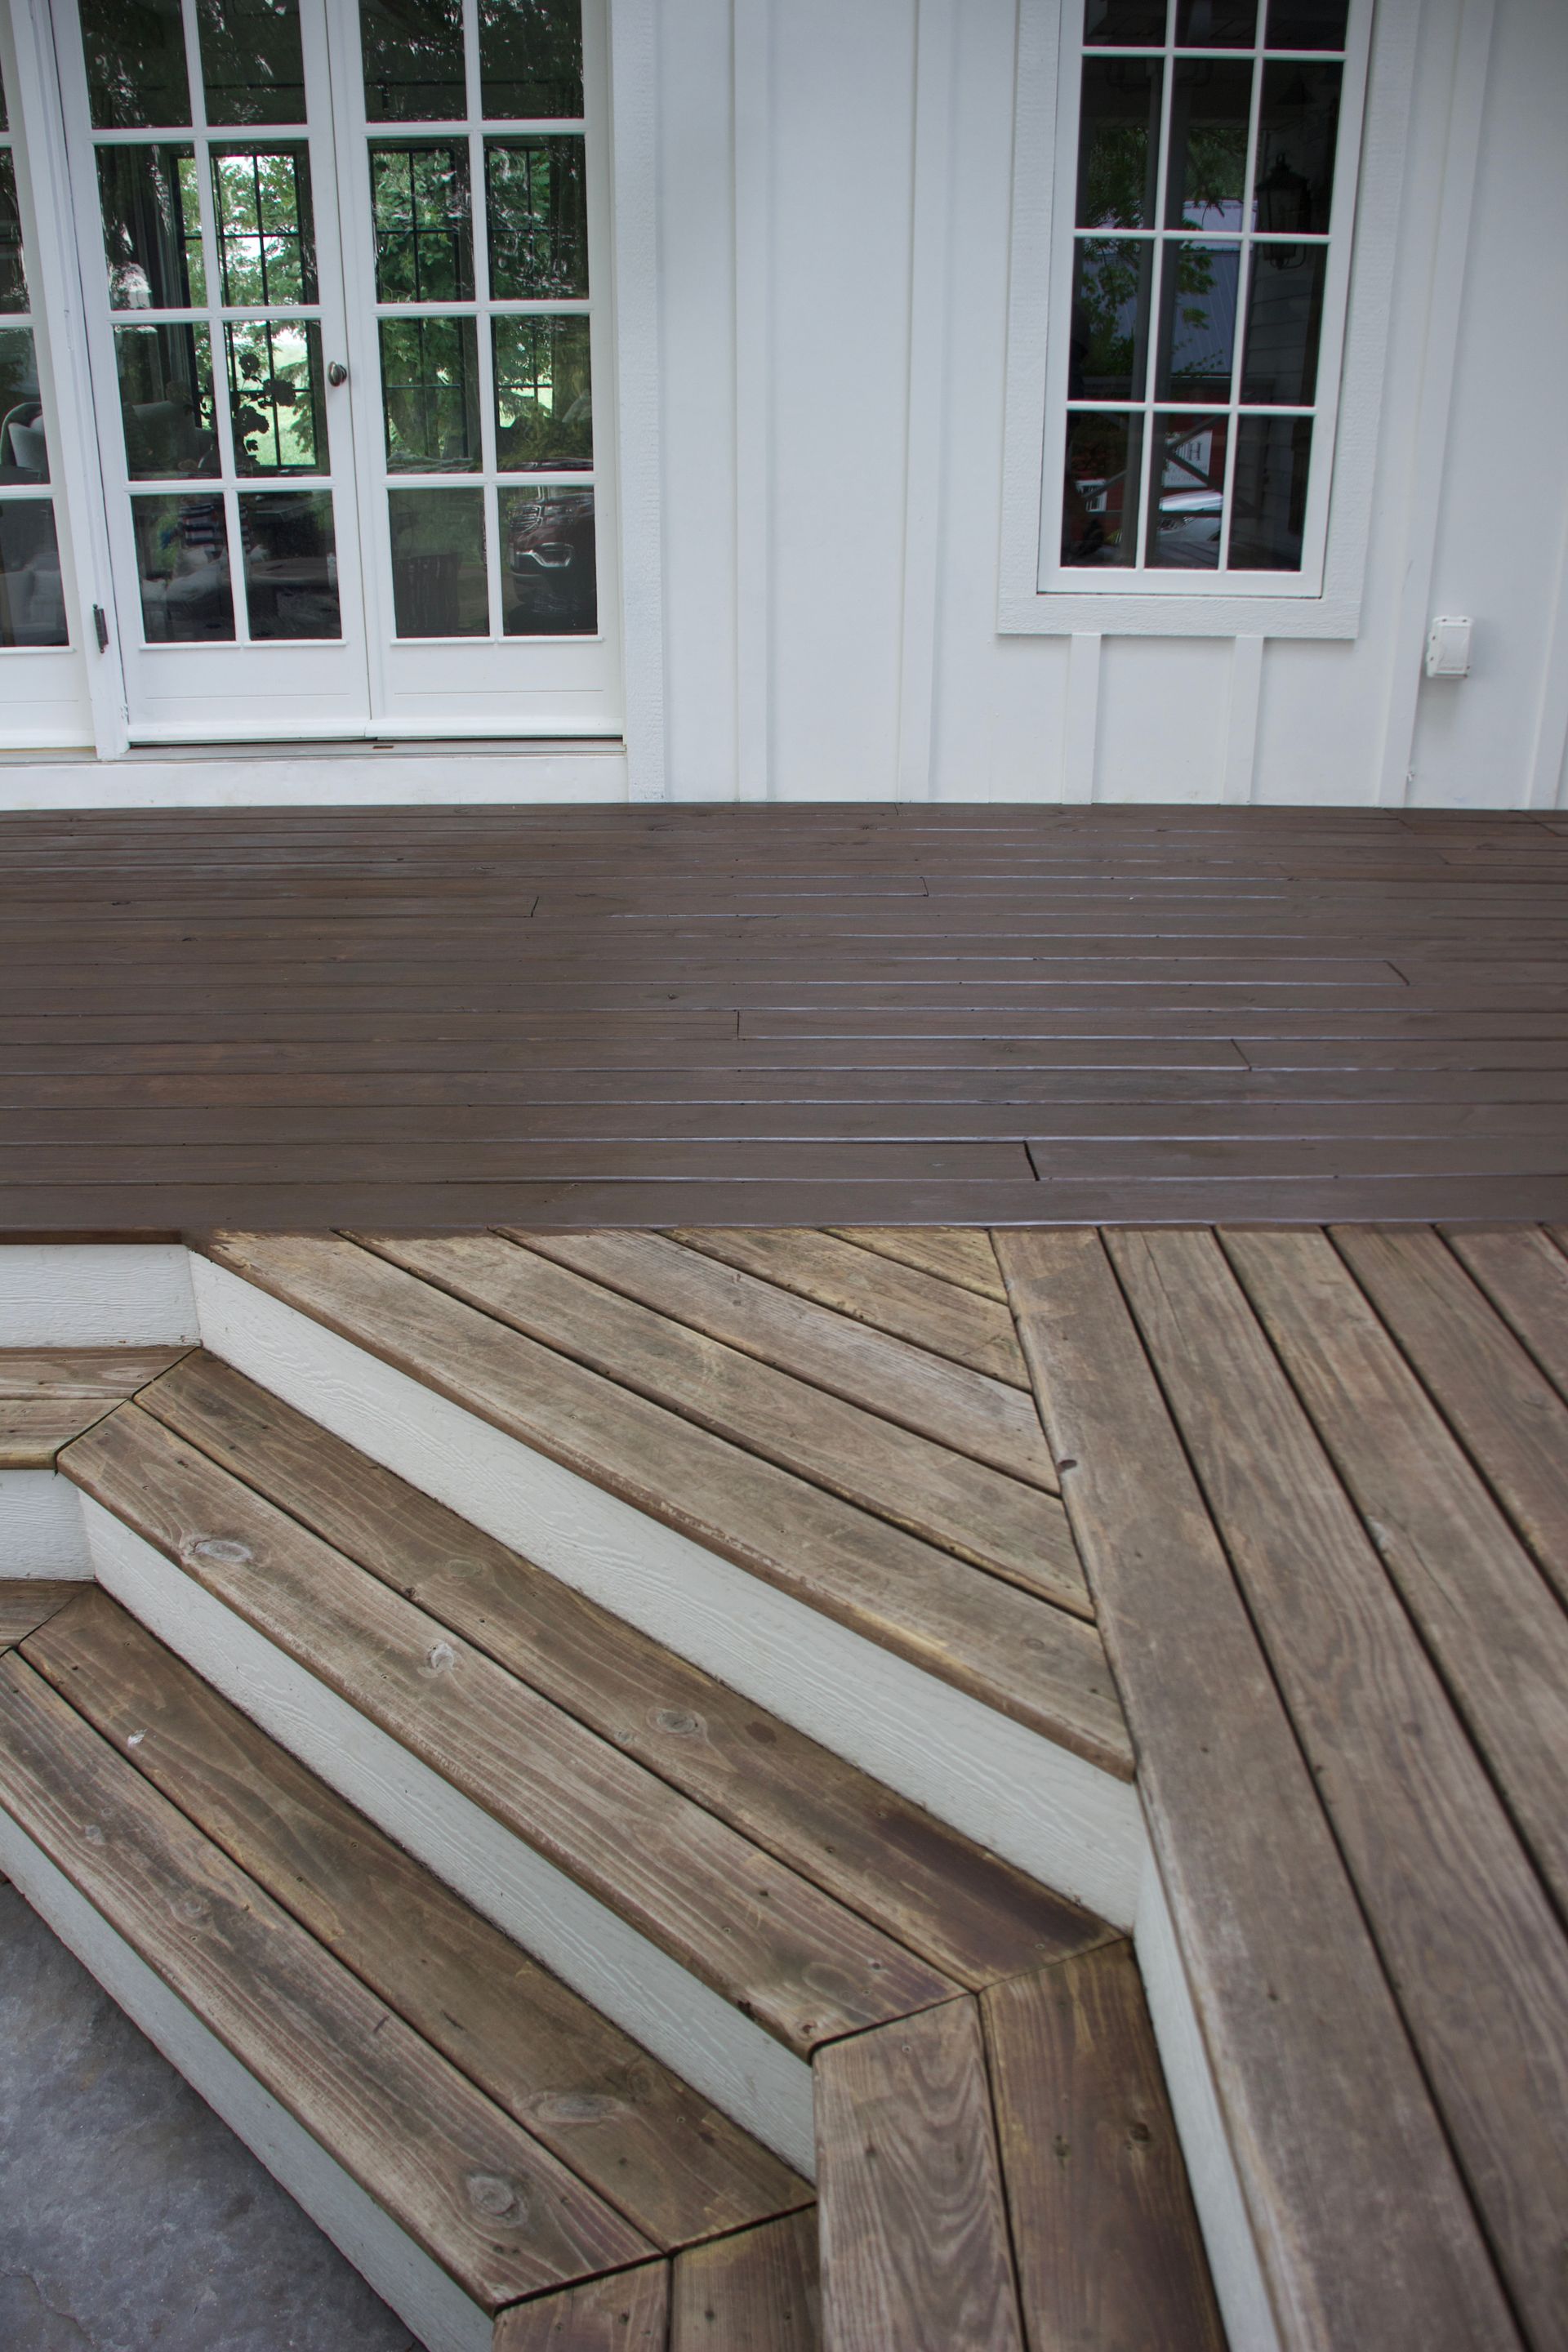
I don't think I realized how bad it was until we got part of it stained and you could see the comparison! Holy moly what a difference already.
We started by doing the cracks 4 rows at time, my mom came with the pad behind and went the entire way down so we didn't stop on a board to have overlap of stain as last time is was very noticeable. That method worked so slick! With 3 people it took a little over 2 hours from start to finish.
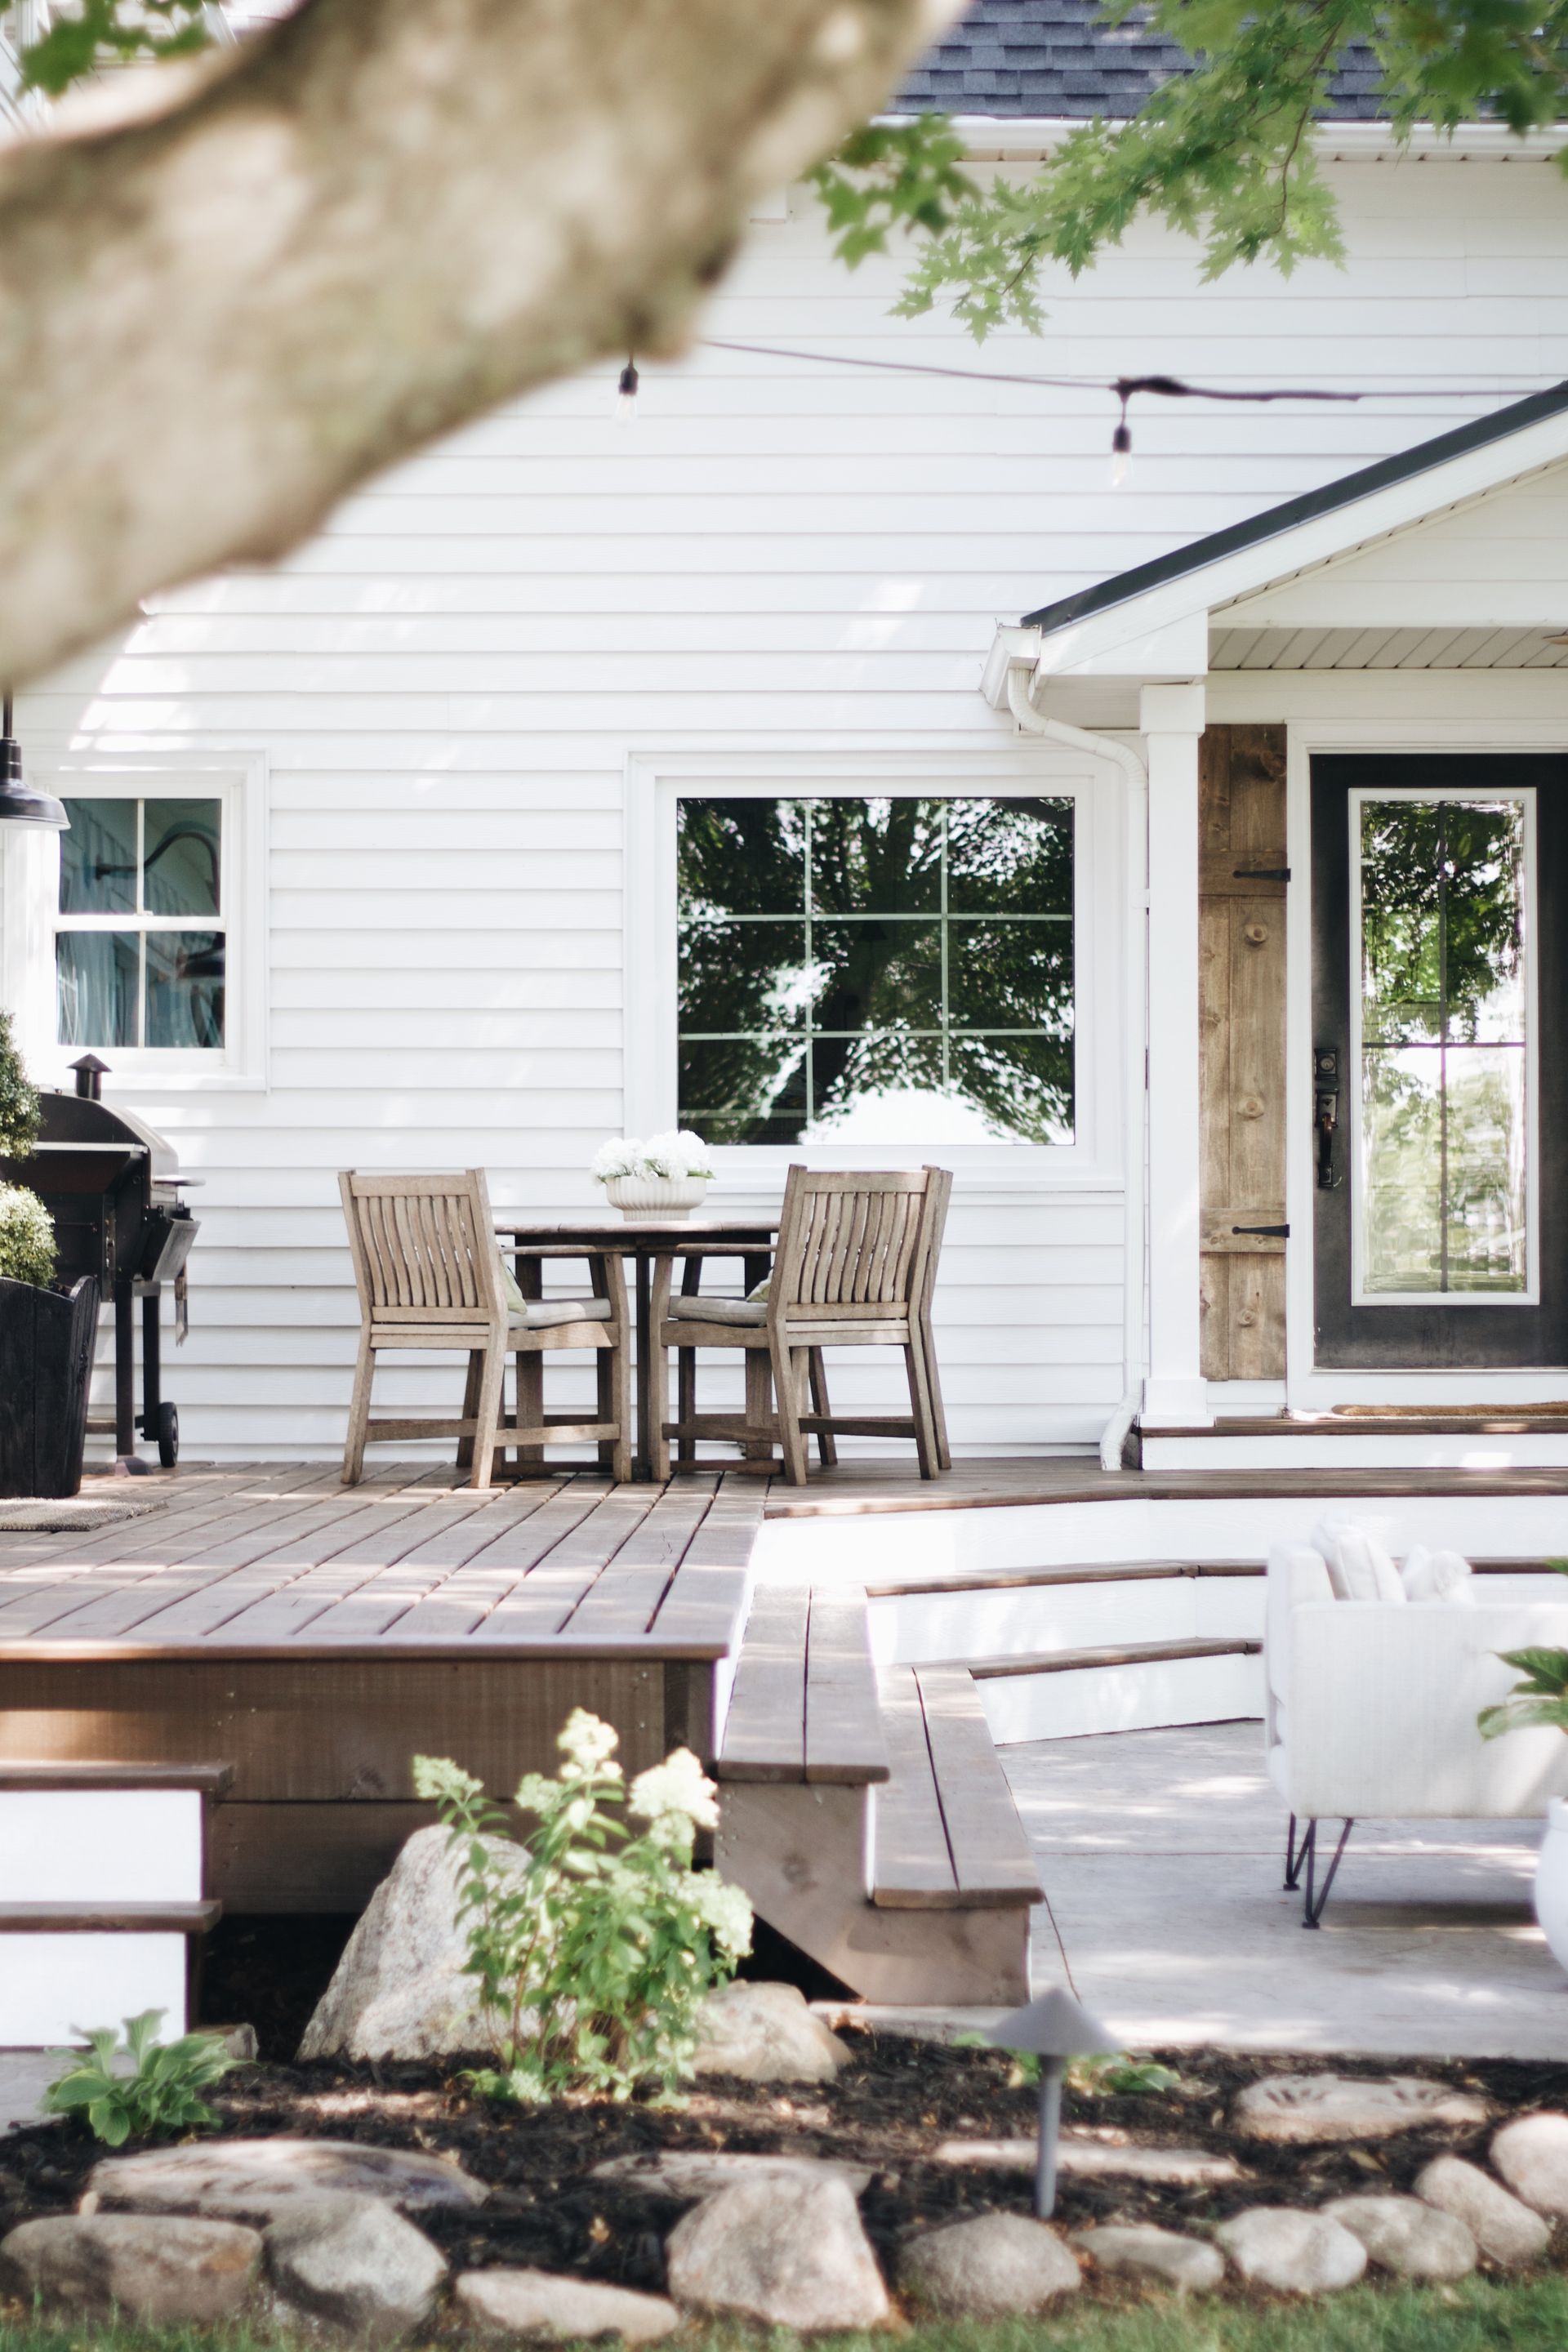
After
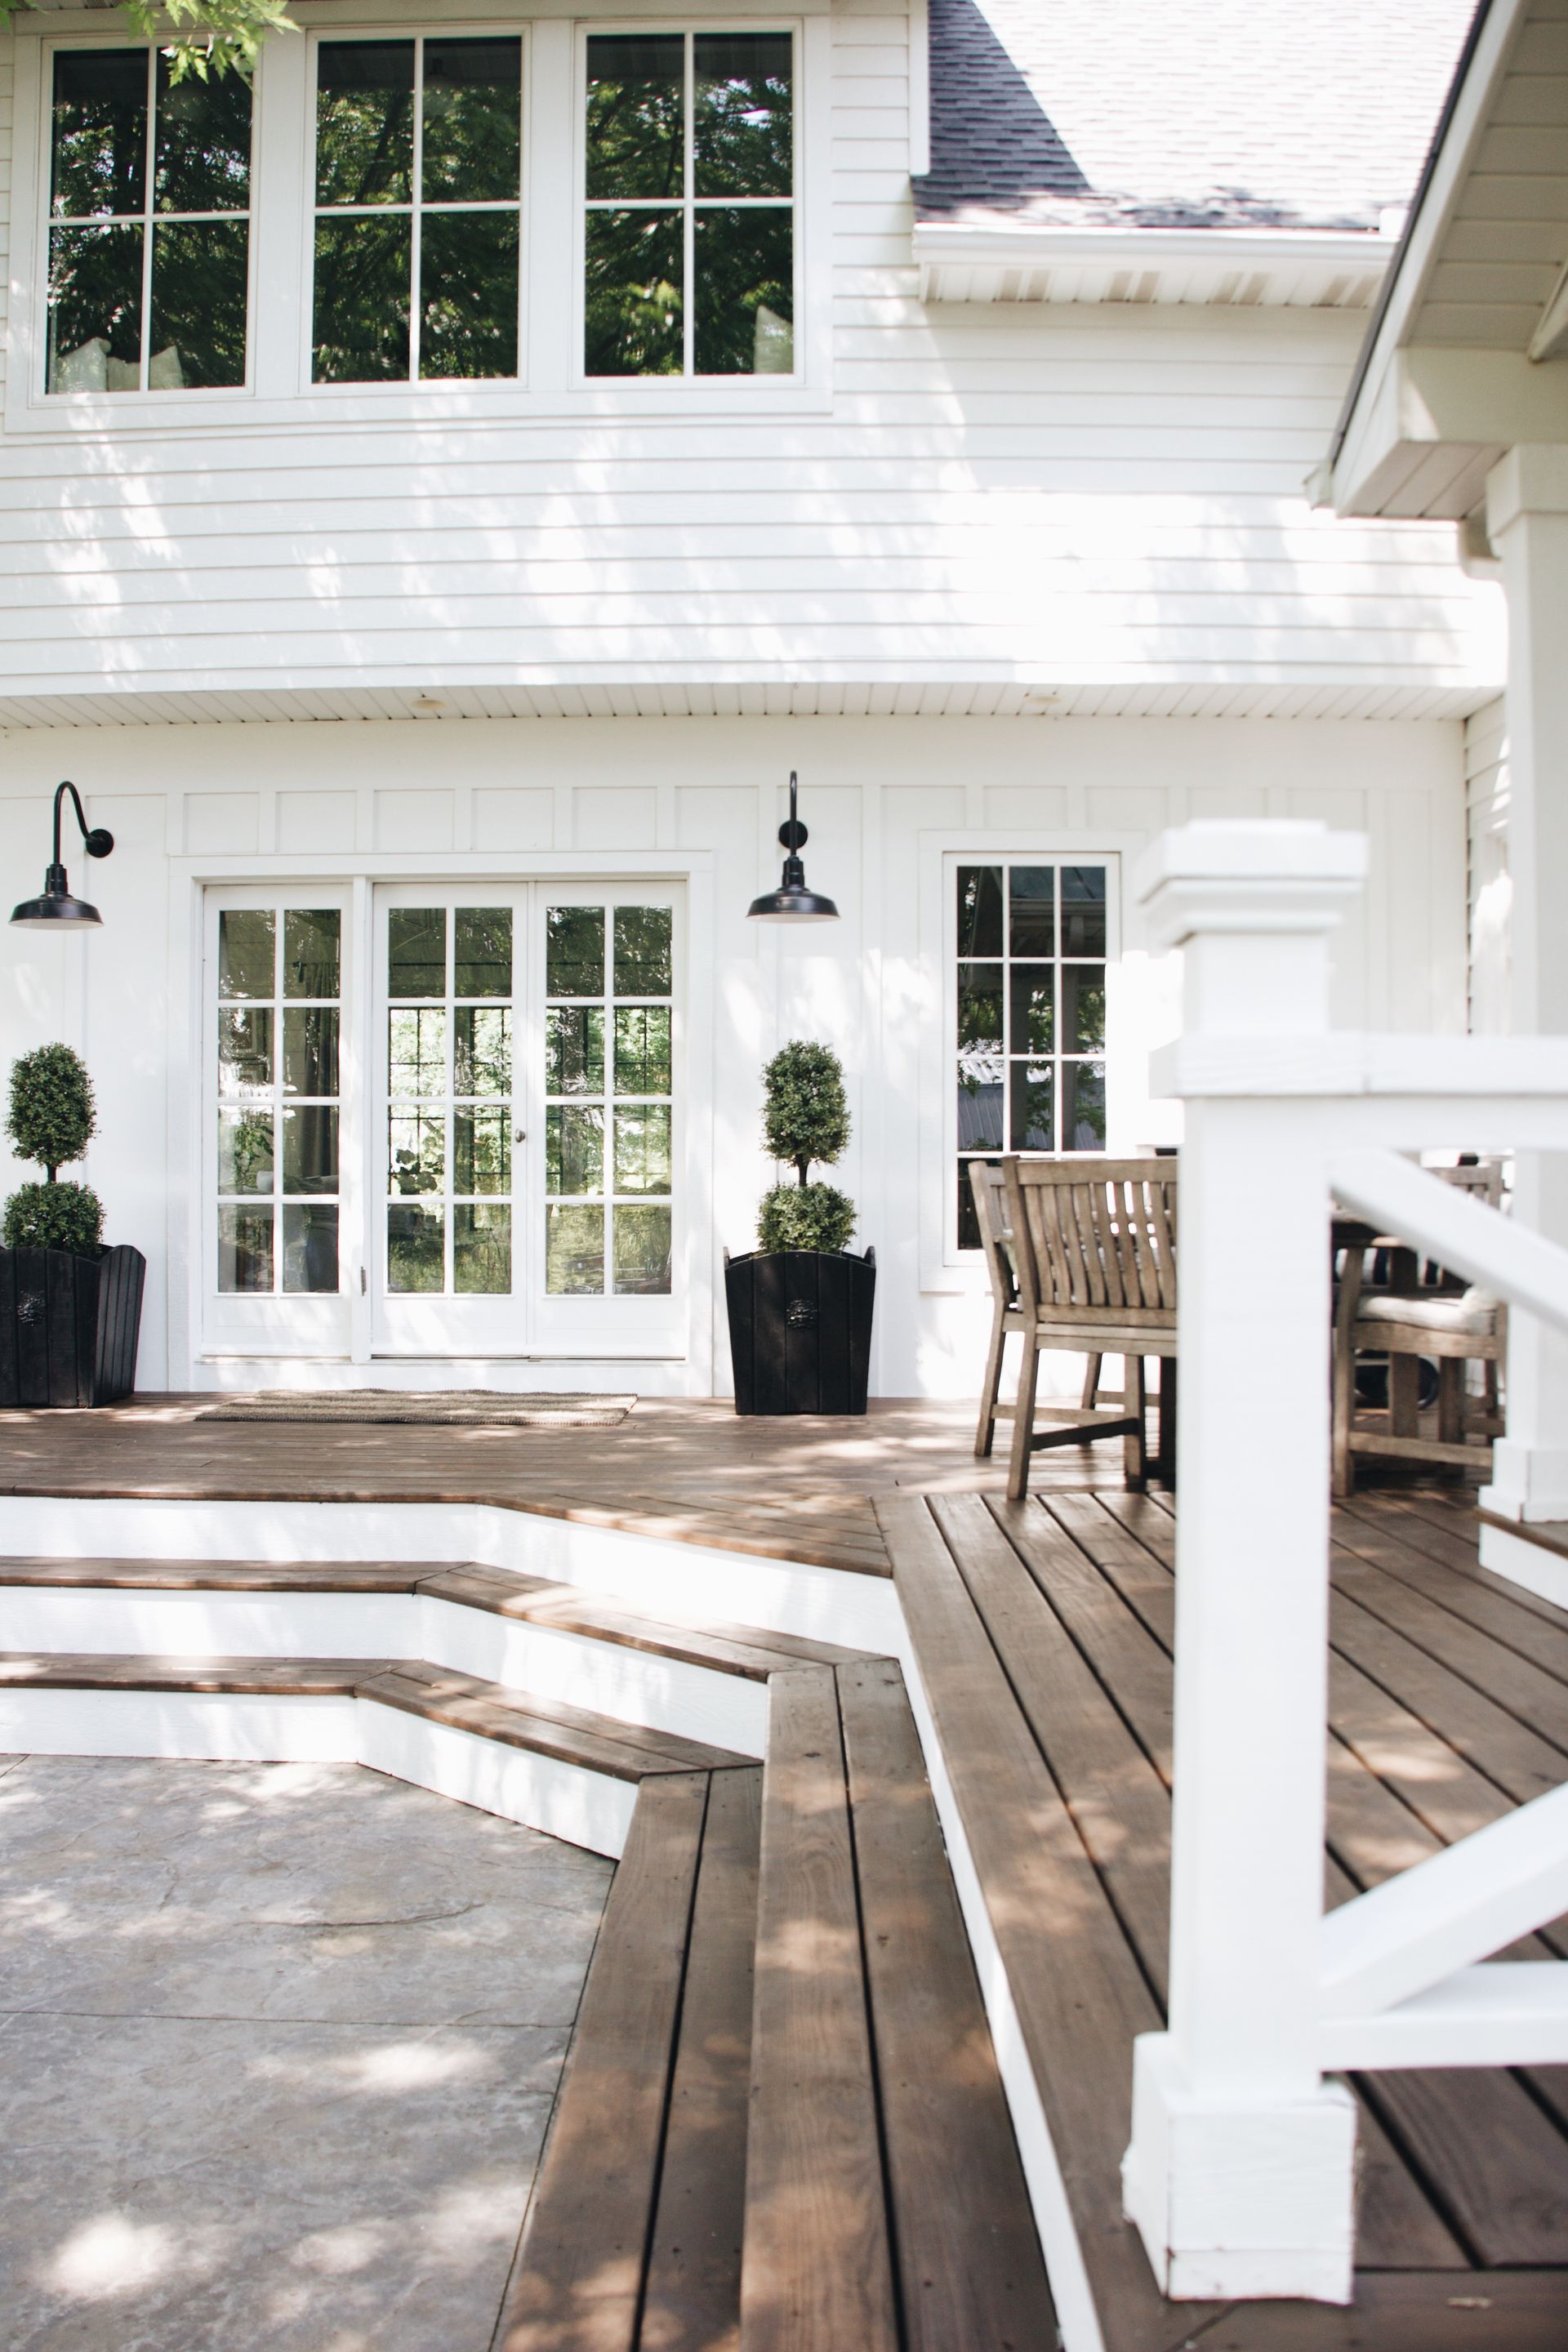
I think we learned to not wait as long as we did to re-stain because wow does that look different!!
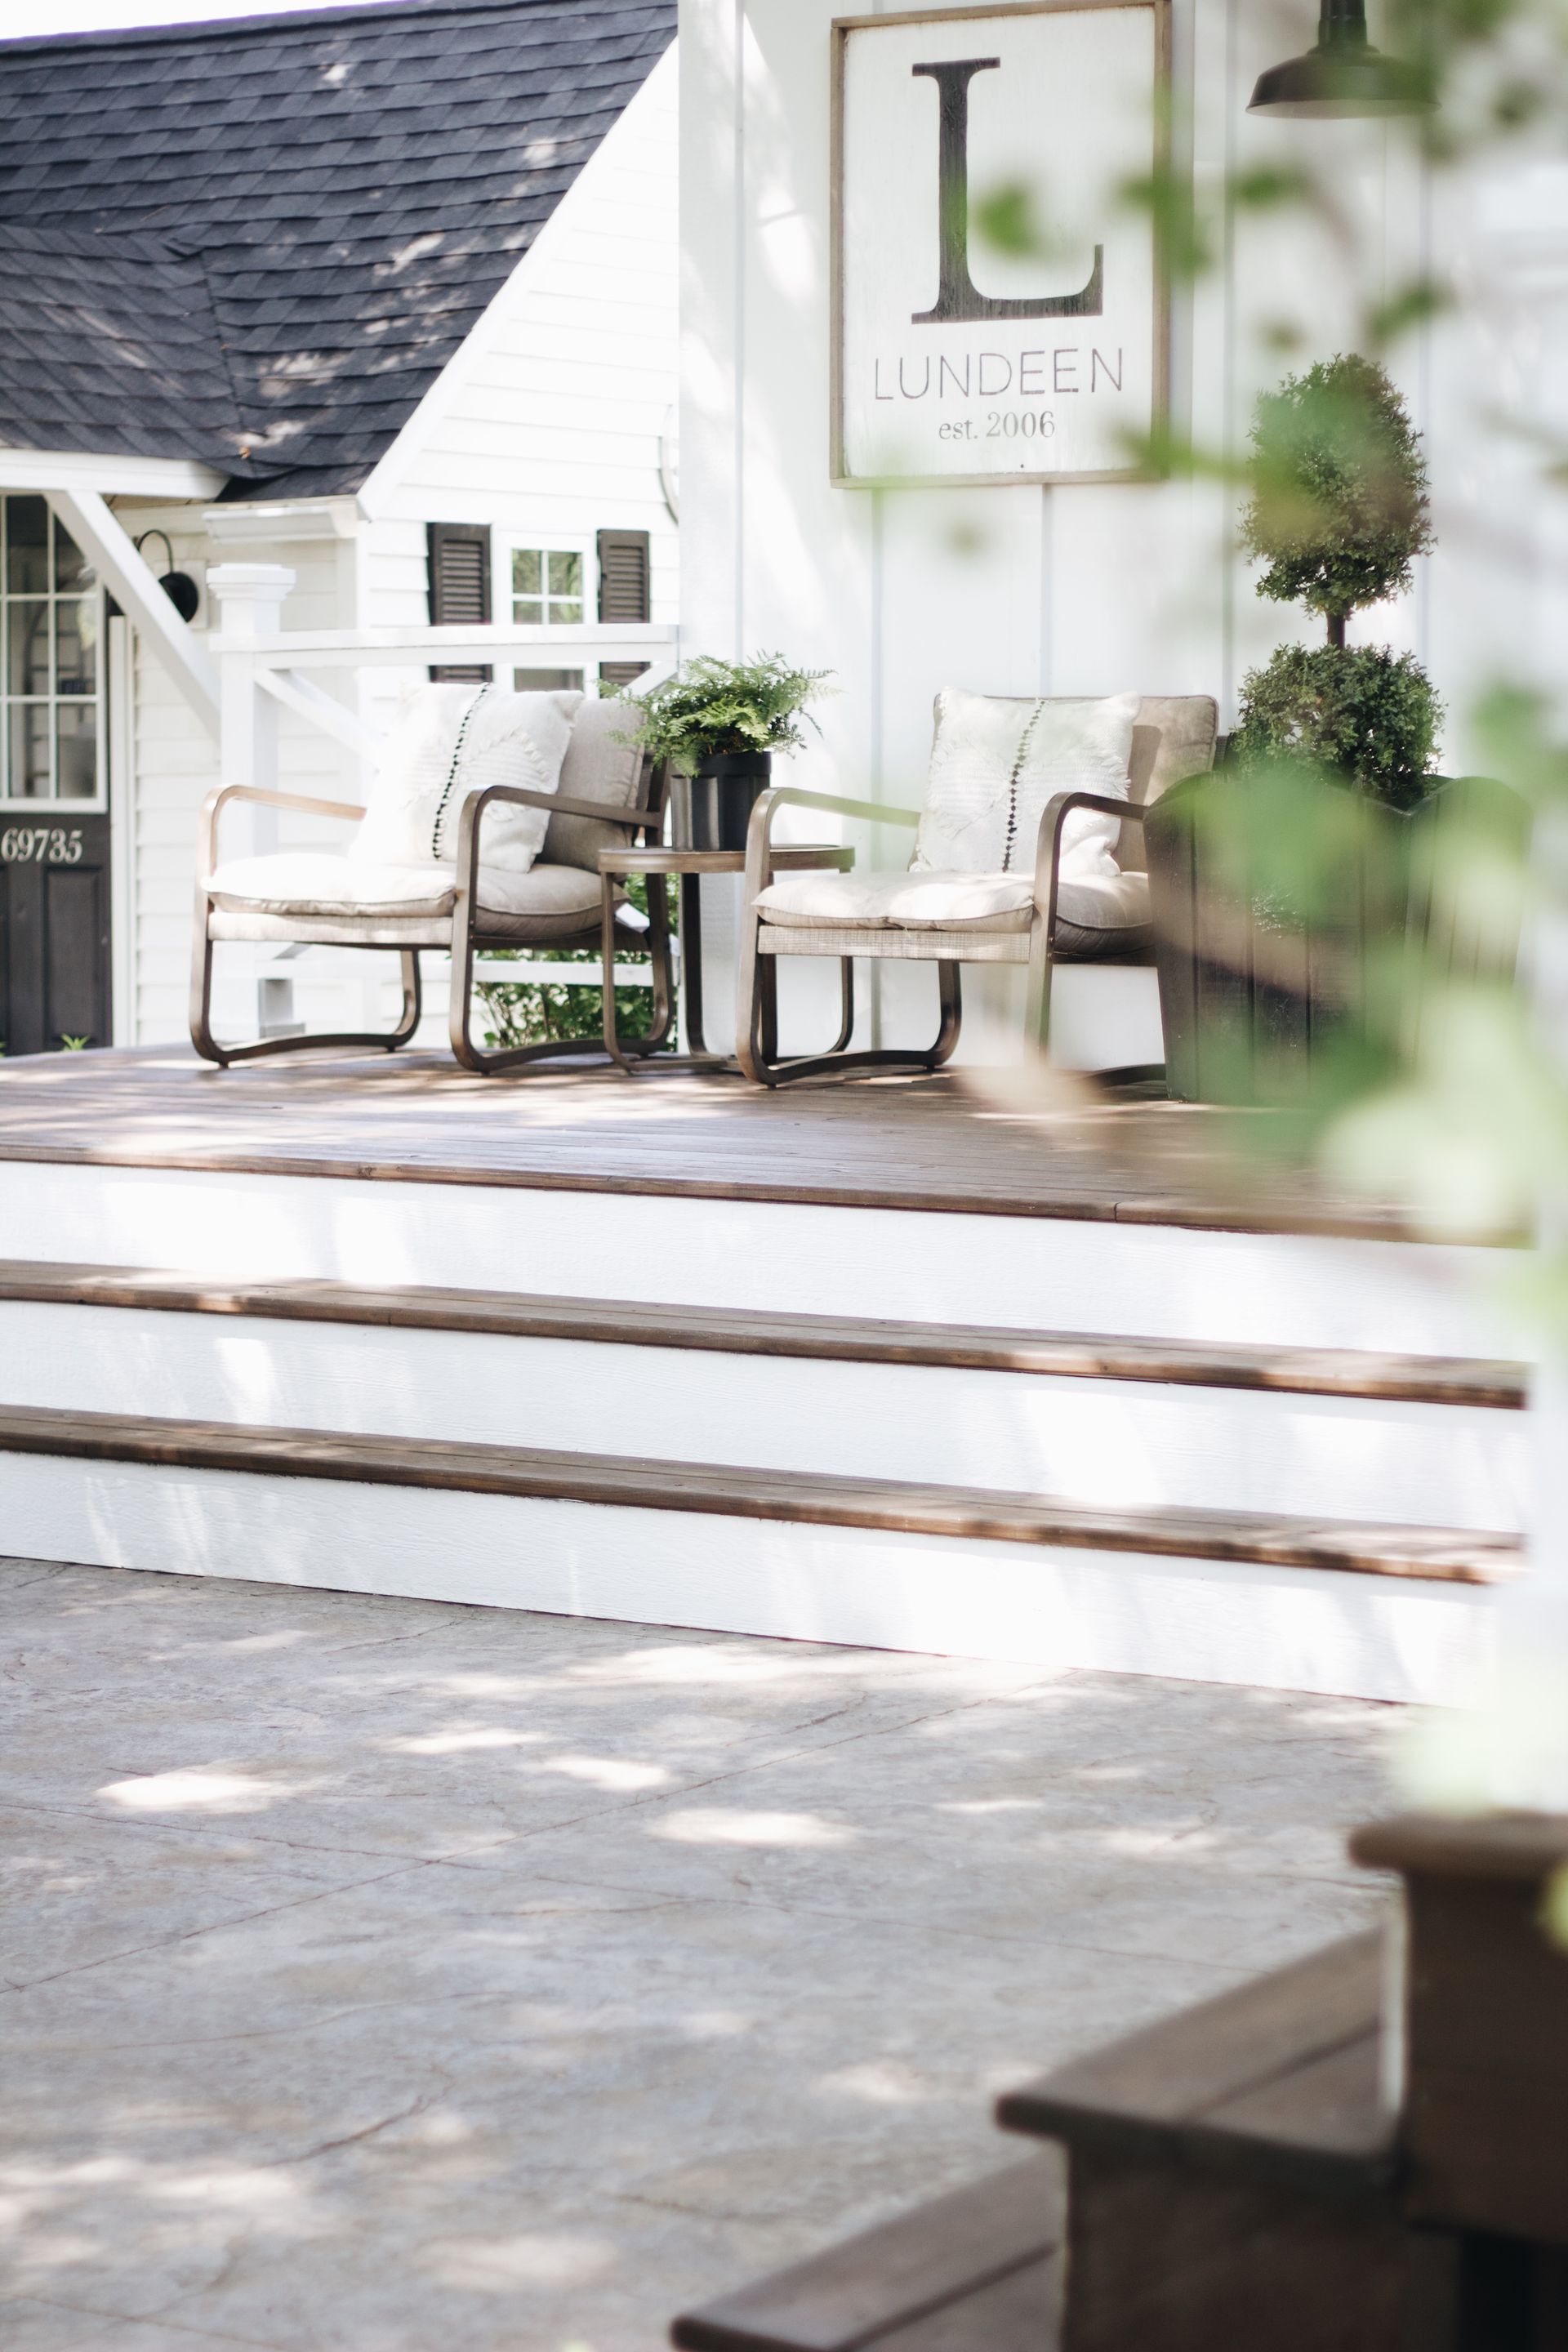
The last finishing touches that I did once the stain had dried a bit was paint the risers with a fresh coat of "Simple White" Paint. Now everything has a fresh coat on and boy oh boy do we have a difference! I used this 4" form roller, I love these rollers and use them for many different things!
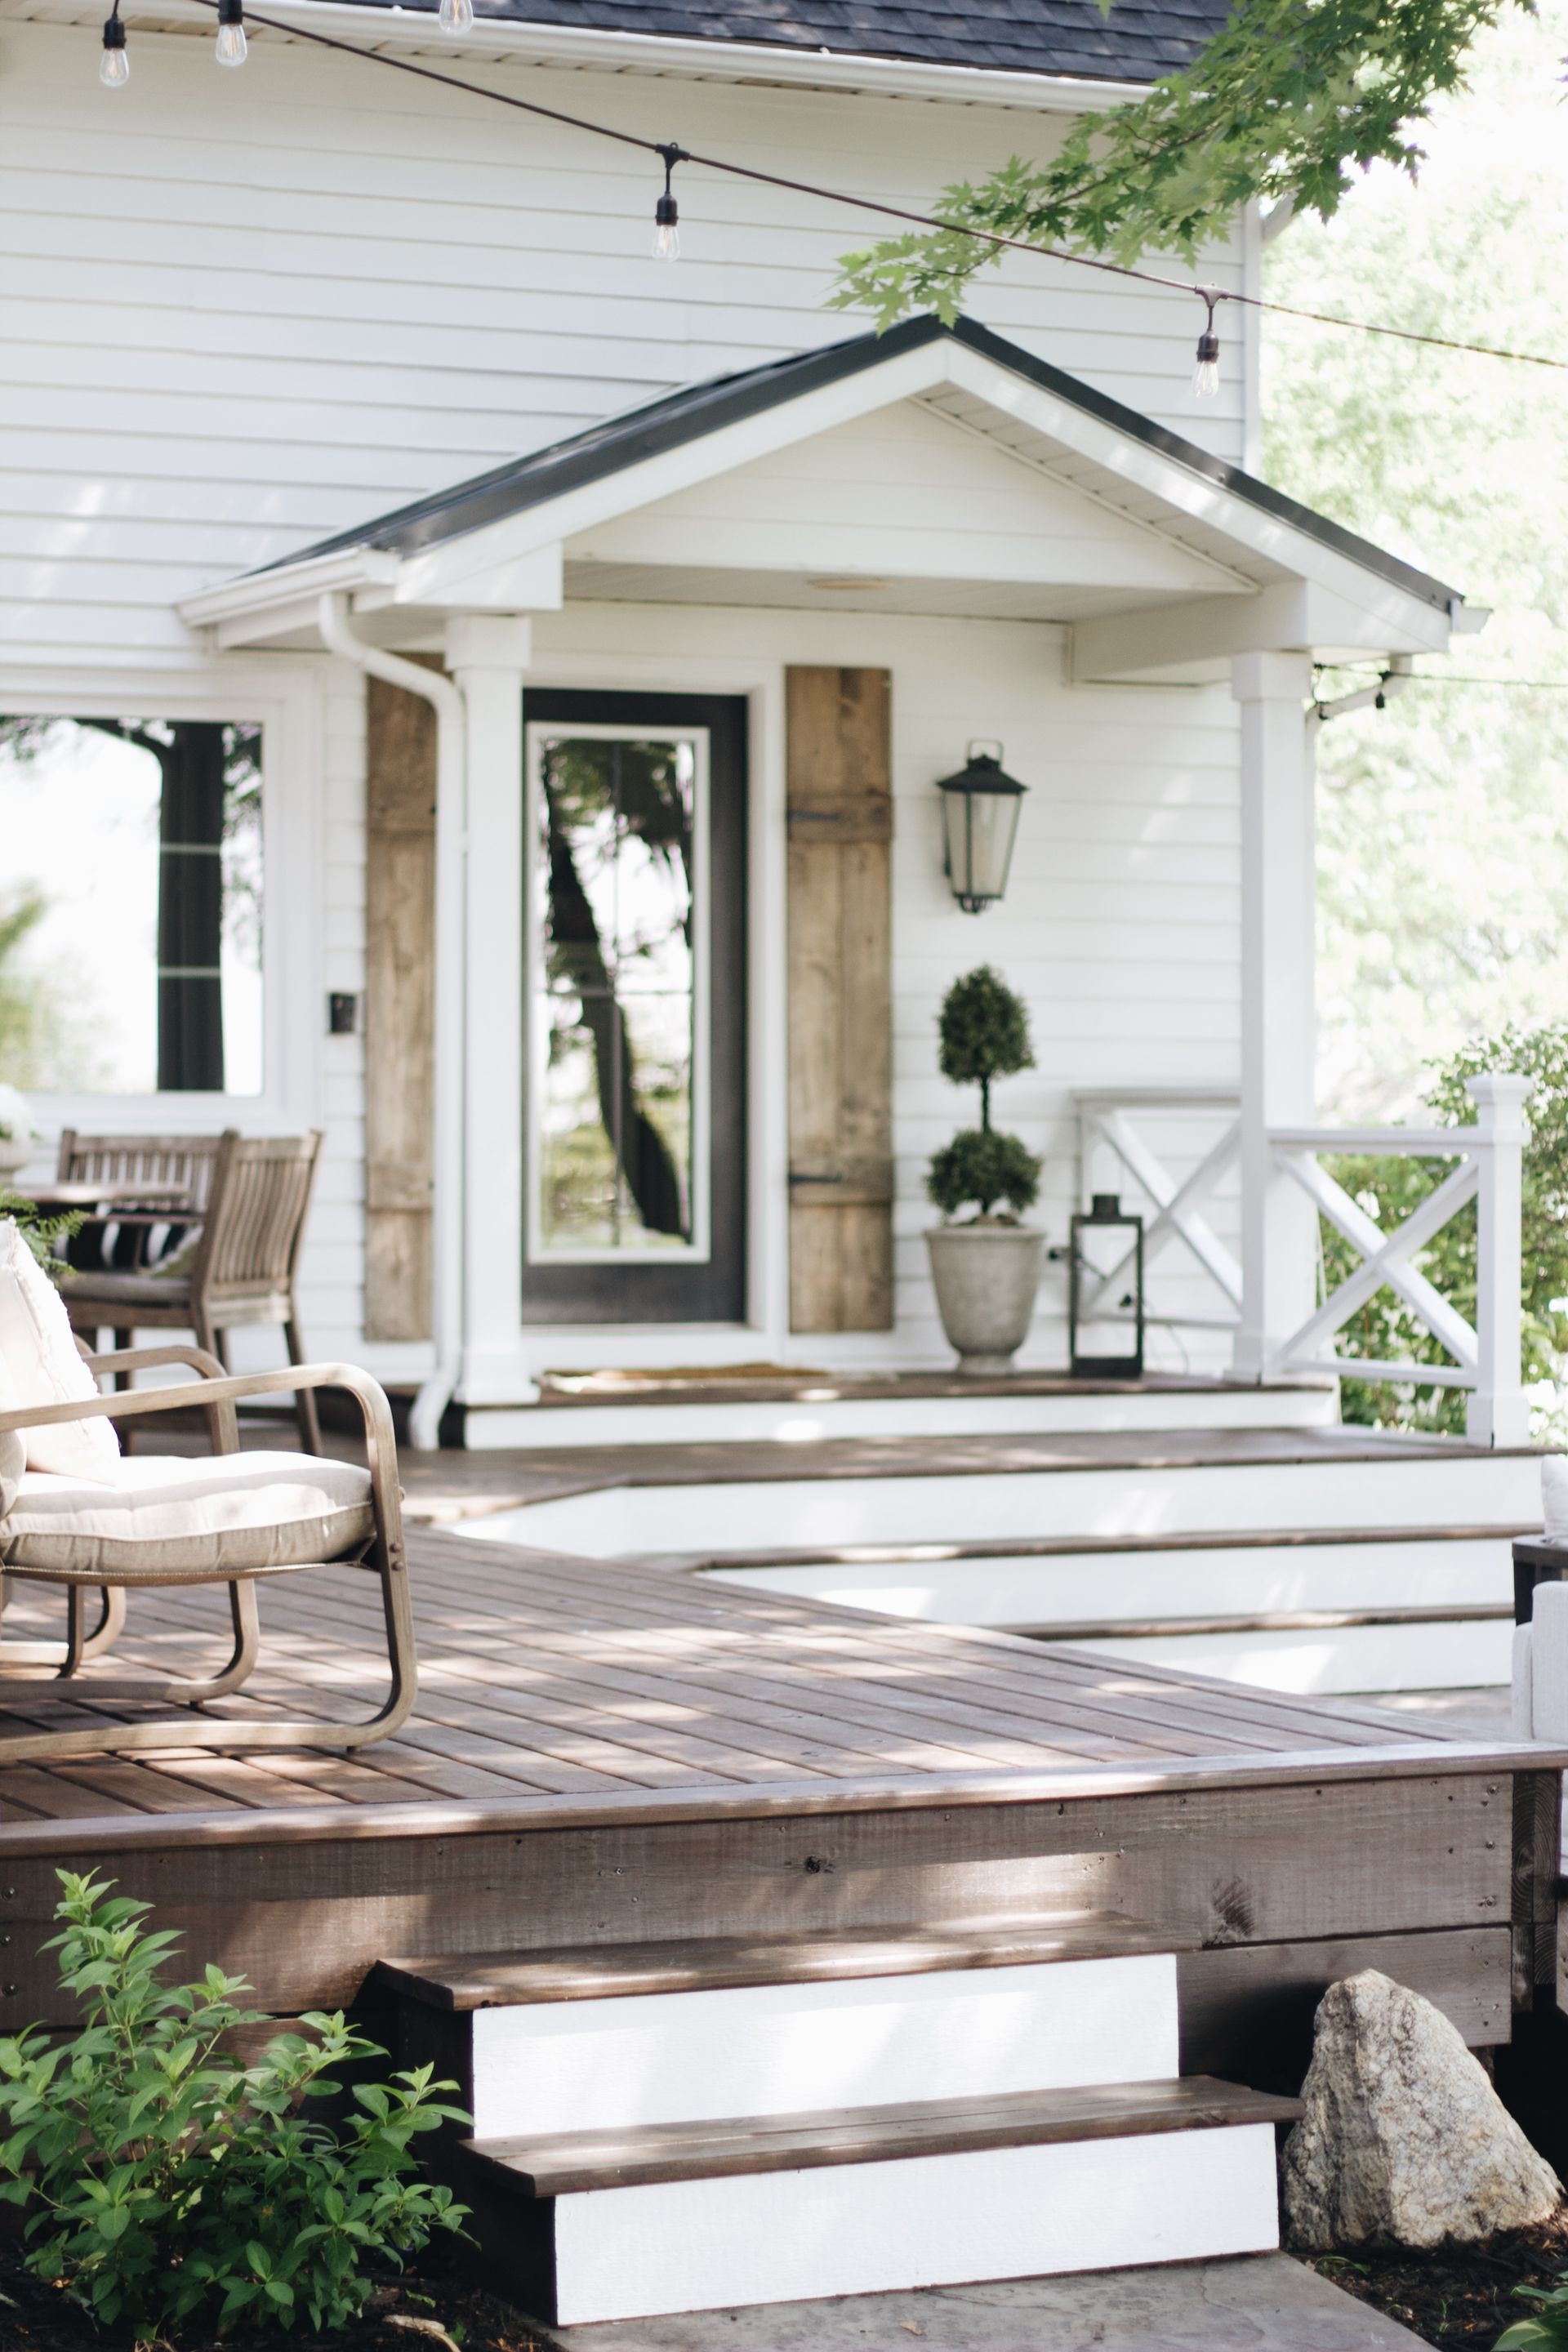
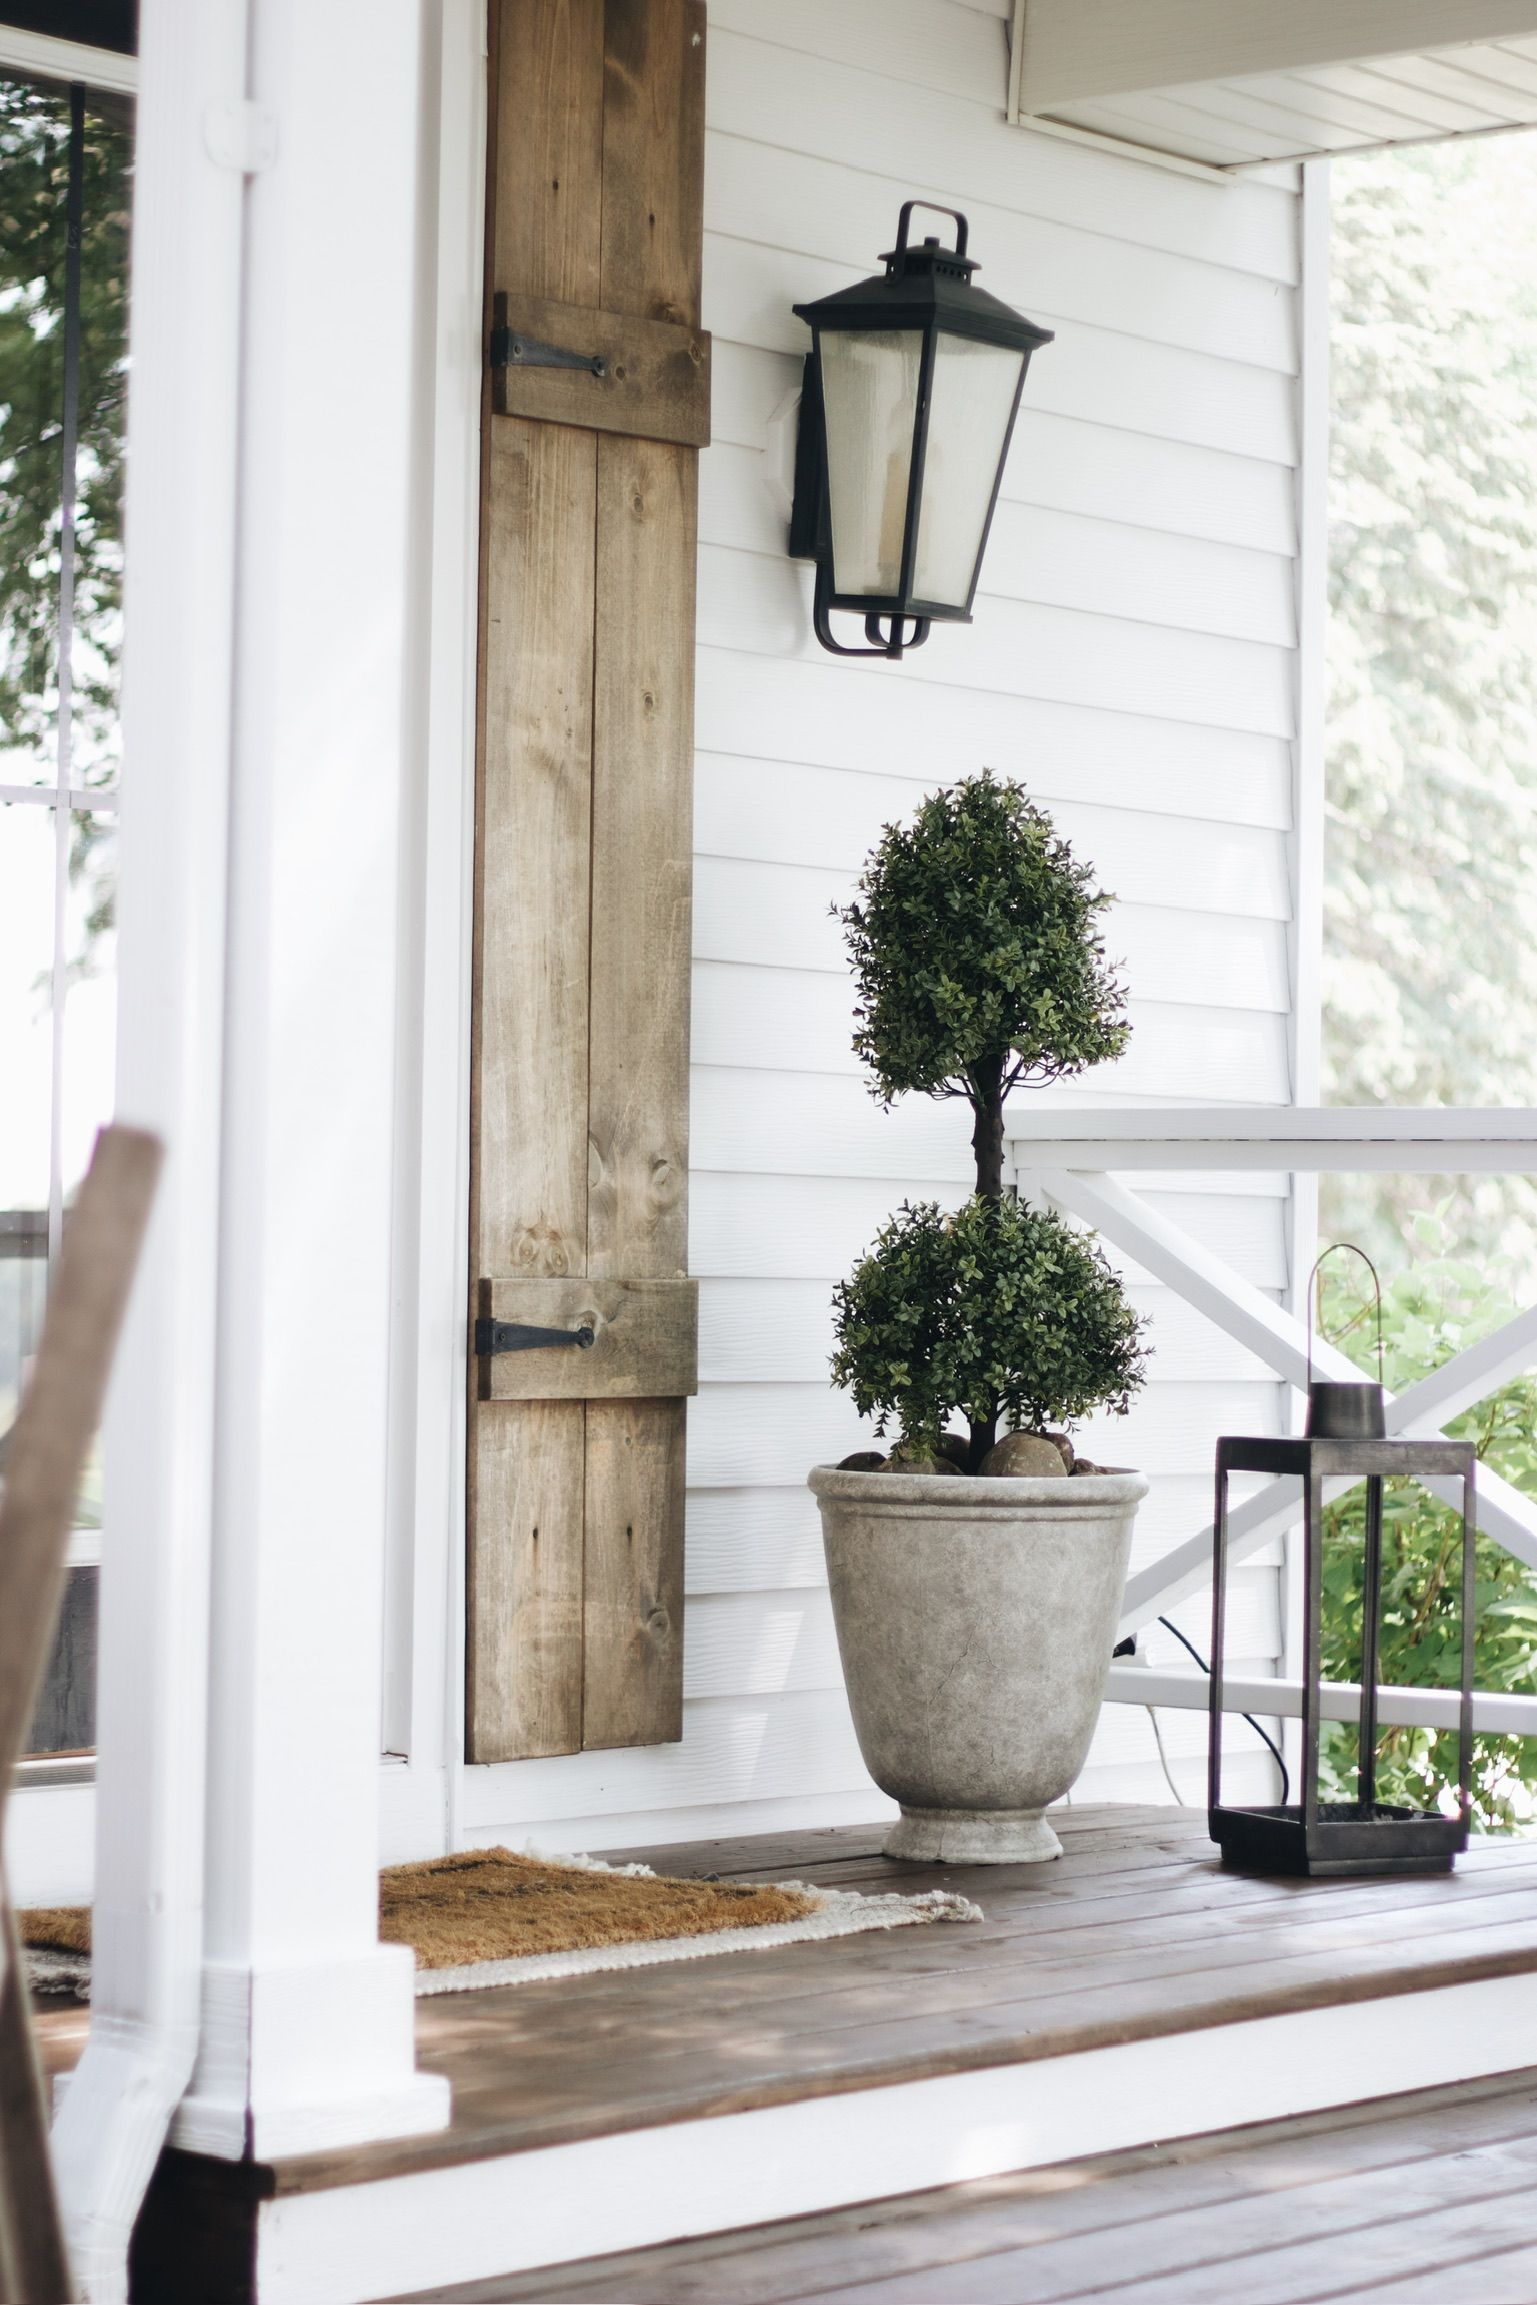
I scored this faux concrete planter at Walmart for an amazing price! I love the higher end concrete look but the price I paid for it makes it even better!